Walkthrough
Welcome to the complete walkthrough guide of Silent Hill 2 Remake (2024). This guide will provide a spoiler-free key summary and a complete walkthrough with additional details and explanations.
The key summary provides just basic information to proceed through the game. It also includes all collectibles (memos, strange photos and glimpses of the past) required for 100% completion of the game and New Game+ items. The summary also provides quick solutions for all puzzles for all difficulty levels (light, standard, hard). Items and actions not mandatory for the game's progress are marked in italics. Note that you can easily skip collecting some key items and entire puzzles if you already know the code – it will work anyway. You can also skip collecting the maps, but it is highly recommended to pick them as navigating without them would be difficult.
The complete walkthrough sections provide detailed instructions with locations of all items, including all collectibles, supplies, notes and additional points of interest, in-depth puzzle solutions for all difficulty levels and boss fight strategies. Note that this walkthrough is written for the standard combat difficulty, and the locations of some supply items may differ based on your playthrough style.
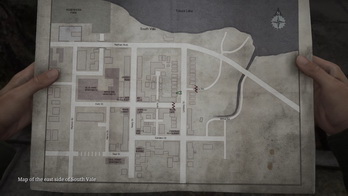
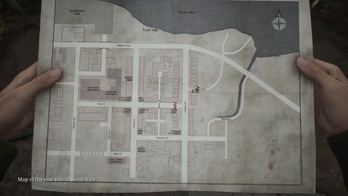
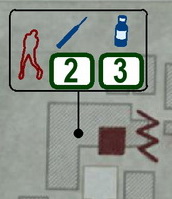
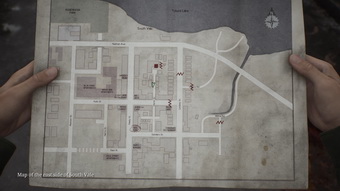
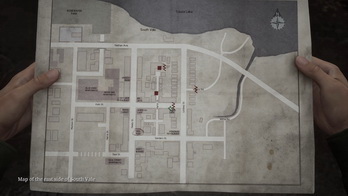
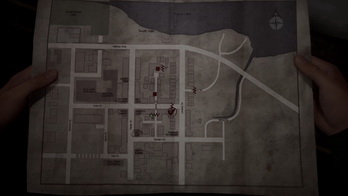
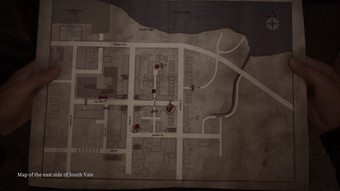
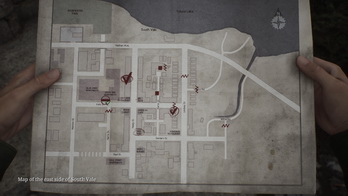
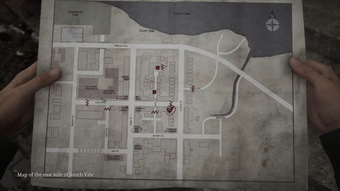
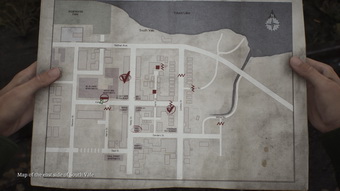
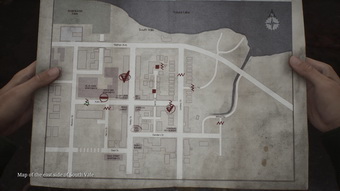
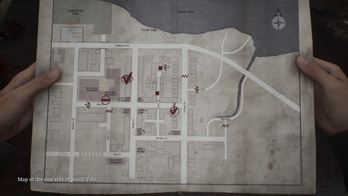
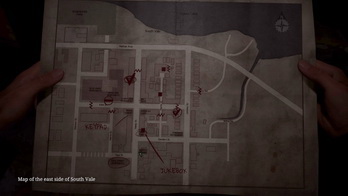
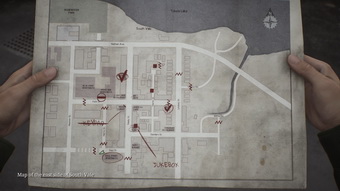
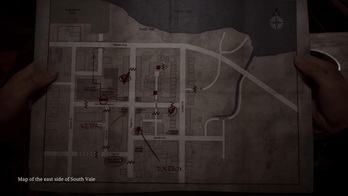
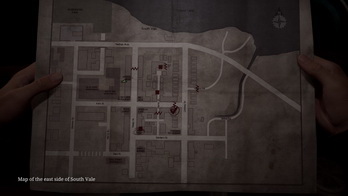
This walkthrough also includes complete maps with all items and monsters marked for easy reference.
For the original Silent Hill 2 walkthrough please go to this page.
Legend
1 Auto Parts key – key items
2 Radio – equipment
Health Drink – supplies
Map of Silent Hill – maps
Save Point – save points
Flower Shop Message – collectibles: memos, strange photos and glimpses of the past
NG+ – New Game+ items, memos and actions
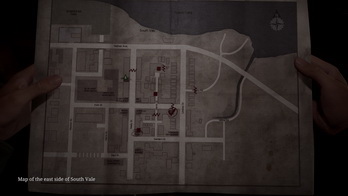
Eastern South Vale
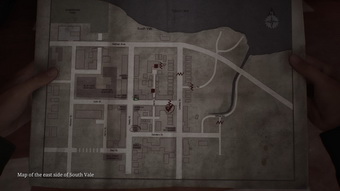
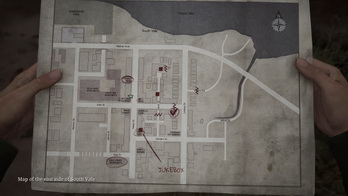
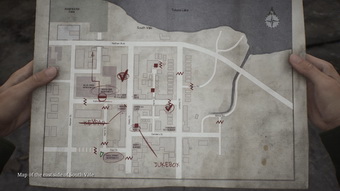
Complete Maps |
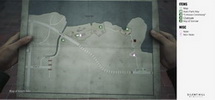

|
Collectibles count:
- 18 memos
- 2 strange photos
- 5 glimpses of the past
Key Summary
Observation Deck / Forest / Graveyard / Silent Hill Ranch / Wiltse Road
- Collect the Map of Silent
Hill from the driver's seat of the car.
- Trophy/achievement: No Turning Back Now. Head down the road leading you back from where you came until James turns around.
- Head down the steps into the forest and follow the forest trail. There's a Save Point in the well at the end of the path.
- Enter the graveyard through the gate.
- NG+ E1 “Crimson Ceremony”. In front of the gravestone in the northeastern corner.
- After the cutscene, turn left onto a path and exit through another gate.
- NG+ E2 Chainsaw. Stuck on a pile of wooden logs just opposite the ranch sign.
- Follow the road through Silent Hill Ranch until you bump into a fence with a closed door.
- Go to the Auto Parts shop to the left, circle around the building, and get inside through a broken window.
- 1 Auto Parts Key is found inside the desk's drawer.
- Get back to the closed door and proceed past the fence using the key.
- Glimpse of the Past #1. Inspect a blocked tunnel under the road.
- NG+ E3 Key of Sorrow. In the back seat of a green car right after passing through the tunnel.
West Sanders and Lindsey Street
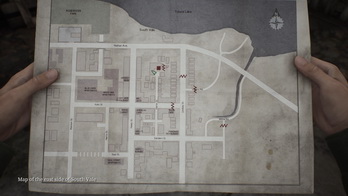
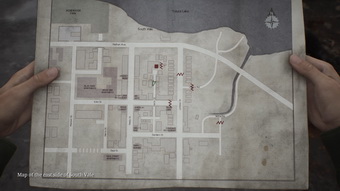
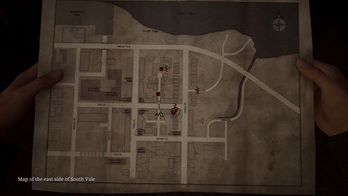
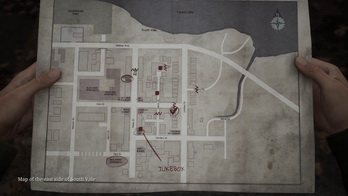
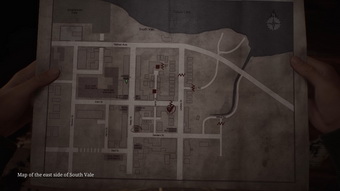
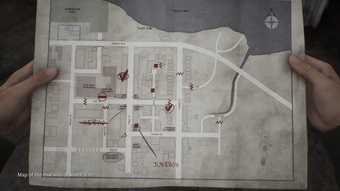
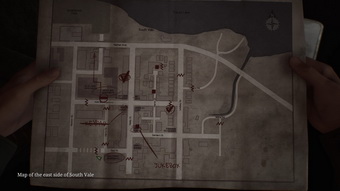
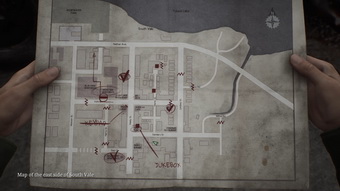
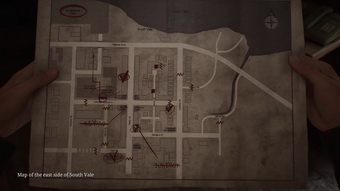
- Follow Wiltse Rd. until you get into the town. You will automatically receive a Map of the east side of South Vale and a Map of the west side of South Vale.
- Memo #1: Flower Shop Message. Inside the flower shop, on the counter.
- Follow the bloody trail leading out of the flower shop down Lindsey St.
- Glimpse of the Past #2. Inspect a fence blocking the street at the end of Vachss Rd.
- Continue to follow the bloody trail leading you between the houses to the west.
- Get inside the garage and proceed to the next room with a Save Point on the wall.
- Exit the apartment and enter a semi-open door to the right at the end of the hallway.
- Pick the 2 Radio from the armchair.The cutscene will follow, and you will also receive a 3 Wooden Plank.
- After the fight is over, exit the room through another door and squeeze through a wall opening. Break the window in the next room and hop outside.
Martin Street and East Katz Street
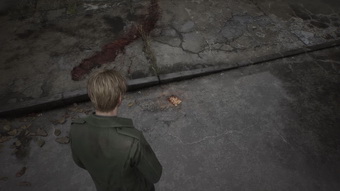
- Glimpse of the Past #3. Inspect a dried blood spot by the fence at the end of Martin St.
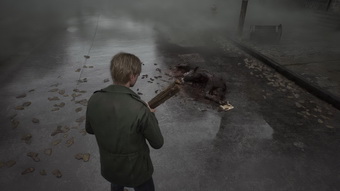
- Memo #2: Matchbook. Martin St., next to a disfigured corpse.
- Memo #3: Martin Street Note. Found lying just a bit further from the corpse.
- There's a Save Point in a small yard on Martin St.
- 4 Neely’s Bar Coin is located in Texan Cafe inside the cash register (turn the key and press the bottom button on the right).
- Go to Neely's Bar for some important items, a future puzzle location and a Save Point.
- 5 Broken Vinyl Record. Inside Neely’s Bar, interact with the jukebox, which is covered with a cloth.
- Memo #4: Neely’s Bar Note. Inside Neely’s Bar, on the counter.
North Neely Street
- Head to Groovy Music in the north part of Neely St. for the second half of the broken vinyl.
- Memo #5: Big Jay’s Note. In Big Jay’s Cafe, on the dining table.
- NG+ E4 Broken Key Part. Inside the back storage room of the Pet Center to the north of Big Jay's Cafe.
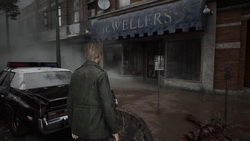
- NG+ E5 Blue Gem. On display in the left window of The Jewellers store to the north of the Pet Center.
- Memo #6: Record Store Note. Inside Groovy Music shop on the counter.
- 6 Broken Vinyl Record and 7 Vinyl Glue. On the table in the back room of the Groovy Music shop – smash the glass to get inside.
West Katz Street
- Explore west end of Katz St. for some collectibles.
- Glimpse of the Past #4. Inspect a blue dumpster to the right of the entrance to Wood Side Apartments.
- Memo #7: Texan Cafe Flyer. Pinned to a message board next to the entrance to Wood Side Apartments on Katz St.
- Strange Photo #1: “So many people here!”. On the sidewalk in the corner of the fence to the left of the entrance to Wood Side Apartments.
- Memo #8: Barrier Note. At the west end of Katz St., next to a corpse in front of the barricade.
- Glimpse of the Past #5. At the west end of Katz St., inspect a hidden message on the barricade.
Saul Street and Saul Street Apartments
- Proceed towards the Saul Street Apartments.
- Strange Photo #2: “I’ve been happy’’. Intersection of Neely and Sanders Streets, in the shop window to the right of the Dance Company.
- Memo #9: Old Map. At the west end of Saul St., next to a corpse on the road.
- Memos #10–12: Saul Street Notes. Follow the bloody trail to a motor home west of Saul Street Apartments and collect the three notes scattered along it.
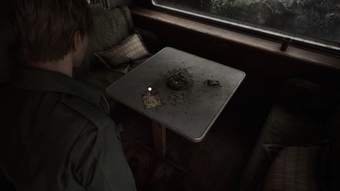
- Memo #13: Motor Home Note. Inside the motor home, on the table.
- Enter the Saul Street Apartments building. Push a shelf blocking the second doorway on the right and proceed to the office.
- 8 Apartment Key is found inside the office, on the key rack by the back.
- Memo #14: Small Note. Inside the office, on the desk.
- Go to the second floor of the building.
- Memo #15: Tenant’s Note. Apartment 7, on the desk by the window. Use the vent opening by the floor to enter the apartment.
- Use the Apartment Key to enter Apartment 5. Get into the next apartment through a wall opening and then into the corridor. Go out of the window onto the emergency stairs and climb up the stairs. Use the window to enter Apartment 9.
- 9 Jukebox Button. Inside Apartment 9, enter the bathroom and inspect a hole in the wall.
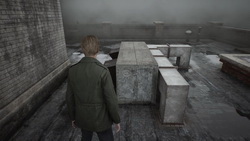
- NG+ Use the Blue Gem for the first time for the UFO ending on the roof of the apartment building.
- Get outside to the roof, climb down and exit to Saul St.
Sanders Street
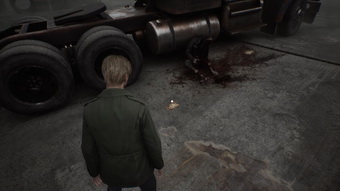
- Memo #16: Sanders Street Note. In the middle of Sanders St., next to a corpse by the semi-truck on the south side of the street.
- Memo #17: Code Note. In the middle of Sanders St., on the other side of the corpse.
South Neely Street
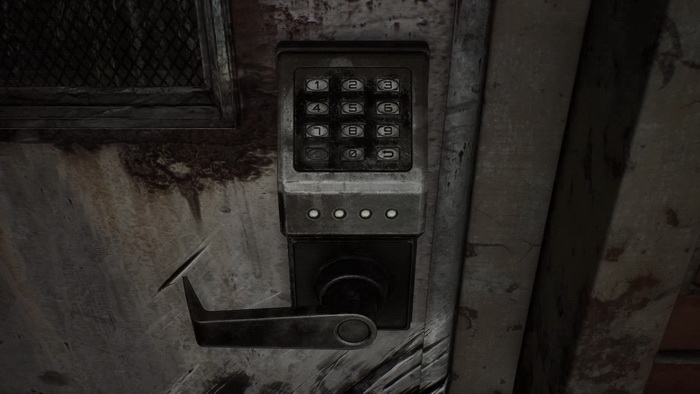
- Optional: Before going back to Neely's Bar you can get back to the Grand Market store at the intersection of Neely and Katz streets for some supplies. Check the back door and input the code hinted by the code note (you don't need the memo to open the door):
- Light: 4442
- Standard: 4444
- Hard: 4446
- Return to Neely's Bar to solve the jukebox puzzle – see the solution.
- 10 Glued Up Vinyl Record. Combine the two parts of the Broken Vinyl Record with the Vinyl Glue.
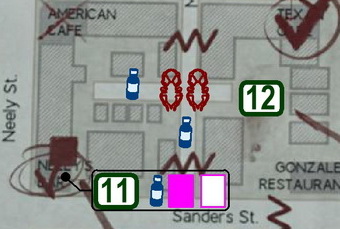
- 11 Neely’s Bar Key. Received after solving the jukebox puzzle.
- Use the key to open the back room in Neely's Bar. Push the trolley to the wall and climb through the opening by the ceiling.
- Memo #18: Back Room Letter. Inside the back room of Neely's Bar, on the desk by the window.
Back Alley
- Go outside into the back alley, turn right and find a gate with a semi-open metal door at the end.
- 12 Wood Side Apartments Key. Inspect the bloody clothes next to a greenish blue car.
- Once you pick the key, a storm will start. Run north onto Katz St., avoiding the monsters, and then towards the Wood Side Apartments. Enter the building using the key.
Complete Walkthrough
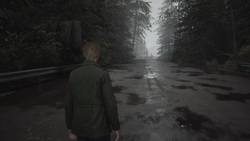
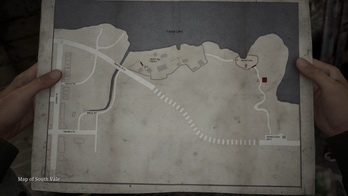
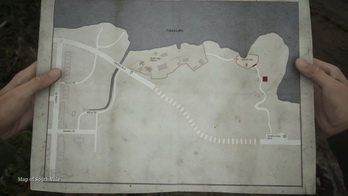
The game begins with a cutscene in which we meet our main character, James Sunderland, in a roadside restroom. He came to Silent Hill after receiving a letter from his late wife, Mary. After the cutscene, approach the blue car nearby and grab the Map of South Vale from the driver's seat. You can also check a couple of personal items in your inventory – Mary's Letter and Photo of Mary. Checking them may affect your ending – read more in the Endings section.
The road tunnel to the west is blocked, so proceed via the staircase to take the forest path to the town.
Trophy/Achievement: No Turning Back Now |
Getting into the Town

In New Game+, on the path, you will find an additional memo with hints for one of the extra endings – read more in the Endings section.
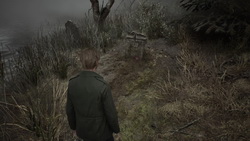
After a long descent through the foggy trail, you will reach a well with a red square sheet of paper inside it, which is the first Save Point. You'll find many more of these throughout the game. To save, approach and examine them. Continue through the steel gate at the end of the path.
In the graveyard, James meets a young dark-haired woman and asks her for directions to Silent Hill.
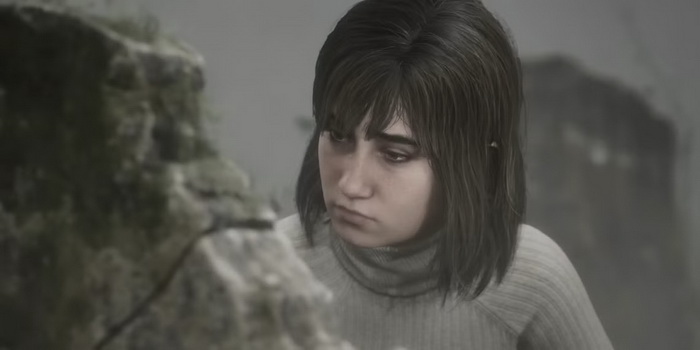
Afterward, continue the path through the graveyard and exit through another gate ahead.
New Game+ Item: “Crimson Ceremony” |
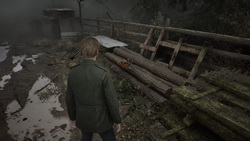
New Game+ Item: Chainsaw |
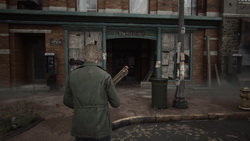
Continue the path through the Silent Hill Ranch until you run into a closed door in the fence next to the Best Auto Parts shop. Approach the store to the left of the wall. The door to the store is closed, but a note on the bulletin board nearby will hint at the key's location.
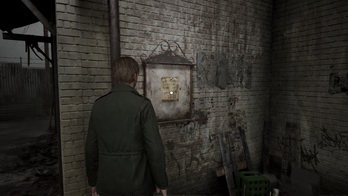 |
 |
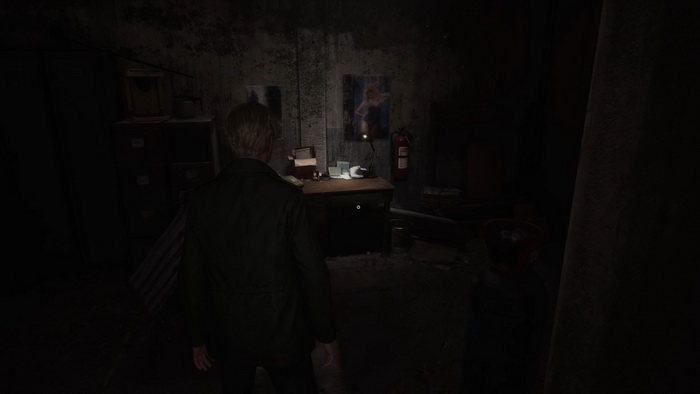
Make your way around the building and get inside through a window with broken glass. Approach a desk with a lit lamp and check its drawer to get the 1 Auto Parts Key.
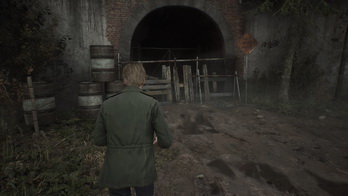
You can exit through the front door. Get back to the fence door and unlock it using the acquired key. After leaving the ranch, you will come across the first Glimpses of the Past, references to the original Silent Hill 2 game. Check a barricaded tunnel under the road for the Glimpse of the Past #1. In the original Silent Hill 2, this used to be the location for the first monster encounter and the tunnel was originally located at the end of Vacchs Rd.
 |
 |
Proceed through the tunnel under the highway on the other side and go via Wiltse Rd. It will take some time before you will finally reach the town.
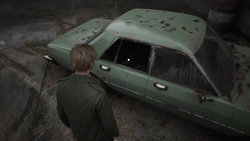
New Game+ Item: Key of Sorrow |
Following the Bloody Trail
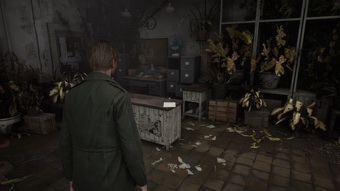
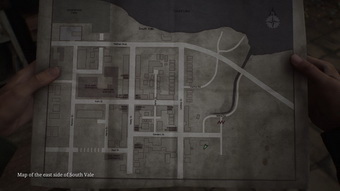
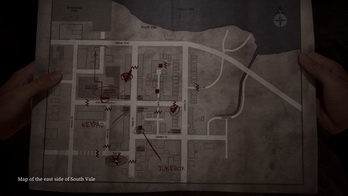
After the cutscene in which James acquires the Map of the east side of South Vale and the Map of the west side of South Vale, you can start exploring the town's streets. Right across the street, enter an open Flower Shop. At the shop counter, you can find Memo #1: Flower Shop Message.
 |
 |
Take notice of the bloody trail leading out of the shop and get outside to the street. Head to the intersection of Sander's and Lindsey streets where James notices more blood on the asphalt. Follow the marks onto Lindsey St. After a while, a cutscene with a figure in the mist will start.
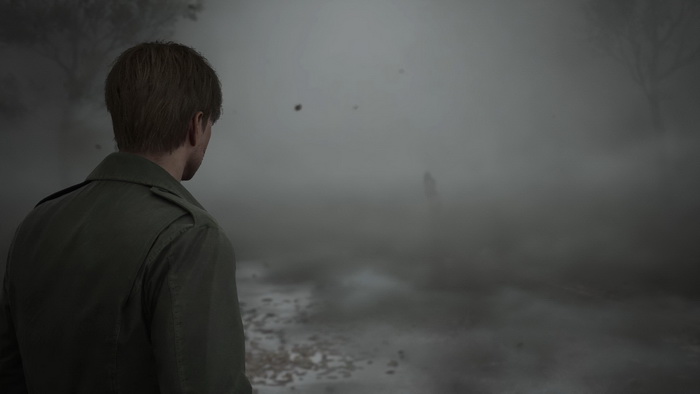
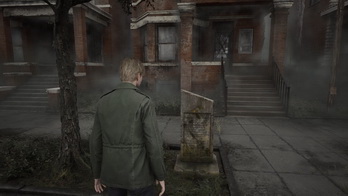
Before following it, check some items in this part of the town, as you won't be able to come back later. On the left side of the street, there's an interesting monument called "Remains of _________ Swamp."
 |
 |
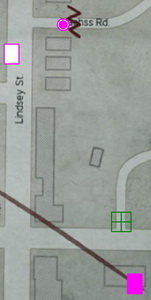
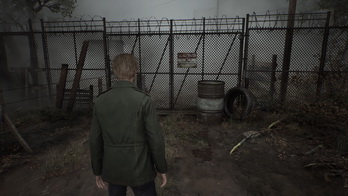
At the end of Vacchs Rd., check a closed gate for the Glimpse of the Past #2. In the original Silent Hill 2, this used to be the gate on the way to the tunnel at the end of Vacchs Rd. where you meet your first monster.
 |
 |
Continue following the blood trail directing you between the houses to the west. Follow the path through the backyards and the bloodied gate until you reach the garage door – crawl inside. The door collapses behind you, so there is no going back. Proceed through the wall gap in front and find your next Save Point on the wall. Go through the door to the right. In the kitchen's drawer, there's a Health Drink. Exit the apartment. Follow the corridor and enter the open apartment to your right. Pick up the 2 Radio from the armchair. The cutscene will follow, and you will receive a 3 Wooden Plank for a weapon. After the cutscene, prepare for your first combat following the game hints.
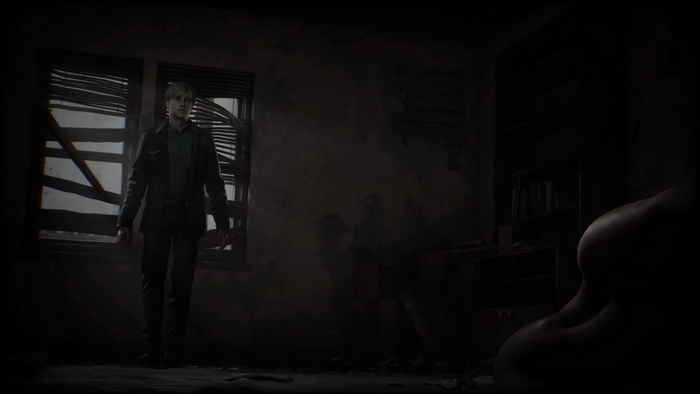
After the monster is done, exit the room through another door and a crack in the wall. Grab a Syringe from the box on the desk, then break the window glass and get outside. The radio will suddenly start again, transmitting an obscured message in another cutscene. The radio will also warn you about the monsters nearby by emitting static if you keep it turned on.
On the way to Neely's Bar
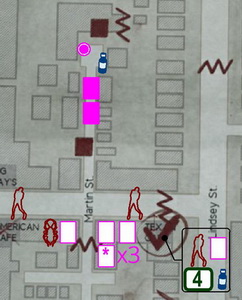
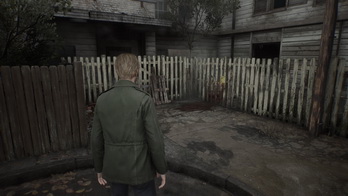
Go forward and exit to the street through an open gate. You will find yourself at the north end of Martin St. Inspect a blood spot by the fence for the Glimpse of the Past #3. In the original Silent Hill 2, this is the spot where you find the apartment gate key and take it next to the dead body.
 |
 |
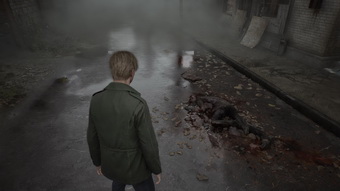
Smash the back window of a green SUV parked nearby to get a Health Drink. Proceed down the street to find a dead body from which you can collect Memo #2: Matchbook with the Neely's Bar logo hinting at your next destination.
 |
 |
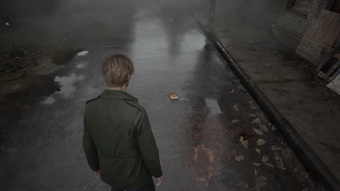
Memo #3: Martin Street Note is a bit further on the road.
 |
 |
Down the road to the right, you will find a Save Point in the yard behind the fence. Go to the street intersection ahead, and beware of the Lying Figure monsters now roaming the streets of the town.
Before you go straight to Neely's Bar, as hinted by the matchbook, let's explore this part of the town first. Head to the Texan Cafe at the east end of Katz St. You will be startled in the street by a Lying Figure crawling from underneath the car. Inside the cafe, you can check a coffee poster on the wall.
 |
 |
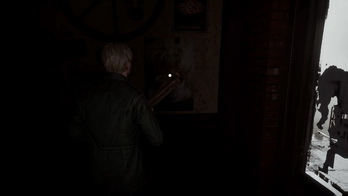
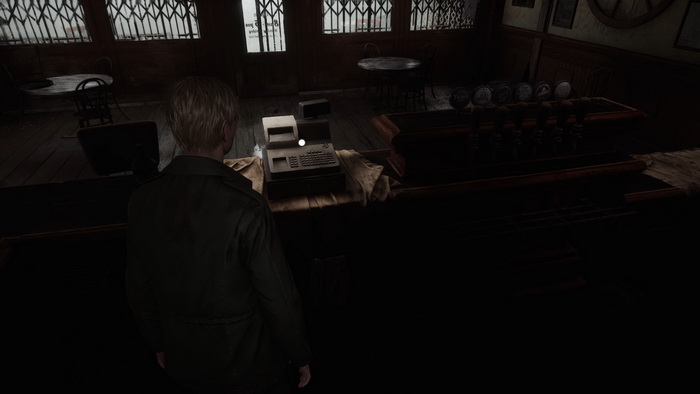
Approach the counter to get a Health Drink inside a glass refrigerator and check the cash register to obtain a 4 Neely's Bar Coin (turn the key and press the bottom button on the right). A Lying Figure will crawl inside after you do that. Deal with it if you'd like and get outside.
You can break into the other stores on the same street for some optional exploration. A barbershop next to the cafe has a note at one of the stations.
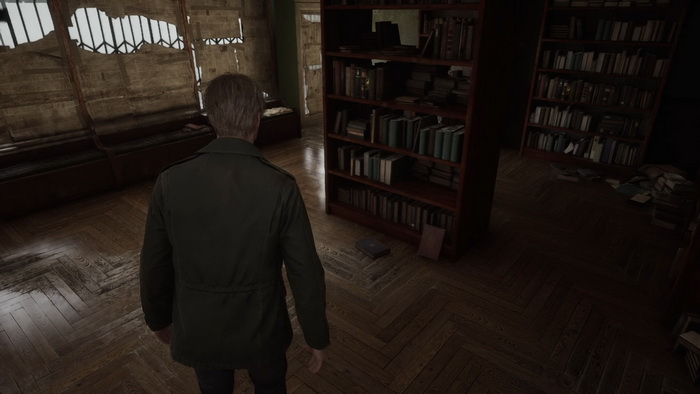
Andy's Bookstore at the corner of Katz and Martin has some interesting reads hinting at how to get the three main endings in the "Searching for Another Conclusion" books (New Game+ only) - see the Endings section for more information.
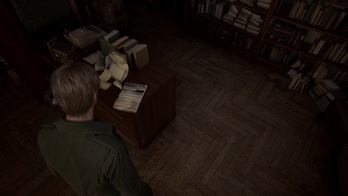
There's also a curious article from the magazine.
 |
 |
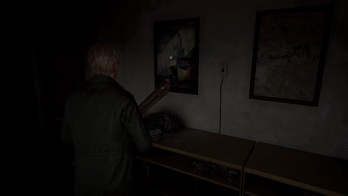
A laundromat next door only has a Creeper, some dirty clothes left in the washing machine and a wall poster.
 |
 |
Now head to Bar Neely's at the corner of Neely and Sander's streets.
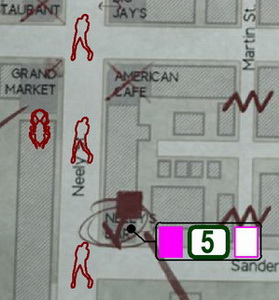
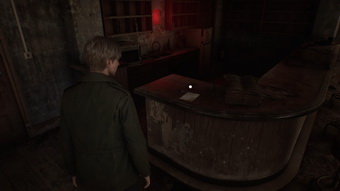
Inside, you will find a Save Point on the wall, Memo #4: Neely’s Bar Note on the counter.
 |
 |
There's also an interesting writing on the front window.
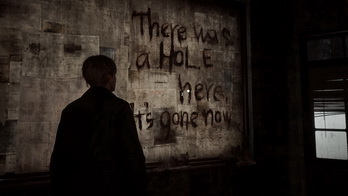 |
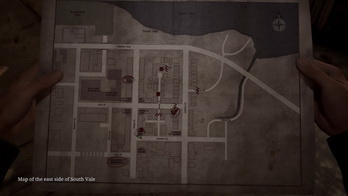 |
Finally, in the corner there's a covered jukebox with missing parts. Inspecting the jukebox will get you a 5 Broken Vinyl Record.
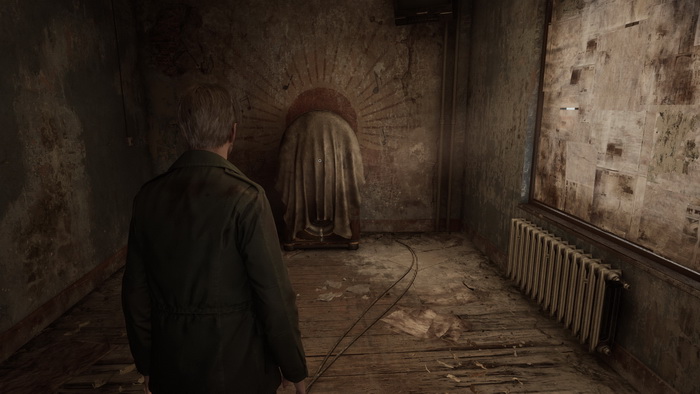
Finding the Broken Vinyl Half
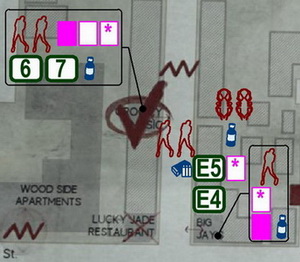
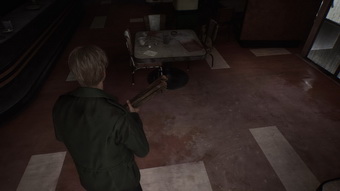
According to the note, we need to check a couple of locations in the city. First, let's go north to search the Groovy Music shop. On your way there, visit the Big Jay's Cafe to find a flyer on the counter giving hints for the Dog Ending (New Game+ only), a Health Drink on a dining table and Memo #5: Big Jay’s Note on another table.
 |
 |
There's also a Lying Figure in the storage area, but there's no need to go there.
New Game+ Item: Broken Key Part |
New Game+ Item: Blue Gem |
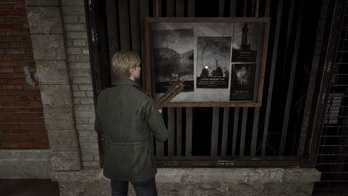
In the passenger's seat of the police car parked in front of The Silent Jewellers store, you can find Handgun Ammo guarded by a couple of Lying Figures. Across the street you can smash the left storefront of the Air International store and read Silent Hill tourist posters.
 |
 |
In the alley across from the Groovy Music shop, there's a Health Drink on a round table, along with a couple of Creepers in the backyard. The north end of Neely St. is blocked by a barrier with a locked door and a writing next to it.
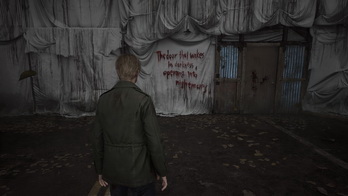 |
 |
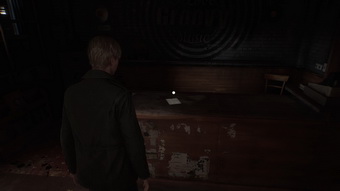
Enter Groovy Music for some key items. Inside the store, you will have to deal with two Lying Figures. After this, find Memo #6: Record Store Note on the counter.
 |
 |
On the sofa, in the main hall, there's Out of This World magazine with hints for the UFO ending (New Game+ only) - see the Endings section for more details. There is also a music poster in the same room.
 |
 |
After exploring, smash the window into the back room to find 6 Broken Vinyl Record and 7 Vinyl Glue on the table in the back room.
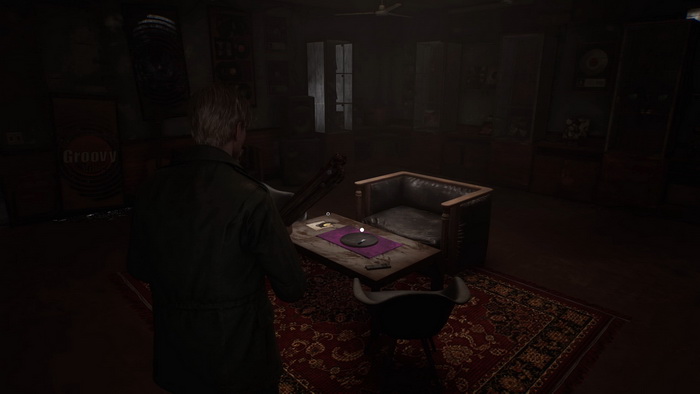
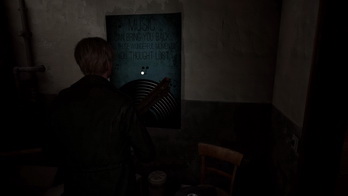
There's also a Health Drink in one of the glass cabinets in this room and another poster.
 |
 |
Exit the shop. Now, let's explore the west end of Katz St.
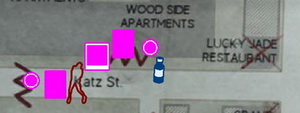
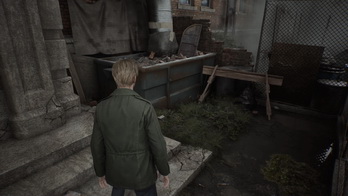
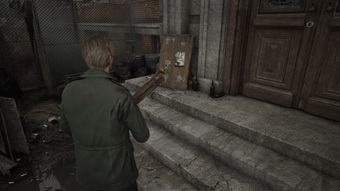
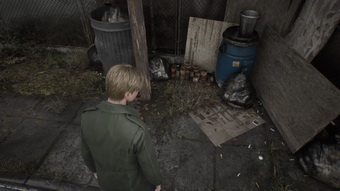
There's a Health Drink in the driver's seat of a car parked in front of the Wood Side Apartments guarded by a Lying Figure hiding beneath the car. To the right of the entrance to the apartment building, you can interact with a dumpster with a blue metal door for the Glimpse of the Past #4. This reminds of the garbage container where you find the Coin [Old Man] and the Murder Incident Article in the original Silent Hill 2.
 |
 |
Memo #7: Texan Cafe Flyer is pinned to a message board to the left of the apartment building entrance.
 |
 |
Strange Photo #1: “So many people here!” can be found on the sidewalk just around the corner next to the fence.
 |
 |
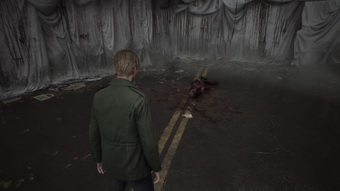
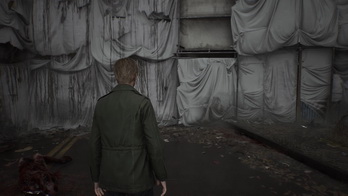
Memo #8: Barrier Note is at the west end of Katz St., next to a corpse in front of the barricade. Beware that the Lying Figure will come alive once you take the memo.
 |
 |
Glimpse of the Past #5 is a hidden message on the barricade just next to the corpse. In the original Silent Hill 2, this is the door that opens in the dark town.
 |
 |
Finding the Jukebox Button
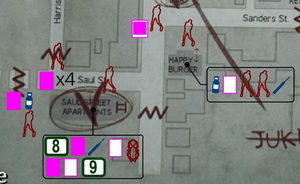
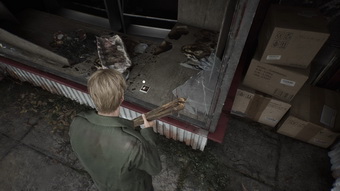
It's all done in this part of town, so let's proceed south toward the Saul Street Apartments. On your way there, take notice of the Grand Market store at the corner of Katz and Neely Streets. The store is not open, but you will be able to learn the code from a note later. Next, Strange Photo #2: "I’ve been happy" is in the shop window to the right of the Dance Company at the intersection of Neely and Sanders Streets.
 |
 |
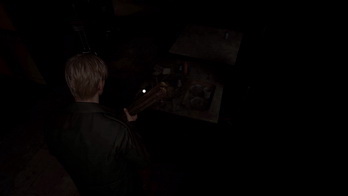
Break into the Happy Burger restaurant to find some supplies. Inside, a Health Drink can be found on the trash bins in the corner of the room, along with a flyer on the dining table.
 |
 |
Get inside the kitchen, taking care of a Lying Figure with another monster getting from behind. Proceed to the back storage and crawl through a ventilation hole at the bottom to find a Syringe in the box on the desk. Get outside and proceed to Saul St. There will be a couple of Lying Figures walking in the this street.
Run past the building to find some memos scattered on the ground. First is Memo #9: Old Map at the west end of Saul St., next to a corpse on the road.
 |
 |
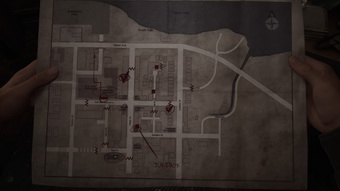
The map will hint that a way to the Rosewater Park lies through the Wood Side Apartment. Next are Memos #10–12: Saul Street Notes next to the bloody trail leading to a motor home west of Saul Street Apartments.
 |
 |
Take care of a Lying Figure walking in the courtyard. Step inside the motor home to find Memo #13: Motor Home Note on the table and a Health Drink on the cabinet.
 |
 |
Enter the Saul Street Apartments building. A single Creeper roaming the corridor. You can check the building's map on the wall, but the navigation would be simple enough without it.
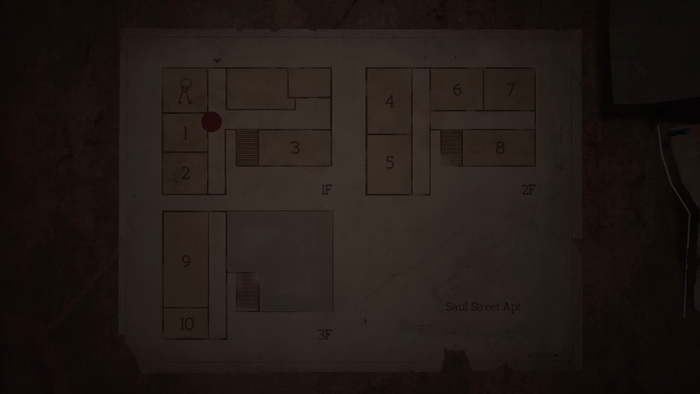
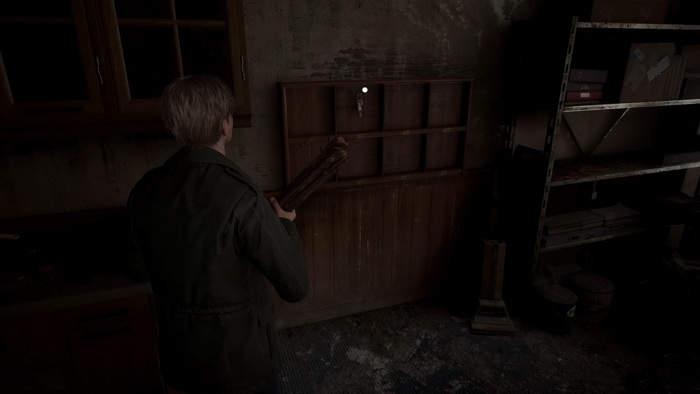
Push a shelf blocking the second doorway on the right and proceed to the office. Inside the office, take an 8 Apartment Key on the key rack by the back.
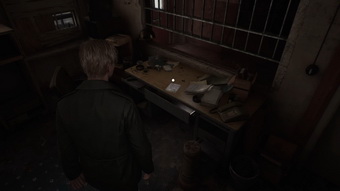
Also take Memo #14: Small Note from the desk.
 |
 |
Exit the office. Before going upstairs, you can enter the pharmacy at the end of the corridor to find a medical receipt and a Syringe in the box.
 |
 |
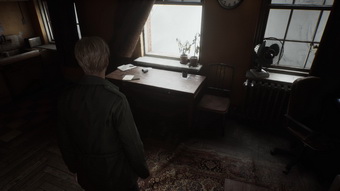
Now, go to the second floor of the building – another Creeper here. Use the vent opening by the floor to enter Apartment 7 and collect Memo #15: Tenant’s Note from the desk.
 |
 |
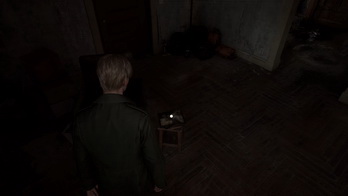
Exit and use the Apartment Key to enter Apartment 5. Enter the next apartment through a wall opening and then into the corridor. Go out of the window onto the emergency stairs and climb up the stairs. Use the window to enter Apartment 9. On the table, you can find a dirty diary.
 |
 |
Proceed into the bathroom and inspect a hole in the wall to obtain the 9 Jukebox Button.
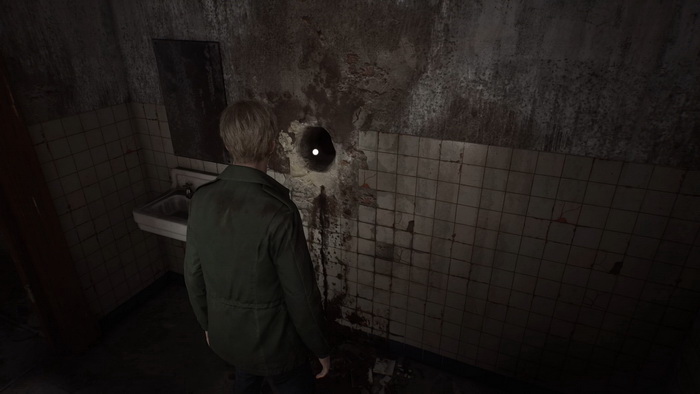
You can check a nearby door with some filth underneath, but James will get his hand dirty and won't enter the room. There is nothing else to do here, so get outside onto the roof.
New Game+: Using the Blue Gem |
Climb to the ground via the ladder and get back onto the street.
Getting into the Grand Market Store
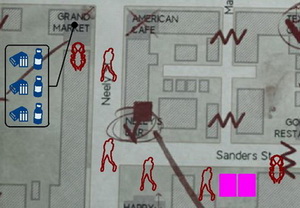
Before returning to Neely's Bar, explore Sanders St. for additional memos and a clue on how to open the Grand Market keypad door. In the middle of the street, next to a semi-truck, you will find a corpse with two memos at his side: Memo #16: Sanders Street Note and Memo #17: Code Note. A Lying Figure will also wait for your approach beneath the vehicle.
 |
 |
Now that you have the required information, you can return to the Grand Market and open that door.
Puzzle: Grand Market Keypad
The Code Note found on Sanders St. will tell you that the person checked all possible keypad combinations, finishing with 4439.
Checked from 0000 to 4013
took almost two hours
had to run
checked from 4014 to 4439
had to run again
I FEEL like I'm SO CLOSE now, I just KNOW IT
The number should be close, so all you need to do is continue finding the code by trial and error, which will be different based on your puzzle difficulty:
- Light: 4442
- Standard: 4444
- Hard: 4446
Enter the code and step inside.
Inside the store you will find plenty of supplies in various spots: 3 Health Drinks and 3 boxes of Handgun Ammo. Check the shelves, counter and a first aid cabinet.
Solving the Jukebox Puzzle
Now that you have all the required items, it's time to head back to Neely's Bar and solve that jukebox puzzle.
Puzzle: Neely's Bar Jukebox
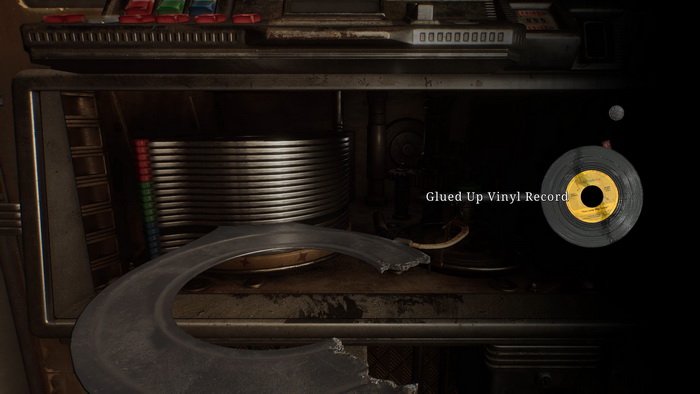
Combine the two halves of the Broken Vinyl Record with the Vinyl Glue inside your inventory to get the 10 Glued Up Vinyl Record.
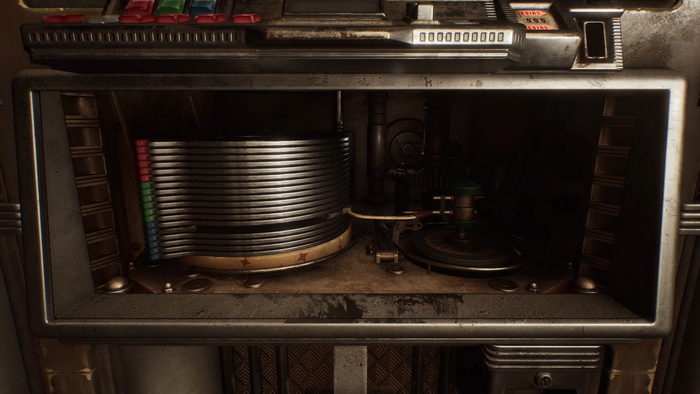
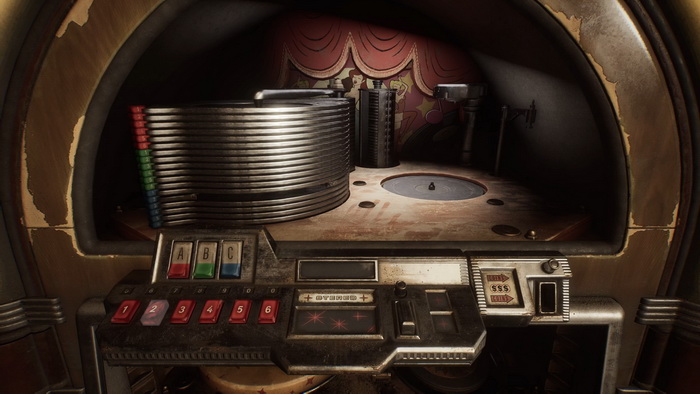
Approach the jukebox and interact with the part at the bottom: rotate the green cylinder, move the red arm to connect to the cylinder, move the cylinder away, and lower the blue cog down.
Rotate the green cylinder twice and insert the Glued Up Vinyl Record.
At the top, highlight the missing button No. 2 and attach the Jukebox Button from your inventory. Then, highlight the coin slot and insert the Neely's Bar Coin.
Finally, press buttons C and 2 to play the record.
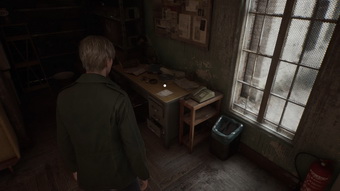 |
 |
Finding the Wood Side Apartments Key
Step outside into the back alley. Here, you can get a Health Drink in the back of the red SUV and another Health Drink in the driver's seat of the car parked in the south part. Also, a couple of Creepers are found in the alley. Proceed through the open metal door at the end of the alley and inspect some bloody clothes on the ground next to a greenish-blue car to obtain the 12 Wood Side Apartments Key.
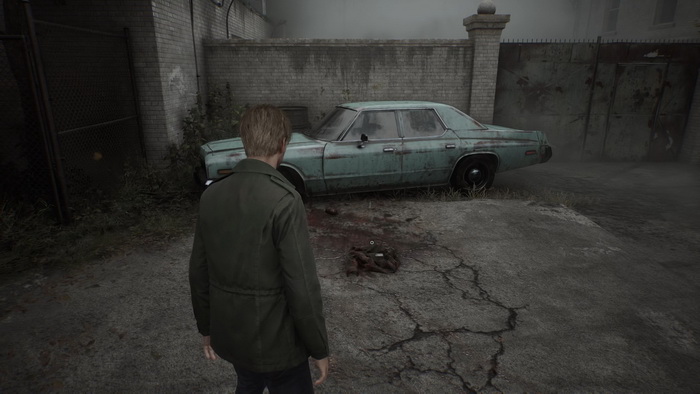
The weather will change dramatically, and multiple Lying Figures will ambush you. It's time to run for your life. Head north onto Katz St. and turn left. Continue until you reach Wood Side Apartments. Use the key to get inside.
| 02. Wood Side Apartments |

