Blue Creek Apartments
Welcome to the third chapter of the complete walkthrough guide for Silent Hill 2 Remake (2024) covering Blue Creek Apartments. Use the key summary below for short, spoiler-free directions and the complete walkthrough section for in-depth guidelines with extra explanations. This walkthrough also includes complete maps with all items and monsters marked for easy reference.
Legend
1 Auto Parts key – key items
2 Radio – equipment
Health Drink – supplies
Map of Silent Hill – maps
Save Point – save points
Flower Shop Message – collectibles: memos, strange photos and glimpses of the past
NG+ – New Game+ items, memos and actions
Contents
Complete Maps |
|
Collectibles count:
- No memos
- 2 strange photos
- 2 glimpses of the past
Key Summary
Second Floor
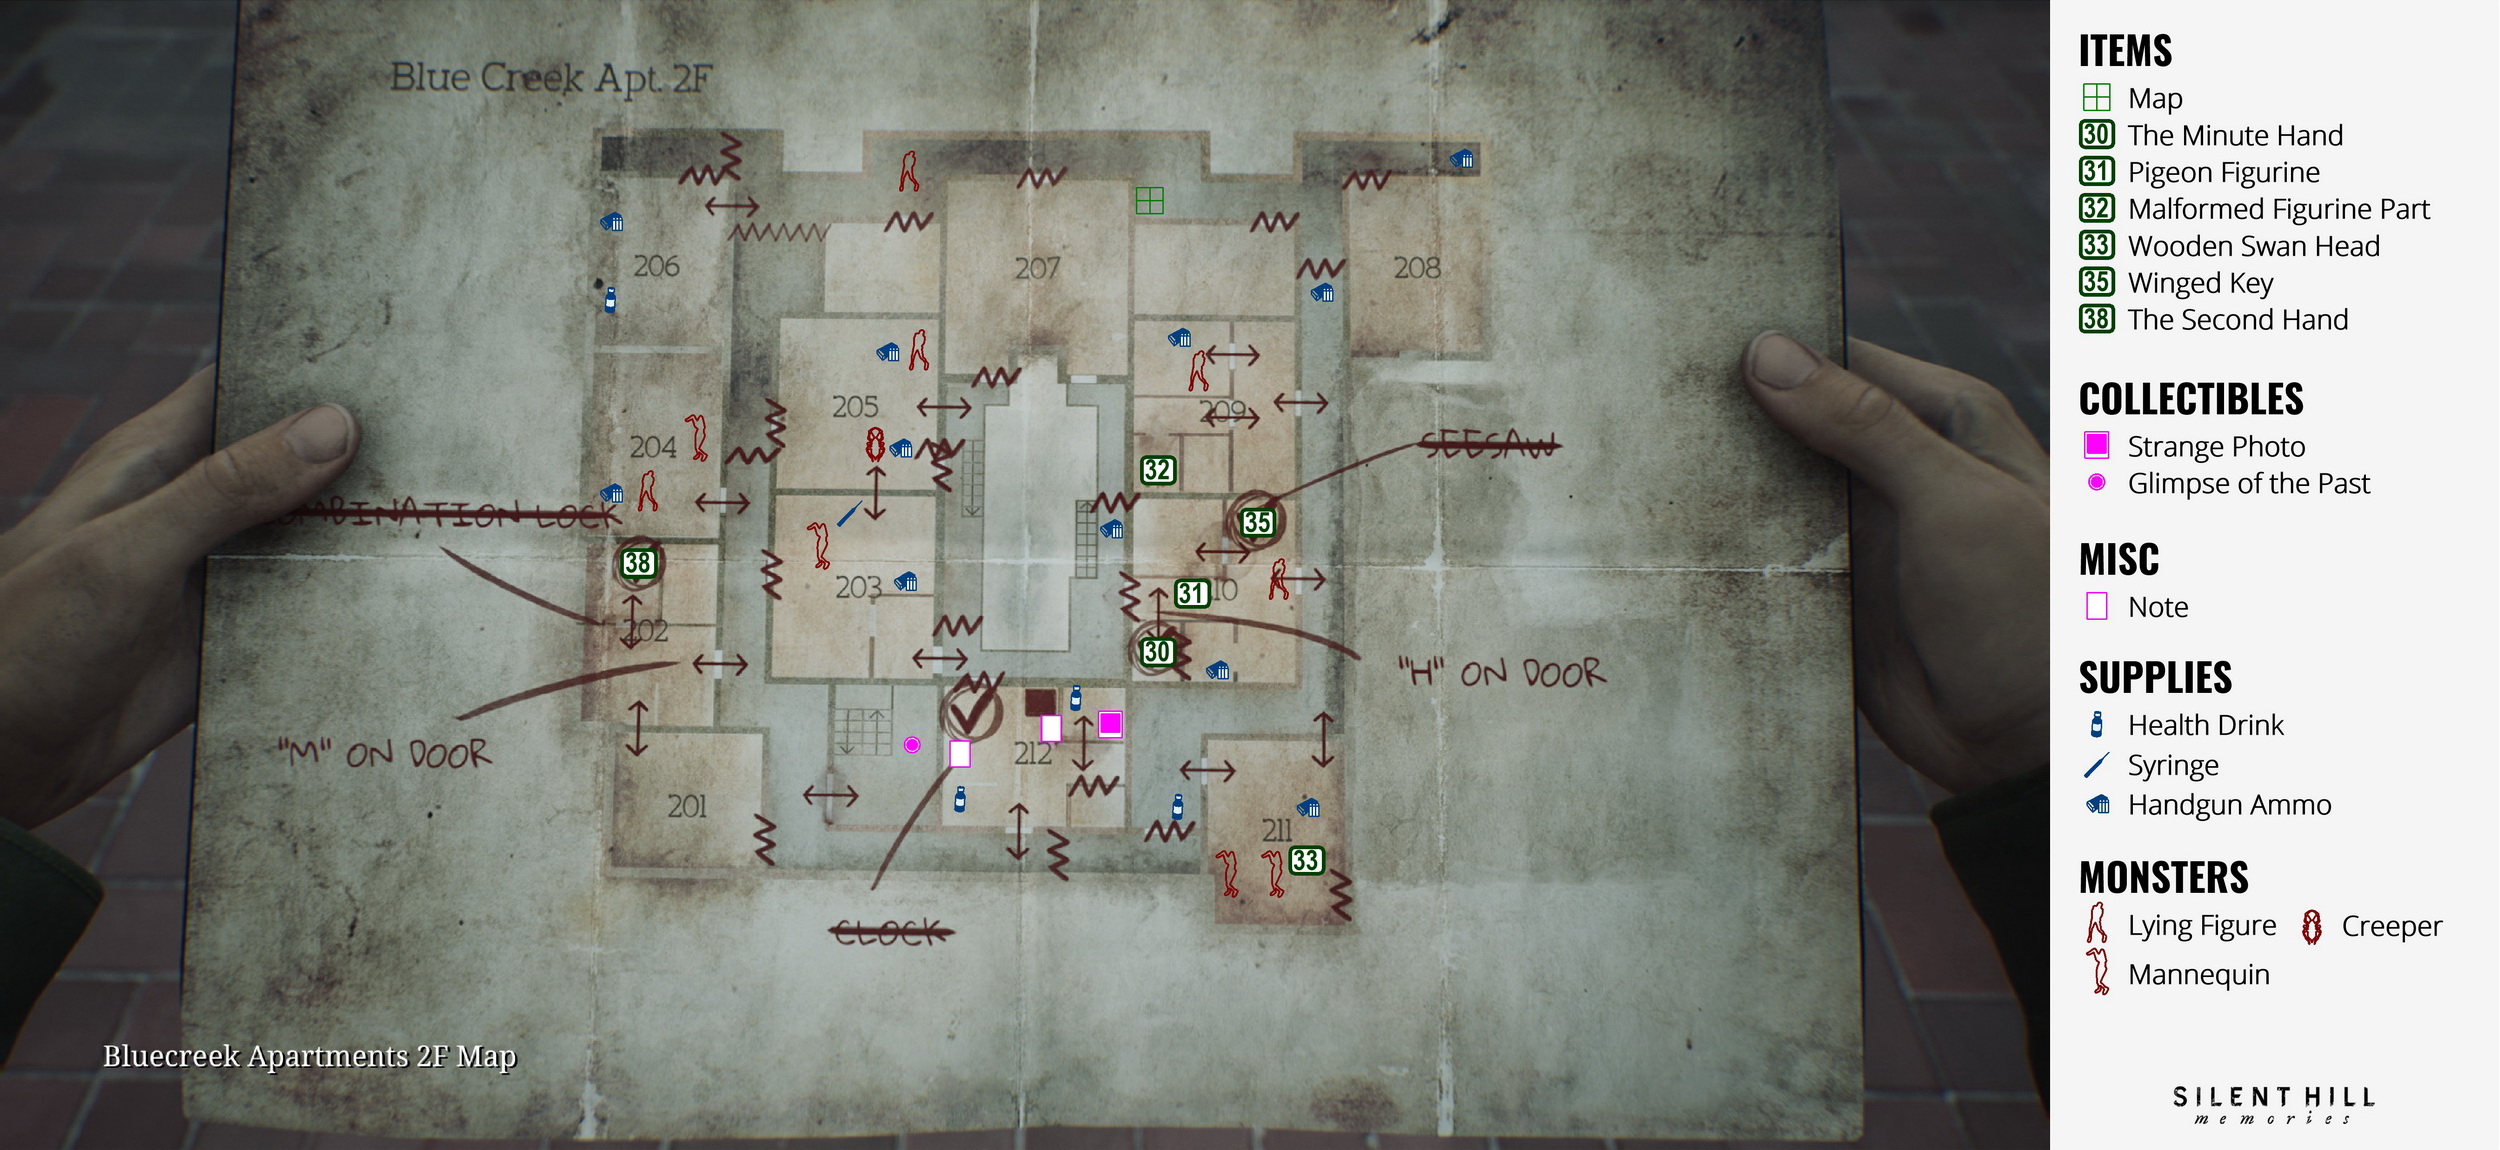
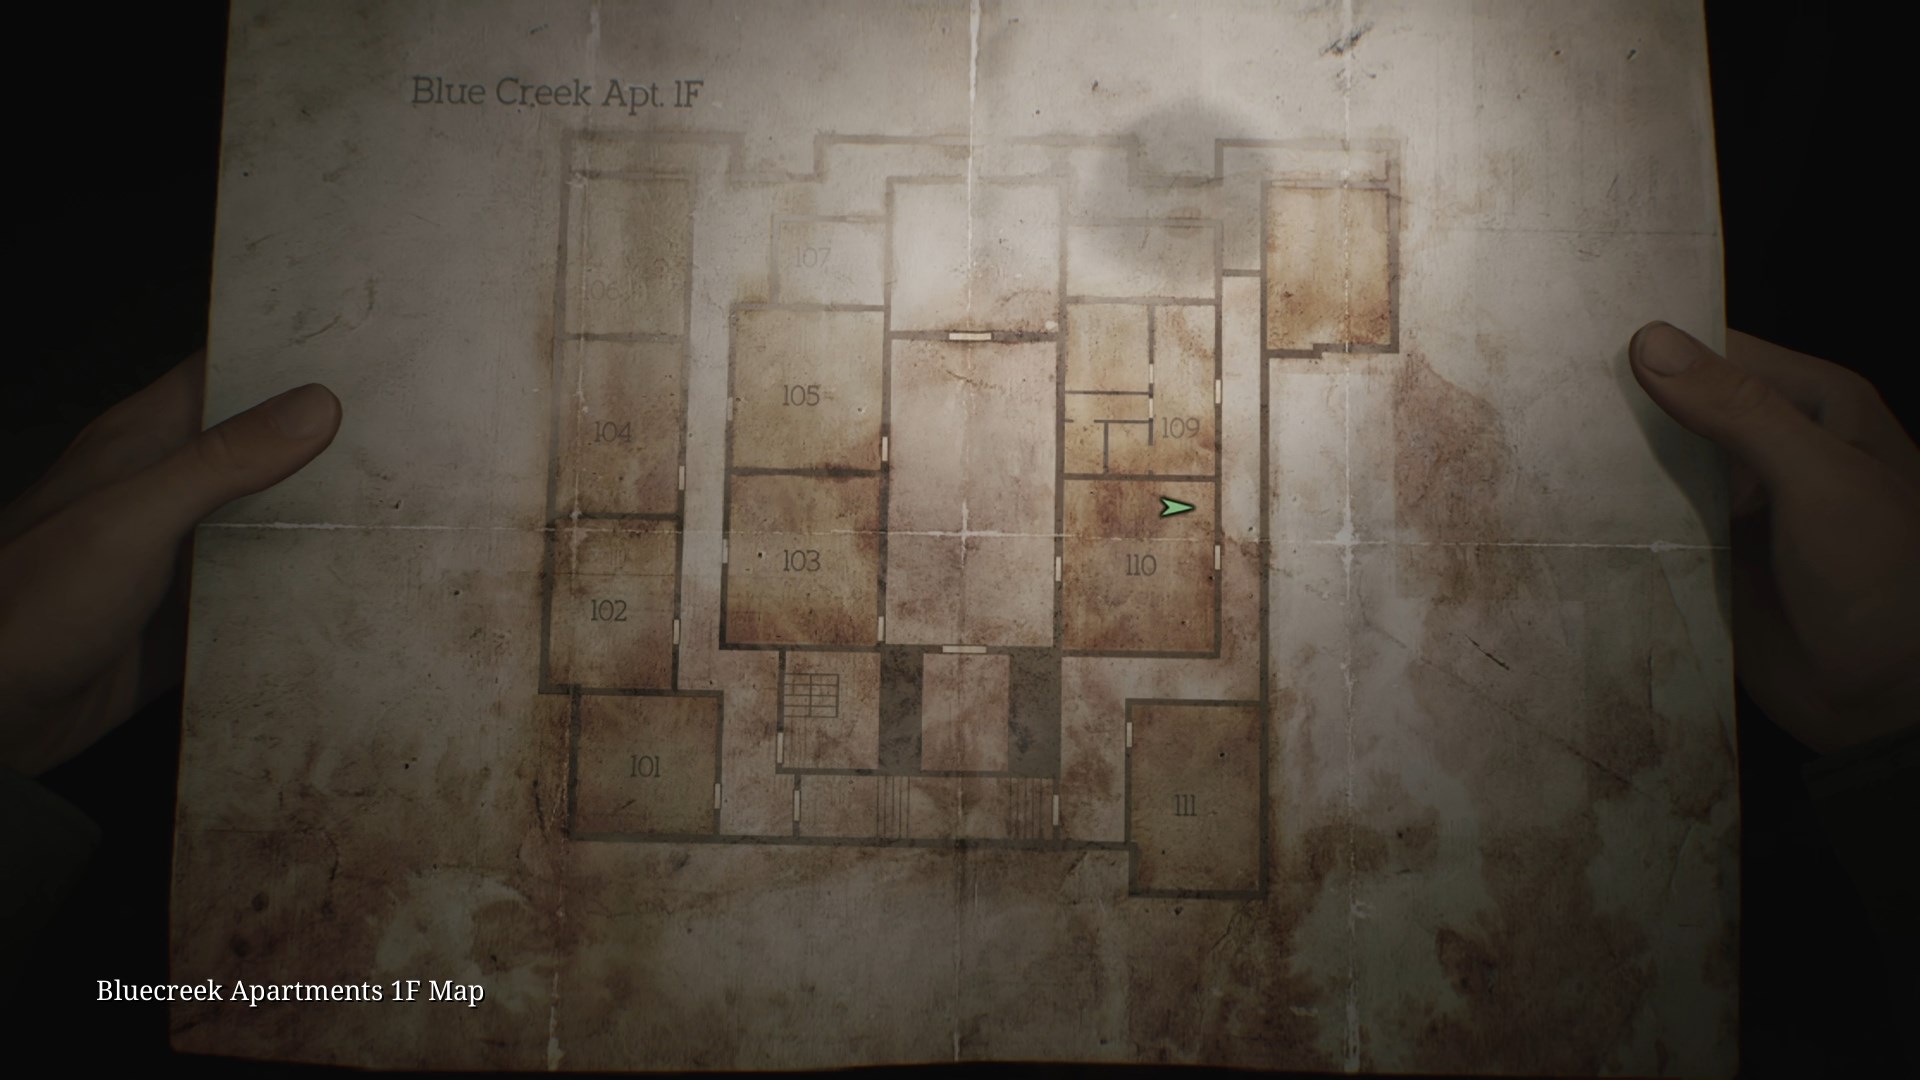
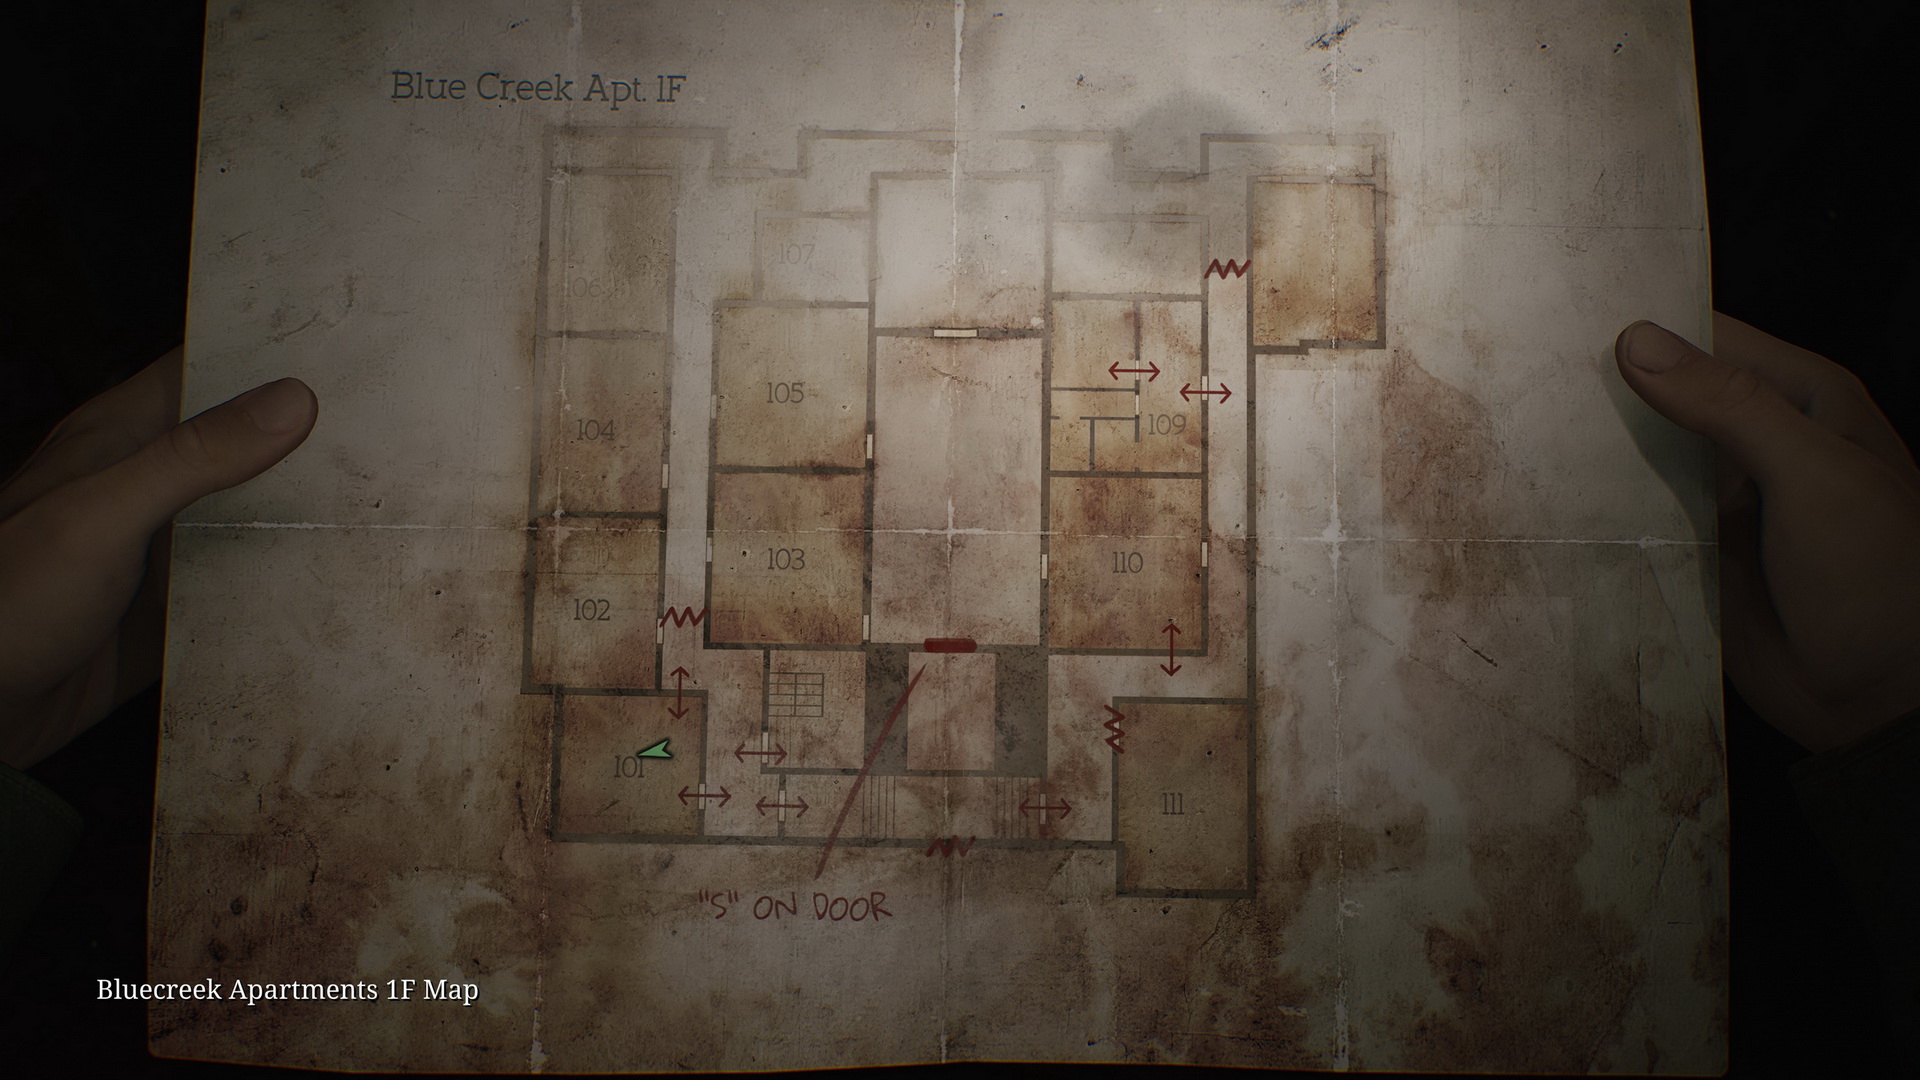
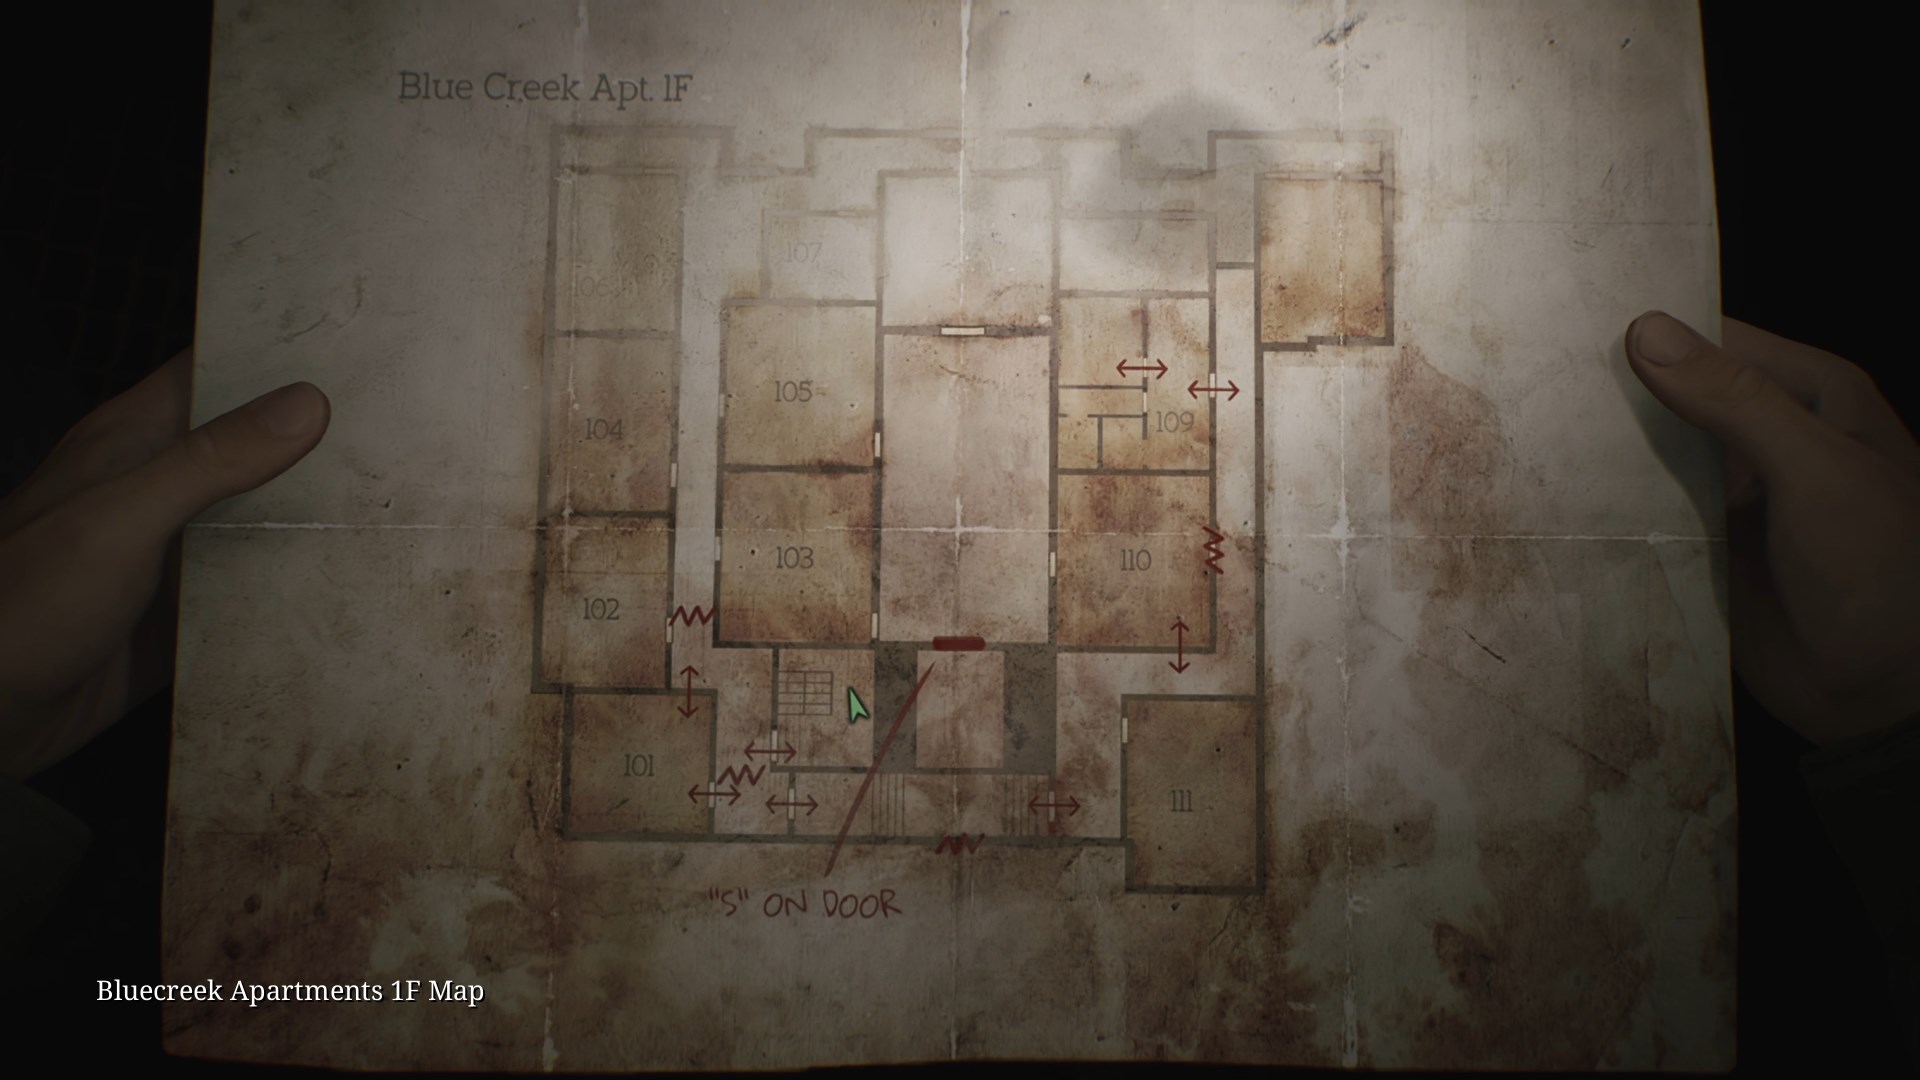
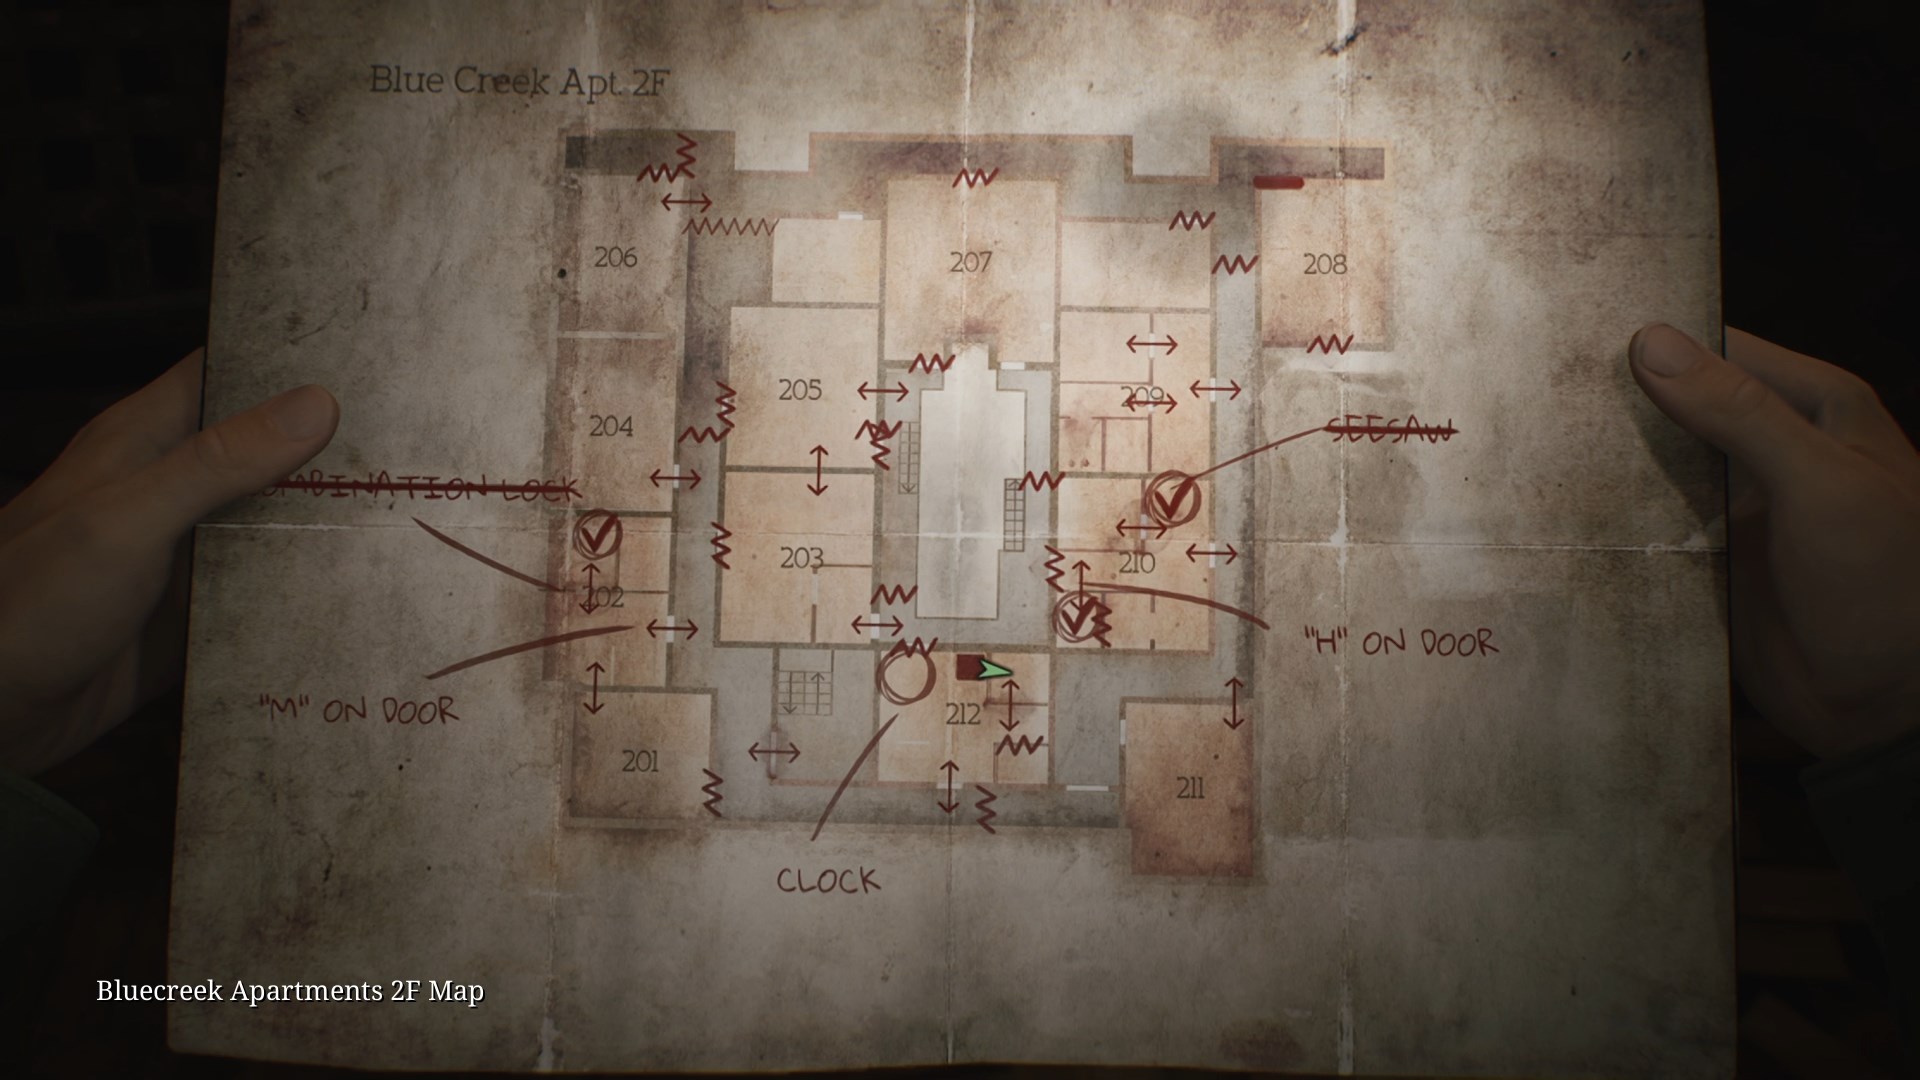
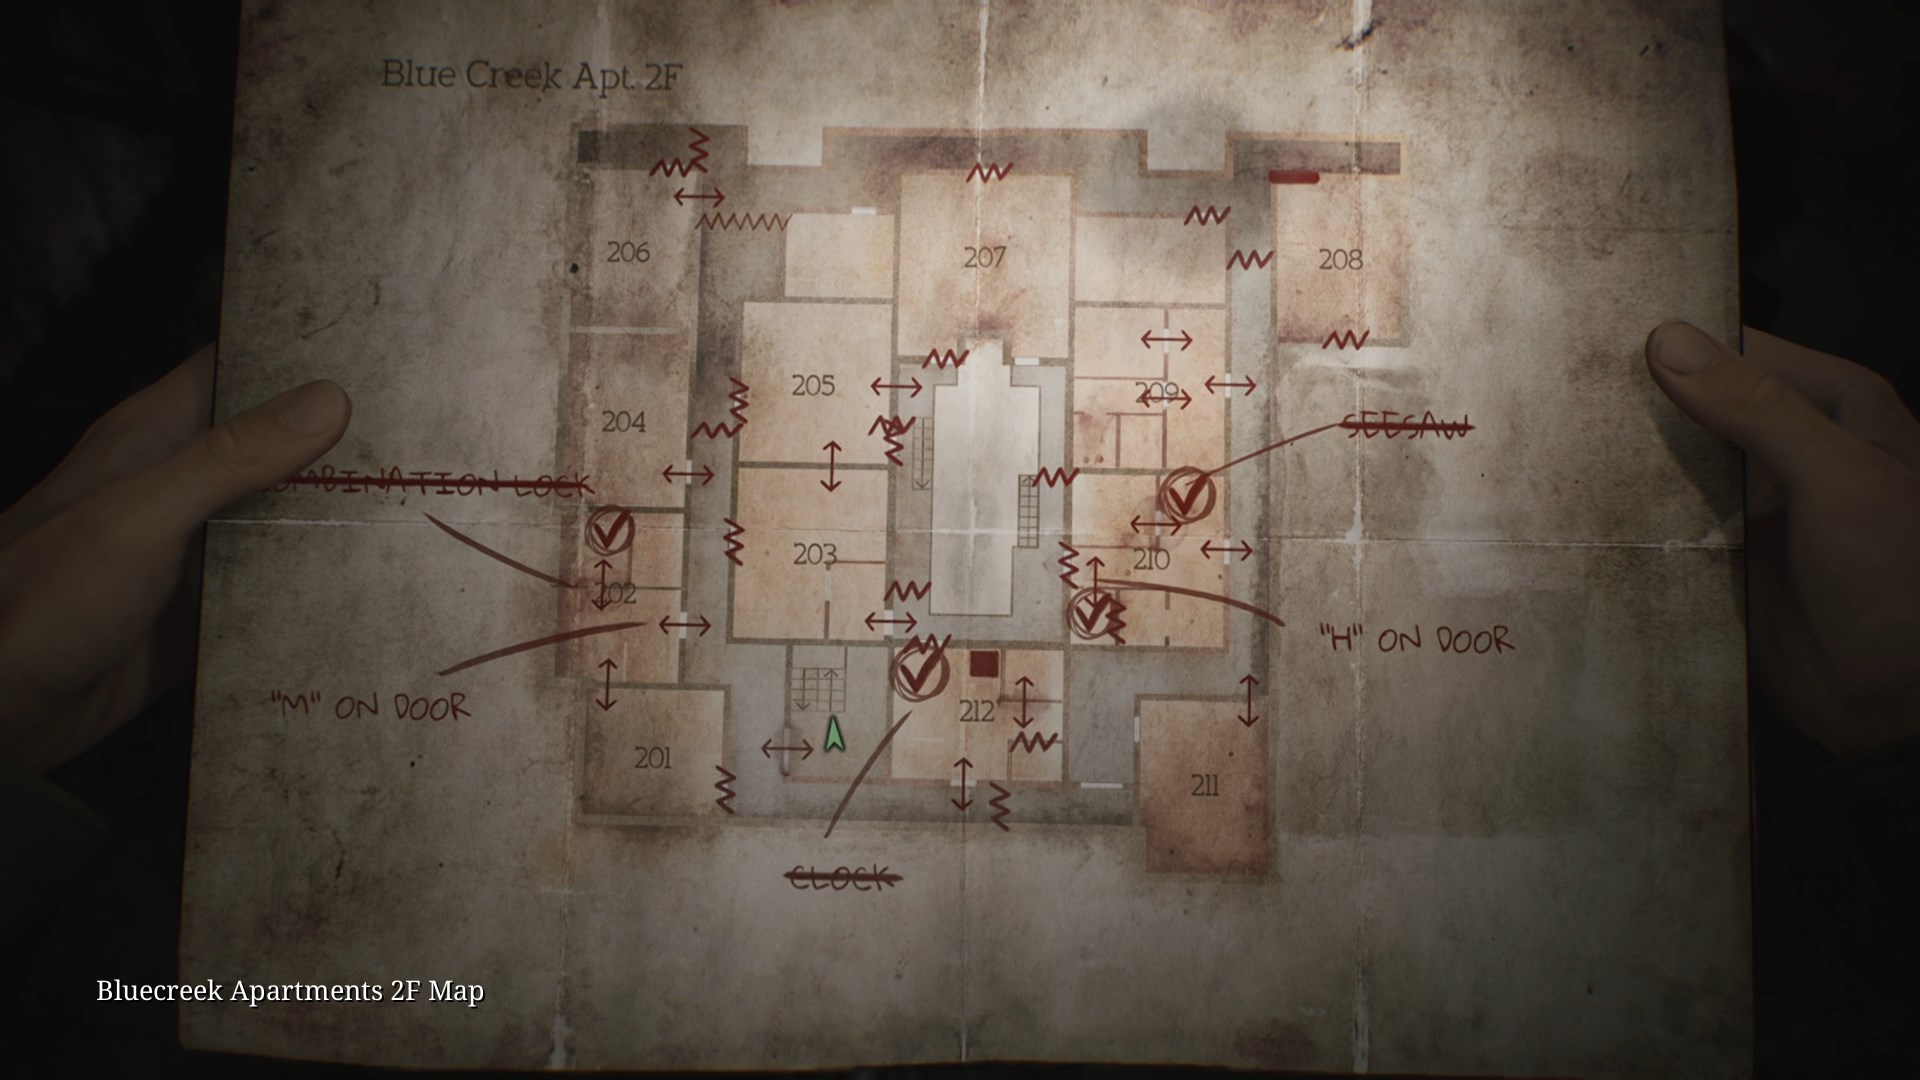
- Collect the Blue Creek Apartments Maps from the wall in the hallway once you exit the first apartment.
- Break the wall to get into Apartment 206 and then Apartment 204.
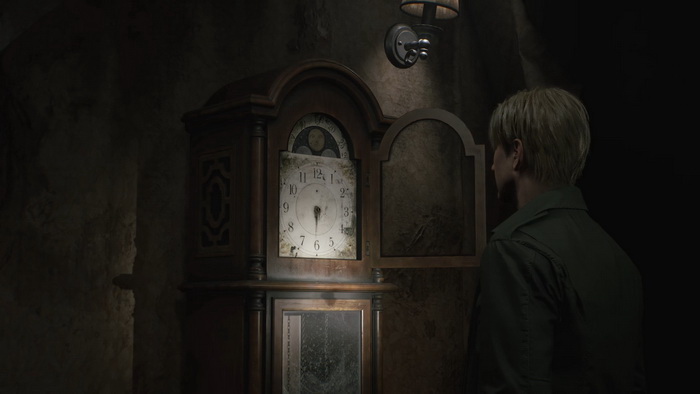
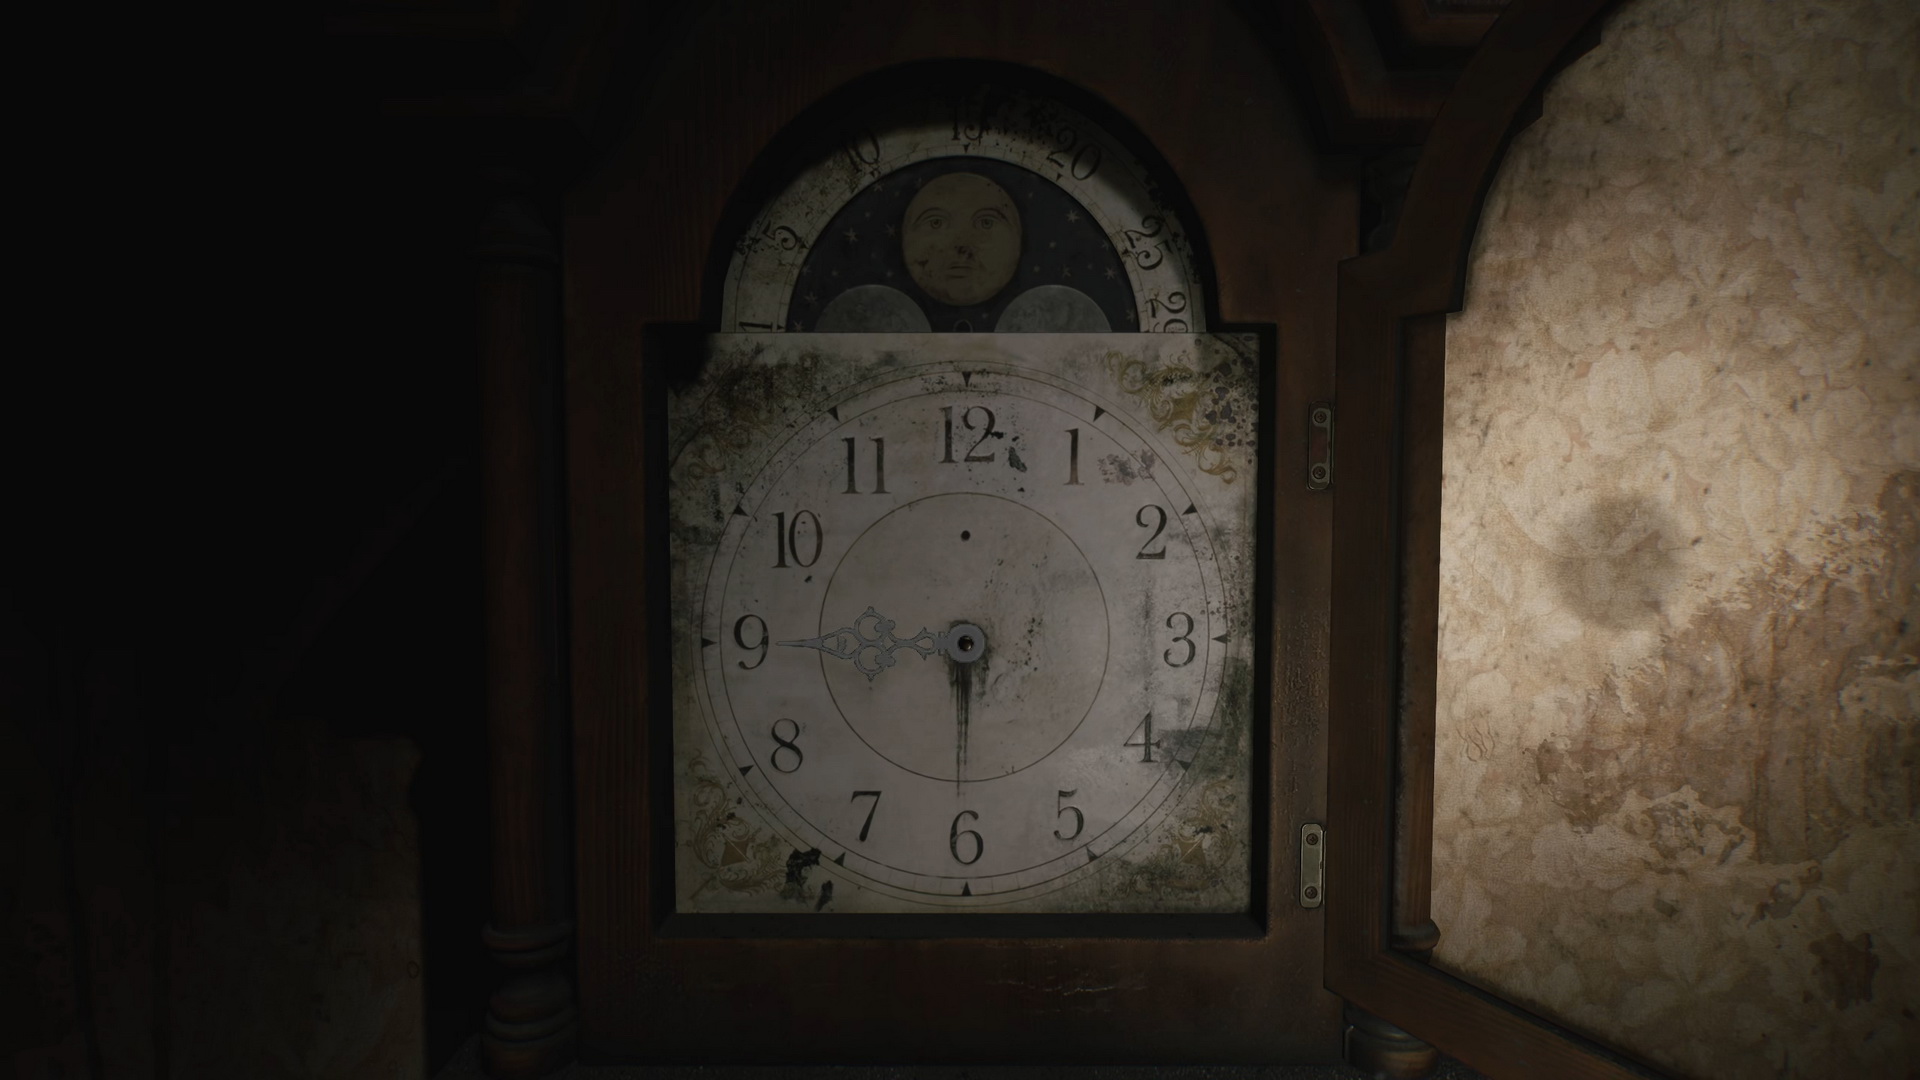
- Follow the hallway to enter Apartment 212 where you will find a grandfather clock puzzle and a Save Point.
- Get into the inner courtyard, proceed through Apartments 203 and 205 and use the stairs to get to the third floor.
Third Floor
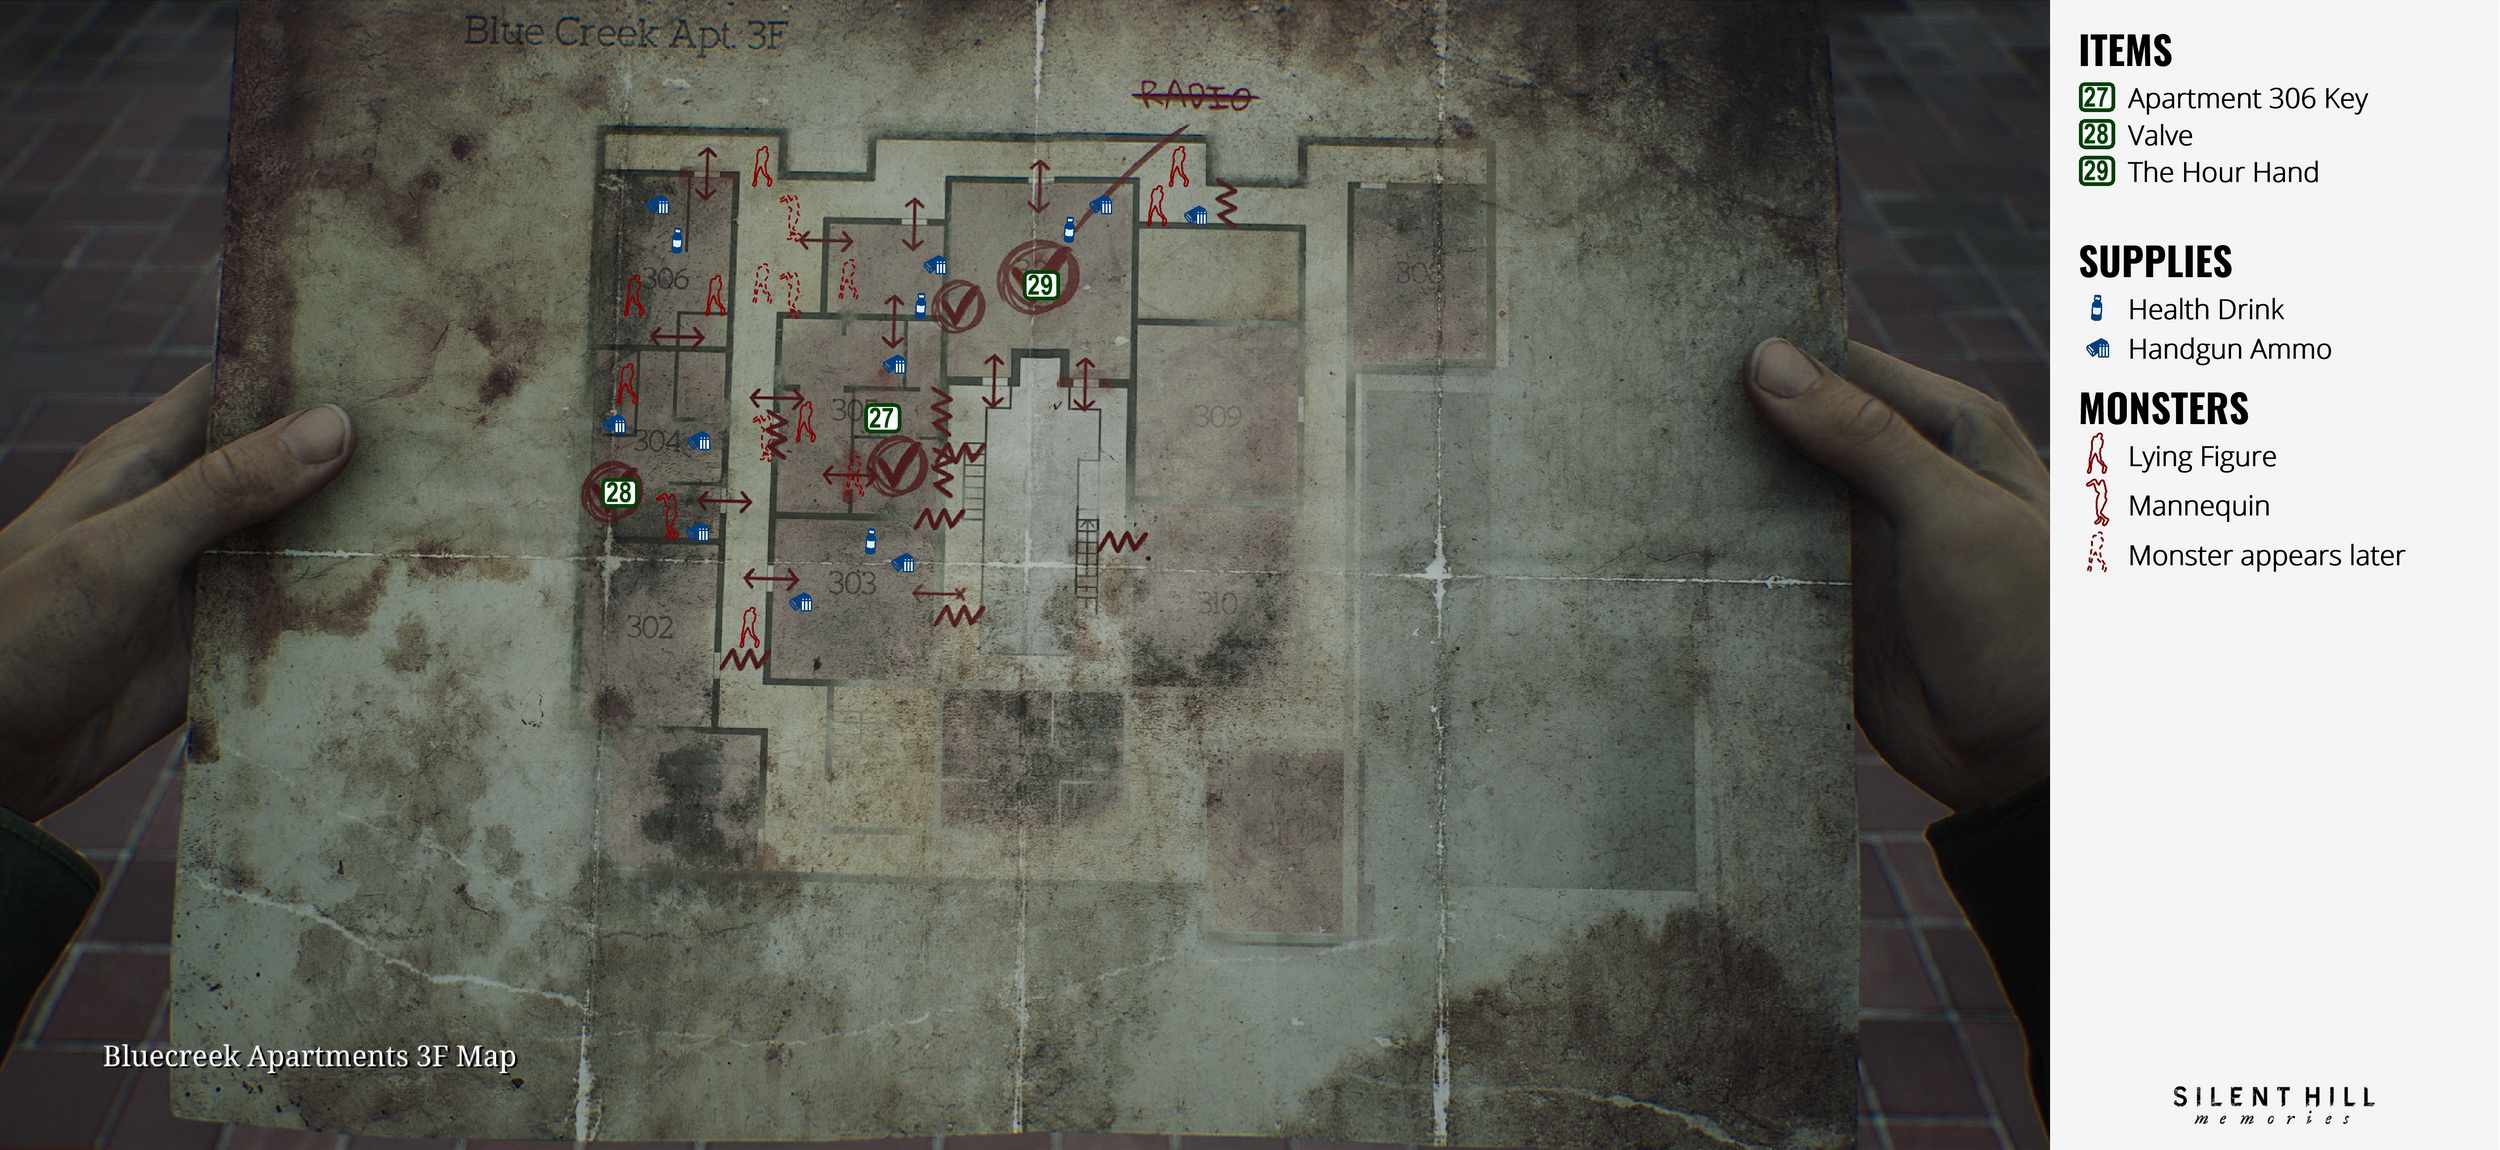
- Crawl through the opening to get inside Apartment 303. Get to the hallway and reach Apartment 307 with a hanging radio. Go onto the balcony and hop into the window of Apartment 305.
- 27 Apartment 306 Key is on a small table in the back room of Apartment 305.
- Use the valve and get outside.
- Enter Apartment 306, then crawl into Apartment 304 through the vent.
- 28 Valve is on the wall in Apartment 304.
- 29 The Hour Hand. Return to Apartment 307, attach and use the valve to drop the radio in the living room and collect the item.
Second Floor
- Return to the clock in Apartment 212, place the Hour Hand and set it to 9 hours.
- Proceed to the now unlocked Apartment 210 (letter "H" on the door).
- 30 The Minute Hand. Destroy the wall to get into the bathroom and search the toilet.
- 31 Pigeon Figurine is on a cabinet shelf once you leave the bathroom.
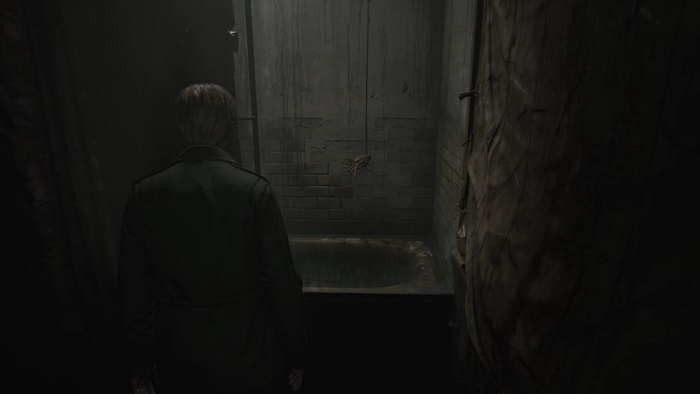
- 32 Malformed Figurine Part is inside the bathtub behind the glass in Apartment 209.
- 33 Wooden Swan Head is hanged from the ceiling in the bedroom of Apartment 211.
- 34 Swan Figurine. Combine the Malformed Figurine Part and the Wooden Swan Head.
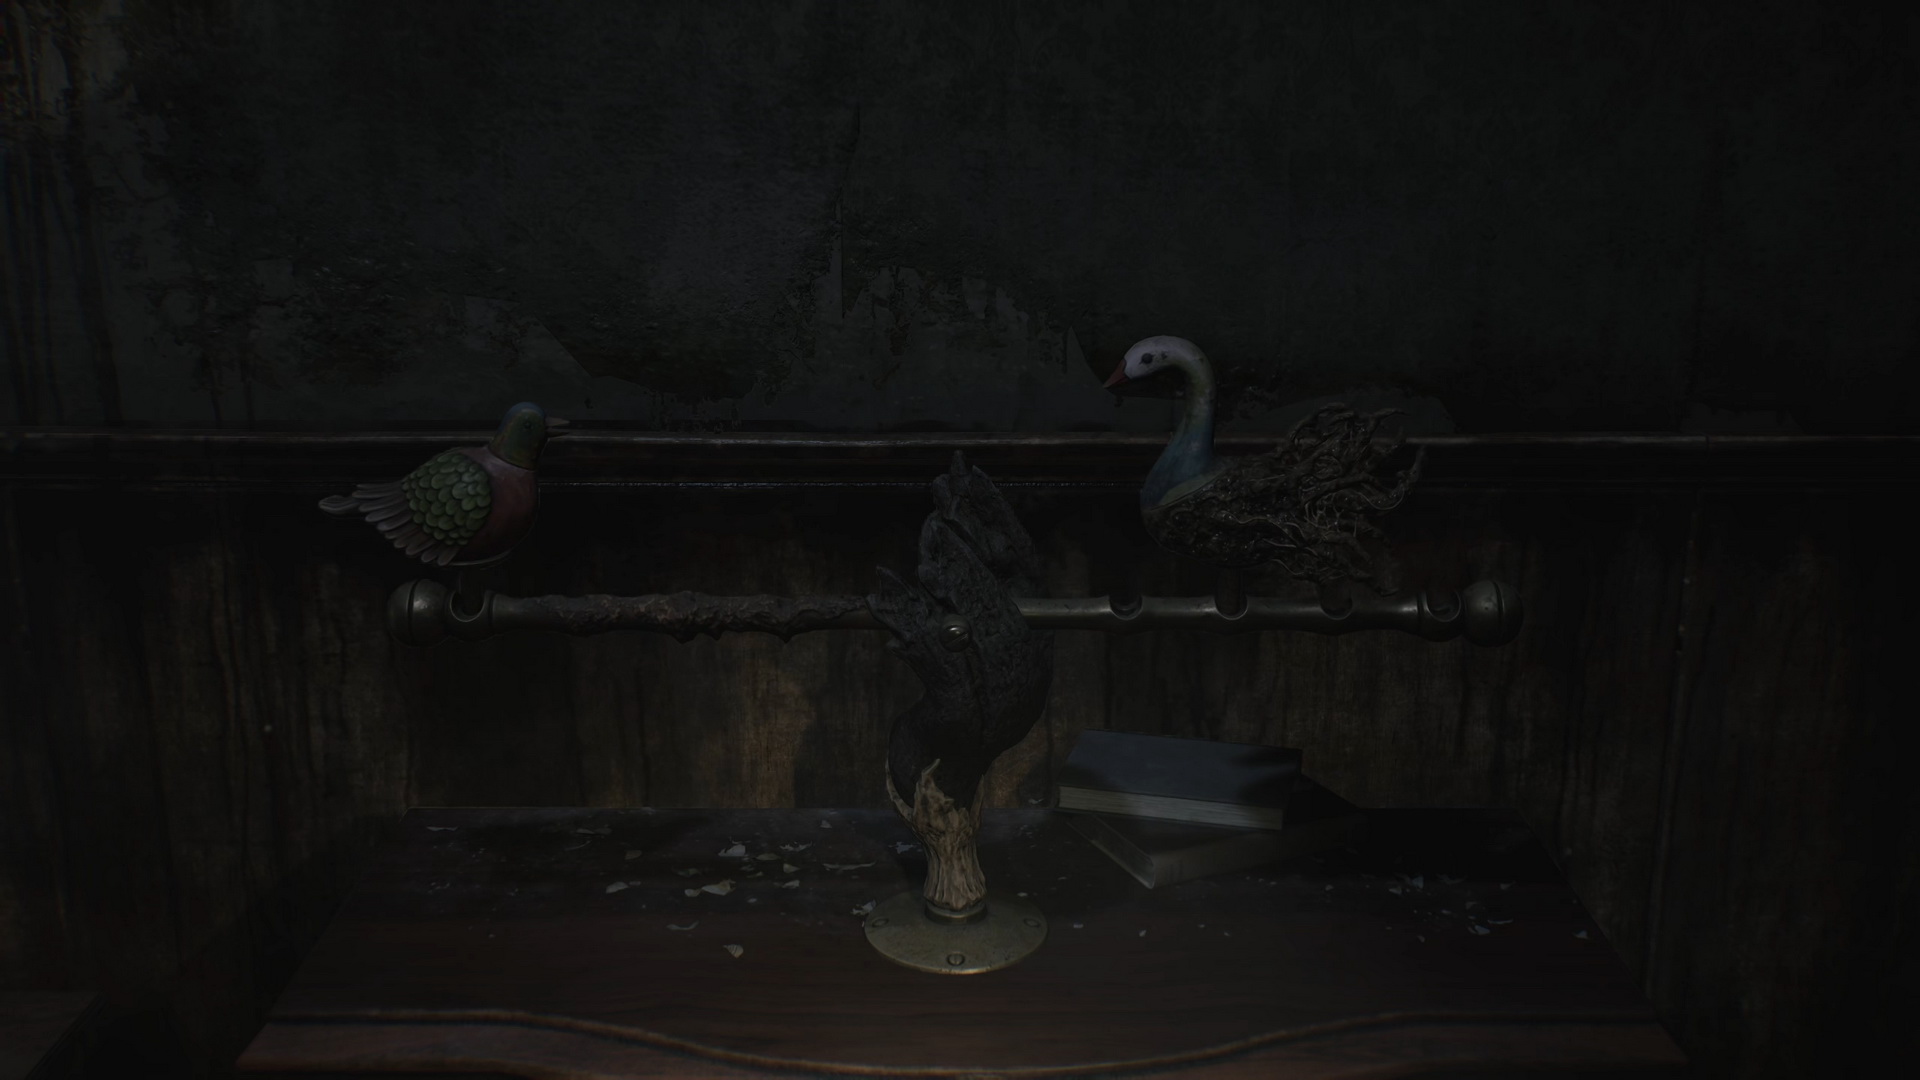
- Return to Apartment 210 to solve the seesaw puzzle. Place the Pigeon Figurine and the Swan Figurine on the seesaw. Move the Swan Figurine 2 places to the left to balance it out.
- 35 Winged Key. You will get the key after solving the puzzle.
- Open the door to the left and jump down through a hole to find yourself in Apartment 110.
First Floor
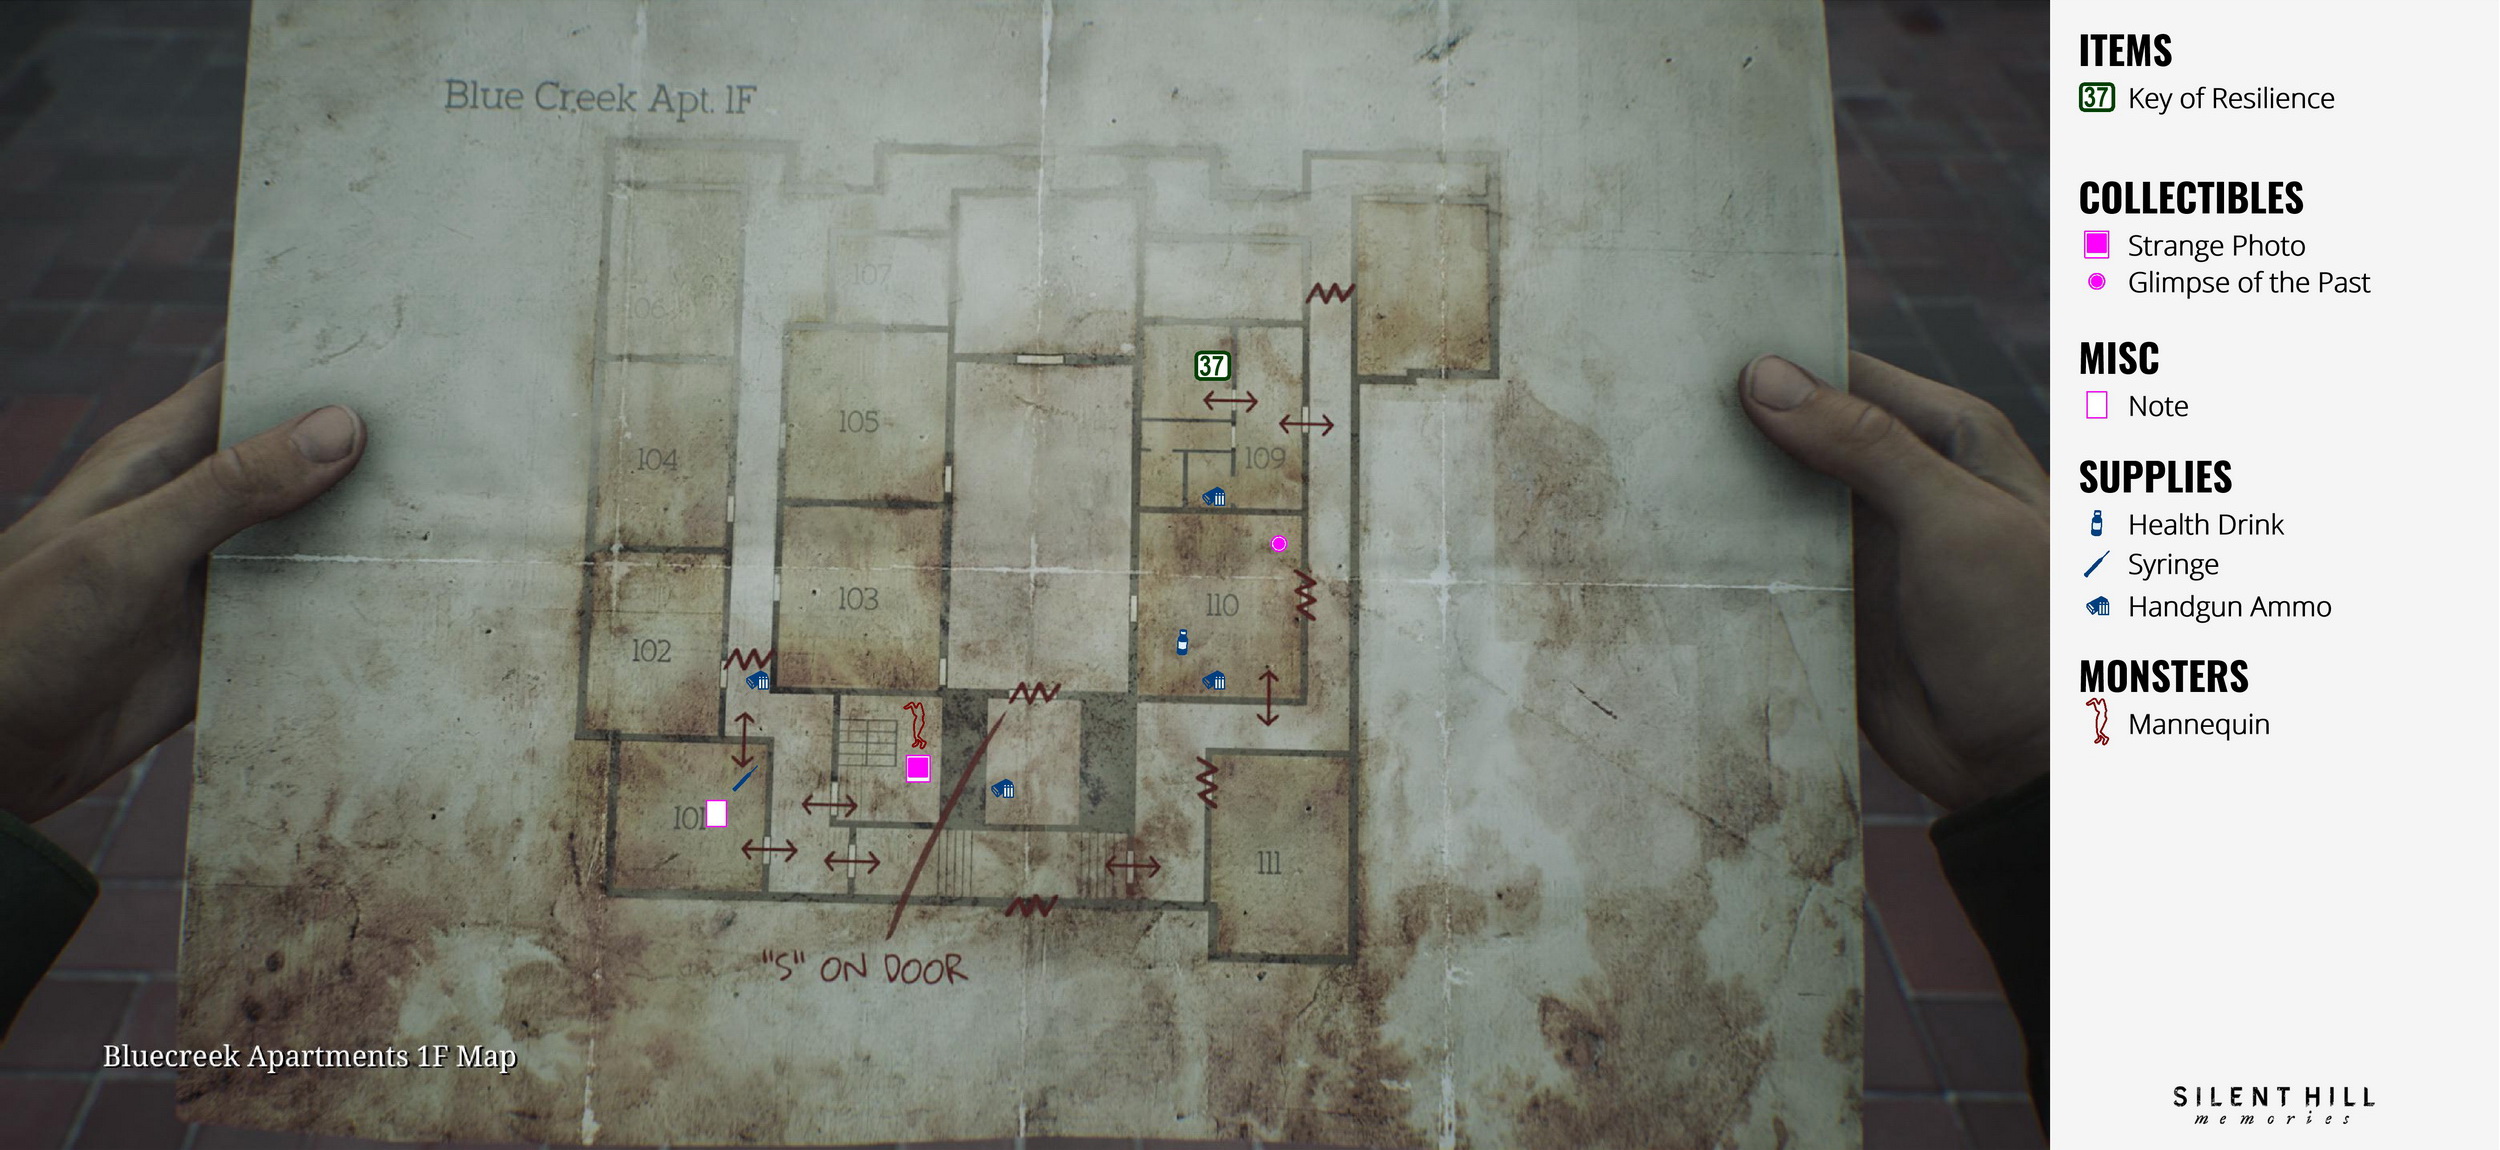
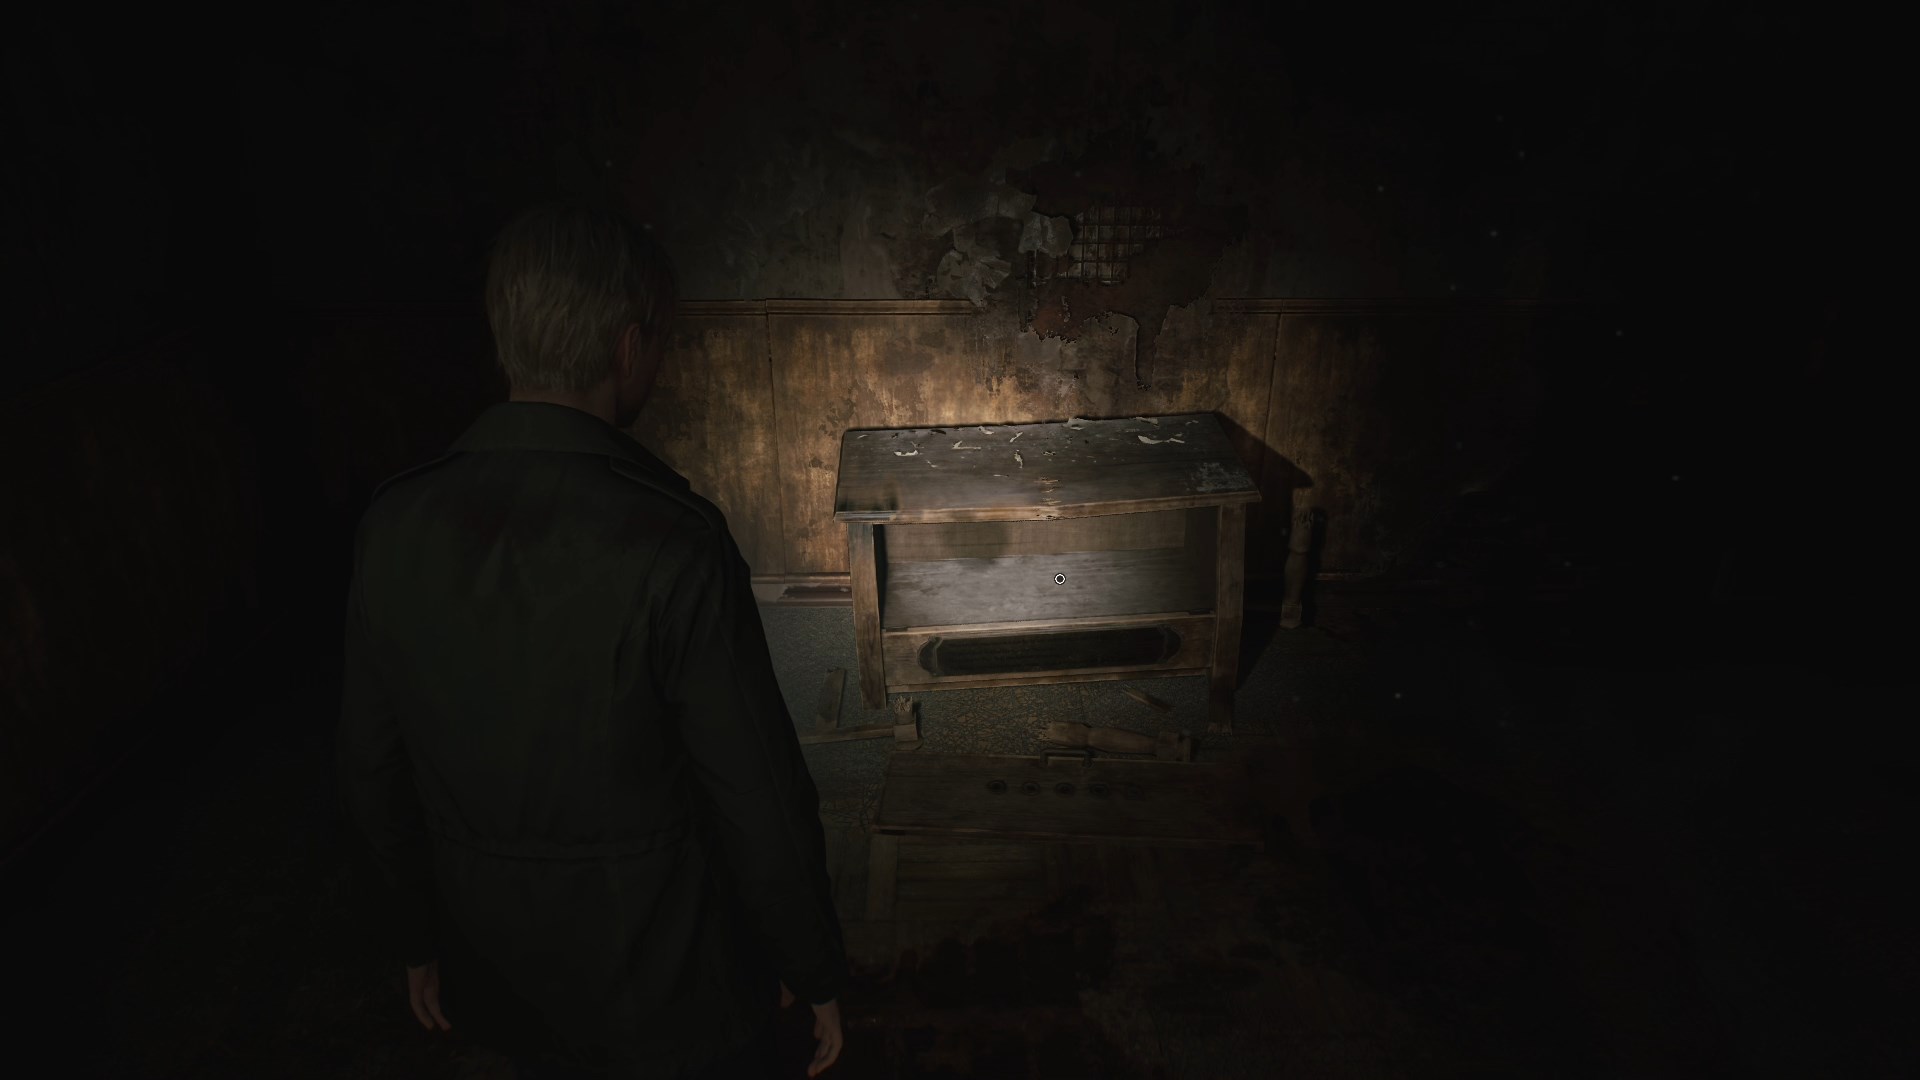
- Glimpse of the Past #7. Inspect a ruined cabinet in Apartment 110.
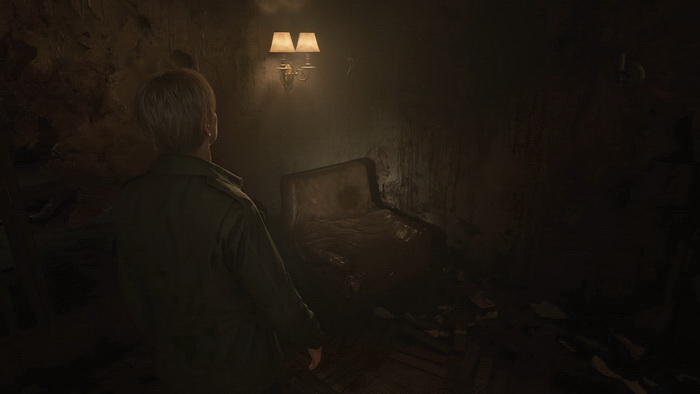
- Enter Apartment 109 and go to the bedroom for a cutscene. After the cutscene you will automatically get 36 Angela's Knife.
- 37 Key of Resilience is on the nightstand in front of you after the cutscene.
- Proceed to the staircase, opening the door with the key on your way.
- Strange Photo #5: “Forever together”. 1F stairwell, on the ground behind the stairs.
Second Floor
- Return to the clock in Apartment 212, place the Minute Hand and set it to 10 minutes.
- Head to the now unlocked Apartment 202 (letter "M" on the door) to solve the moth combination lock puzzle. Use the following combination for the lock:
- Light: 582
- Standard: 373
- Hard: 522
- 38 The Second Hand is inside a hole in the wall in the unlocked bedroom.
- Return to the clock in Apartment 212, place the Second Hand and set it to 15 seconds.
- Strange Photo #6: "How the time flies". Apartment 212, on the floor in the bedroom after getting the Second Hand.
- Use the stairs to go to the first floor.
- Glimpse of the Past #8. Inspect a monster body in the 2F stairwell landing after you fully solve the clock puzzle.
First Floor
- Enter the double doors with the letter "S" on the first floor for the boss fight.
Complete Walkthrough
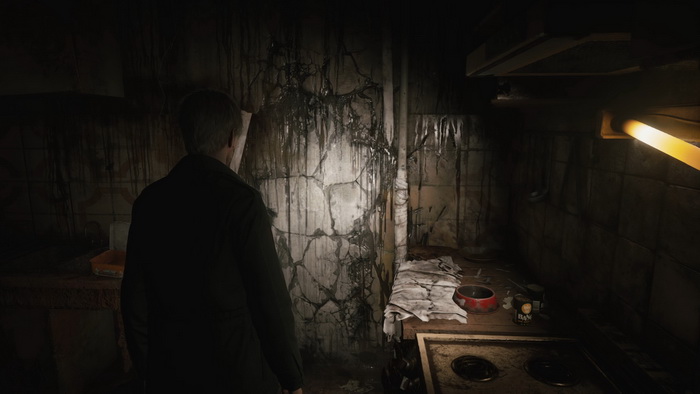
Exit the apartment you got in. In the hallway to the right, you will find Handgun Ammo on the armchair. Turn around and follow the hallway to collect the Blue Creek Apartments Maps from the bulletin board up ahead. Further down the hallway, you will come across a Lying Figure. Beware of these alternate versions that will spew a cloud of poisonous liquid once they die. Proceed until you hit a wall that you can break. Create a gap to get inside Apartment 206.
You can find Handgun Ammo in the nightstand drawer and a Health Drink on the shelf in Apartment 206. In the next apartment, you will be greeted by a Mannequin and a Lying Figure. In the kitchen drawer there's more Handgun Ammo. Exit the apartment and proceed down the hallway.
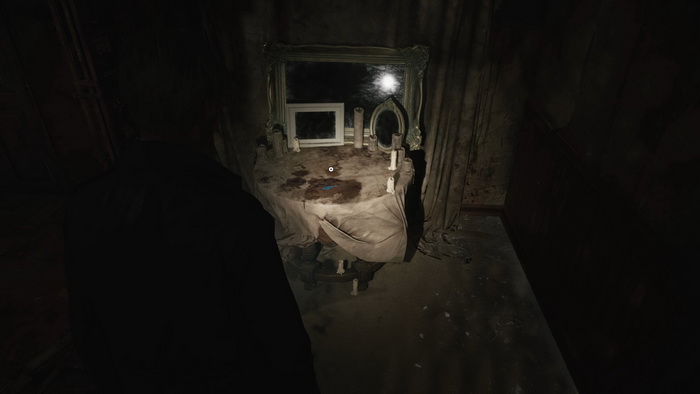
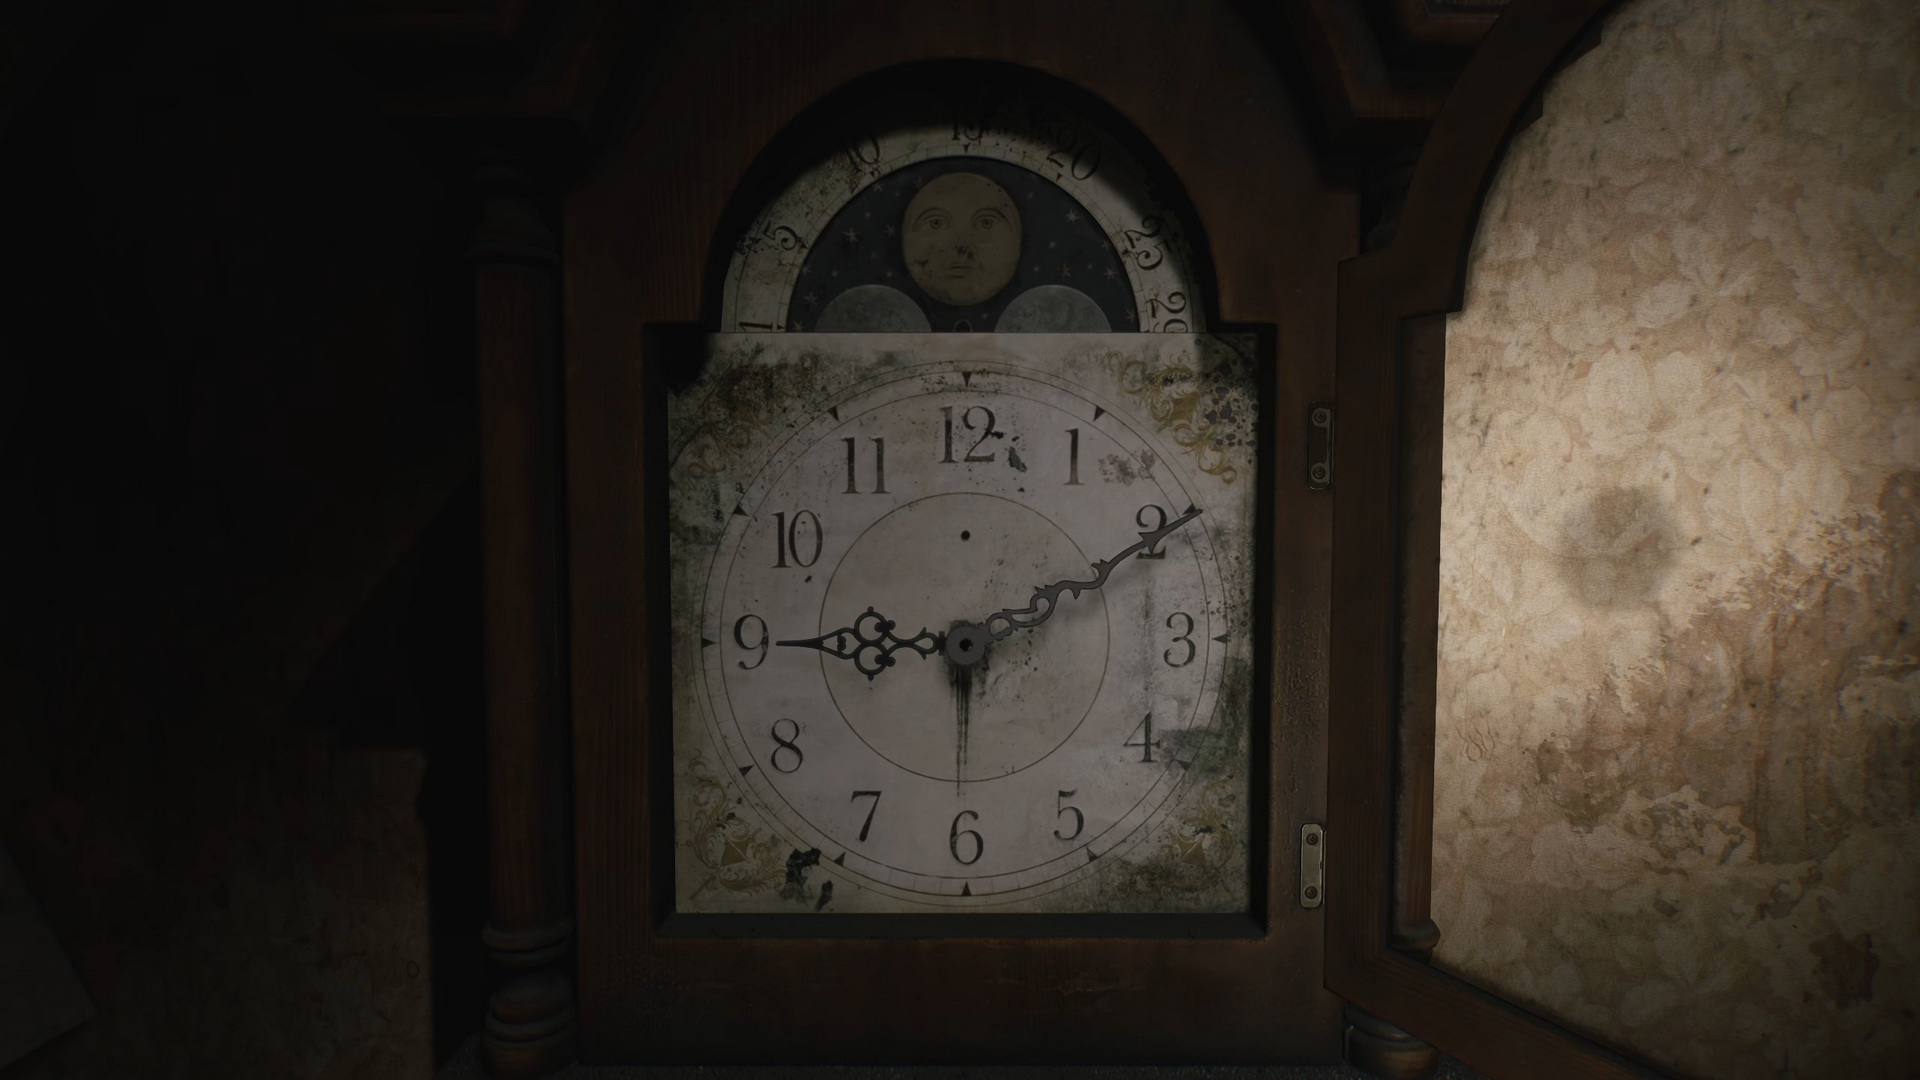
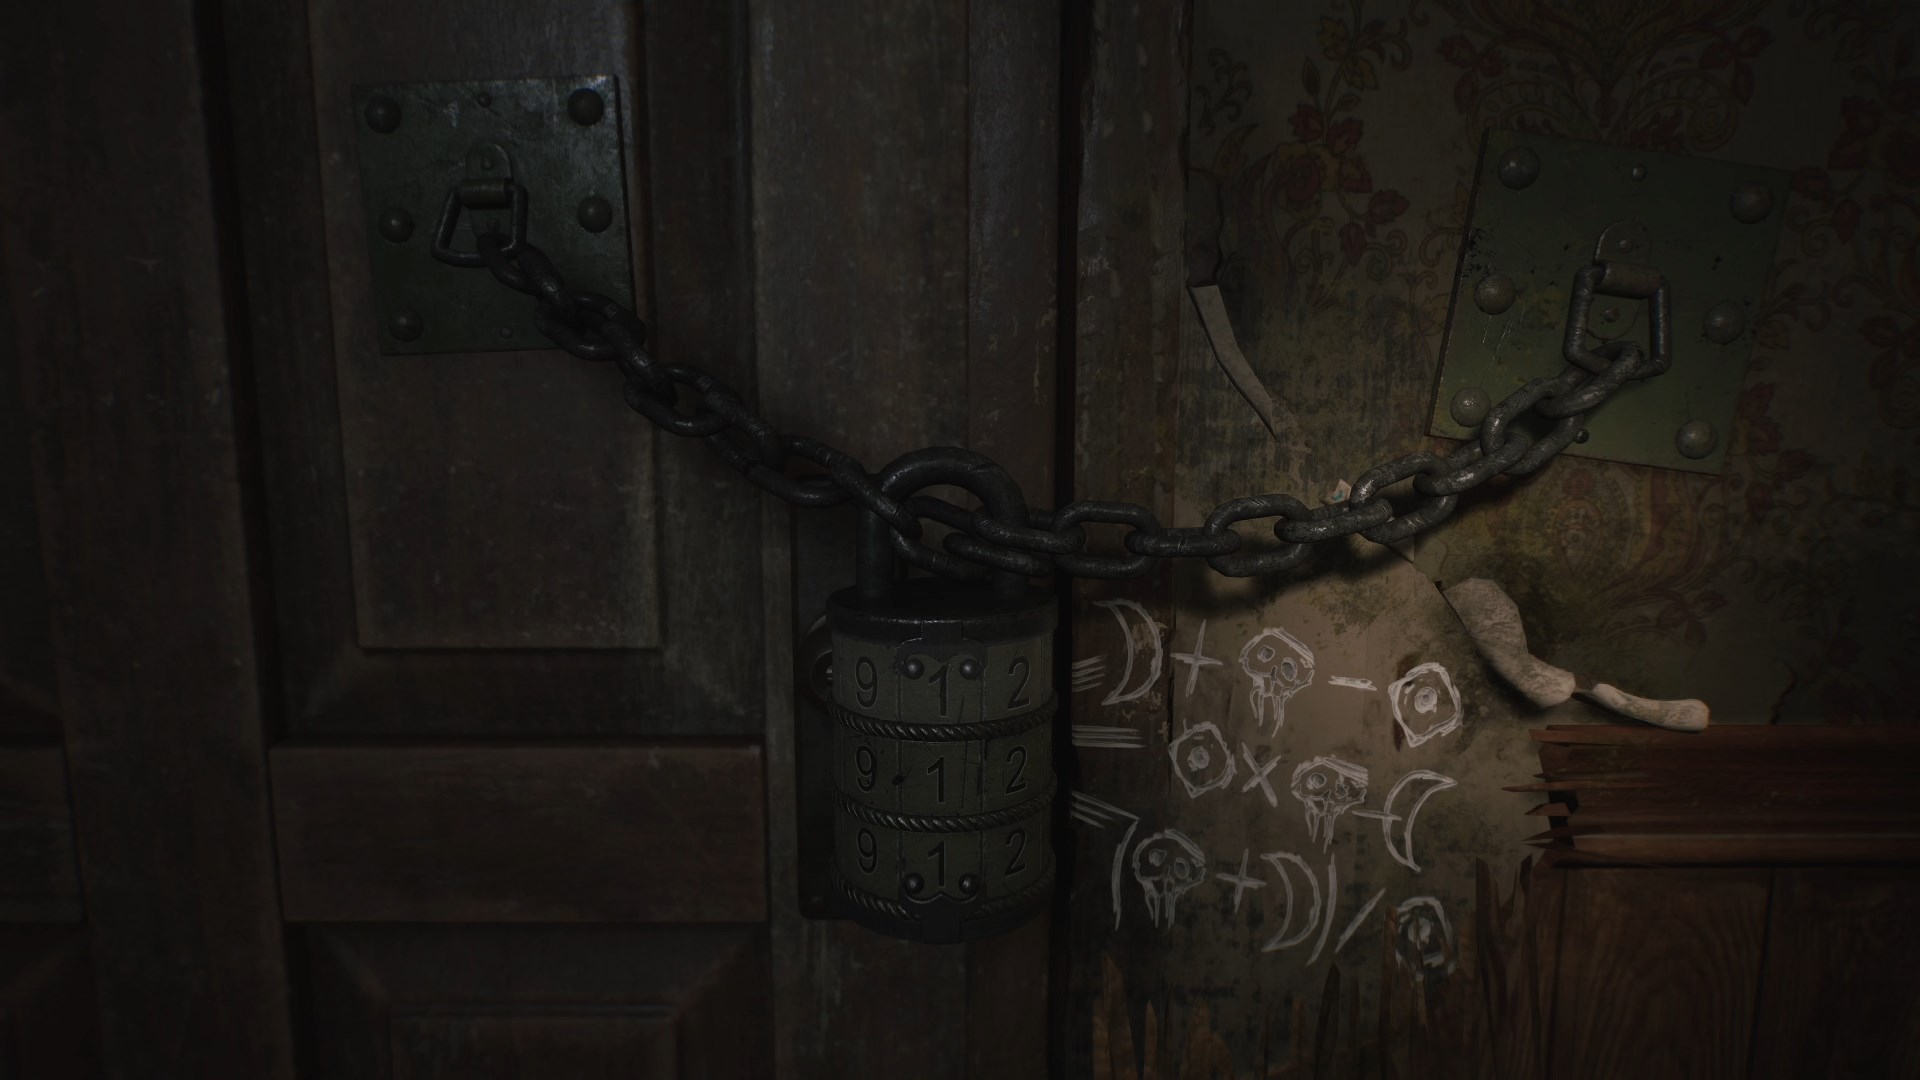
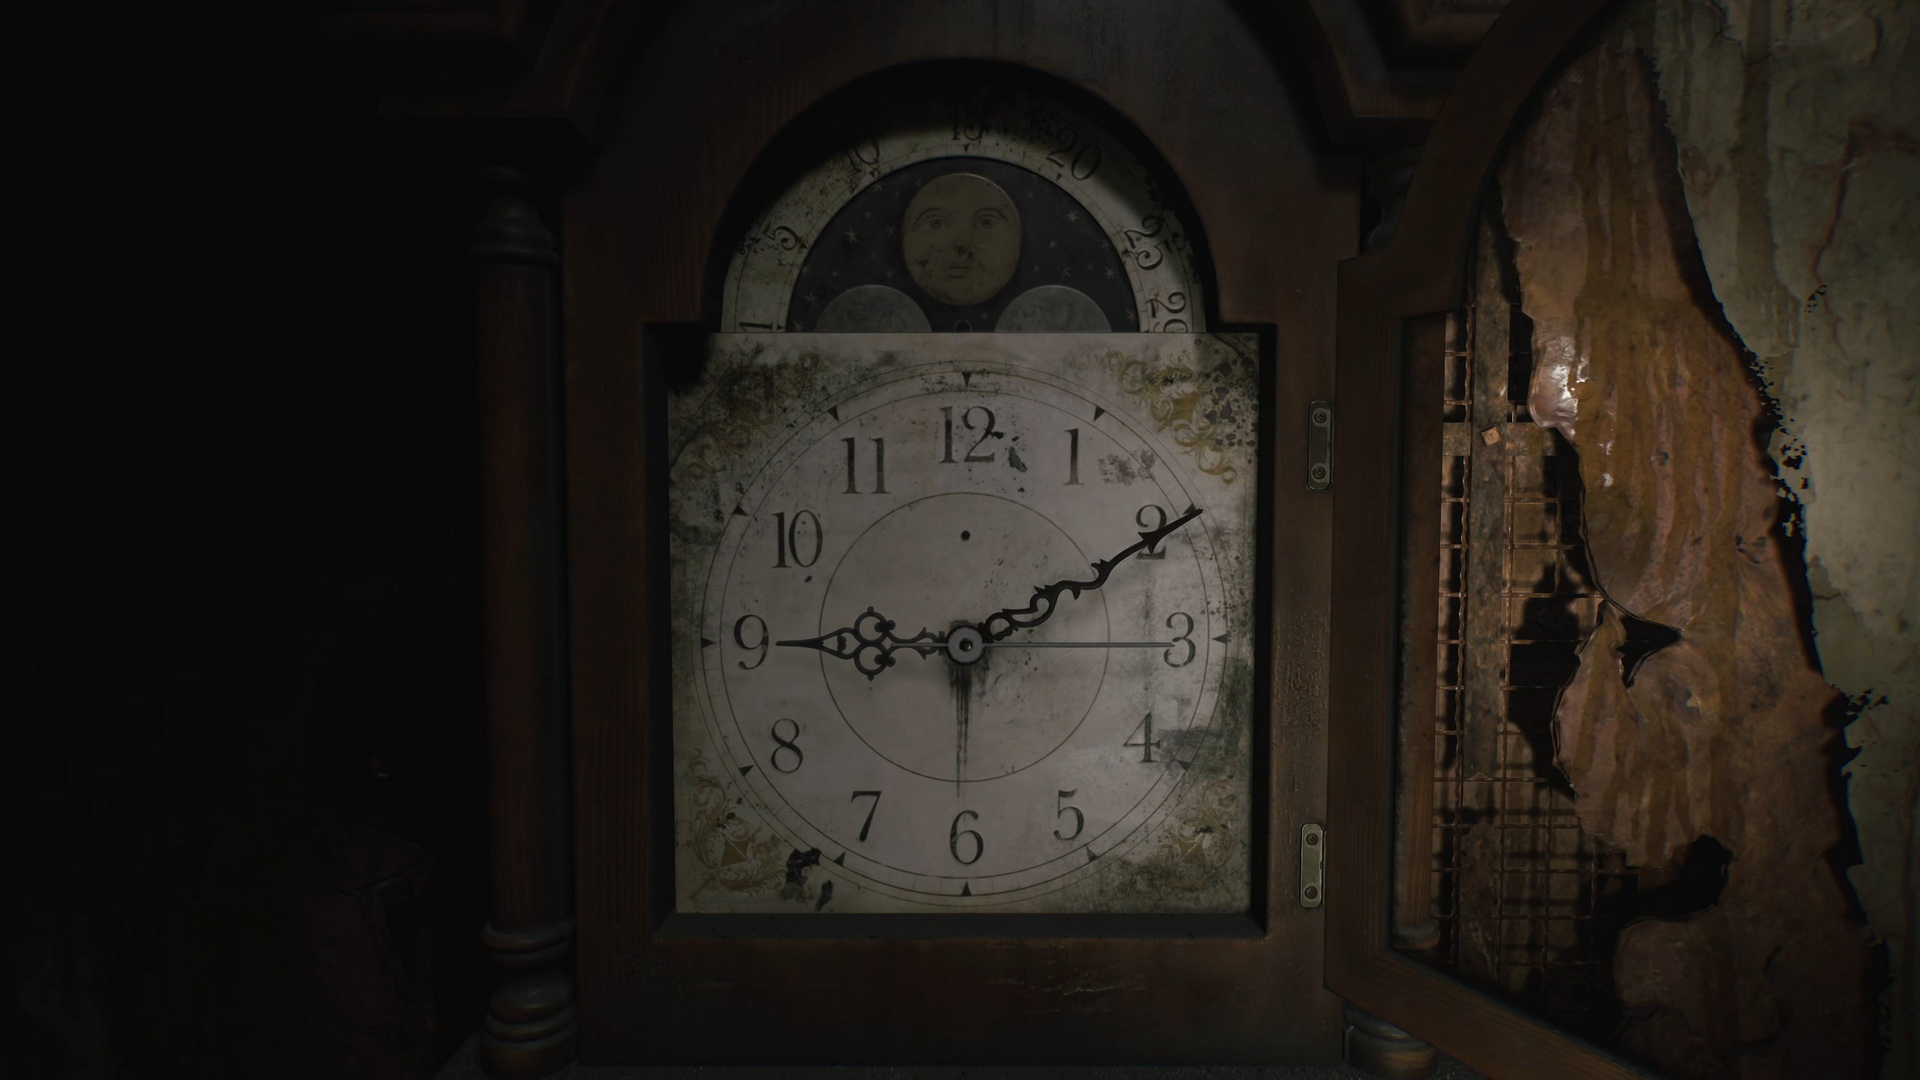
Take note of Apartment 202 with the letter "M" on its door. Follow the path to Apartment 212 at the end of the hallway. Inside, you will find a Save Point. In the kitchen drawer, there's a Health Drink. Uncover the grandfather clock in the room. Take note of the poem on the table with a telephone and wall writings next to the clock. We will need to solve a puzzle here, but first, we need to collect the three missing clock hands.
Finding the Hour Hand
Step outside onto the inner courtyard gallery. Take note of another door with the letter "H" on it to the right and collect Handgun Ammo from the dead end, then enter Apartment 203, where you will need to fight a Mannequin lurking in front of a TV in the living area, after which you can take Handgun Ammo from the desk's drawer as well as a Syringe from the first aid kit in the kitchen. Break the wall and pass into Apartment 205.
More Handgun Ammo is in the crib right ahead, as is a lonely Creeper. Proceed further, and you will be greeted by a Lying Figure crawling out from the bathroom, where you can find another Handgun Ammo in the cabinet above the sink. After you are done here, leap through the open window. Use the stairs to get to the third floor.
Third Floor
Crawl through the opening to get inside Apartment 303.
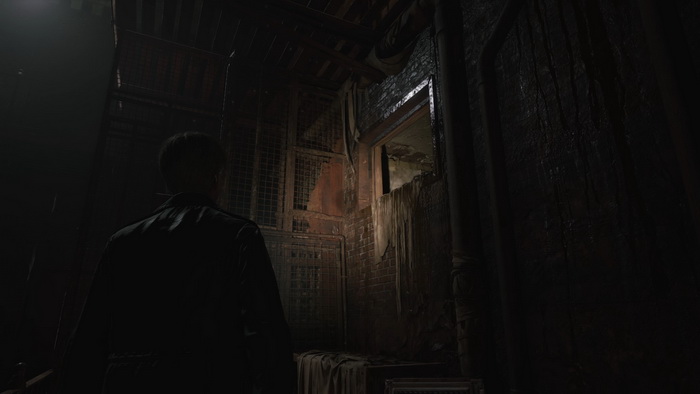
Grab Handgun Ammo from the kitchen drawer and a Health Drink from the upper cabinet and proceed to Apartment 305, taking care of a lonely Lying Figure here. In the kitchen drawer, you will find more Handgun Ammo. Go to the hallway through the main entry or break the wall in the kitchen to get inside the corner storage room.
In the storage, you can find a Health Drink on the shelf and Handgun Ammo in the green drawer. In the hallway, you will see multiple monsters on the floor, but for the time being, they will be motionless. If you run down the hallway to the entrance door of Apartment 303, you can find more Handgun Ammo guarded by a single Lying Figure. At the northwestern end of the hallway, you can find one more Handgun Ammo sitting on the armchair guarded by two Lying Figures. Enter Apartment 307 once you are clear, and you will find a hanging radio.
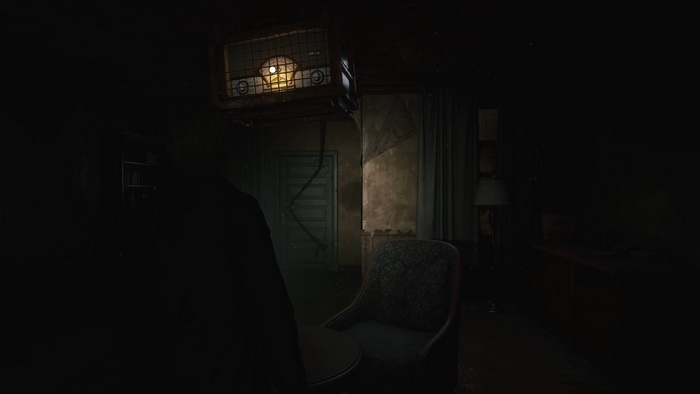
In the kitchen, you will find Handgun Ammo in the drawer and a Health Drink in the upper cabinet. You will find a pipe in the next room, but there's no way to operate it for now. Exit to the inner gallery and hop into the window of Apartment 305. Grab the 27 Apartment 306 Key on a small table, and you will be trapped.
Turn the valve to escape the room by fighting for your way out with a Lying Figure. Run to Apartment 306 – beware of a Mannequin, hiding behind a column, and a Lying Figure in the corner that comes alive once you pass on your way there. Enter the apartment using the key. Inside, you will find two more Lying Figures, a Health Drink on the table and a Handgun Ammo in the kitchen drawer.
Use the vent opening to get into the neighboring Apartment 304. Here, you will find a Lying Figure, coming alive in the bedroom, a Mannequin, hiding in the living area, and three boxes of Handgun Ammo on top of the dresser in the bedroom, in the kitchen drawer and in the glass cabinet by the entrance. Finally, pick up the 28 Valve from the wall.
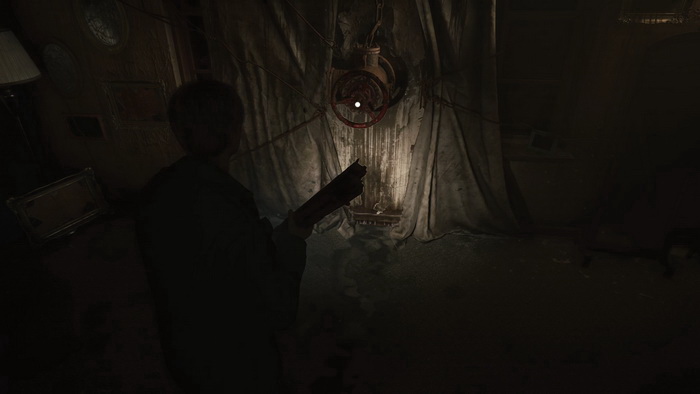
You can now exit and return to Apartment 307, taking care of or running past the new monsters appearing here: two Mannequins and two Lying Figures. Back in Apartment 307, attach and use the Valve to drop the radio in the living room and collect 29 The Hour Hand.
Exit to the courtyard gallery and go left. Use the lever to lower the stair section and go downstairs.
Second Floor
Return to Apartment 212 to solve the first part of the clock puzzle.
Puzzle: Room 212 Clock (Hour Hand)
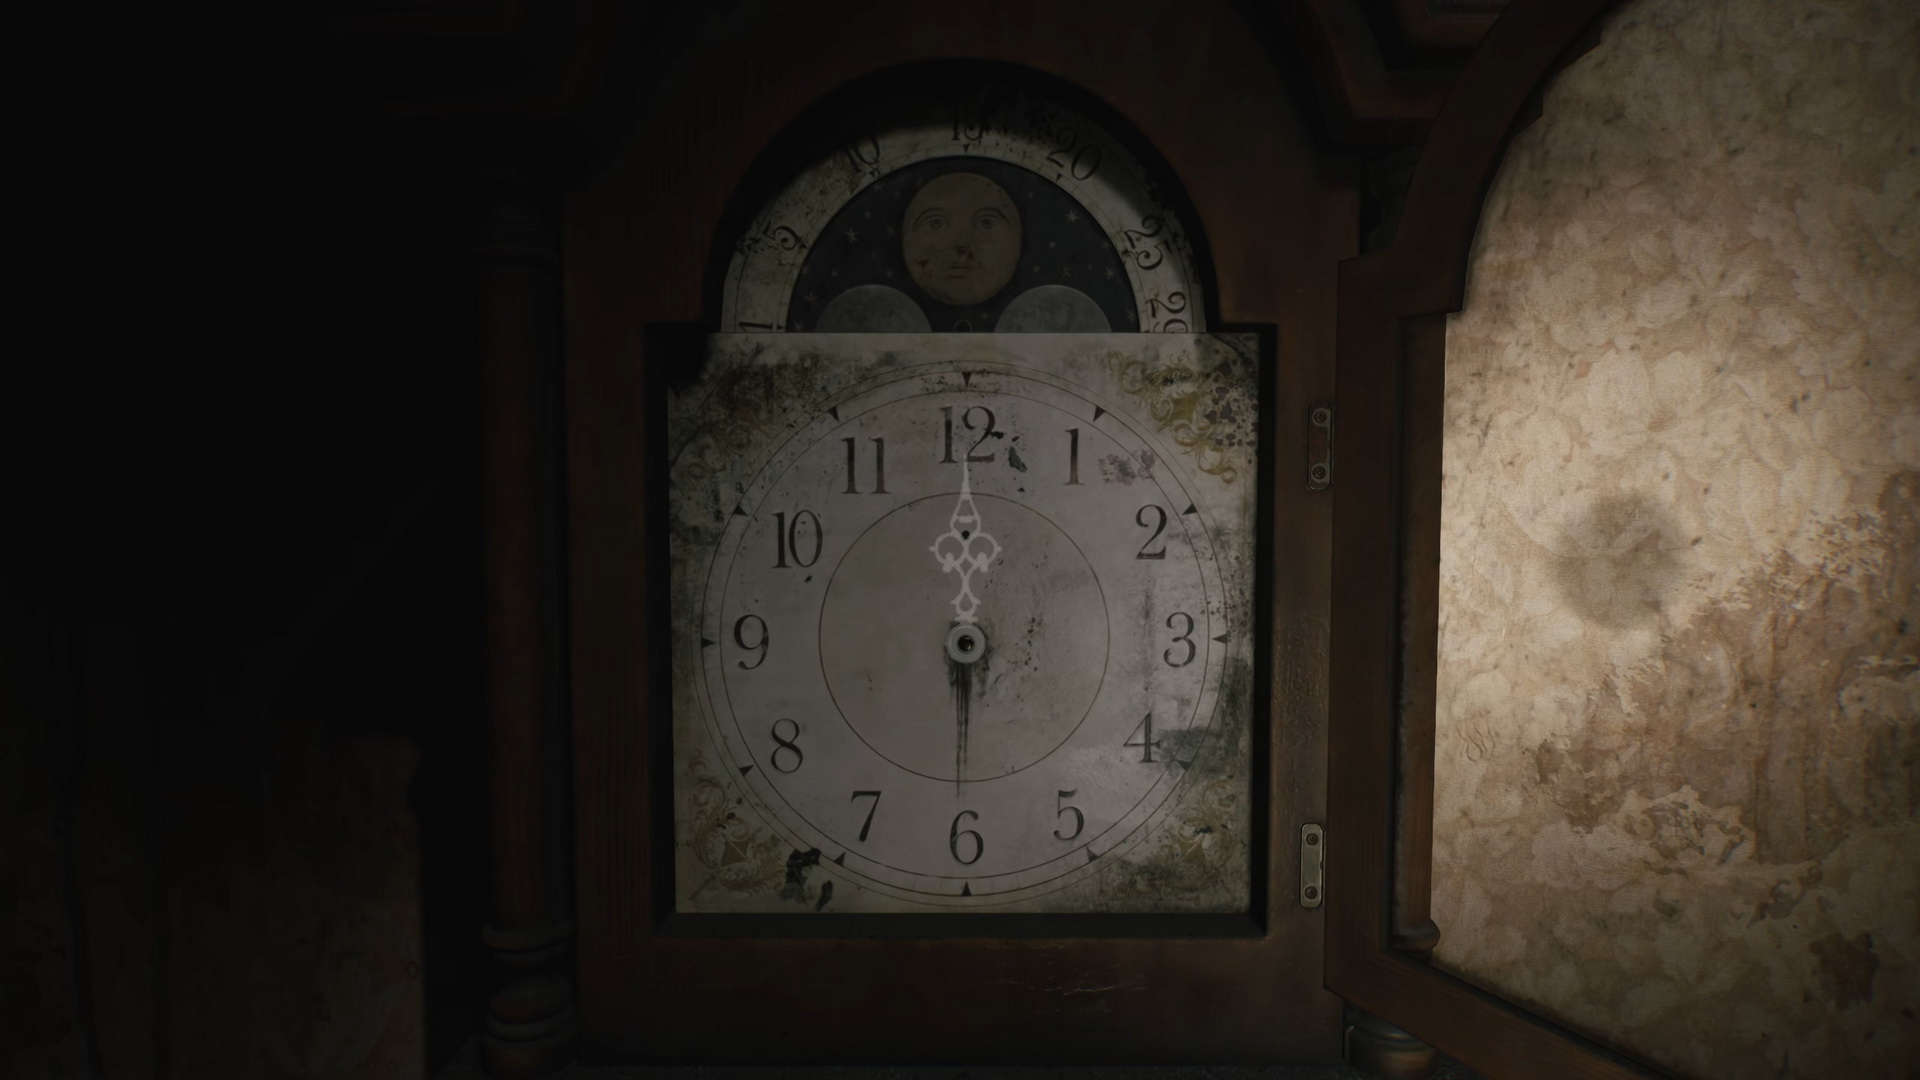
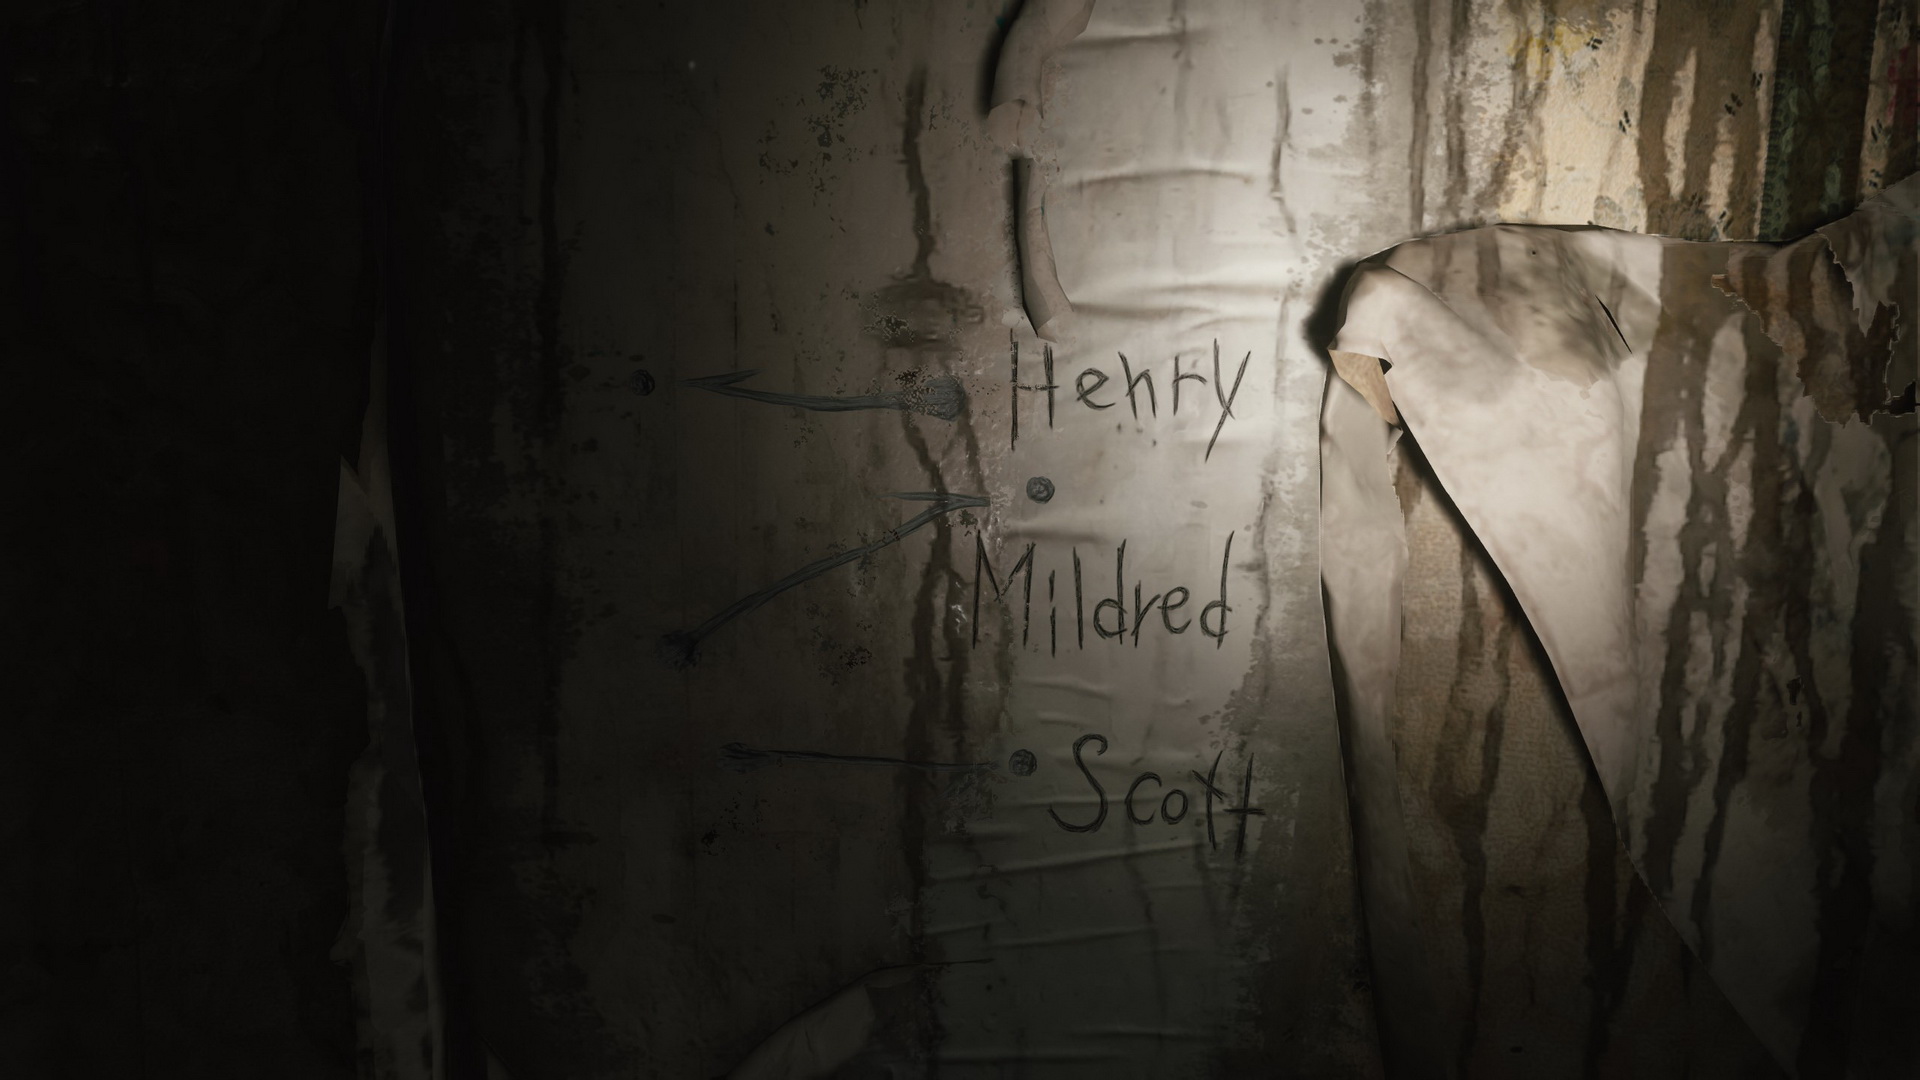
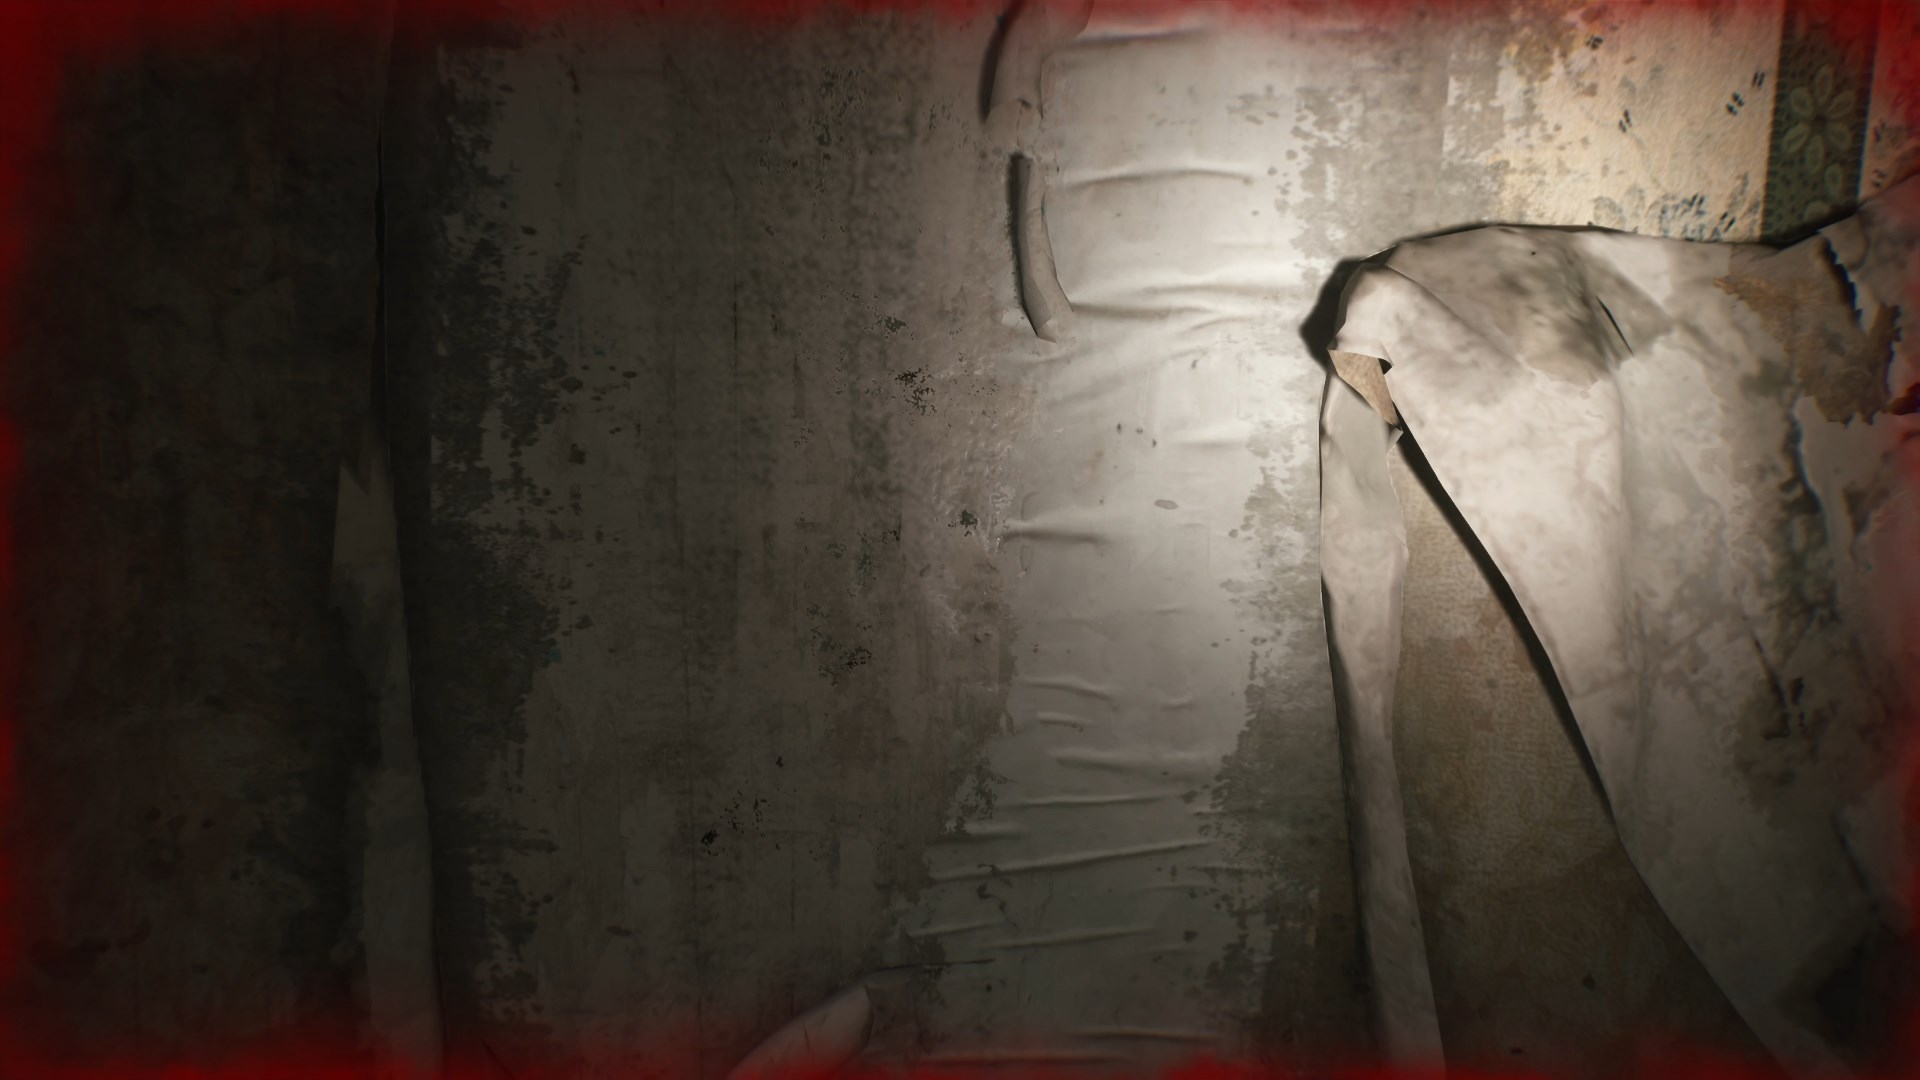
Look for a poem on the small table with a telephone and graffiti on the wall to the left of the clock – these will differ for different riddle difficulty levels, but the answer will be the same.
Light

|
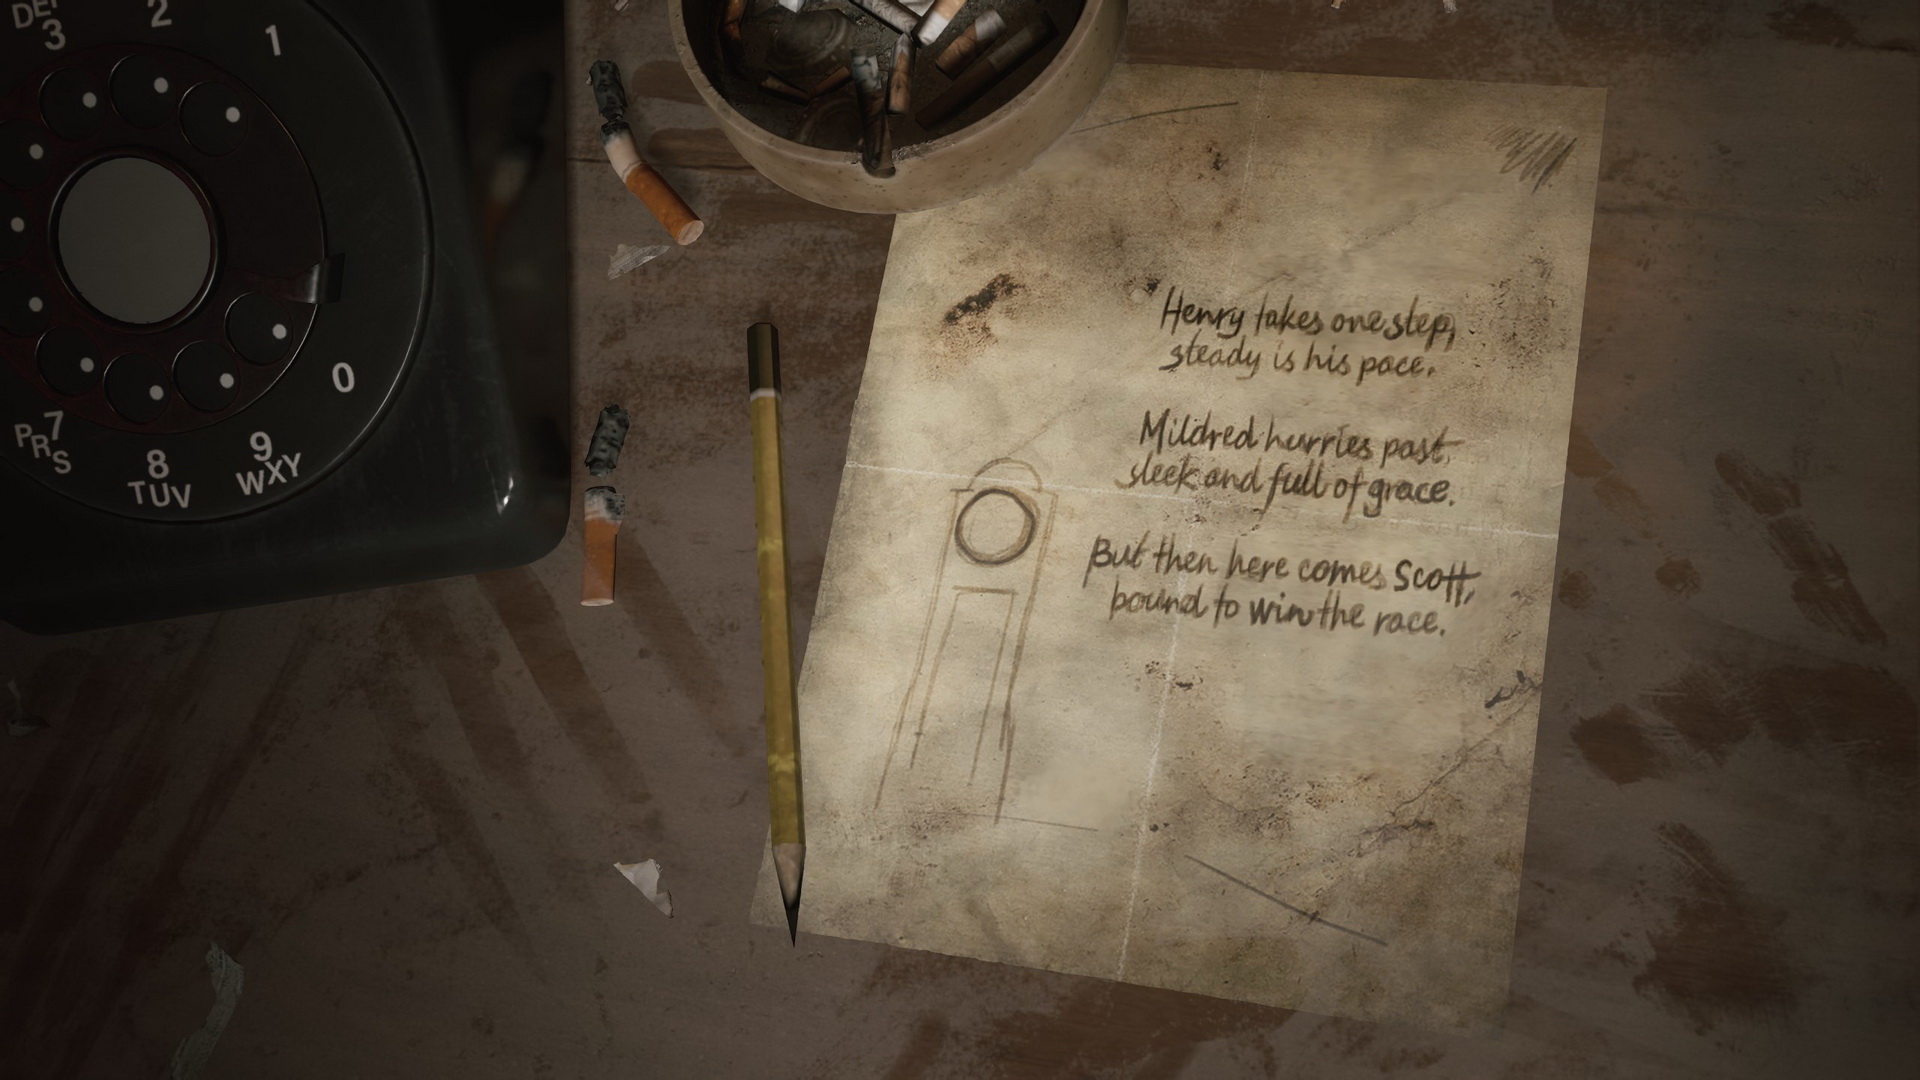
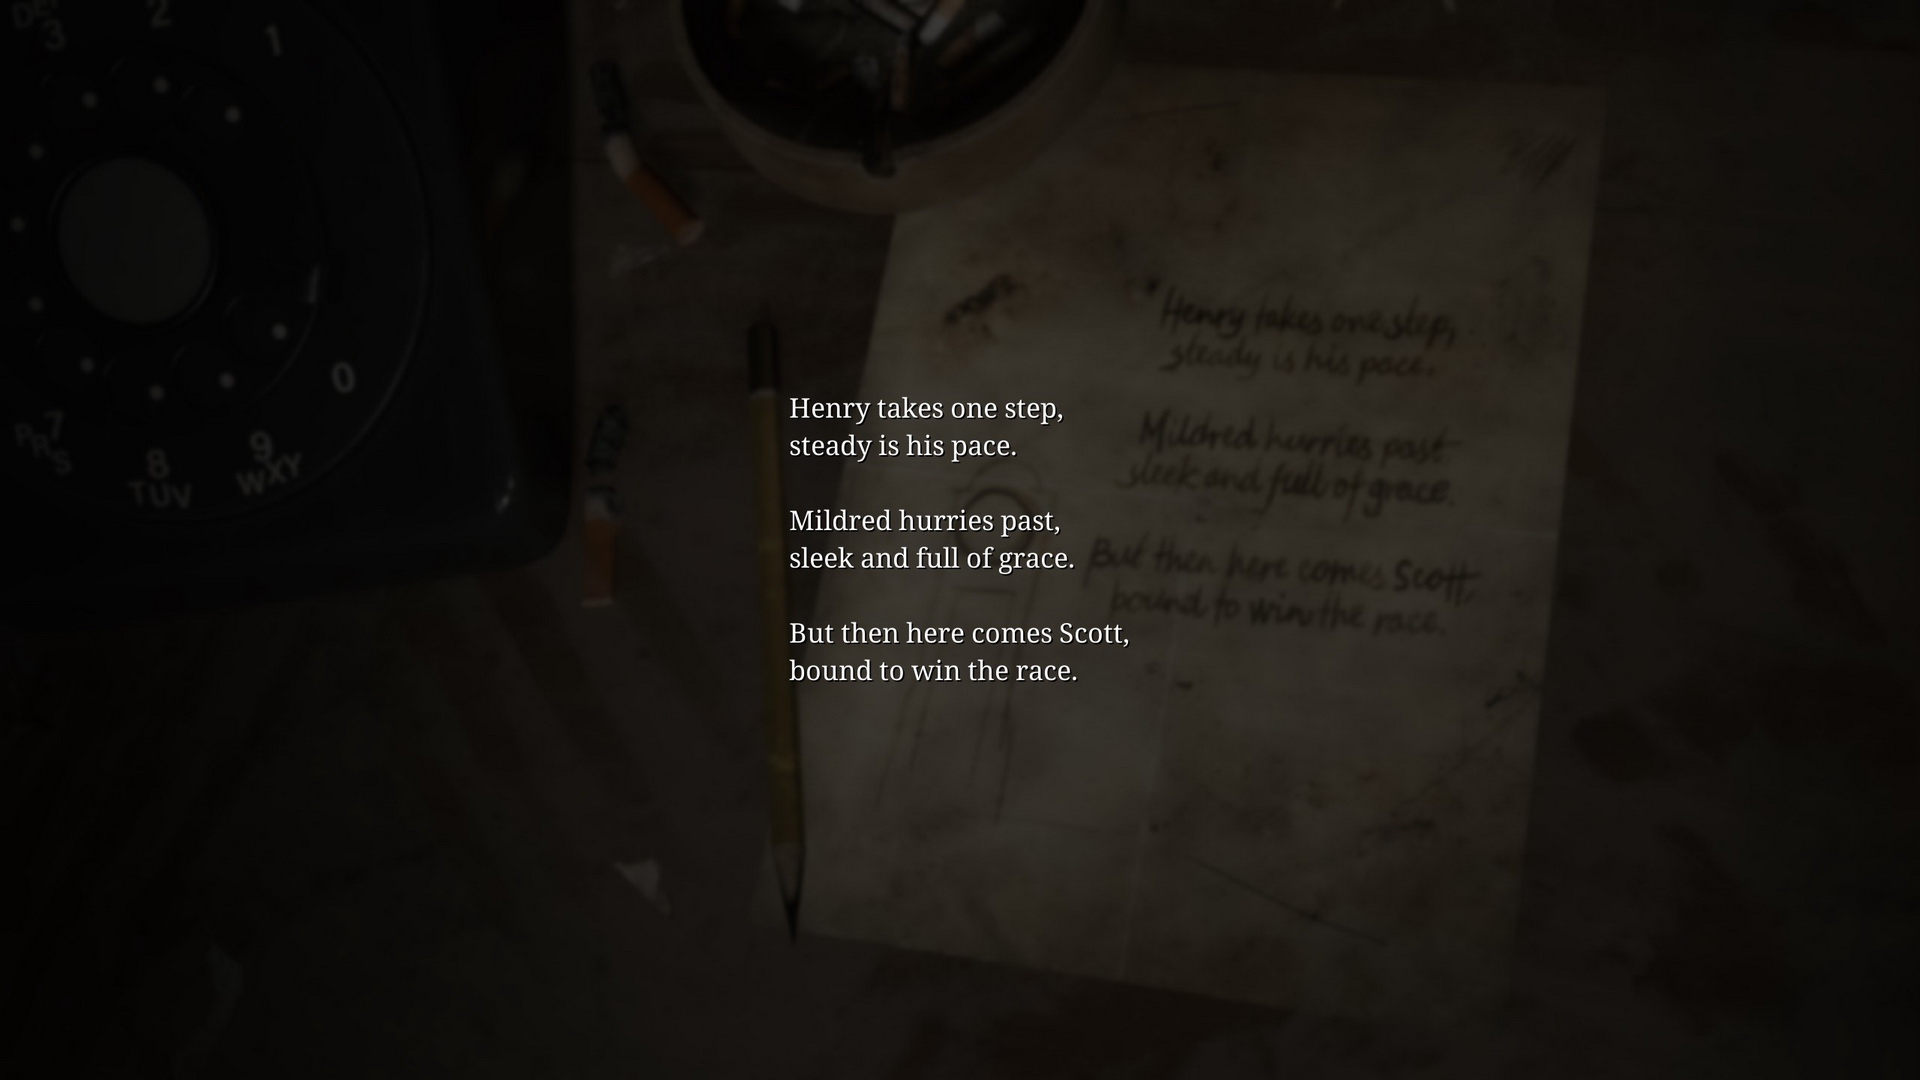
Henry takes one step,
steady is his pace.Mildred hurries past,
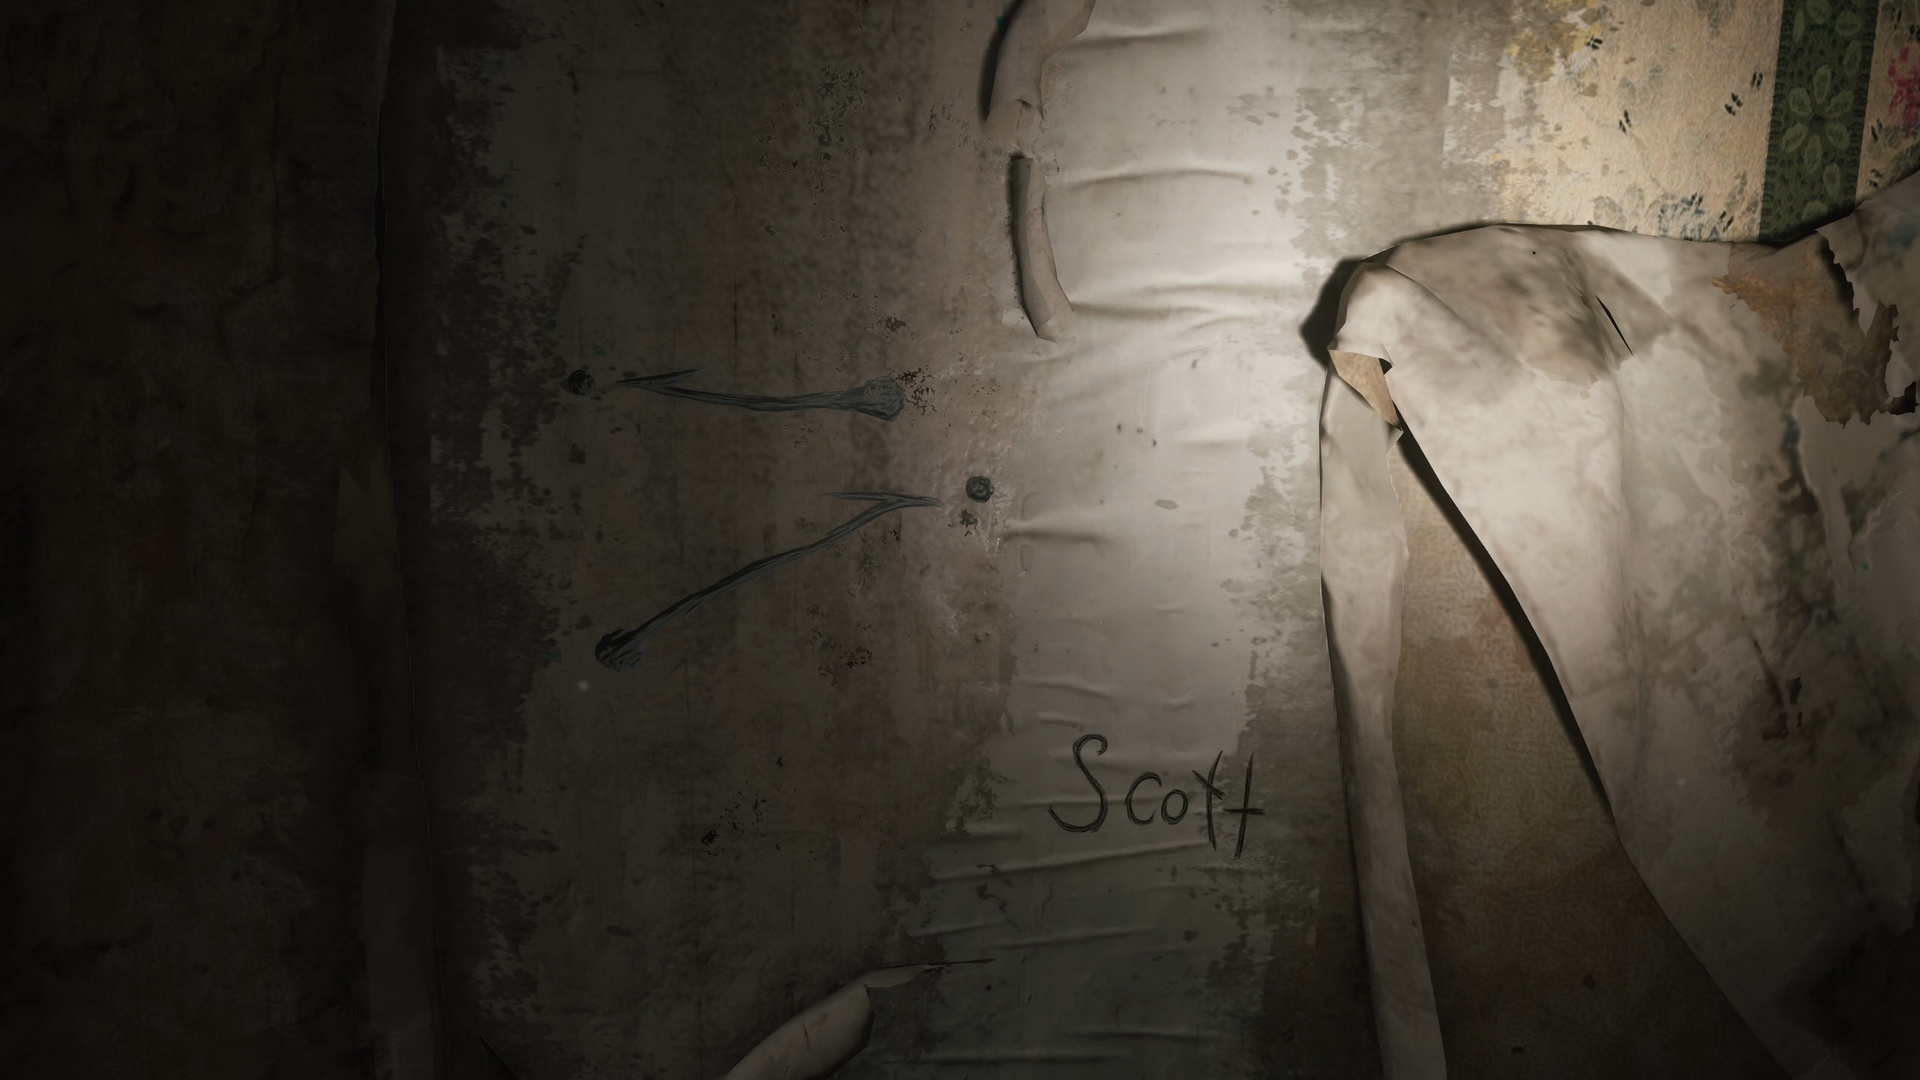
sleek and full of grace.But then here comes Scott,
bound to win the race.
The three stanzas refer to the three clock hands:
- Henry = Hour
- Mildred = Minute
- Scott = Second
The graffiti graphically shows you the easy solution – simply place the clock hands oriented the same way. The hour hand must be placed at 9 o'clock.
Standard
|
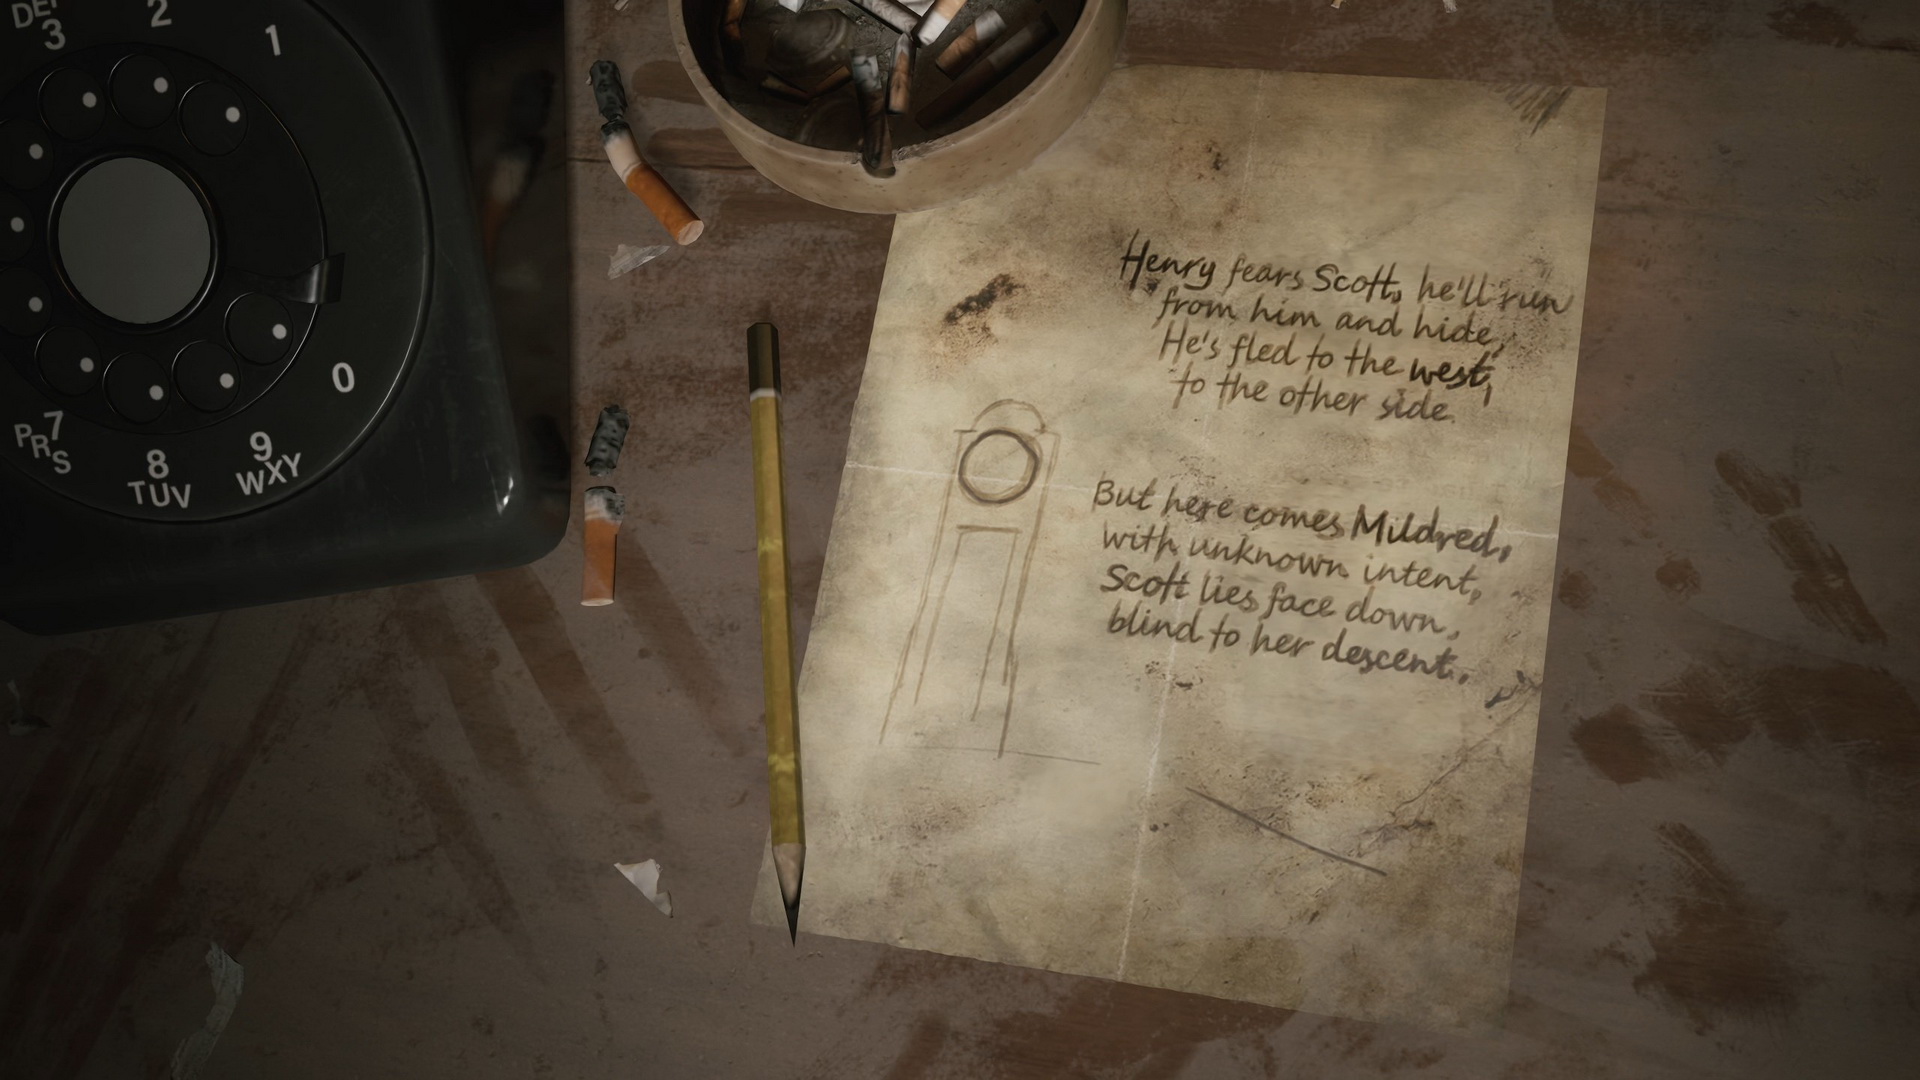
Henry fears Scott, he’ll run from him and hide,
He’s fled to the west, to the other side.But here comes Mildred, with unknown intent,
Scott lies face down, blind to her descent.
The nicknames for the clock hands are the same:
- Henry = Hour
- Mildred = Minute
- Scott = Second
Hard
|
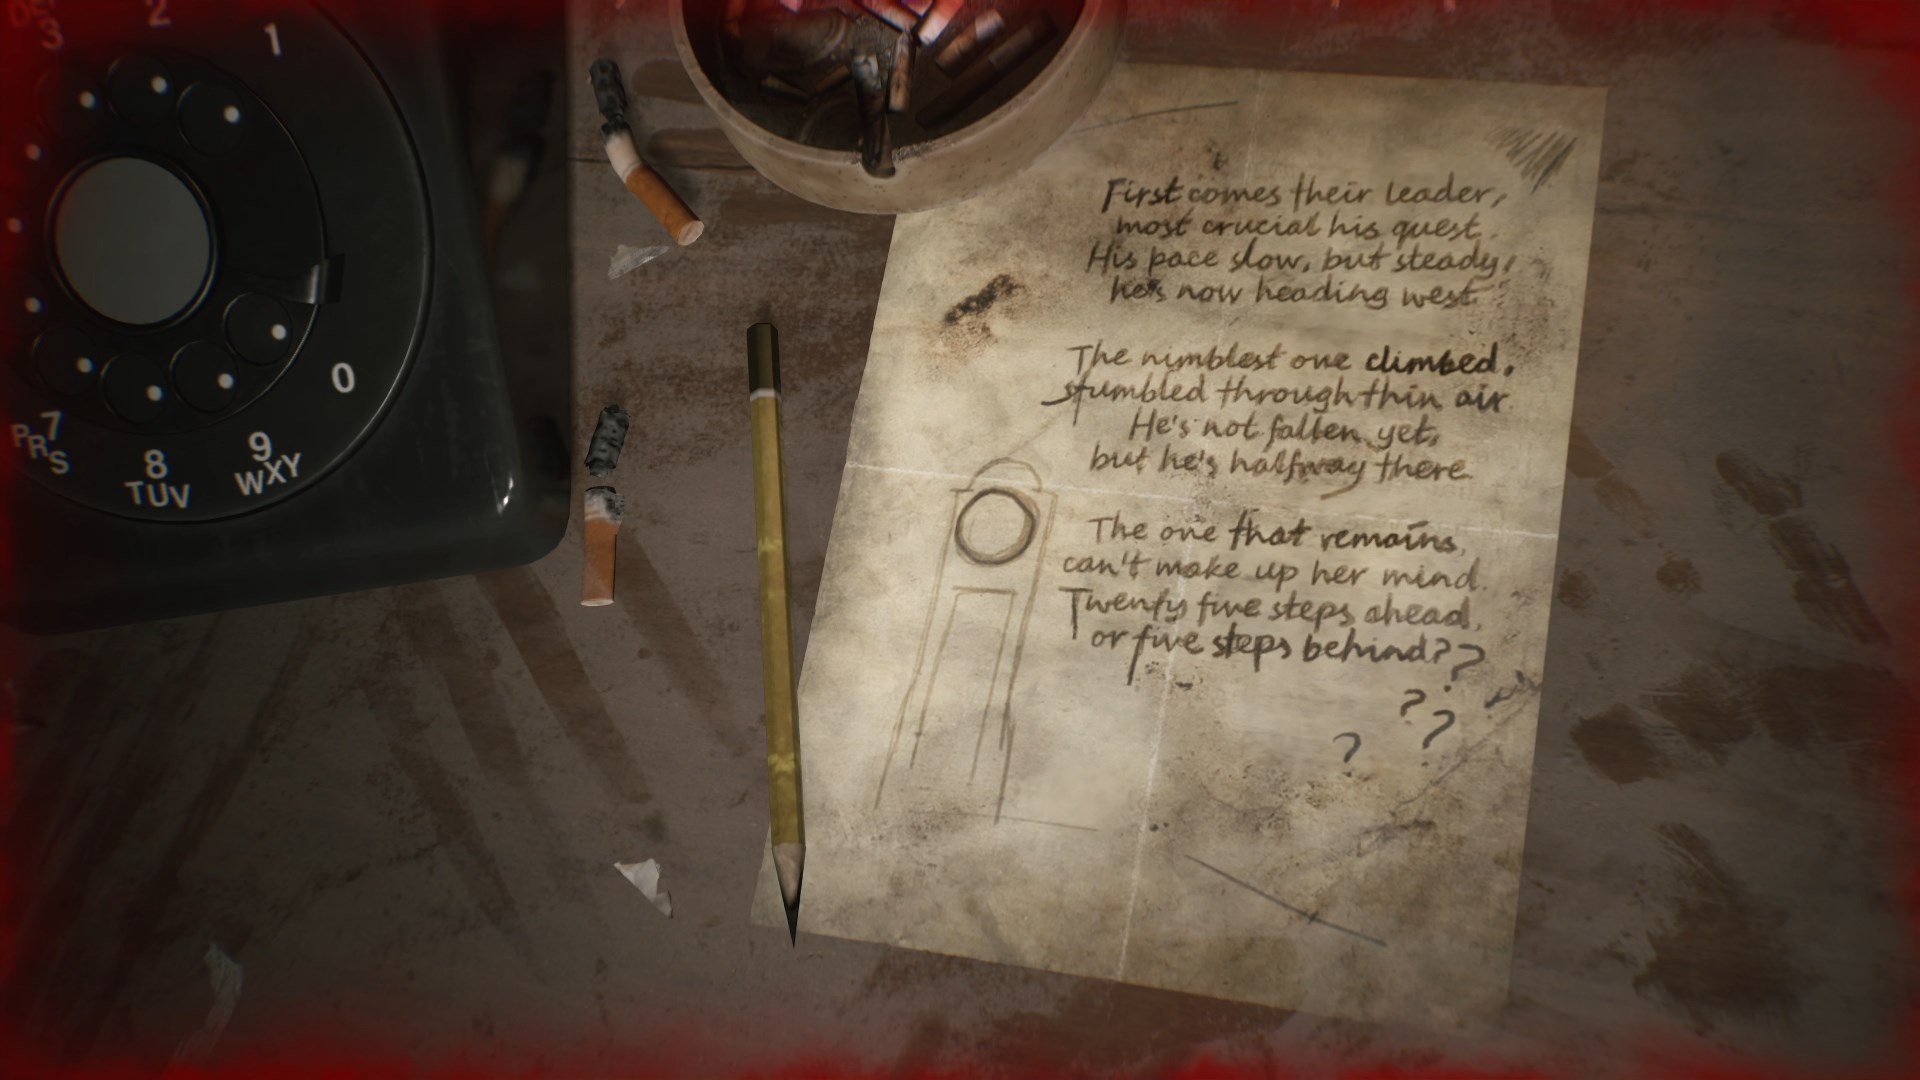
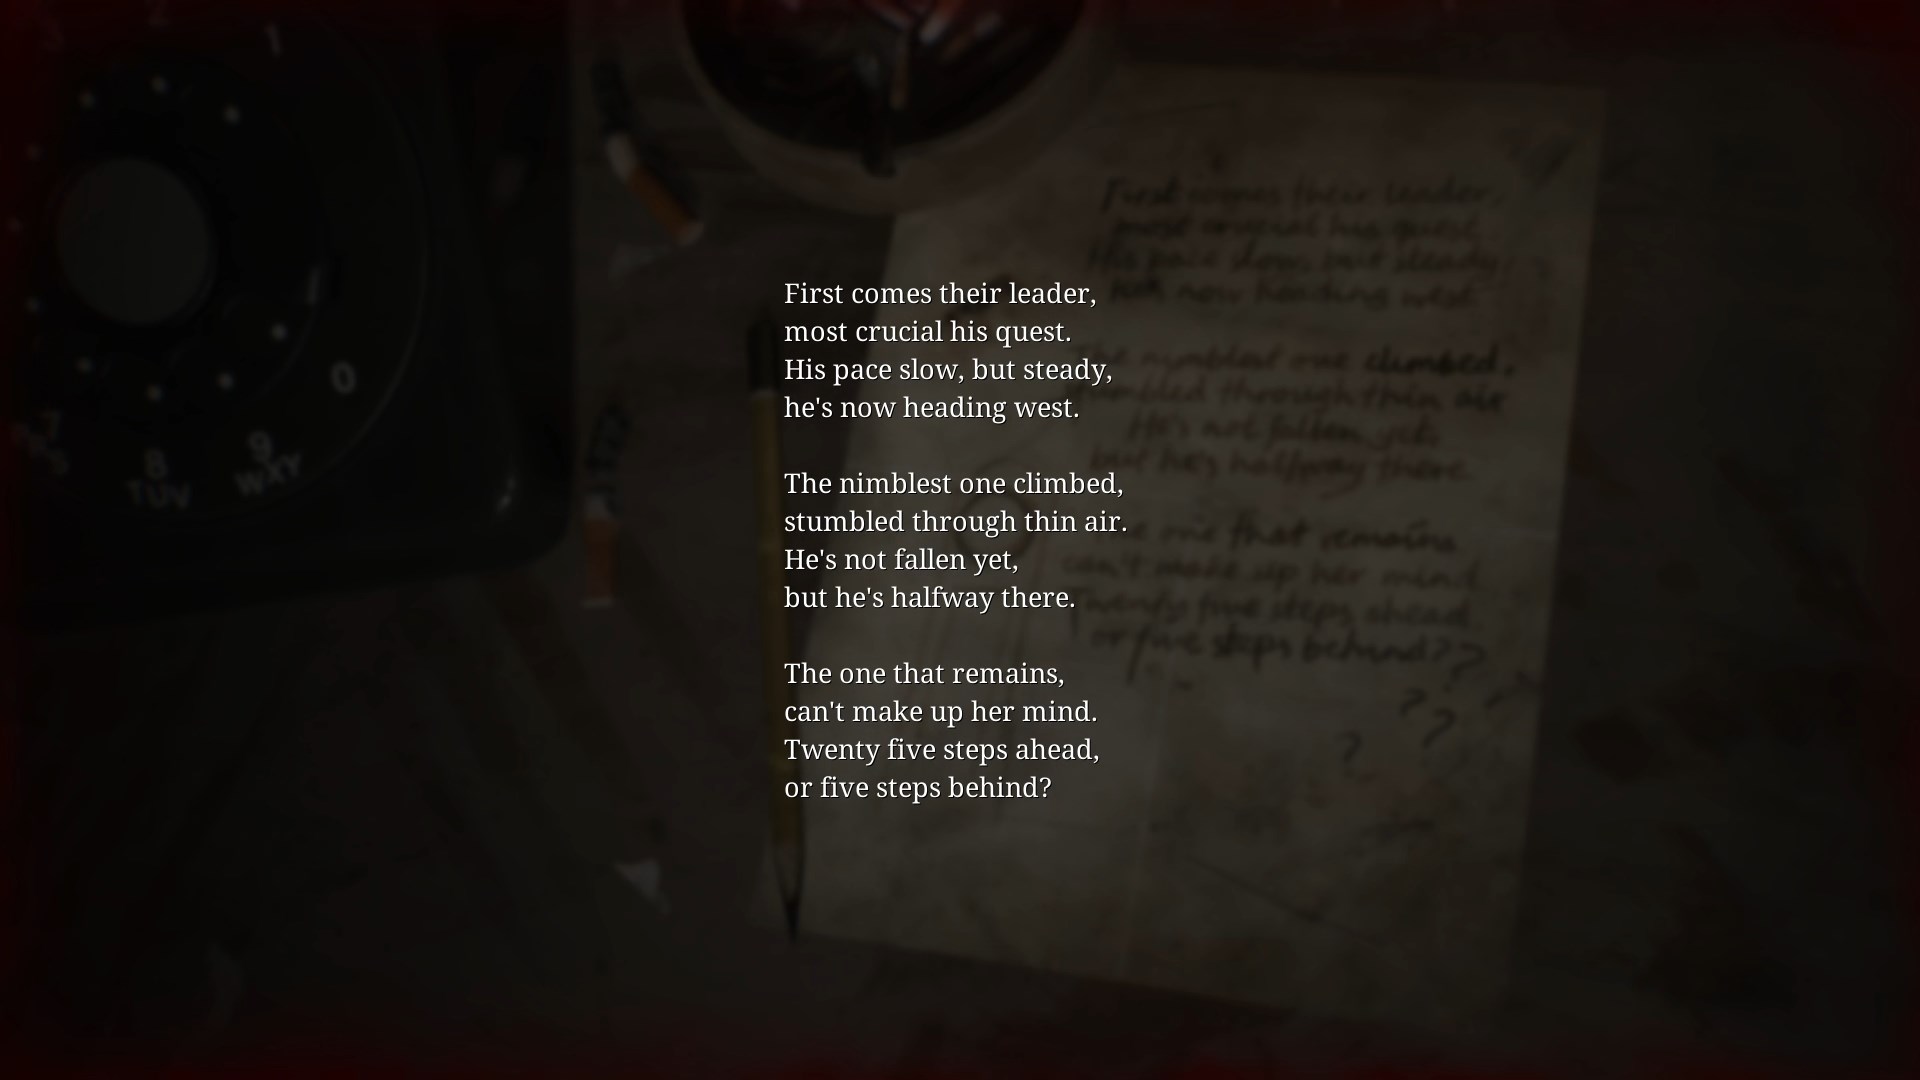
First comes their leader,
most crucial his quest.
His pace slow, but steady,
he's now heading west.The nimblest one climbed,
stumbled through thin air.
He's not fallen yet,
but he's halfway there.The one that remains,
can't make up her mind.
Twenty five steps ahead,
or five steps behind?
The graffiti is absent, so you can only take hints from the poem. The first stanza describes the hour hand since "his pace slow, but steady." Heading west means pointing to the left, so the hour hand must be placed at 9 o'clock.
Setting the hour hand correctly will open the door with the letter "H," which is Apartment 210 just next door. Proceed there.
Finding the Minute Hand
In Apartment 210, grab the Handgun Ammo from the kitchen counter and break the wall into the bathroom. Against good sense, inspect the toilet to find 30 The Minute Hand in the bowl.

Leave the bathroom to see the apartment completely transformed. Take the 31 Pigeon Figurine from the cabinet shelf up ahead.
Head for the entrance door, and you will be surprised by a Lying Figure entering. Exit to the hallway. At the north end of the hallway, you can find Handgun Ammo on the table. Proceed to Apartment 209. In the bedroom, there's more Handgun Ammo on the cabinet shelf, and in the bathroom, you will find a 32 Malformed Figurine Part hanging inside the bathtub behind the glass. Smash the glass to take the item.
On your way back you will be attacked by a Lying Figure entering the bedroom. Leave to the hallway and head to Apartment 211. You can either use the entry door or break the wall to get inside. In front of the entrance, you will find a Health Drink on the window sill, though. Inside the apartment, there's Handgun Ammo in the kitchen drawer and a 33 Wooden Swan Head hanging from the ceiling in the bedroom, guarded by two hiding Mannequins.
Combine the Malformed Figurine Part and Wooden Swan Head inside your inventory to receive the 34 Swan Figurine. Return to Apartment 210 to solve a puzzle with the seesaw on the cabinet.
Puzzle: Room 210 Seesaw
This puzzle is quick and easy. Place the Pigeon Figurine and the Swan Figurine on the seesaw. Move the Swan Figurine 2 places to the left to balance it out.
First Floor
Inspect a ruined cabinet ahead for the Glimpse of the Past #7.
 |
 |
You can find Handgun Ammo in the kitchen on the countertop and a Health Drink in the right drawer. Squeeze through the wall gap into the hallway and enter Apartment 109. In the kitchen, take more Handgun Ammo from the upper cabinet. Proceed to the bedroom for a cutscene with Angela.
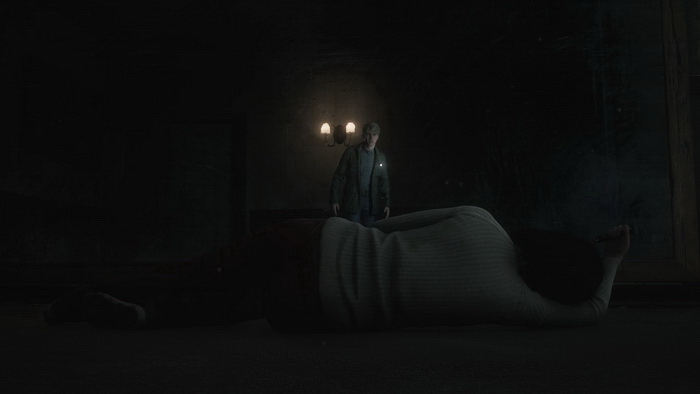
After the cutscene, you will automatically get 36 Angela's Knife. Inspecting the knife can affect the ending – read more about this in the Endings section. Also, take the 37 Key of Resilience from the nightstand in front of you.
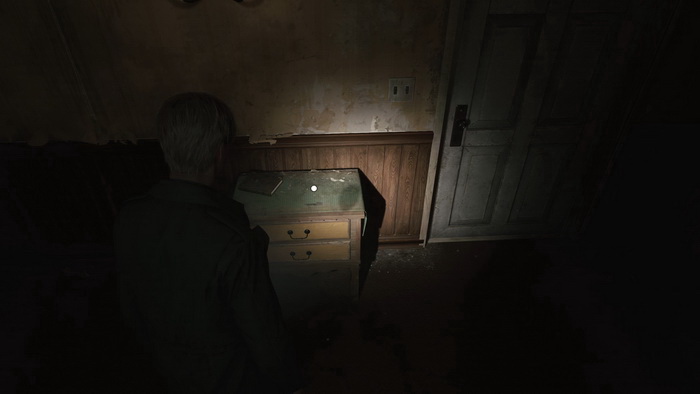
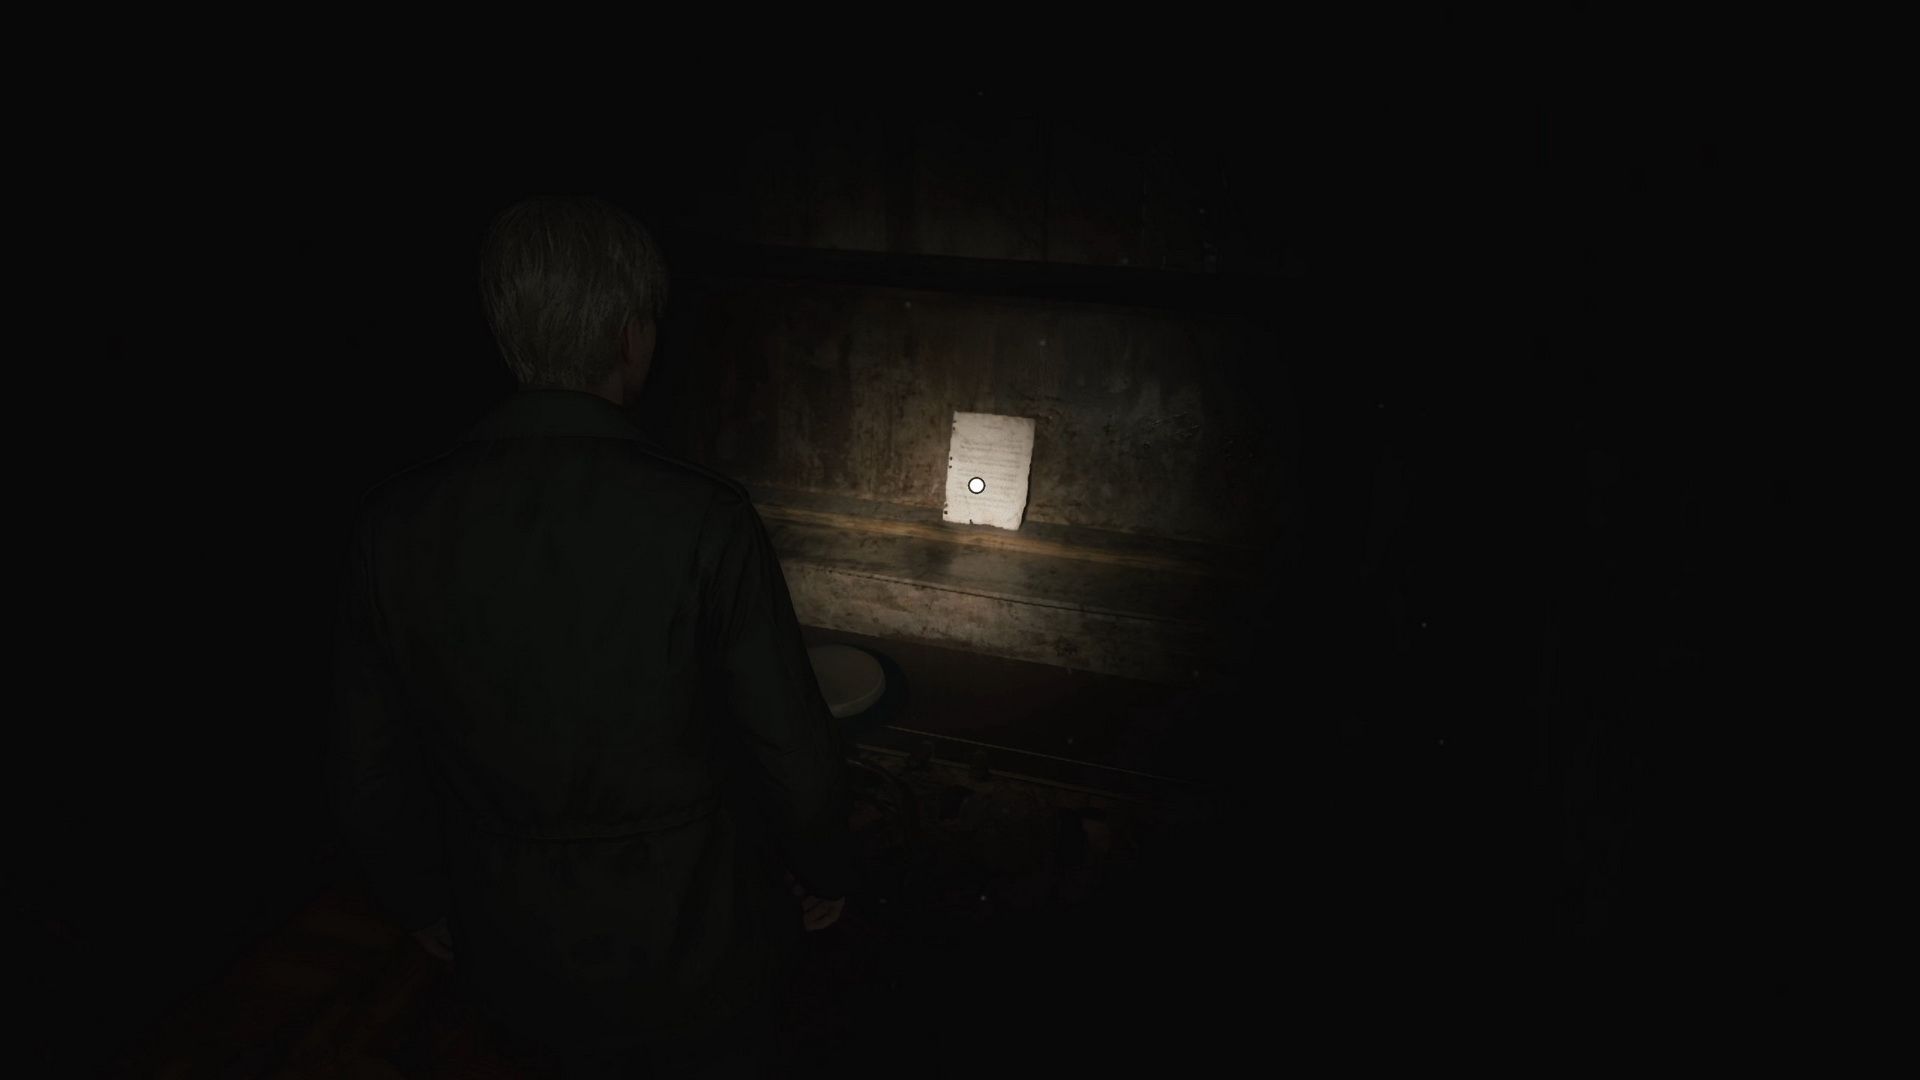
Exit the apartment and proceed to the staircase, opening the locked double doors on your way with the new key. Take notice of another big double door with the letter "S" and take Handgun Ammo from the couch in this area. In the corner of Apartment 101, you can find a Syringe in the first aid kit on the cabinet and another music sheet on the piano.
 |
 |
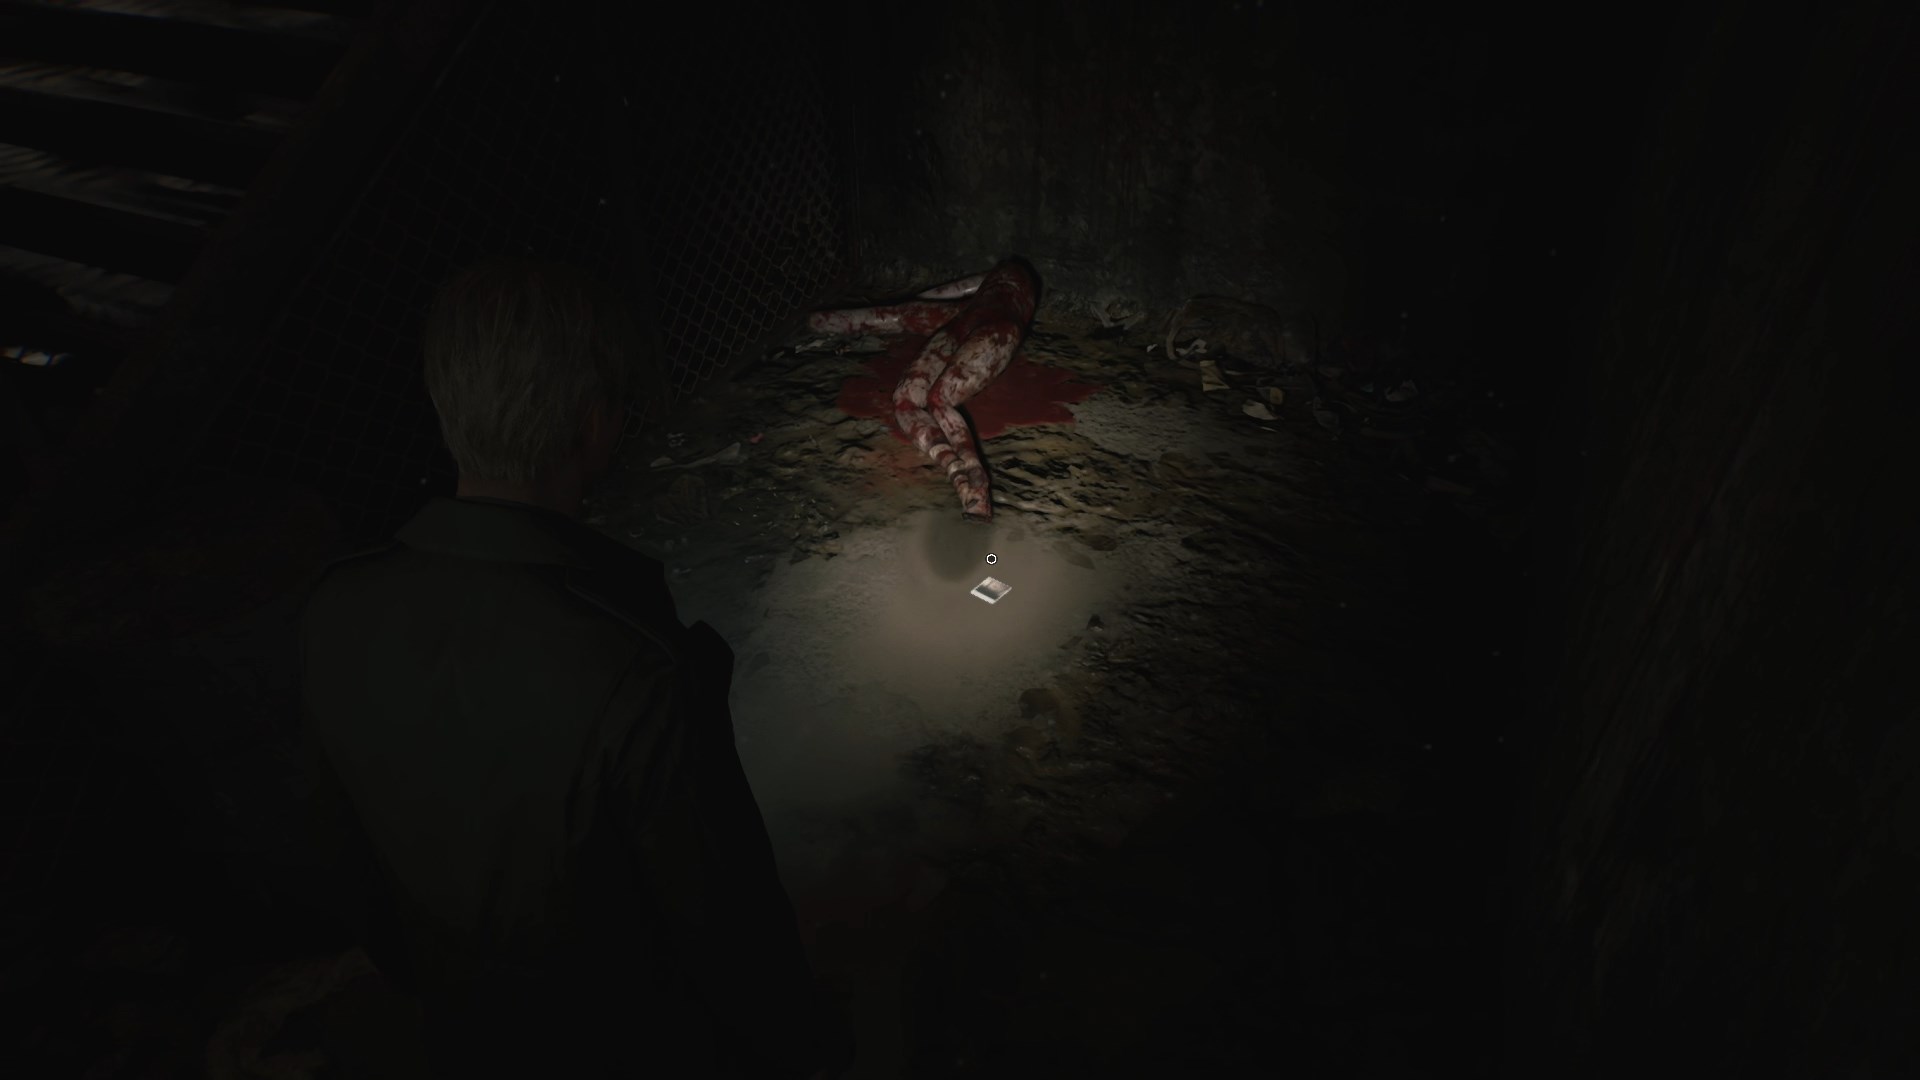
There's more Handgun Ammo in the box in the north dead end on this floor. Take the stairs to return to the second floor. Beware of a lonely Mannequin hiding behind a barrel. In the same spot, you can find Strange Photo #5: "Forever together" on the ground.
 |
 |
Second Floor
Return to the clock in Apartment 212 to proceed with the puzzle.
Puzzle: Room 212 Clock (Minute Hand)
Light
Follow the graffiti to place the minute hand at 10 minutes.
Standard
From the poem, the second hand must be opposite the hour hand at 3 o'clock or 15 seconds. The minute hand appears to be close to it, descending upon it. The graffiti confirms our guess, so place the minute hand at 10 minutes.
Hard
Here, we also need to figure out the position of the second hand first. The poem says it's halfway on its way down, which means it's at the 3 o'clock mark (15 seconds). The minute hand is between them, "twenty five steps ahead and five steps behind". 9 o'clock plus 25 seconds or 3 o'clock minus 5 seconds will equal the 2 o'clock mark. Place the minute hand at 10 minutes.
Setting the minute hand correctly will open the door with the letter "M," which is Apartment 202 on the same floor. Proceed there for another puzzle.
Finding the Second Hand
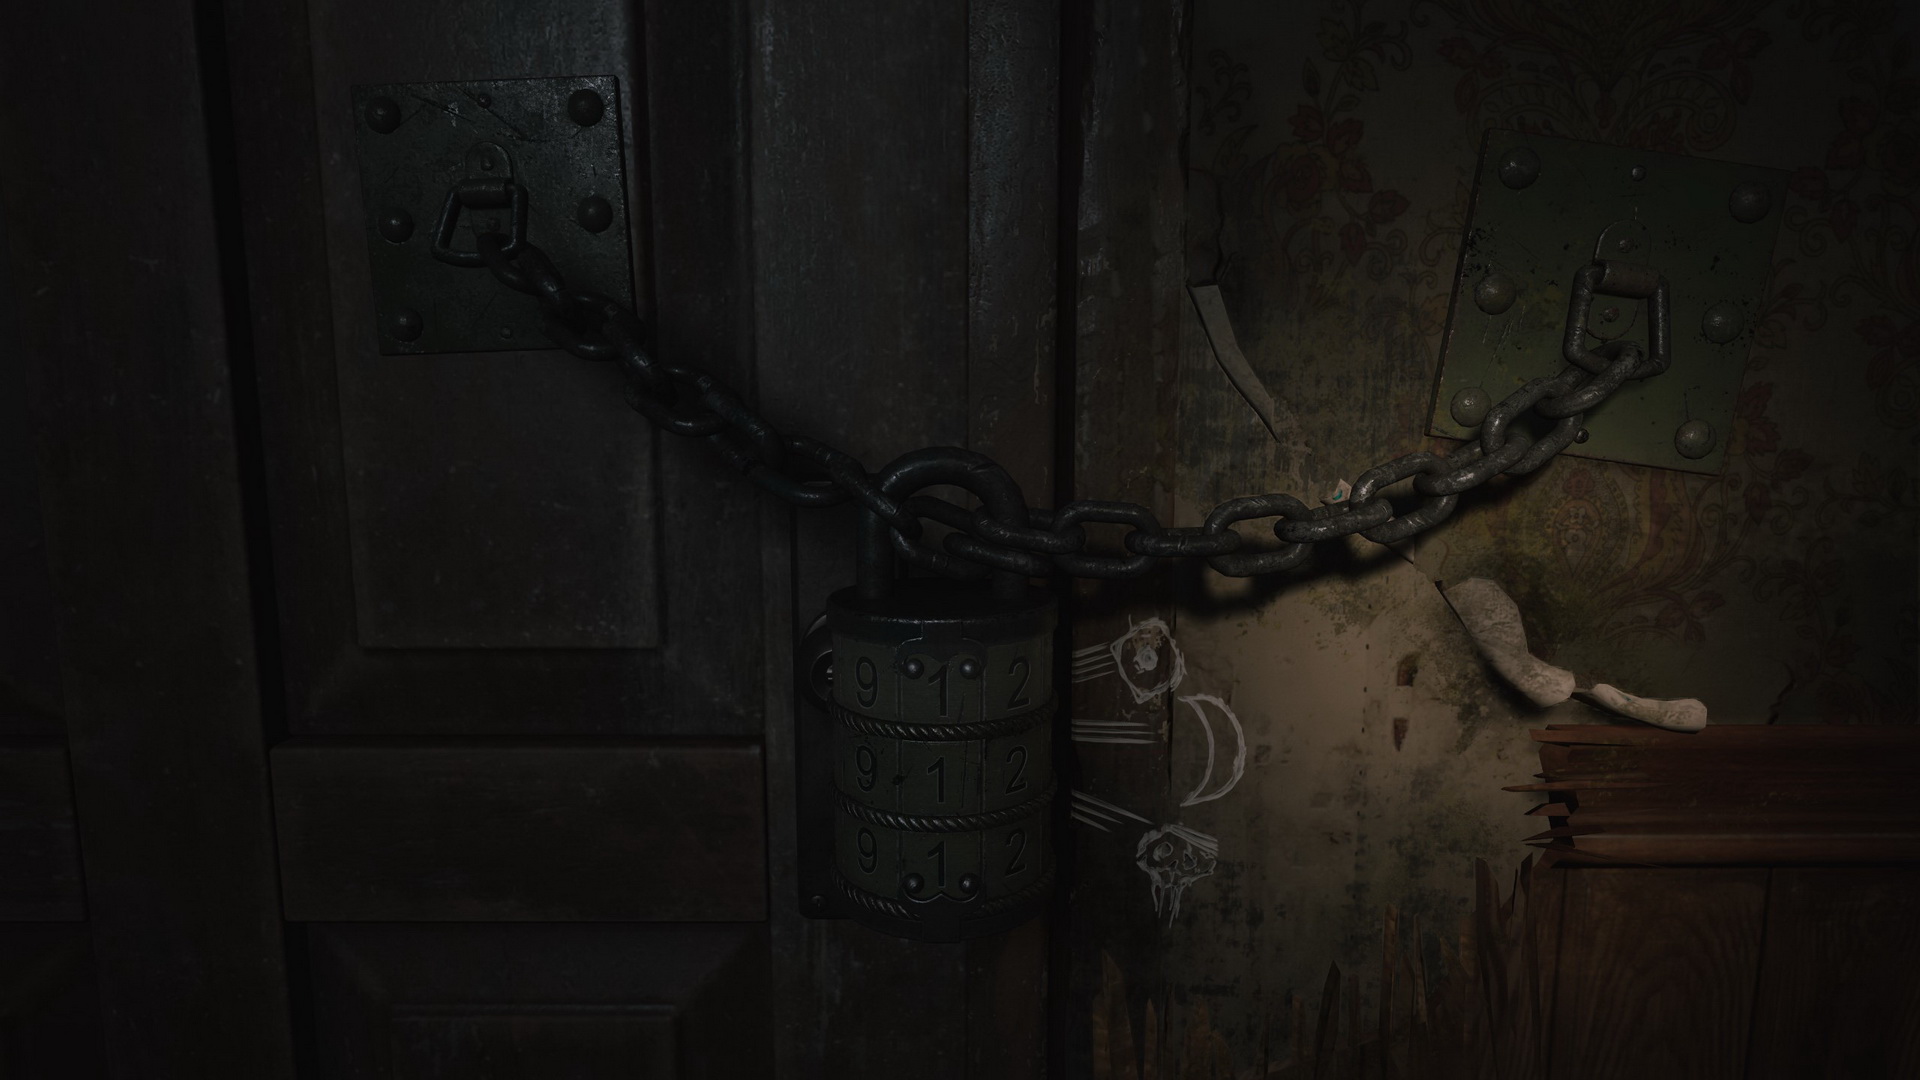
Puzzle: Room 202 Moth Combination Lock
The bedroom door is locked with a combination lock, and next to it is a cryptic mathematical formula containing symbols of three different shapes.
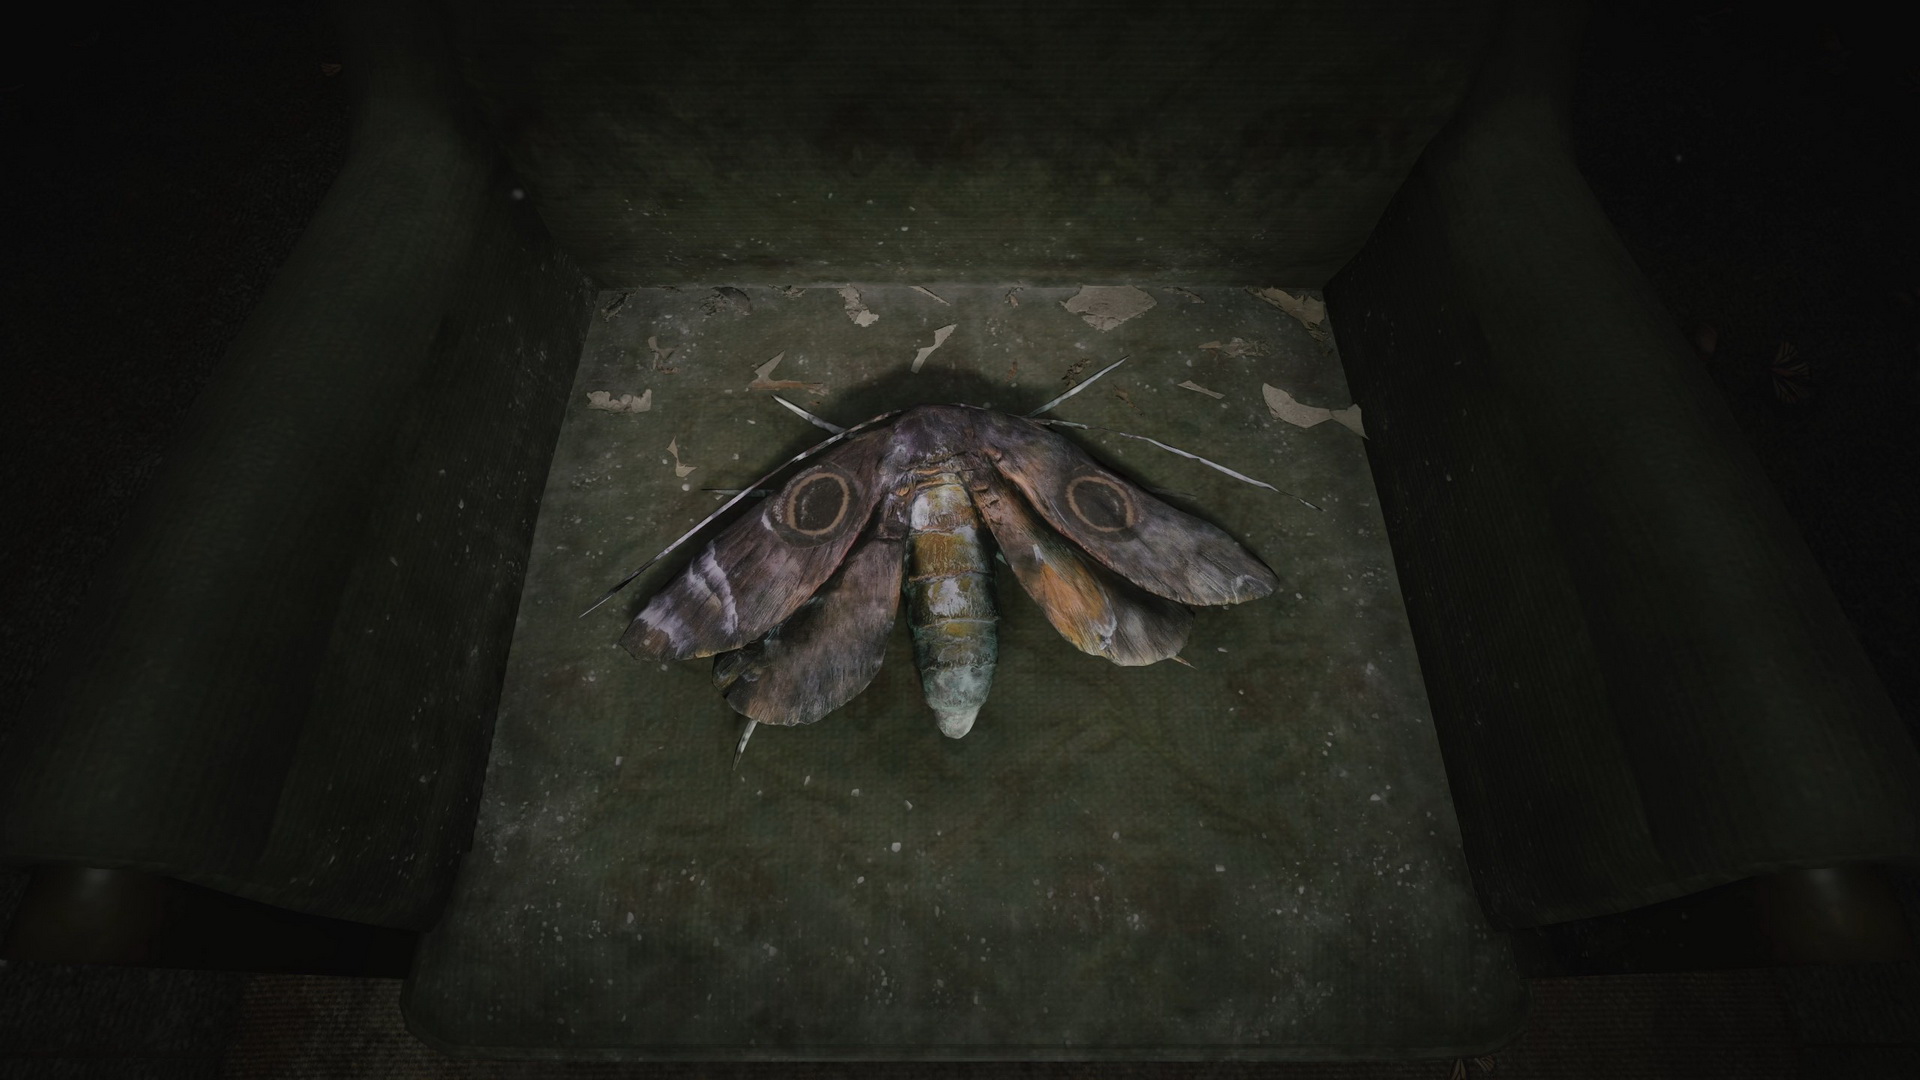
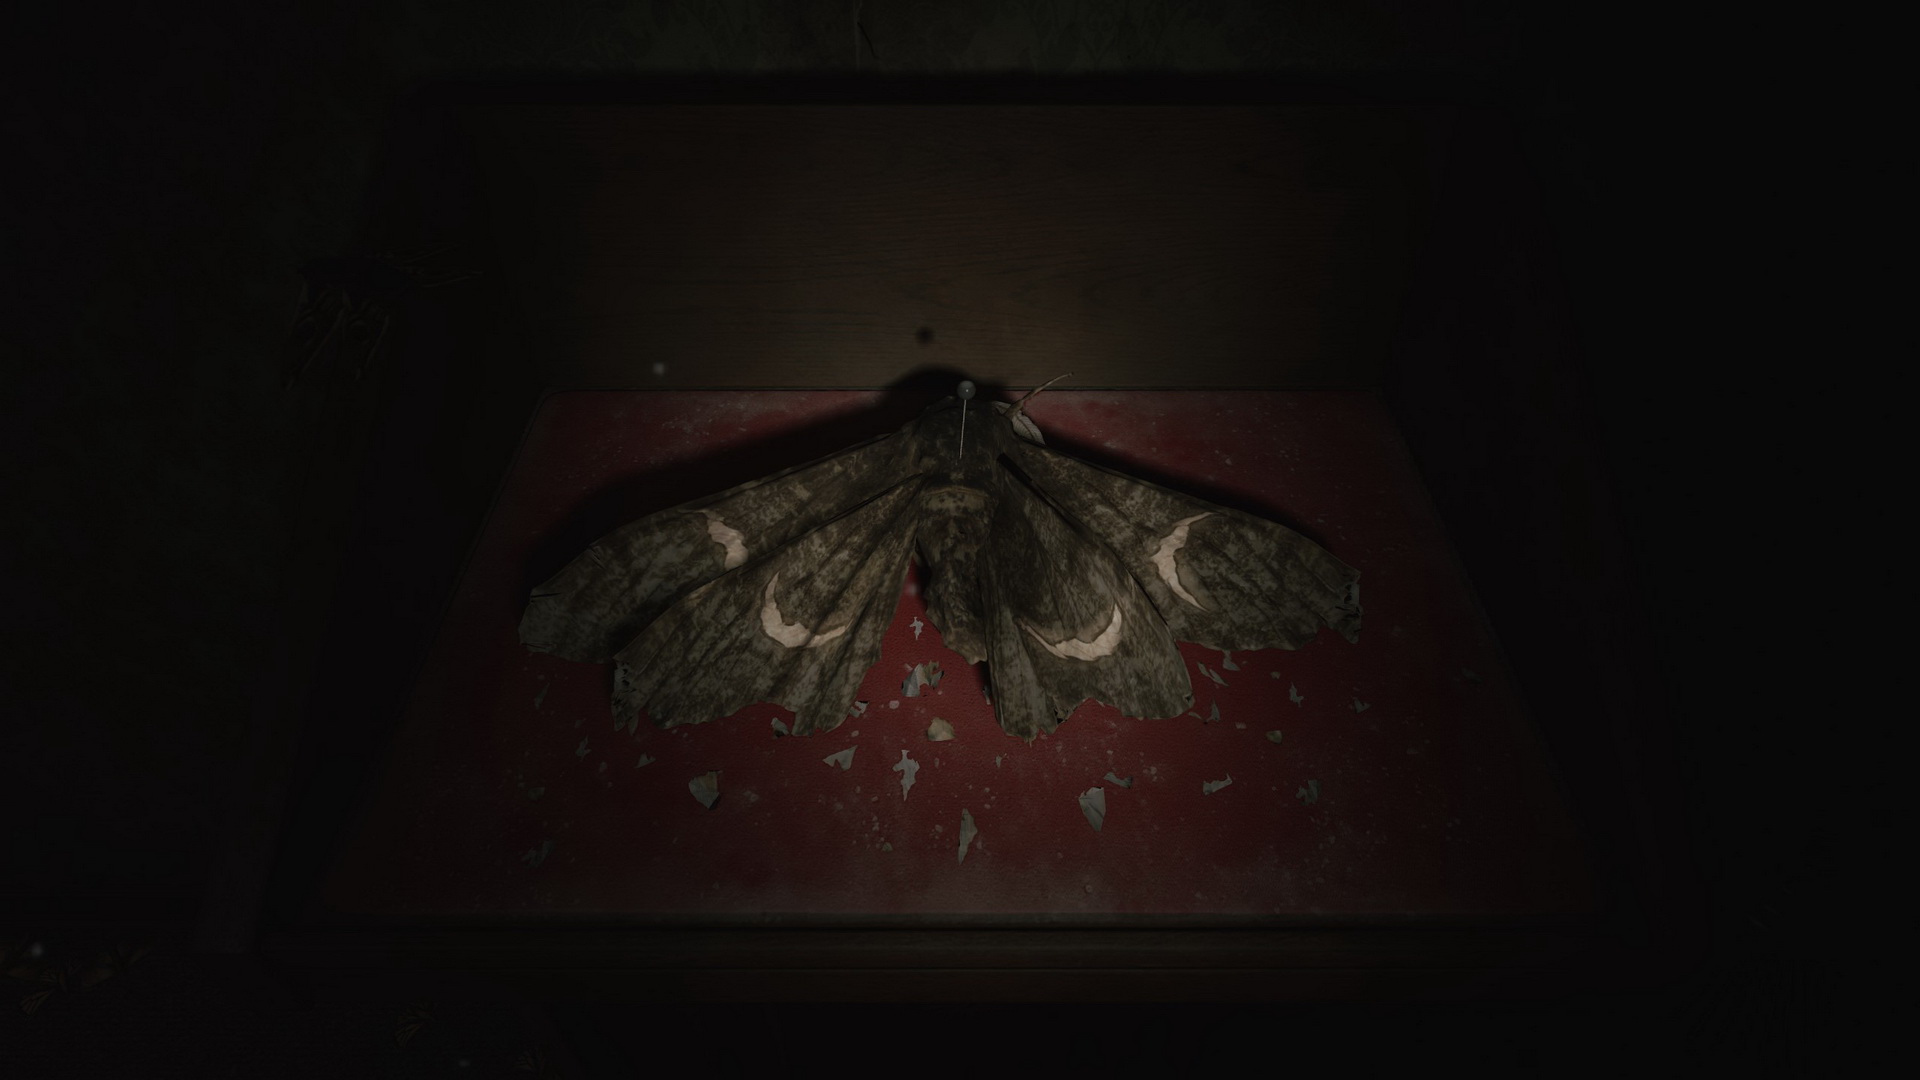
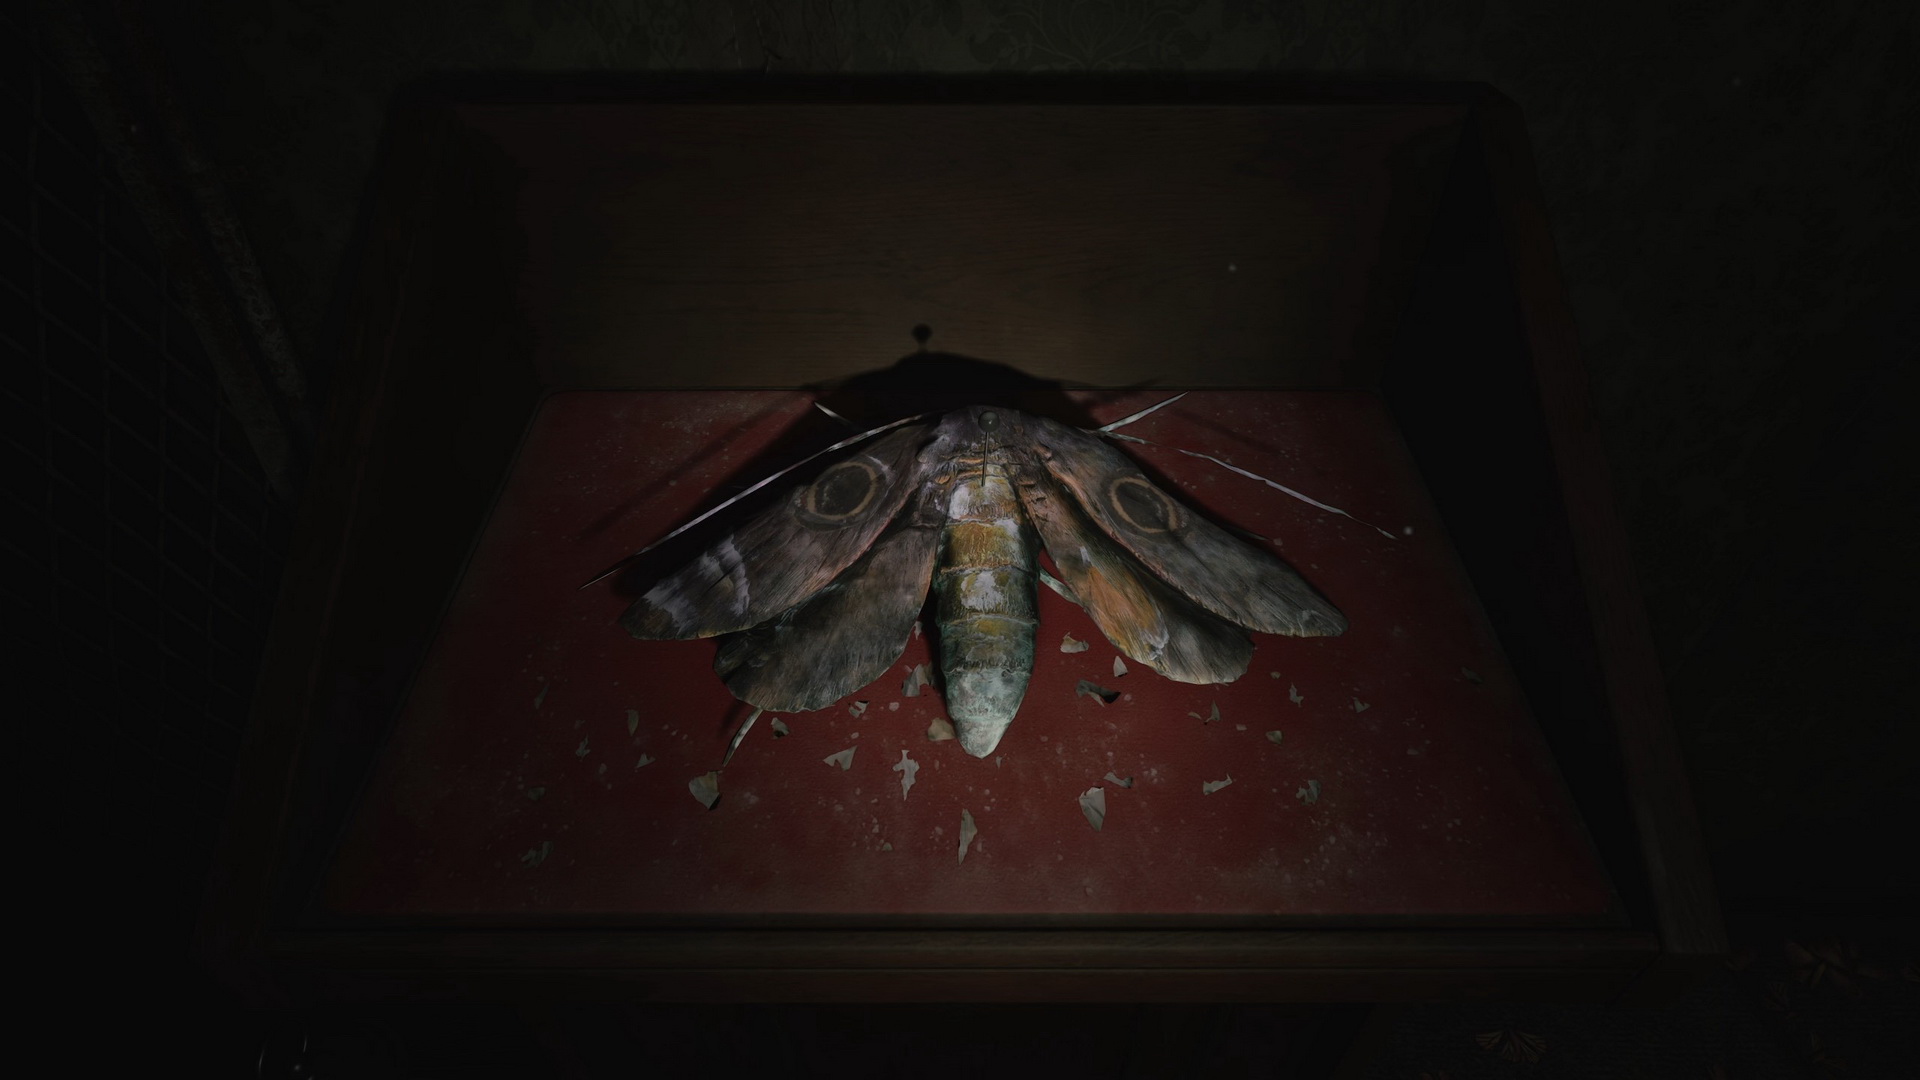
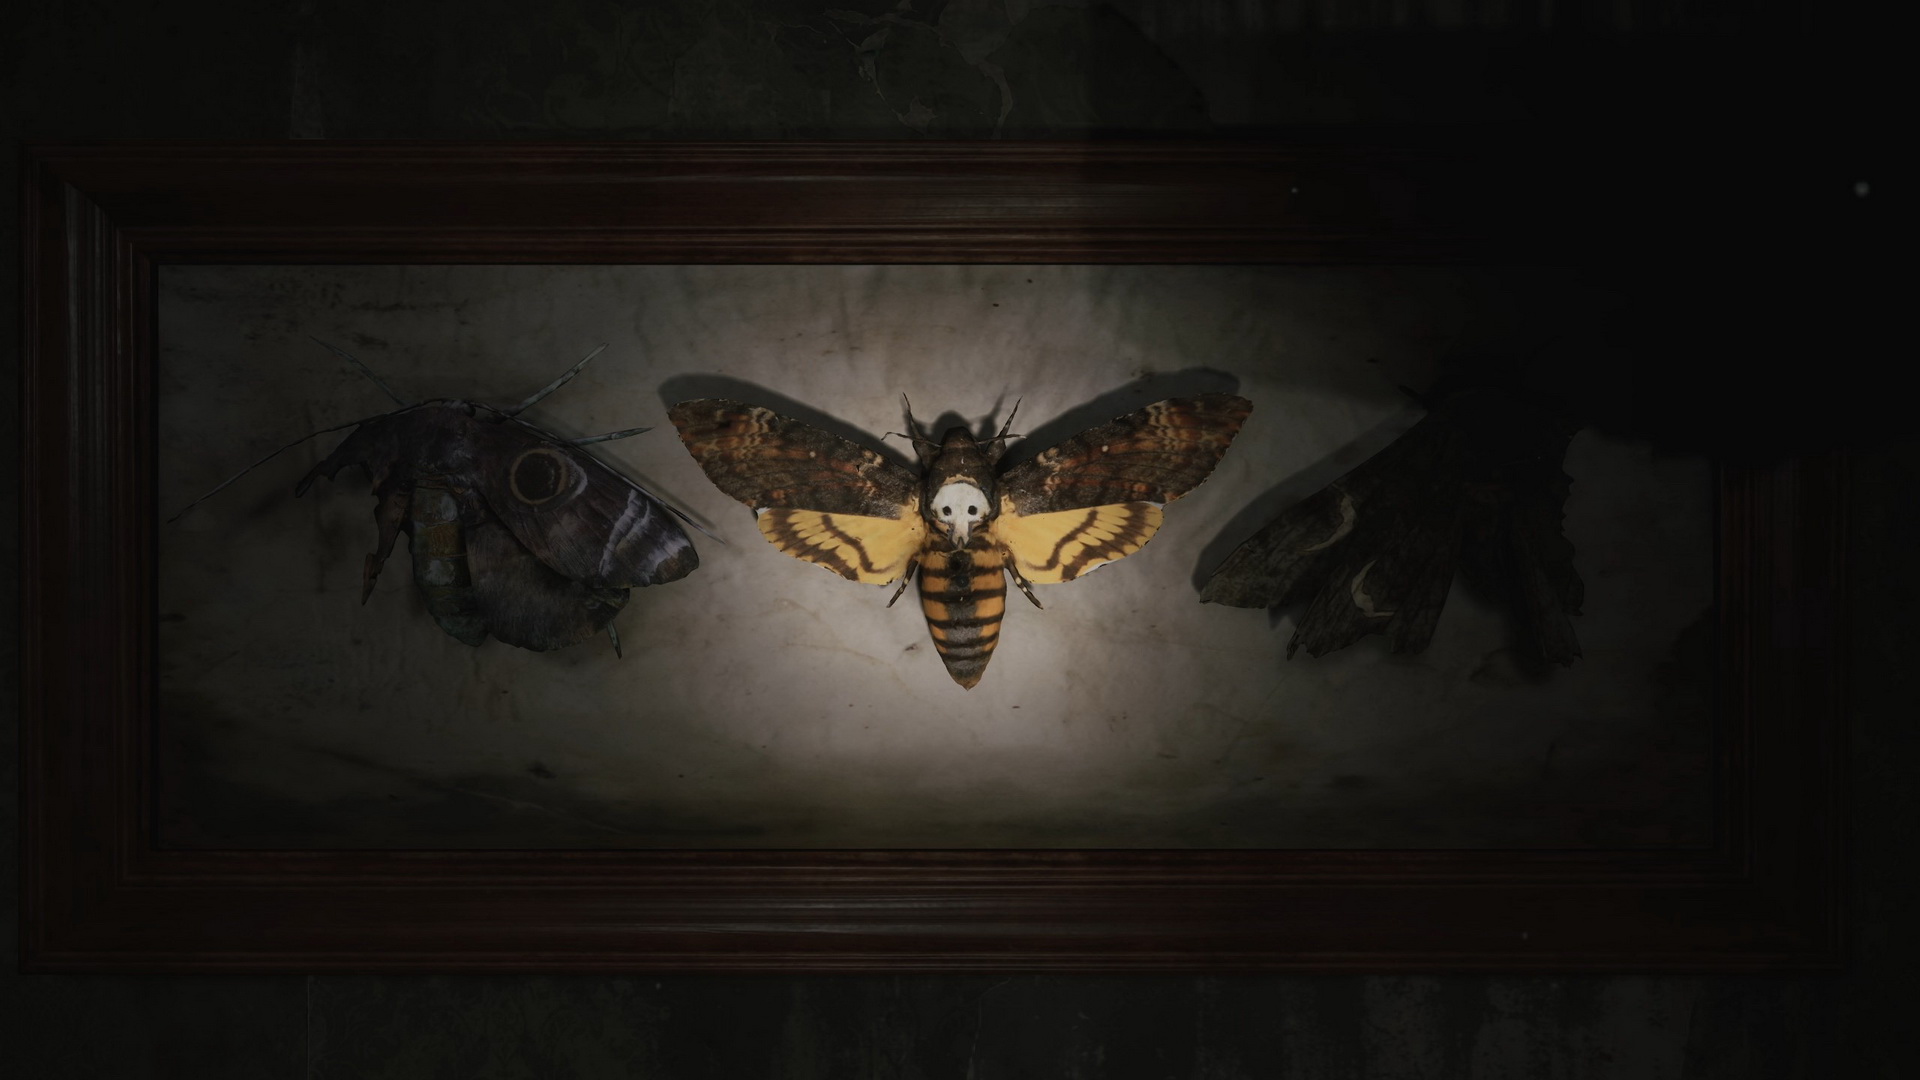
In the same apartment, you will find a collection of moths with the same symbols on their wings, some of which are incomplete. All in all, there are five moth locations:
- One moth in the armchair (2 circles)
- One moth in the glass display on the right (4 crescents)
- One moth in the glass display on the left (2 circles)
- Three moths on the display board (1 circle, 1 skull, 2 crescents)
- Break the wall to get into the back room and push the wardrobe to reveal another display case with two moths (1 skull, 2 crescents)

|
All symbols combined, you will get:
- 8 crescents
- 5 circles
- 2 skulls
Now, we can solve the formula.
Light
 There is no real formula for this difficulty level, as we only need to take the combined counts of each symbol.
The code is 582. |
Standard

The code is 373. |
Hard
The code is 522. |
Enter the correct combination for the corresponding difficulty level to unlock the door.
Enter the bedroom and inspect a hole with a green trail to find the 38 The Second Hand.
Now, you can return to the clock in Apartment 212. We will find the apartment further transformed. We can enter the bedroom, where we'll find a Health Drink on the cabinet and Strange Photo #6: "How the time flies" on the floor.
 |
 |
Now, let's approach the clock and complete the puzzle.
Puzzle: Room 212 Clock (Second Hand)
Light
Follow the graffiti to place the second hand at 15 seconds.
Standard
As previously deduced, the second hand is opposite the hour hand, so place it at 15 seconds.
Hard
The second hand is halfway down between 12 and 6 o'clock, so place it at 15 seconds.
As the clock chimes, we can proceed through the doors on the first floor. On your way there, inspect a monster body in the 2F stairwell landing for the Glimpse of the Past #8.
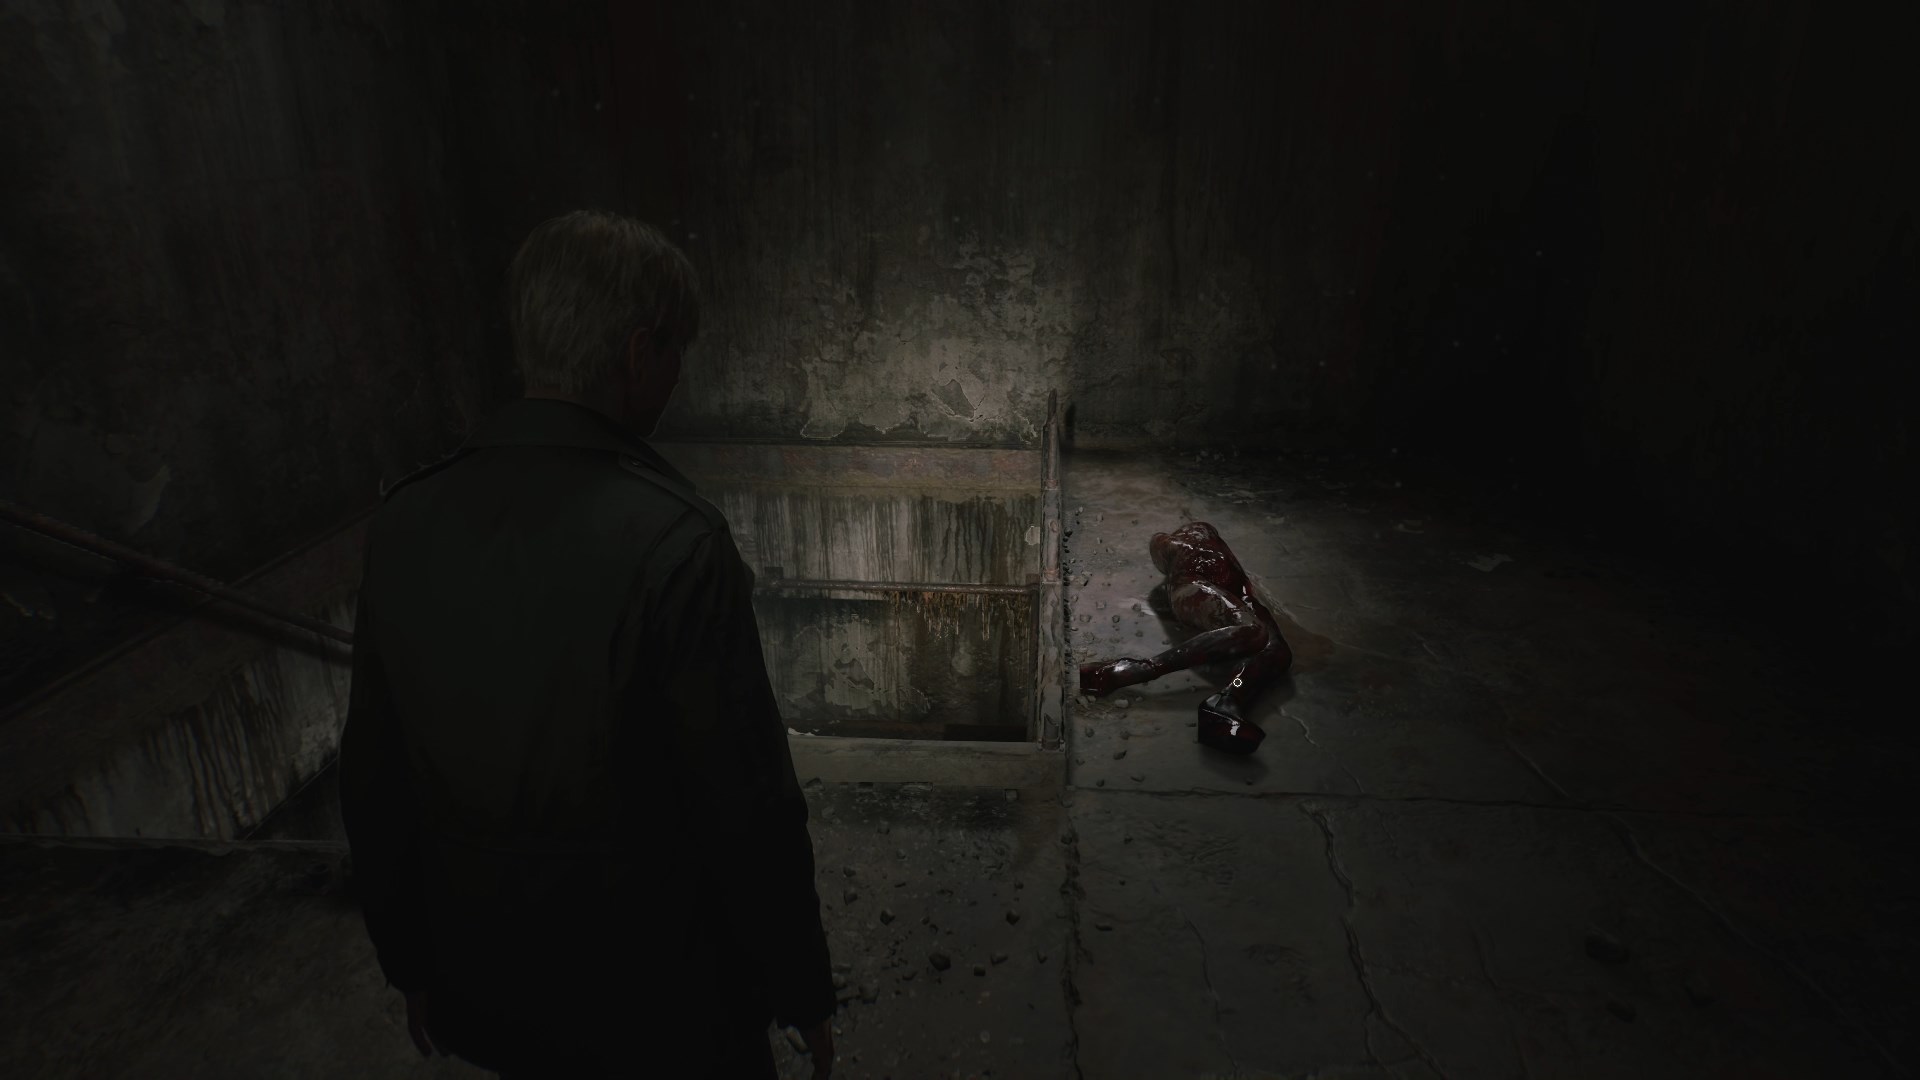 |
 |
First Floor
Enter the double doors with the letter "S" on the first floor for your first boss fight.
Boss: Pyramid Head
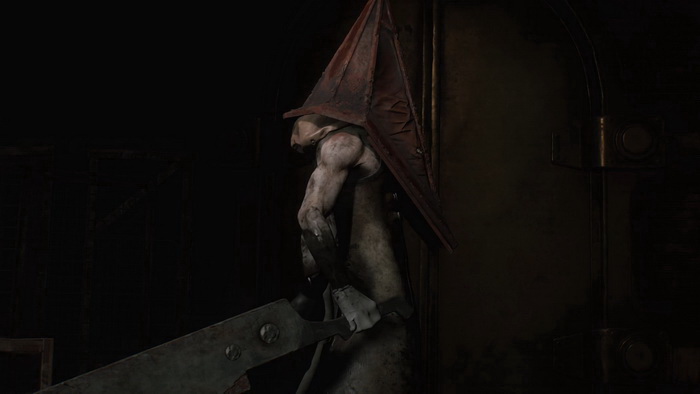
Now, it is time to fight this menacing creature you previously met. Pyramid Head cannot be defeated, and this battle is timed. It will last 3 minutes even if you don't attack the monster (1 minute for the first phase and two minutes for the second phase when he becomes faster and more aggressive). Your choice will also influence the ending – read more in the Endings sections.
So, you can choose one of the two options:
- Actively attack the boss, making the fight end faster.
- Spend the whole 3 minutes not attacking the boss and evading his attacks.
If you fight Pyramid Head, the handgun is your best choice, allowing you to keep your distance, as his melee attacks are pretty strong. Remember that after 1 minute, the boss will become faster and more aggressive, destroying the barricades around the arena that provide you some cover. Stay alert, dodge his attacks, make a few shots from a distance at a time and repeat until the battle ends.

After the boss fight, you can search for the remaining supplies in the room if you skipped some and proceed through the big metal doors to leave the apartment complex.
| 02. Wood Side Apartments | 04. Western South Vale |