Labyrinth
Welcome to the tenth chapter of the complete walkthrough guide for Silent Hill 2 Remake (2024) covering the Labyrinth. Use the key summary below for short, spoiler-free directions and the complete walkthrough section for in-depth guidelines with extra explanations. This walkthrough also includes complete maps with all items and monsters marked for easy reference.
Legend
1 Auto Parts key – key items
2 Radio – equipment
Health Drink – supplies
Map of Silent Hill – maps
Save Point – save points
Flower Shop Message – collectibles: memos, strange photos and glimpses of the past
NG+ – New Game+ items, memos and actions
Contents
Complete Maps |

|
Collectibles count:
- No memos
- 3 strange photos
- 1 glimpse of the past
Key Summary
Elevator
- There's a Save Point after you exit the elevator.
- Follow the corridor and enter the apartment door covered with newspaper sheets.
- After the first boss fight phase, look for the three televisions and smash them.
- Proceed through the labyrinth for the second phase of the boss fight.
- Follow the labyrinth to find yourself in the central area.
Labyrinth Center
- There's a Save Point to the right of the strange hallway.
- Cross the main area and go to the room downstairs for a cutscene.
- Return to the main area to find a rotating cube.
- Rotate the cube to show the symbol of an upward-facing triangle with a cross at the bottom.
- Enter the cube to access the next area.
Rotten Area
- Proceed to the room with a suspended cage and a Save Point.
- Glimpse of the Past #22. From the suspended cage room, go west and find a breakable wall at the end of the path. Break through and examine a broken noose in the room.
- Follow a bloody trail painted on the walls for the correct path.
- 84 Lighter Wick. Find and examine a hole in the wall in the southern area behind a cut bed.
- Go east.
- 85 Iron Key. Inside the desk drawer in a room with an office cubicle.
- From this area go north and then east.
- 86 Lighter Gas. Inside the fridge full of rotten flesh in on of the eastern rooms.
- Unlock the door in the eastern passage with the Iron Key. Squeeze through a hole past the bathtube with boiling water and turn the valve at the end of the long corridor.
- 87 Broken Lighter is inside the broken bathtub.
- 88 Lighter. Combine Broken Lighter, Lighter Gas and Lighter Wick in your inventory.
- Return to the suspended cage and use the Lighter on the rope to break open the ground. Jump through to return to the central area.
Labyrinth Center
- Rotate the cube to show the symbol of a double cross with two circles at the bottom.
- Enter the cube to access the next area.
Desolate/Flooded Area
- There's a Save Point at the start of the area.
- Proceed through the rooms northeast of the save point and go down ladder II.
- Go through the flooded tunnel and climb up ladder I. You will find a handcuffed gate here.
- Proceed to the next area and go down ladder III.
- 89 Small Key is on the box at the end of the flooded path.
- Go back to ladder I and open the handcuffs. Turn the valve to lift the gate and continue the path. Climb into a room to the north and move down ladder IV.
- Climb through a hole to find a wired fence and take the path to the east.
- When you reach the octagonal room with bugs and Pyramid Head, find a room behind the double doors. Break the wall and climb up ladder V.
- 90 Wirecutter is stuck in a power box at the end of this section.
- Strange Photo #20: "Whole world ahead of us". Back in the octagonal area find a ladder VI. Climb up and squeeze into the next room to find this photo on the cabinet.
- Return to the wired fence on the flooded level, use the Wirecutter and squeeze through. Proceed to return to the central area.
Labyrinth Center
- Strange Photo #21: "Your Best Buddy!". Rotate the cube so it shows the scratched-out symbol. Step inside the cube and find this photo on the floor downstairs.
- Rotate the cube to show the symbol of a downward-facing triangle with a cross at the bottom.
- Enter the cube to access the next area.
Ruined Area
- Go through three apartments and fight monsters to proceed (the battles are timed).
- There's a Save Point after the third apartment.
- After coming across Pyramid Head head in the opposite direction through the strange hallway.
- Enter the door for a cutscene.
Labyrinth Center
- Take the Great Knife and go through the strange hallway. Drop the knife once you pass and climb the ladder.
- Proceed until you reach a small cemetery. There's a Save Point here.
- Jump through the leftmost grave.
- Head downstairs and enter the door for the boss fight.
Toluca Lake
- There is a Save Point atop the wooden spool.
- Strange Photo #22: "Road trip!". Before you go with a boat, go around the building to find this on a floor behind the steps.
- Trophy/achievement: Scourge of Toluca Lake. Sit in the boat for 10 minutes before you continue.
- Take the boat and row toward the light.
Complete Walkthrough
Elevator
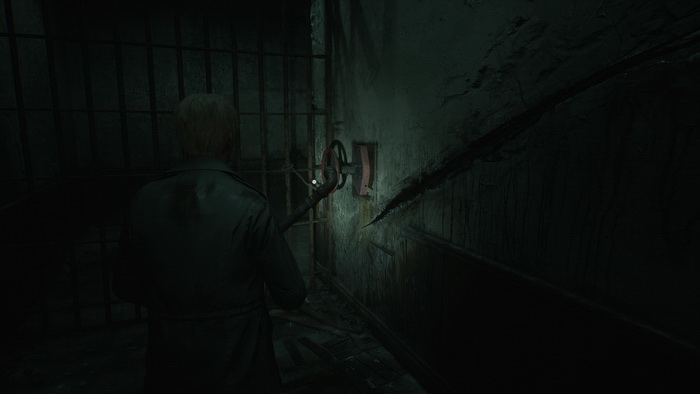
There's a Save Point after you exit the elevator. Follow the corridor. You can read a newspaper article on the floor in the second corridor corner.
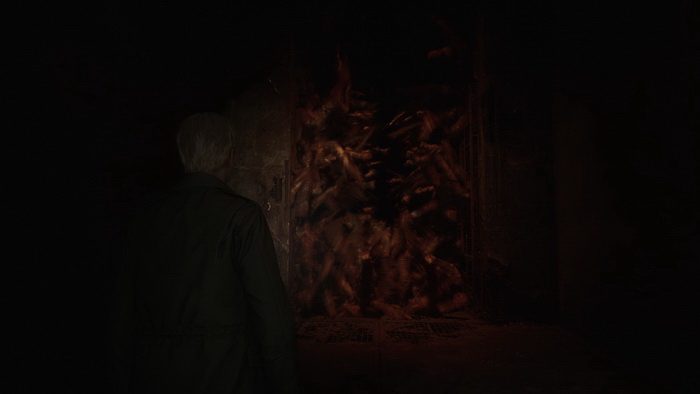
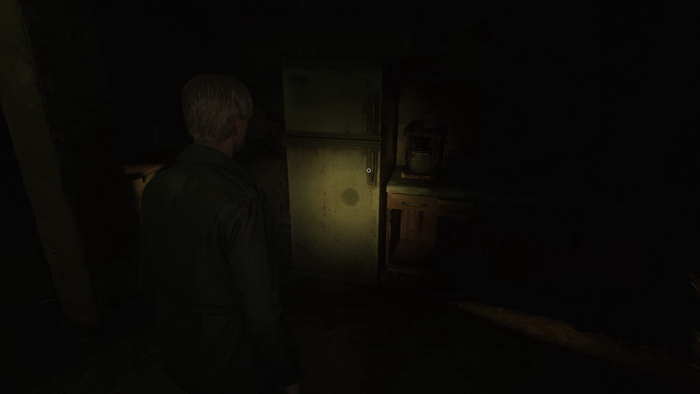
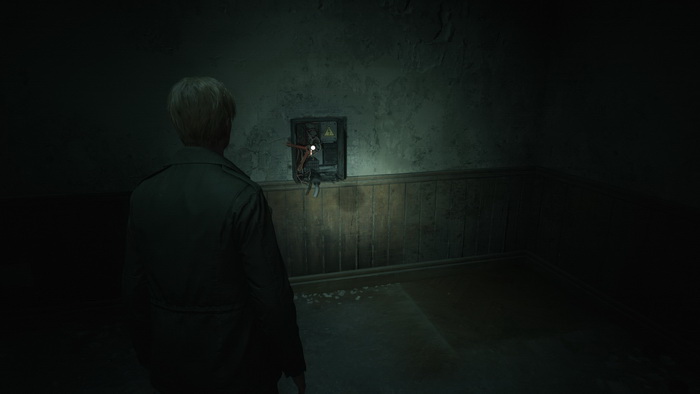
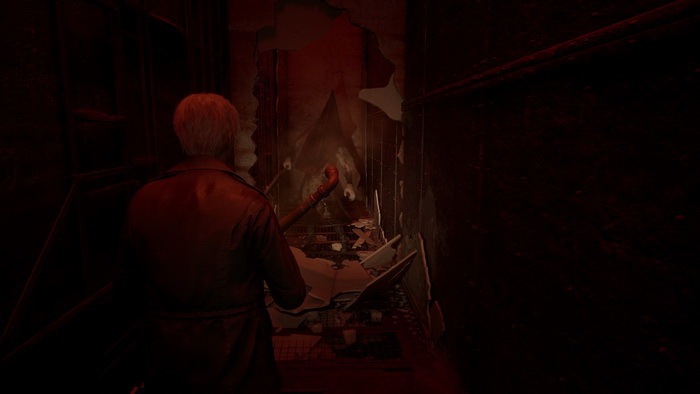
Enter the apartment door covered with newspaper sheets. Pick a Health Drink on a dining table and Shotgun Shells from a kitchen drawer inside the apartment. Pass through the next door and then the door on the left to start a cutscene that will lead you into a boss fight.
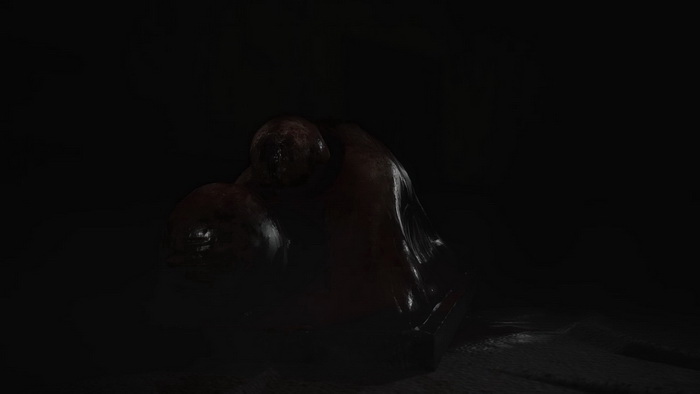
Boss: Abstract Daddy
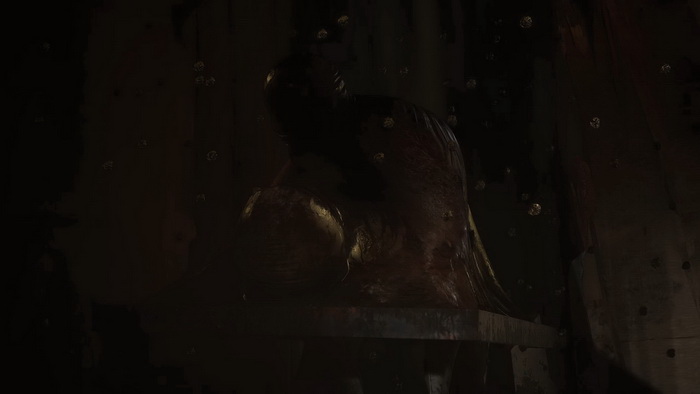
Phase One
After the battle commences, turn around and create some safe distance between you and the monster by navigating the looped maze. Abstract Daddy has only one relatively easy-to-dodge attack: it lunges forward to grab you. It can also emit a sound wave that temporarily stuns James. You are advised to stay away from the monster and use your rifle to shoot at it from a distance. Once you inflict enough damage, Abstract Daddy will disappear.
Finding TVs
Continue along the maze until you spot running Angela. You can grab some Rifle Rounds from where she started, then follow her through a door. Run through the apartment until you see Angela again – she will hide in a small closet that you can inspect, but it's a dead end. Proceed through the door to the left. In the next room, Handgun Ammo is on a table, and Shotgun Shells is on a dresser. Proceed until you find a TV emitting static.
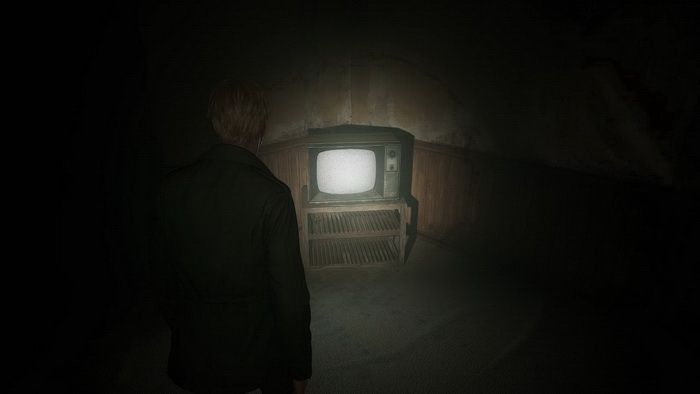
Smash it to summon Abstract Daddy again. Quickly run to the left and escape the room through a wall gap. Proceed through the maze's hallways, dodge the monster again in one of them and squeeze into the next area. Eventually, you will come across the second TV. Smash it, too, to open a new path. Navigate through the collapsing labyrinth to find the third and final TV at the end. Destroy it and head to the final arena. You can grab Rifle Rounds next to a machine on your way there. Pass through a giant fan to start another fight.
Phase Two
You can begin with firing some rifle shots from a distance, but when it gets nearer, you can switch to a shotgun, which will be more suitable here. The boss is relatively slow, so it is not too difficult to dodge its attack by moving around it and making one or two shotgun blasts between its plunges. Repeat the process until the monster is down.
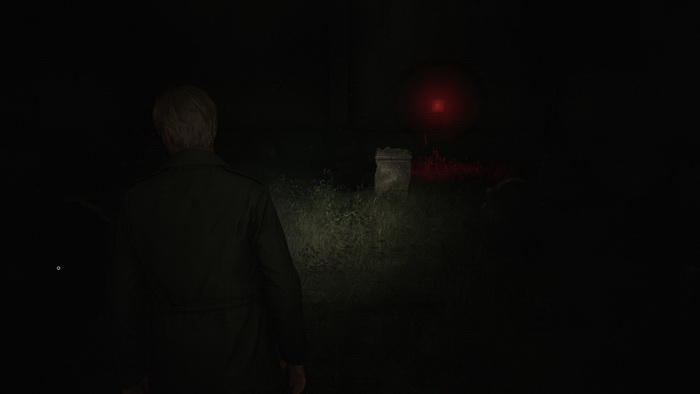
After the cutscene, follow the maze to find yourself in the labyrinth's central area.
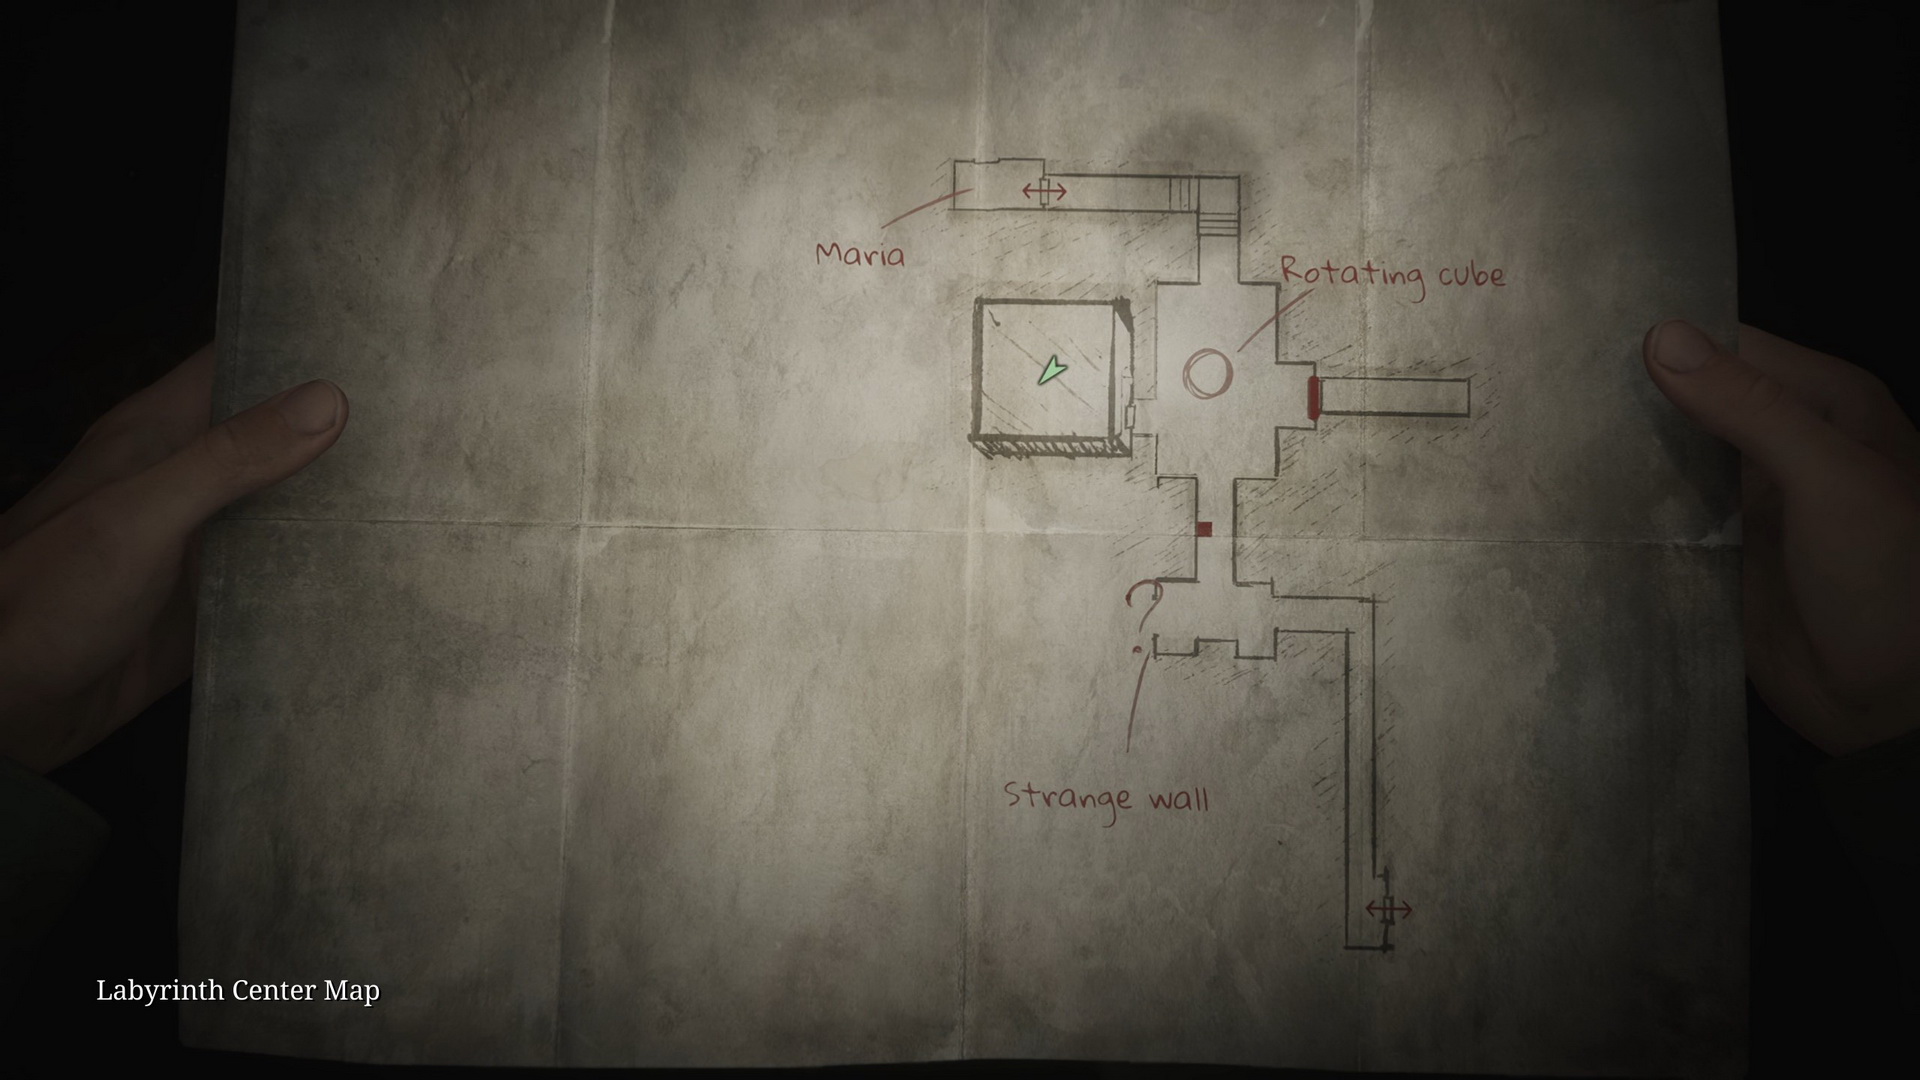
Labyrinth Center
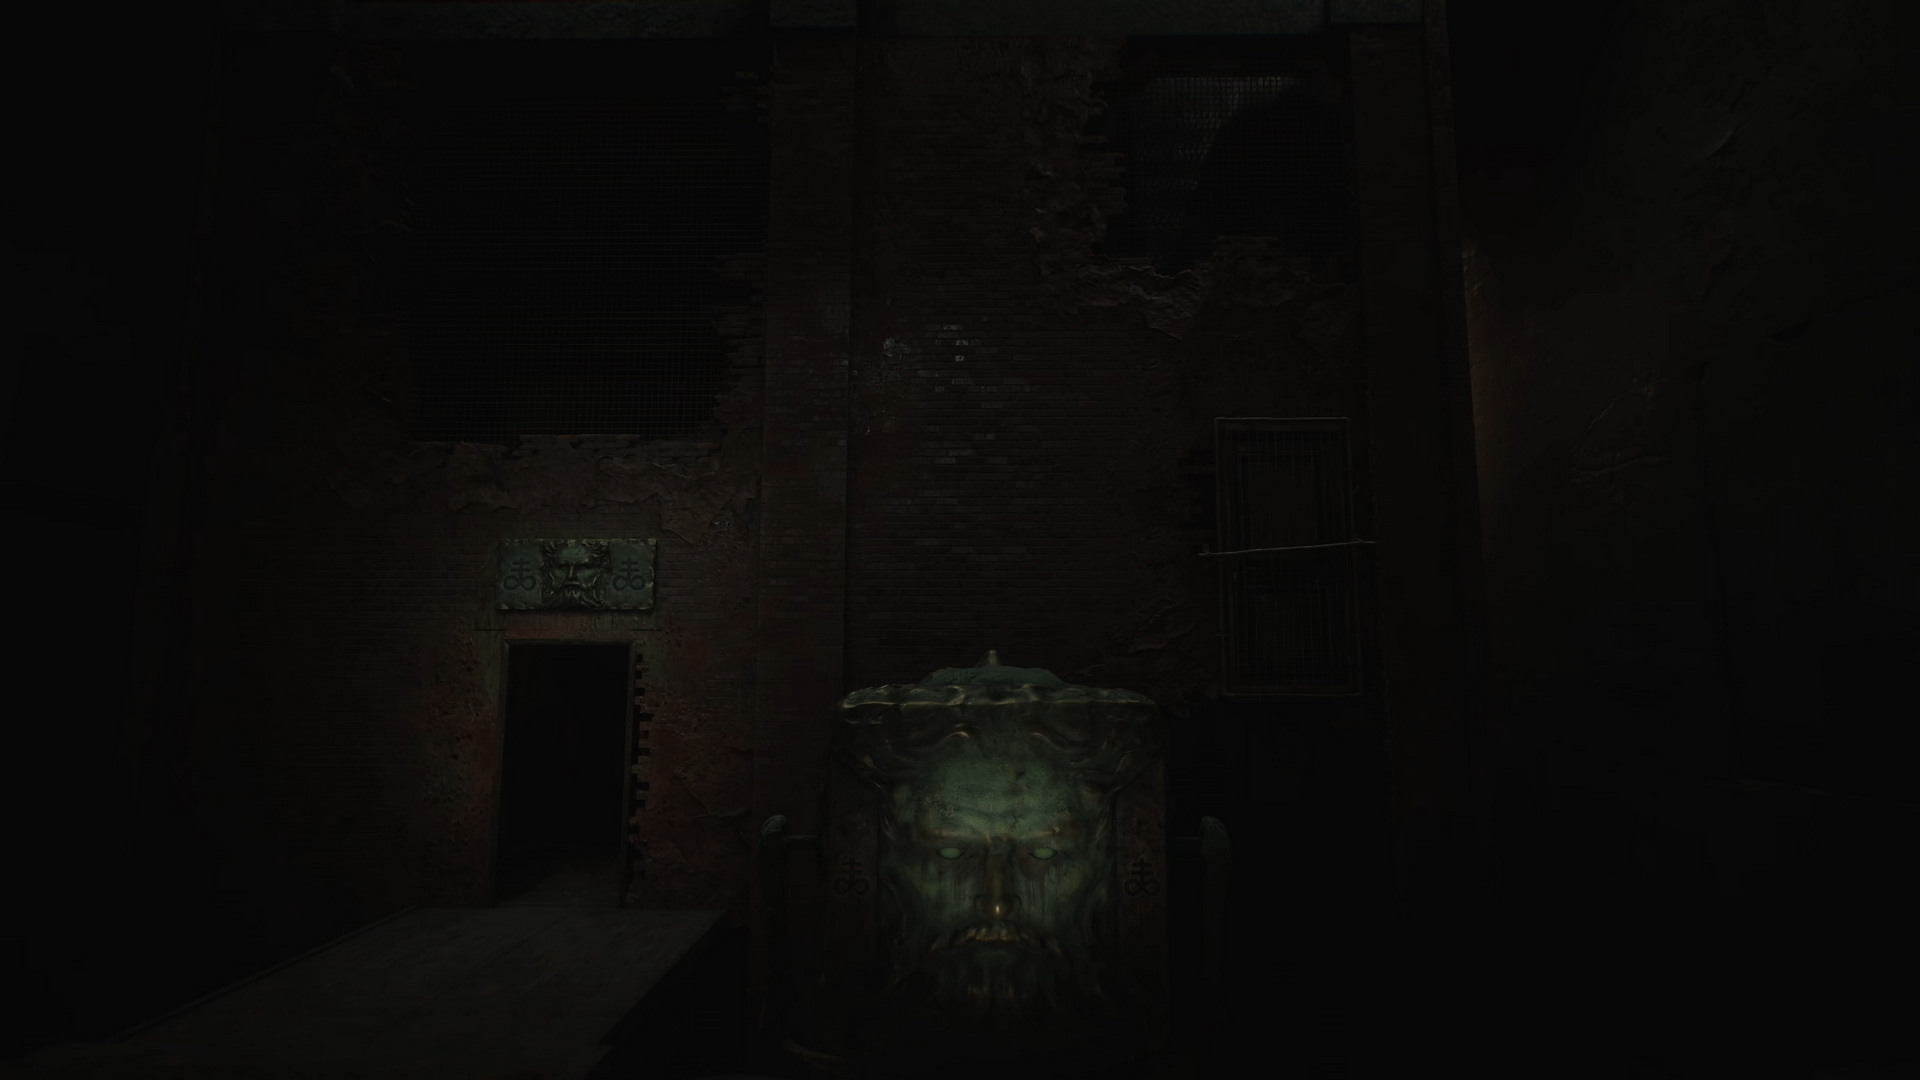
James will automatically draw maps of this area. Follow the corridor, and you will come across an impassable strange wall.
To the right, you will find a Save Point. Cross the central area and enter a room downstairs for a cutscene.
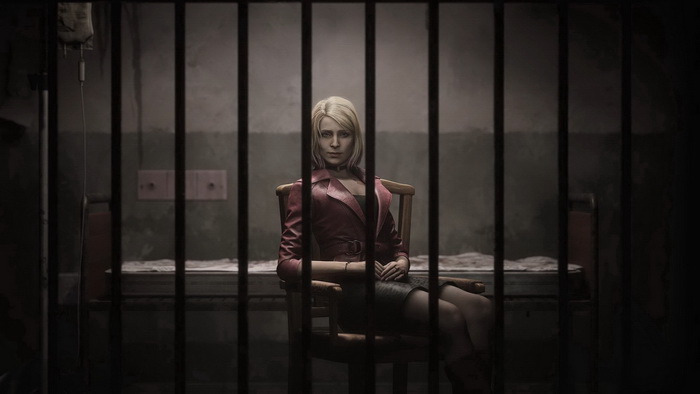
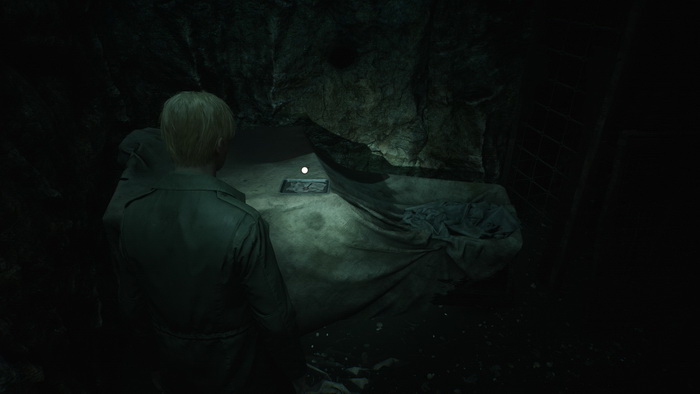
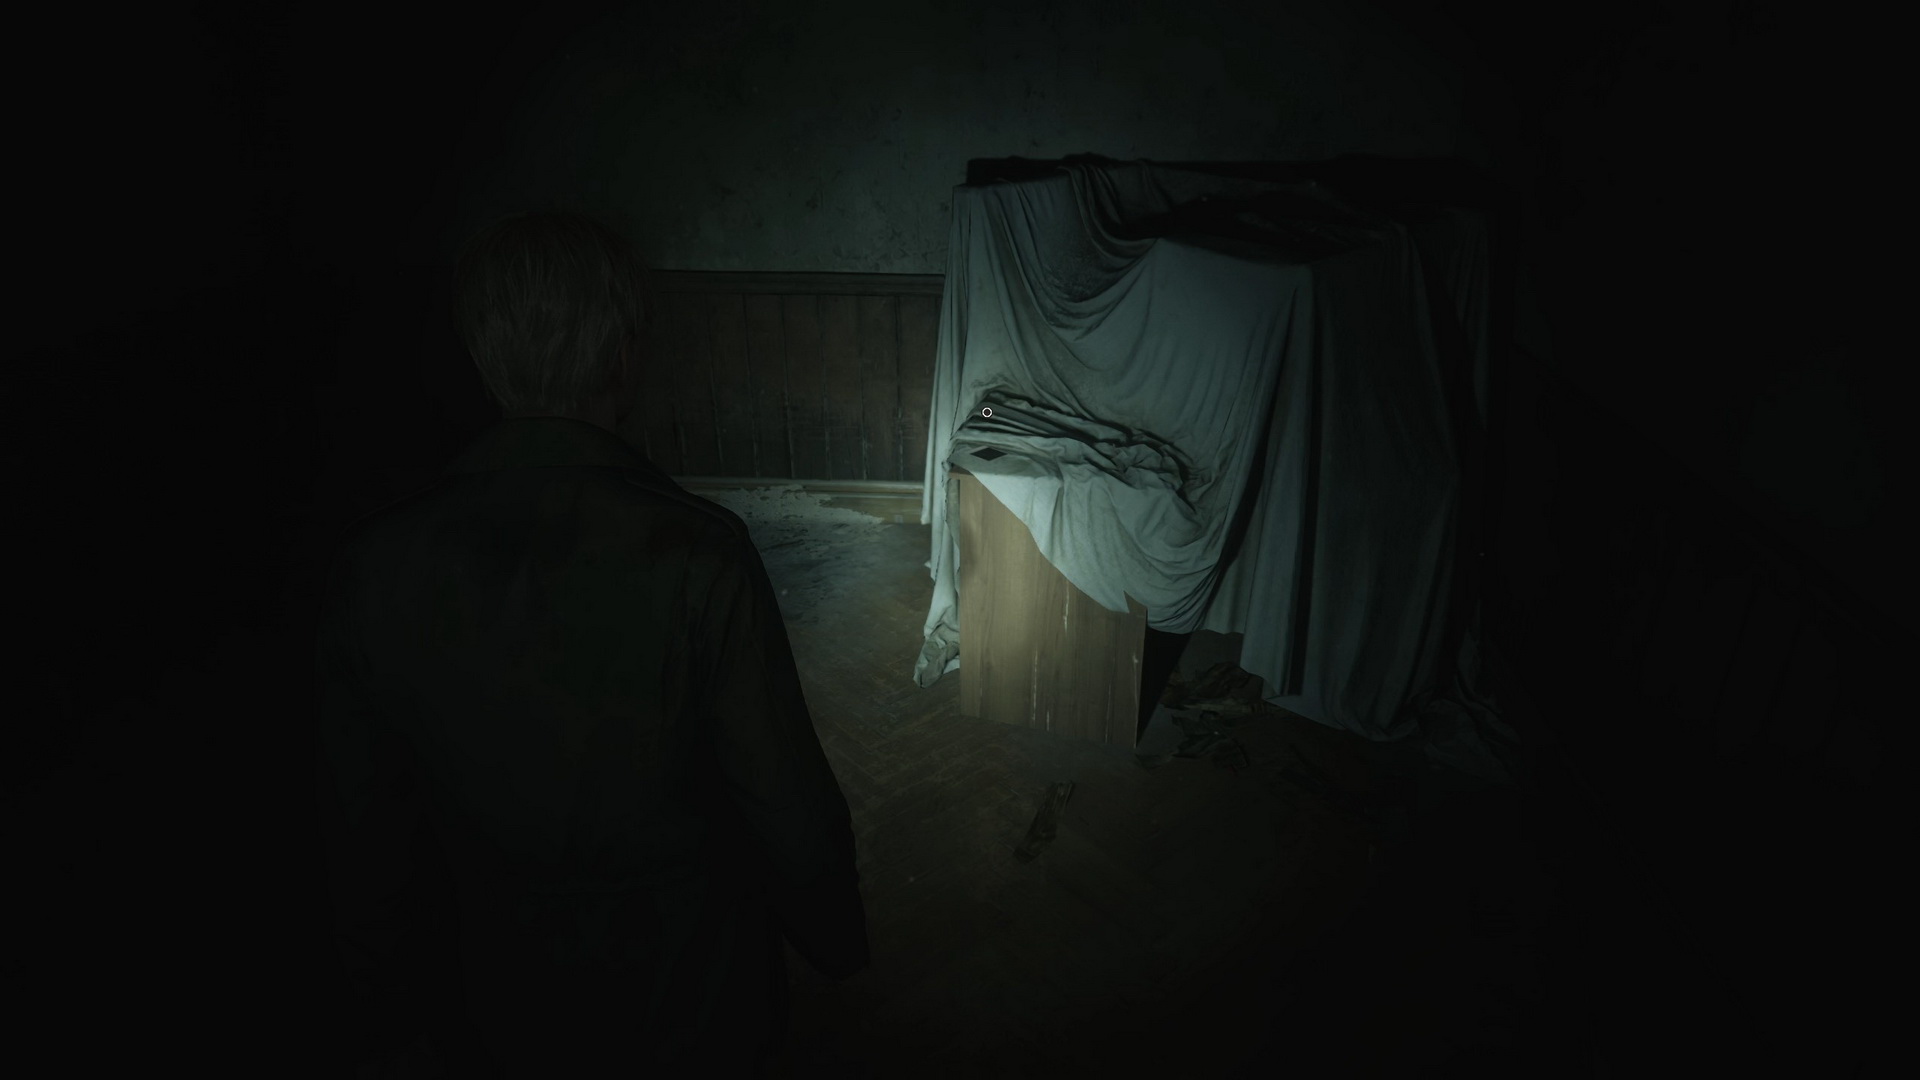
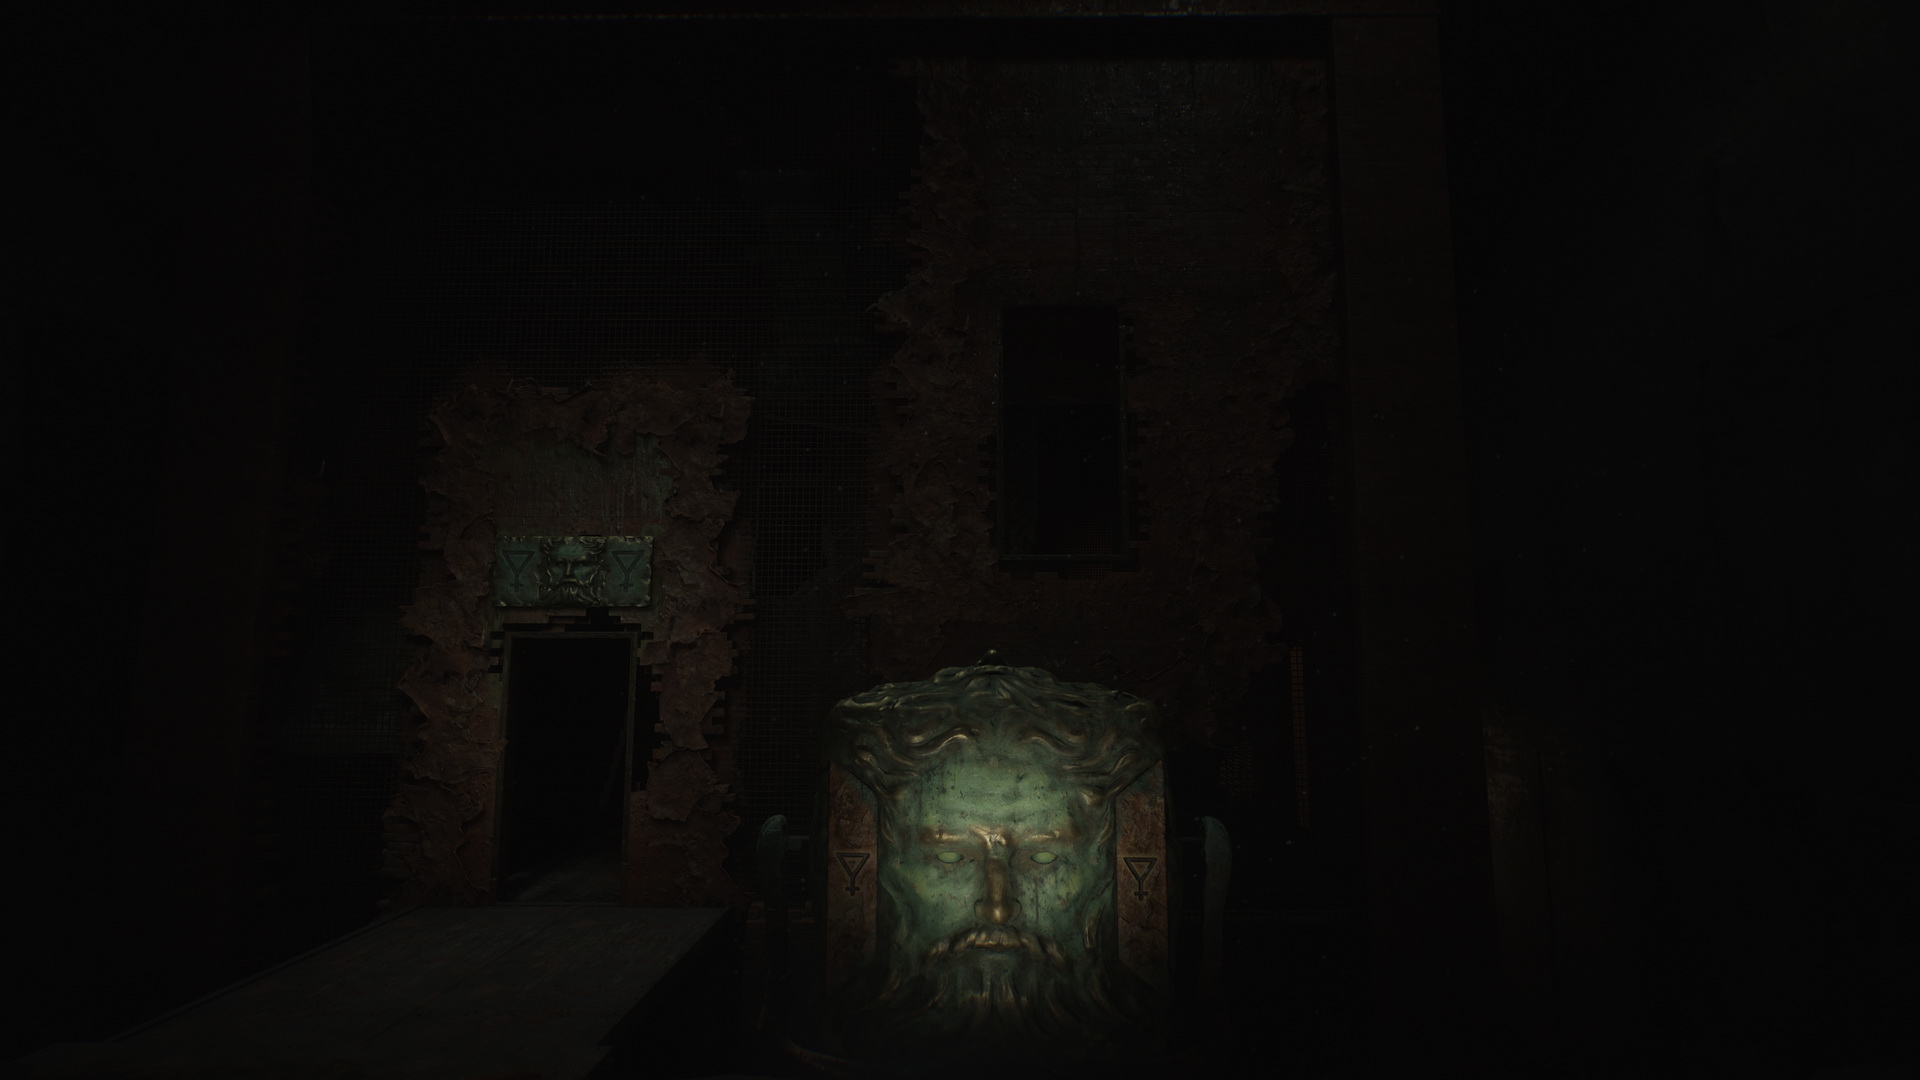
You need to find a way to be reunited with Maria. It will take some time and effort to do so. Return to the central area to find a cube beneath a cloth.
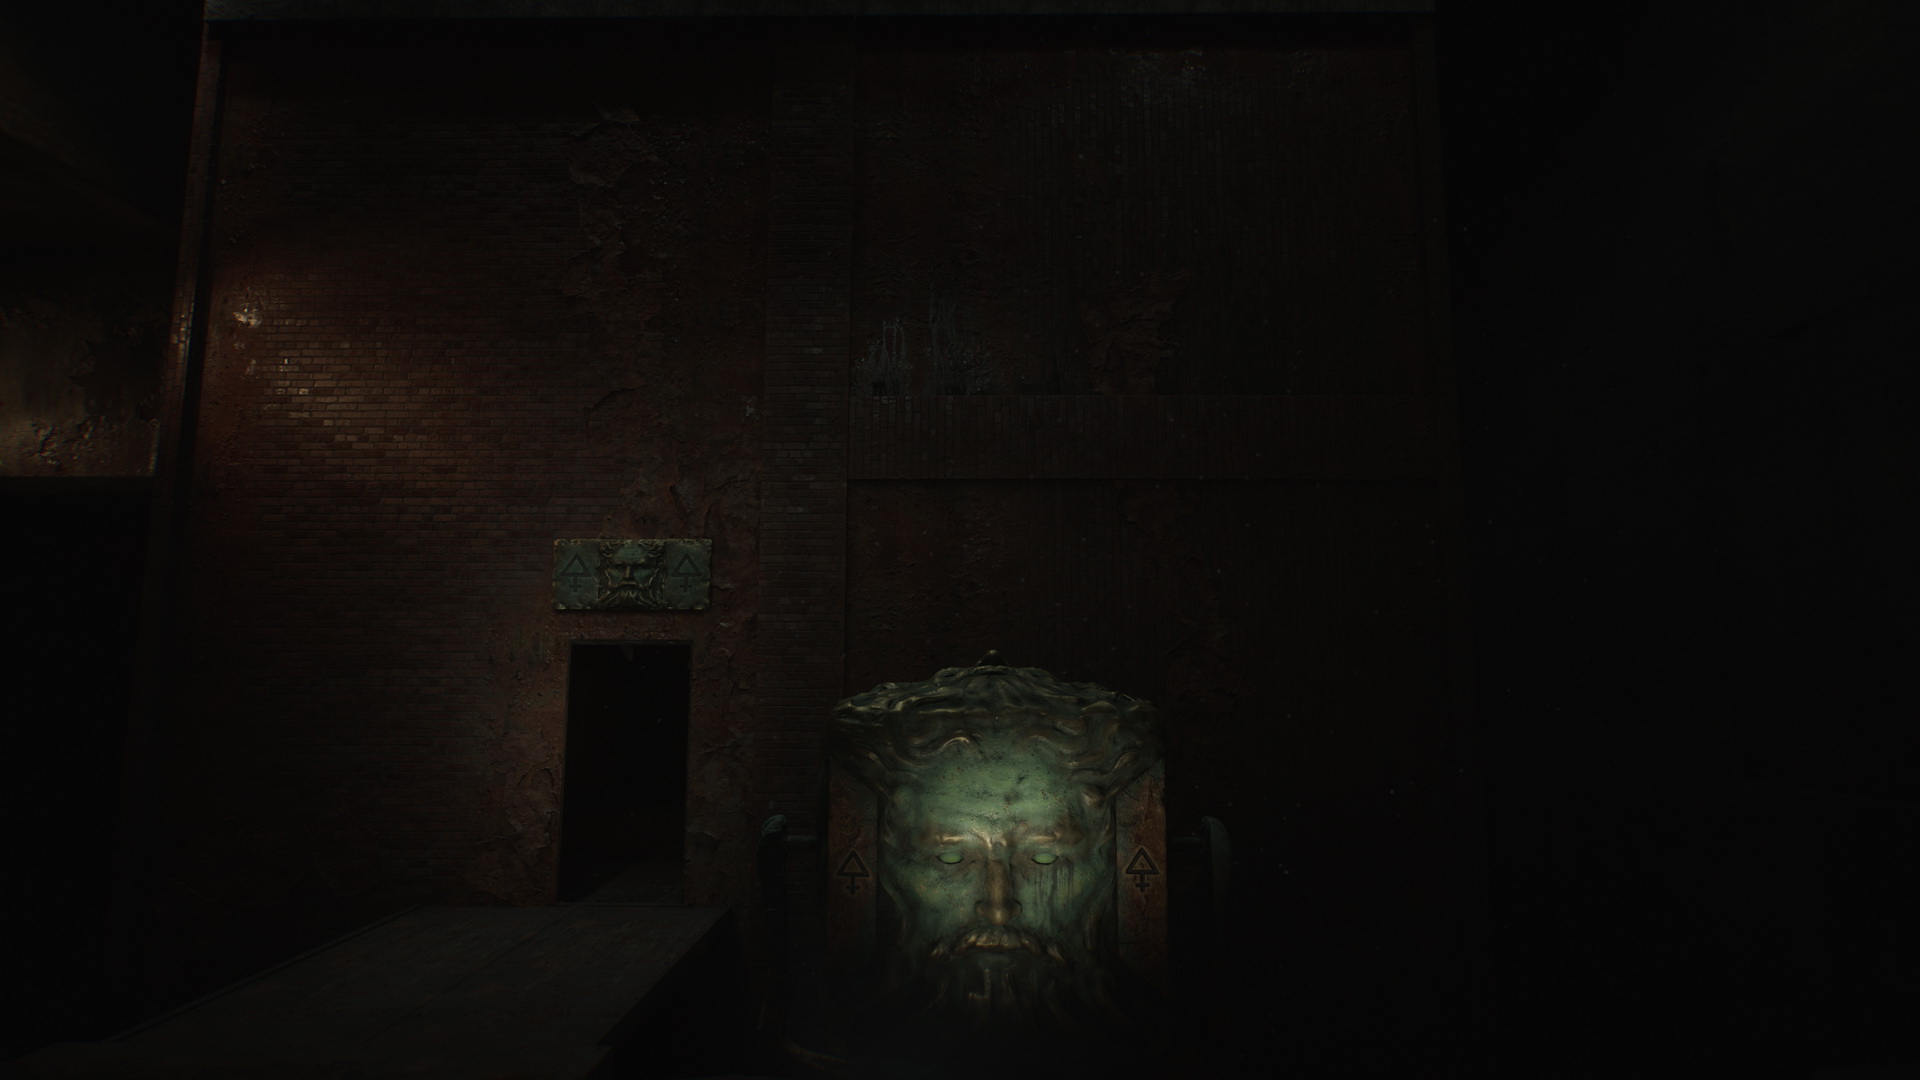
Rotating Cube Puzzle: Accessing the First Area
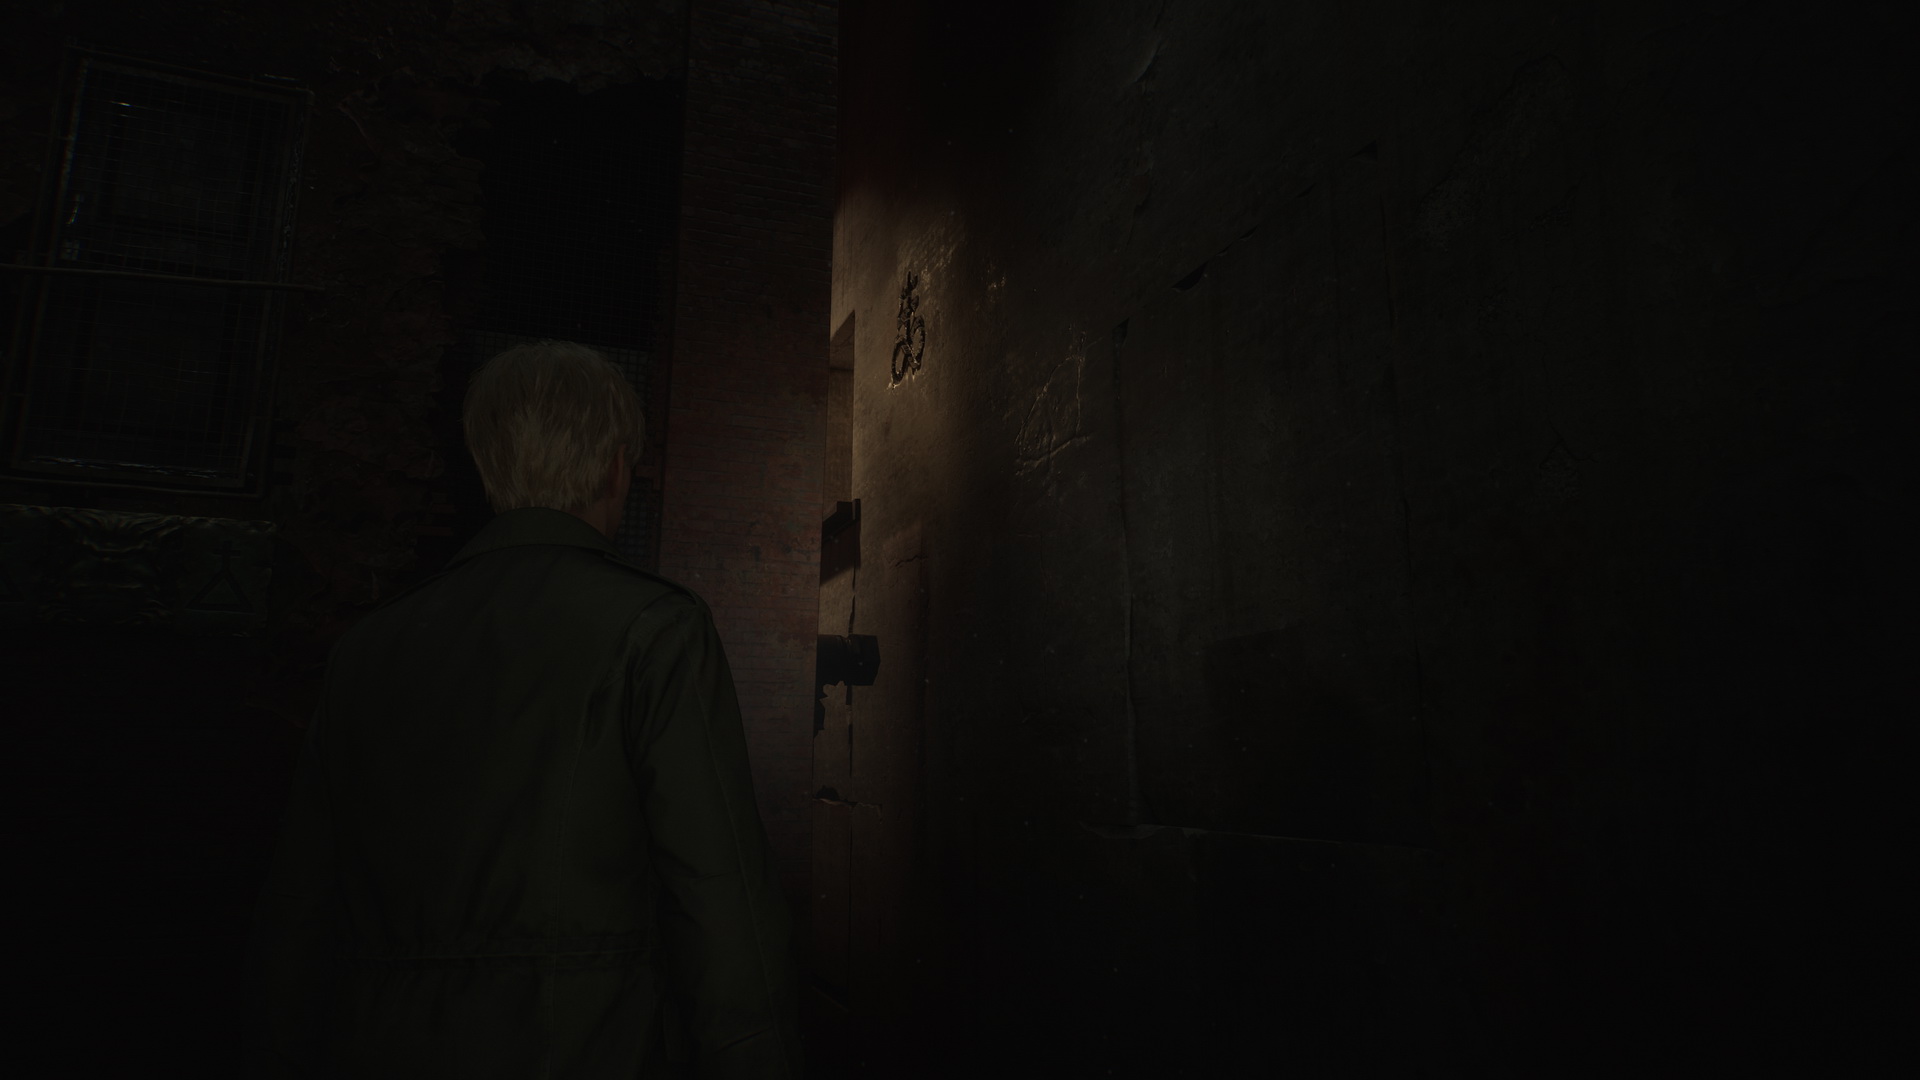
Rotation of the smaller cube controls the giant cube that you will need to enter by setting it into the correct position. The big cube has doorways accompanied by symbols on all sides. You will find the same symbols on the smaller cube. You will need to find a currently open doorway and place it so it appears in the bottom left corner so you can enter it. Looking around the area, you will see a symbol on the wall to the left of the giant cube. That's your hint.
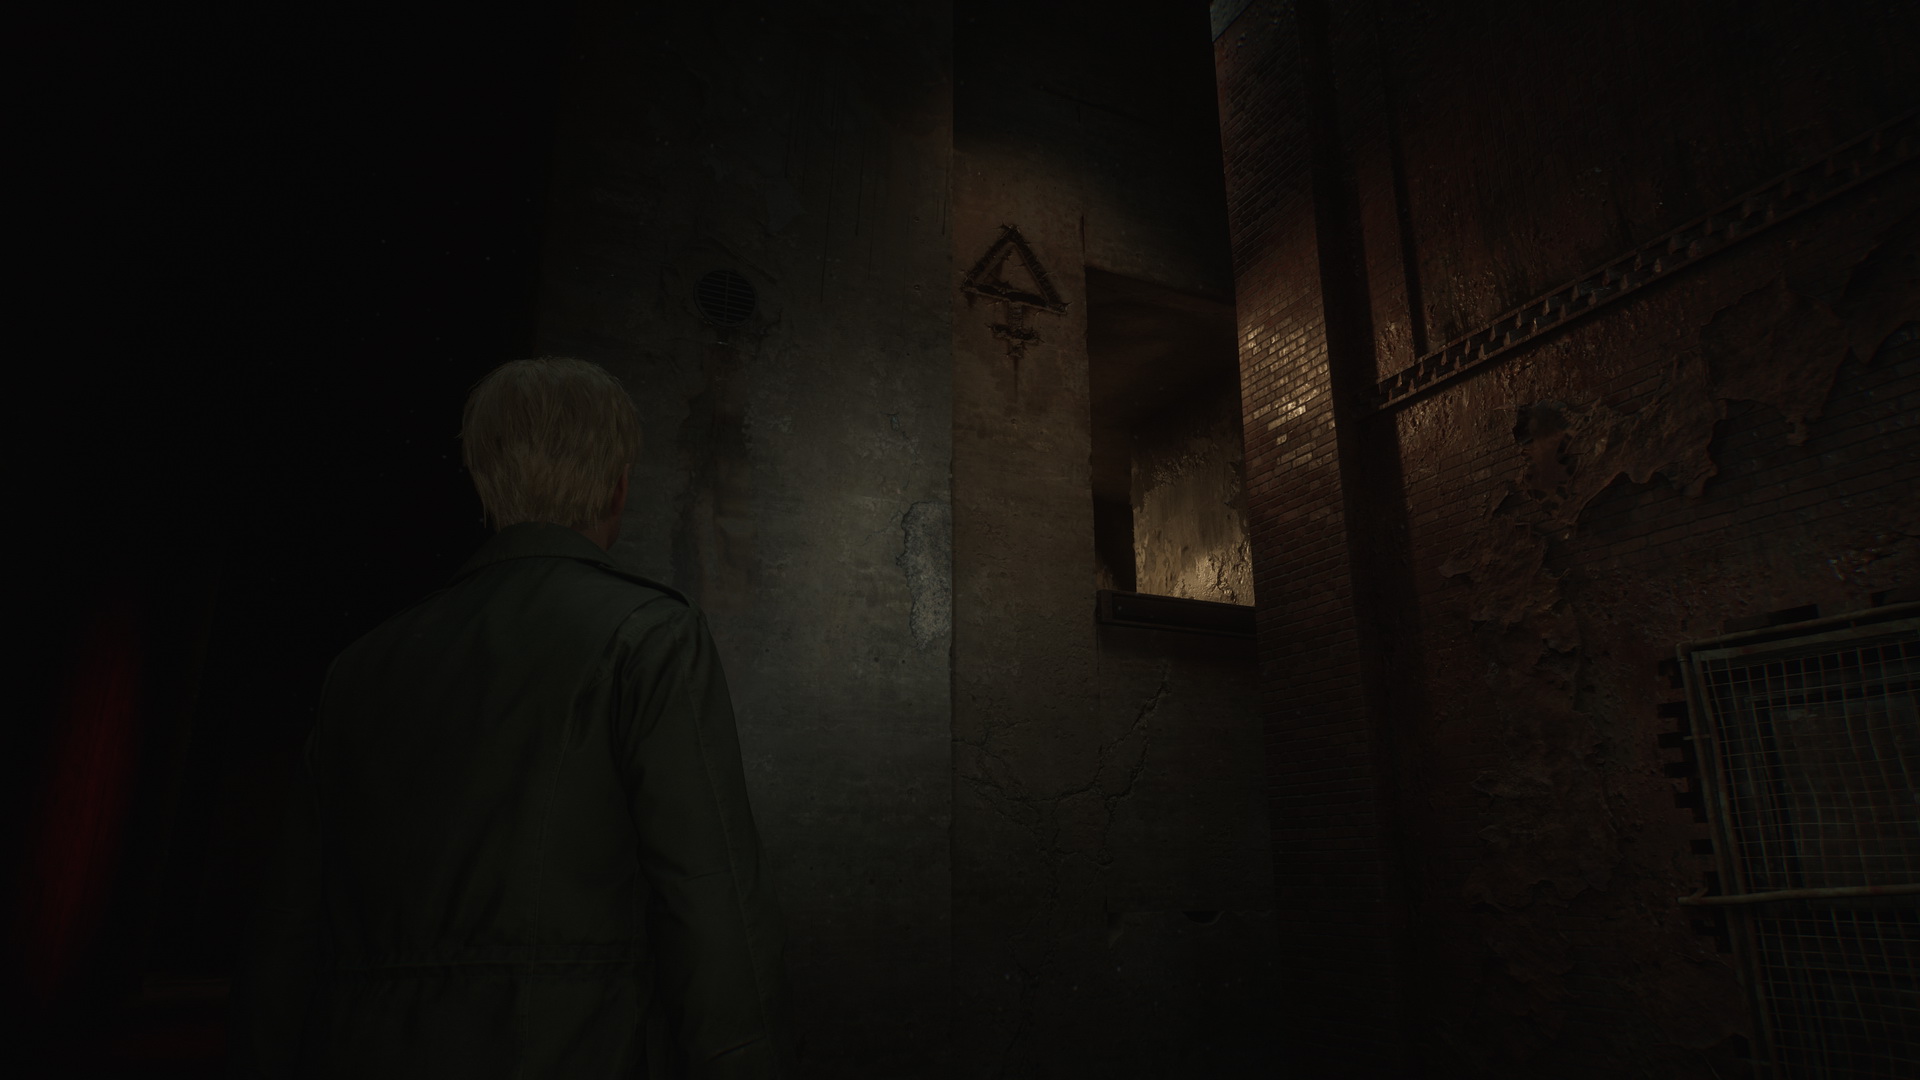
Press right-right-down to rotate the cube to show the symbol of an upward-facing triangle with a cross at the bottom.
Enter the cube and go upstairs. Follow the corridor and enter the door to the left to access the next labyrinth area.
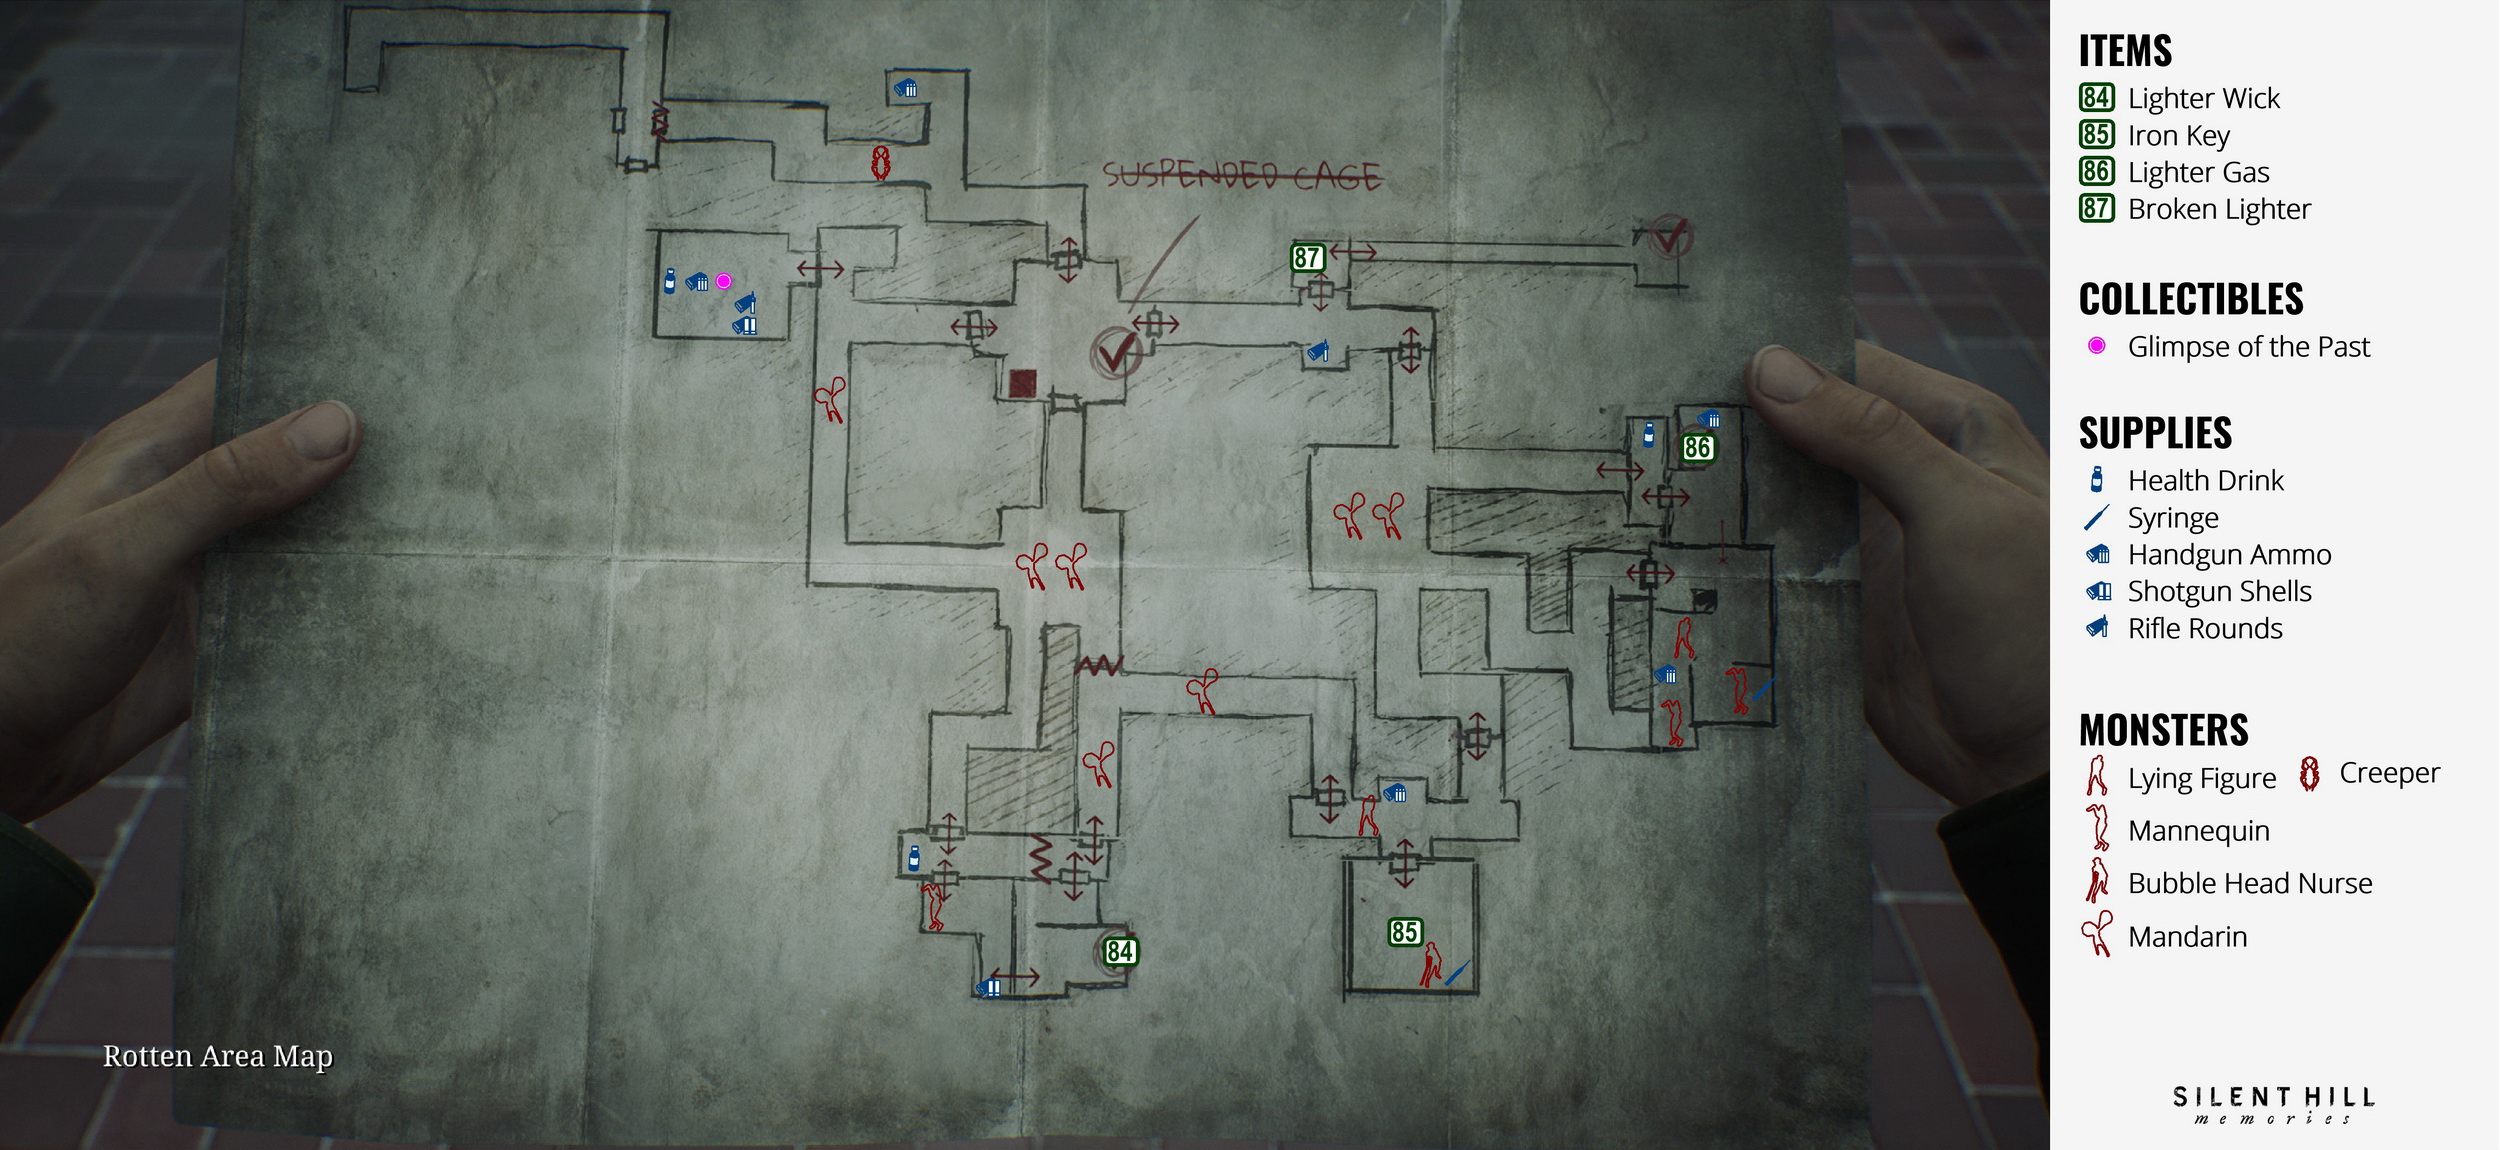
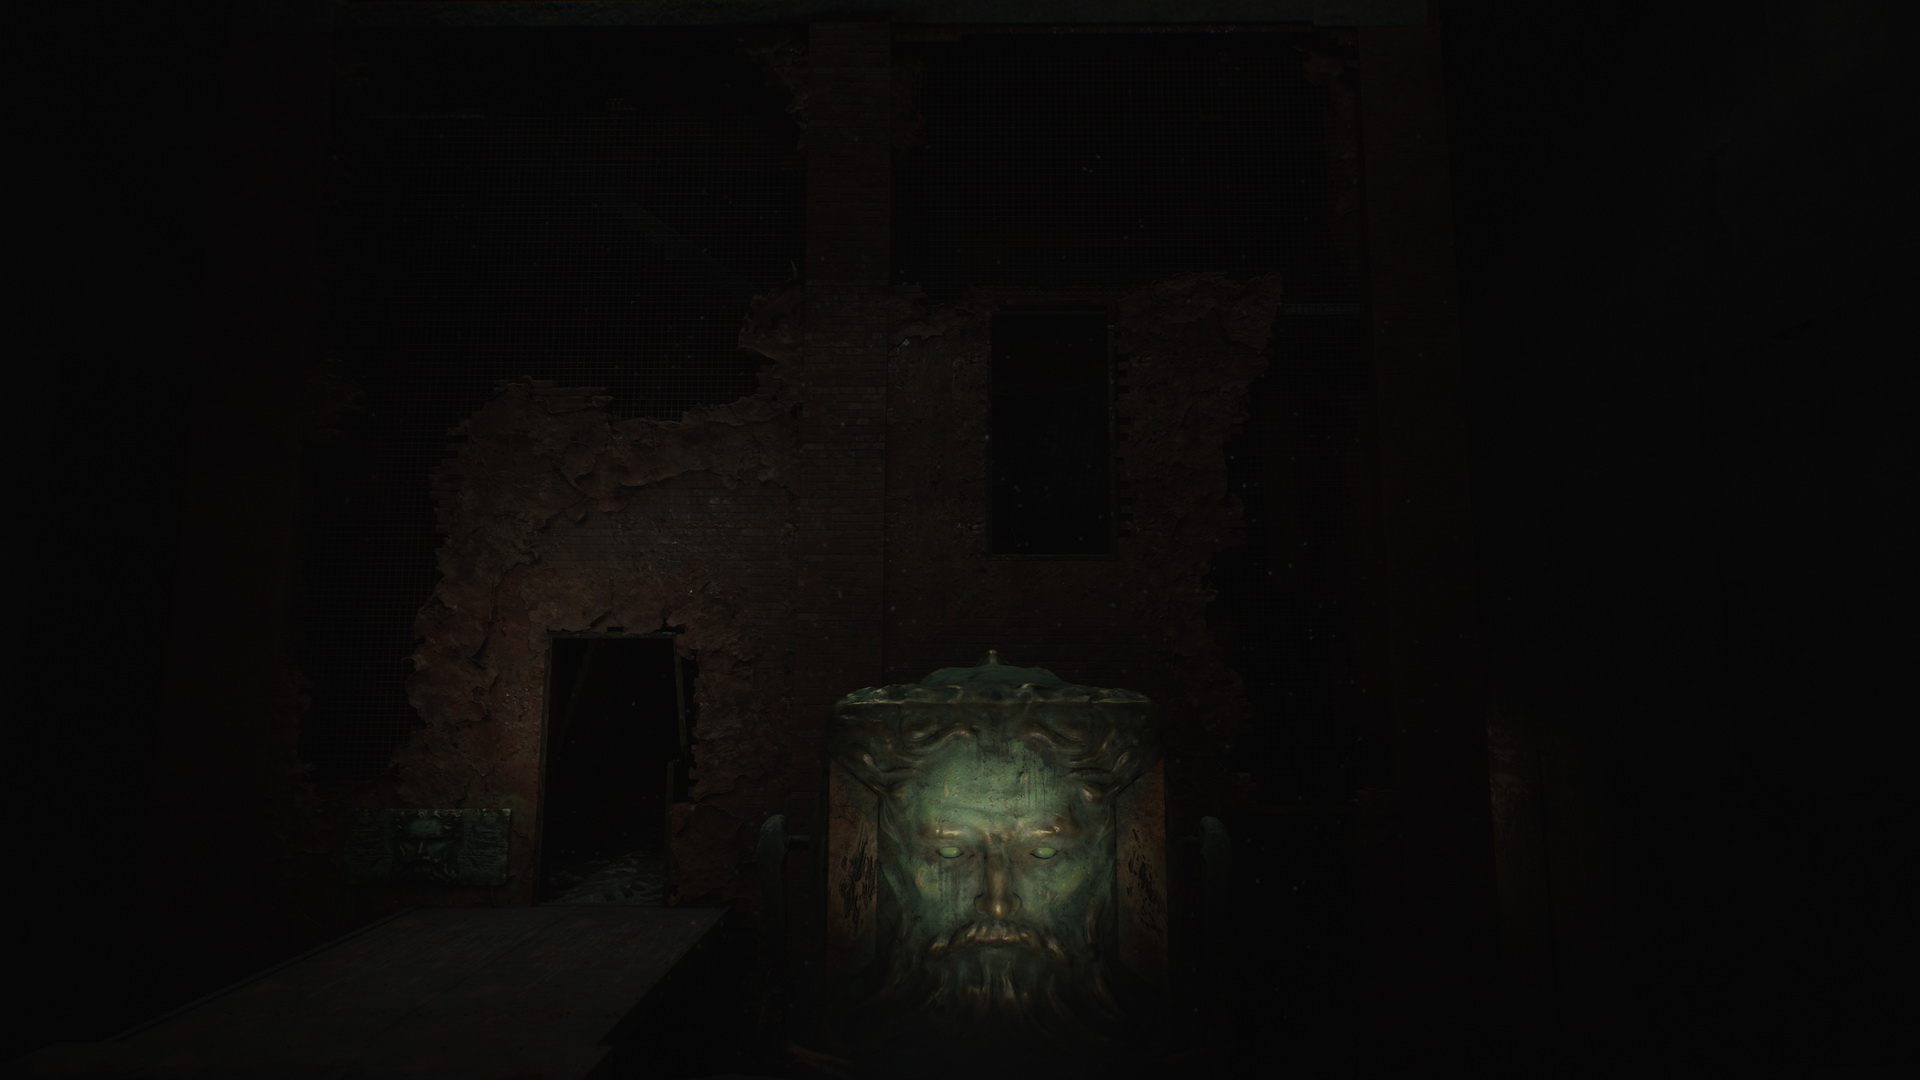
Rotten Area
Complete Map |
|
|
Follow the corridor. In the dead end to the left, you can pick Handgun Ammo. Continue the path until you reach a room with a Save Point and a suspended cage.
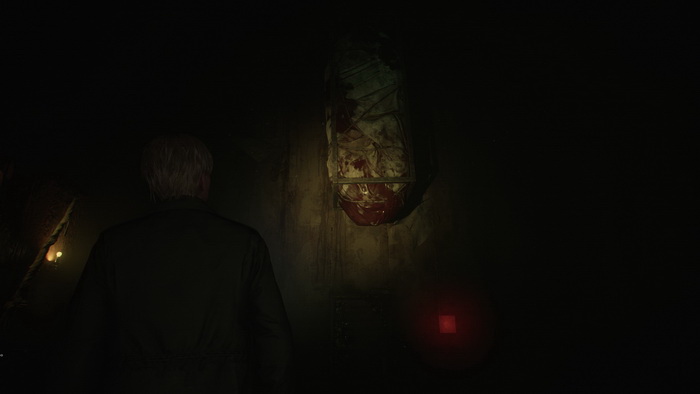
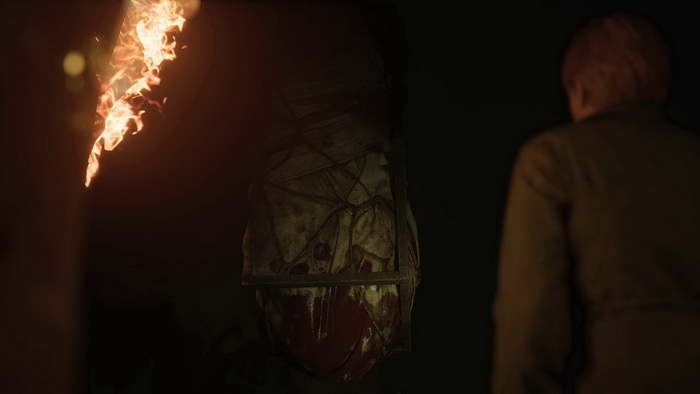
From the save point, go right through a door. At the end of this corridor, you can find a breakable wall. In a room behind it, you will discover Glimpse of the Past #22: examine a broken noose on the floor.
 |
 |
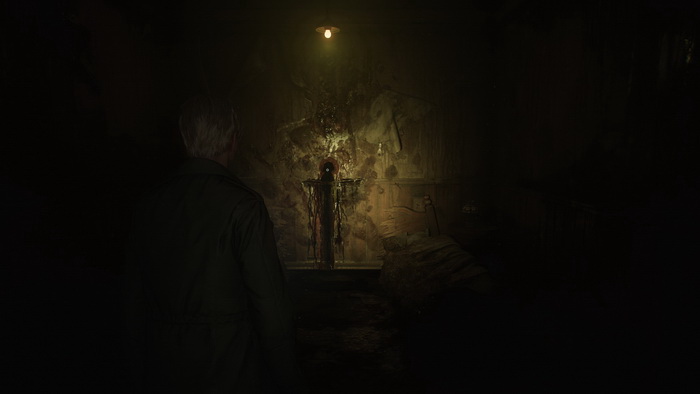
Also, you can find some supplies in the room: Handgun Ammo and Rifle Rounds inside the cage, Shotgun Shells, and a Health Drink on the outside perimeter. Return to the main corridor. A Mandarin is hanging beneath the grate floor here, with two more in a bigger area ahead. There's no need to fight them; just run, dodging their attacks, and follow a bloody trail painted on the walls for the correct path. In the small hallway behind the door, you can find a Health Drink in the right drawer of a dresser. The next room has a Mannequin in the corner and Shotgun Shells in a nightstand drawer. Squeeze through a wall gap to the next room. Examine a hole in the wall behind the cut bed to find a 84 Lighter Wick.
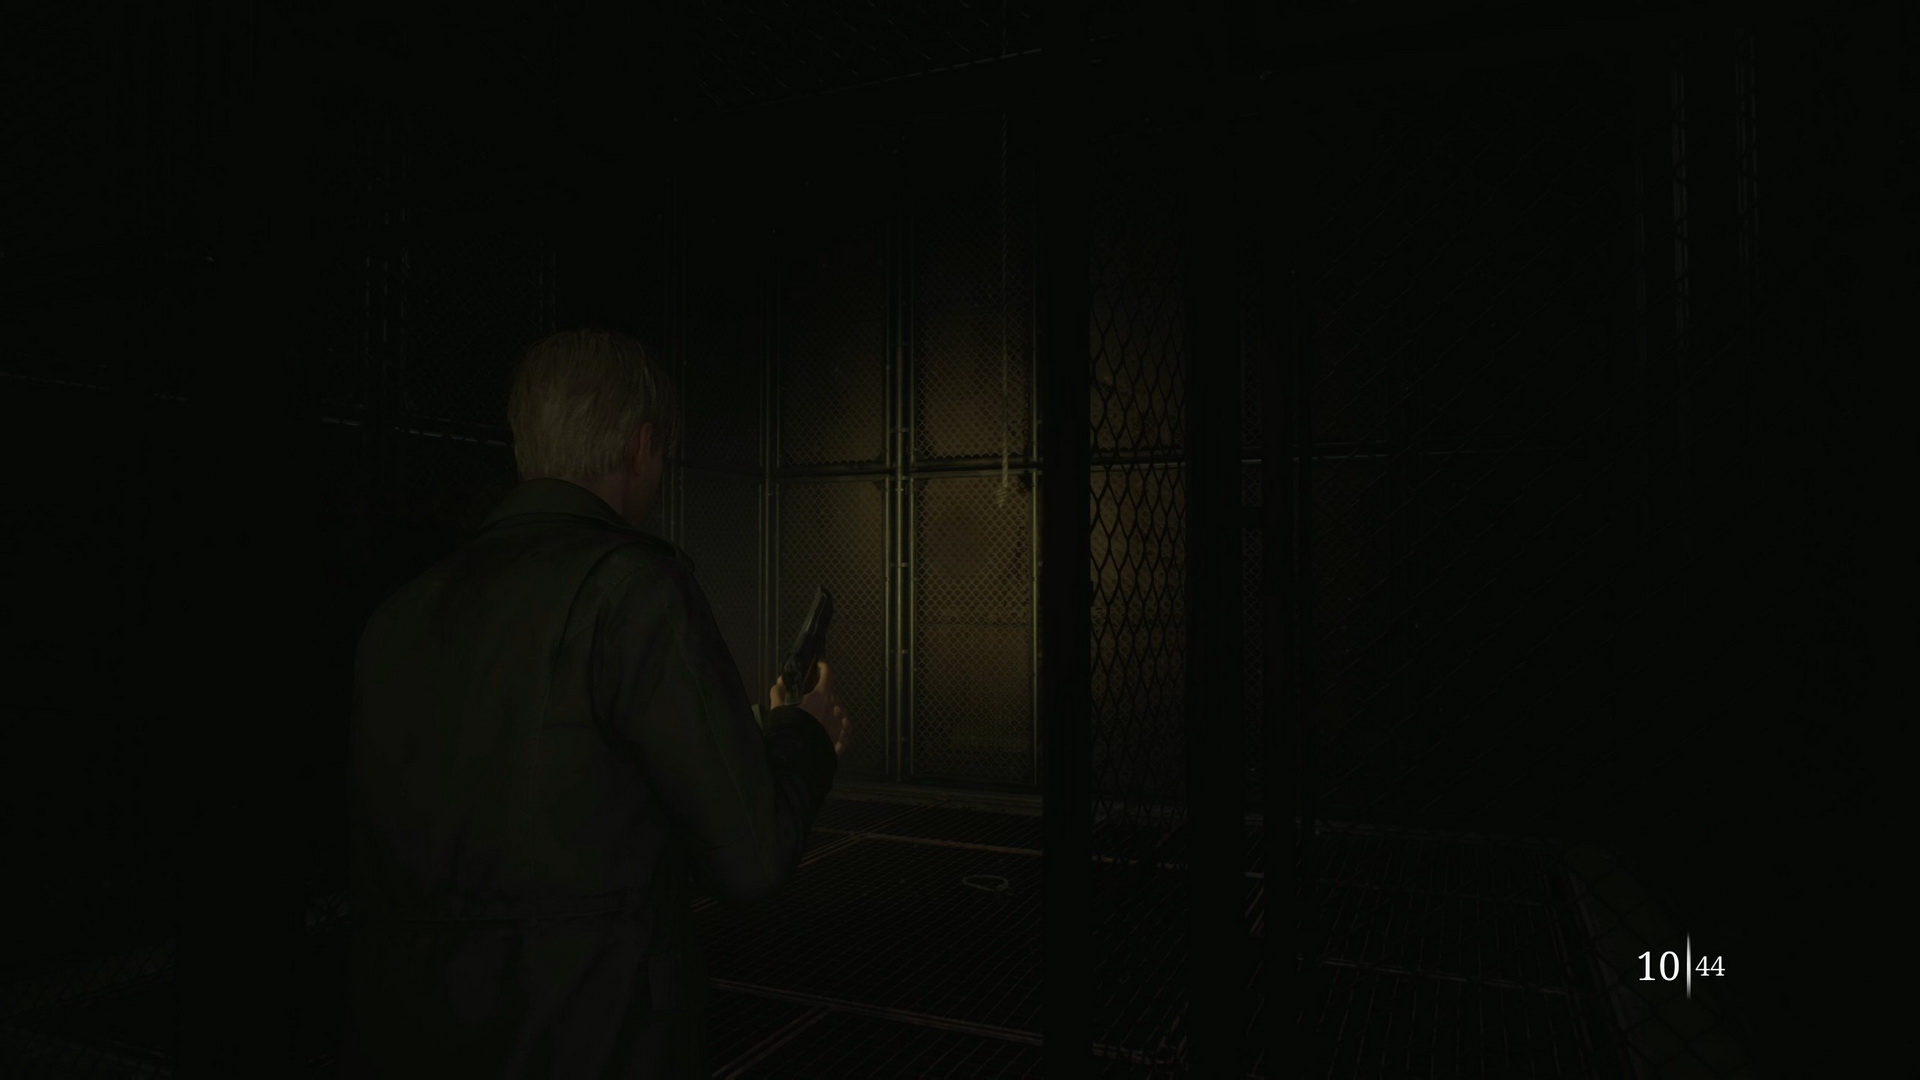
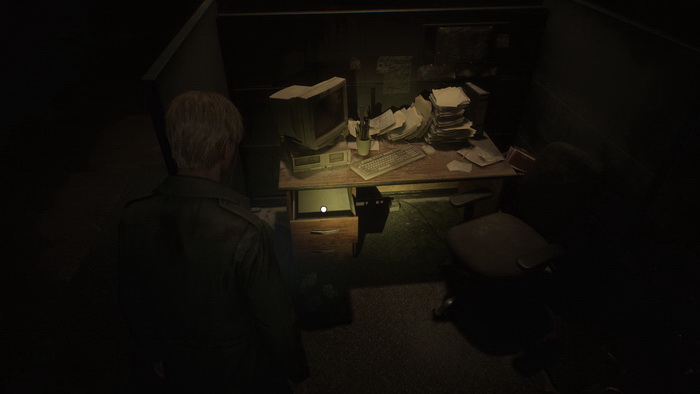
Unlock the door and enter the next grate-floor corridor with another couple of Mandarins. You will run into a Lying Figure in the room at the end. In the right drawer of a dresser, you can find Handgun Ammo. Enter the room to the south to find a Nurse and an office cubicle. Pick the 85 Iron Key inside the desk drawer.
In the corner of the room, there's a Syringe in a first-aid kit on the floor. Return to the hallway and exit through the door to the right. Another pair of Mandarins is here. Follow the red trail on the walls to pass this area and enter the next room quickly. Inside, you will run into a Lying Figure. A Mannequin is also hiding behind the wall and guarding a Syringe in a first-aid kit on the shelf. Another Mannequin lurks in a small room at the end of the hallway, where you can also pick up Handgun Ammo from a glass cabinet. Grab a wheeled cart, push it to access a high opening, and crawl into the next room. Inspect a fridge to find a 86 Lighter Gas in the mass of rotten flesh.
Pick up Handgun Ammo from the kitchen counter and proceed to the next hallway. There's a Health Drink on a shelf here. Push another shelf and crawl back into the area with the grated floor. Run ahead and through the door to the right. You can grab Rifle Rounds in a nightstand drawer to the left. Use the Iron Key to open a door across the corridor. Behind the door, there's a bathtub filled with boiling water and an object inside. The water is too hot to get the item, so run to the right and turn the valve at the end of the long corridor. Return to the broken tub and take a 87 Broken Lighter.

Exit the room and return to the central location with the suspended cage. Combine Broken Lighter, Lighter Gas and Lighter Wick in your inventory to receive a 88 Lighter. Use the Lighter on the rope to drop the cage and break open the ground. Jump through the opening to return to the central area.
Labyrinth Center
Rotating Cube Puzzle: Accessing the Second Area
Again, the symbol on the wall to the right of the cube will hint at the next area.
Press right-right-up to rotate the cube to show the symbol of a double cross with two circles at the bottom.
Enter the cube and go upstairs. Follow the corridor and enter the door in the middle to access the next labyrinth area.
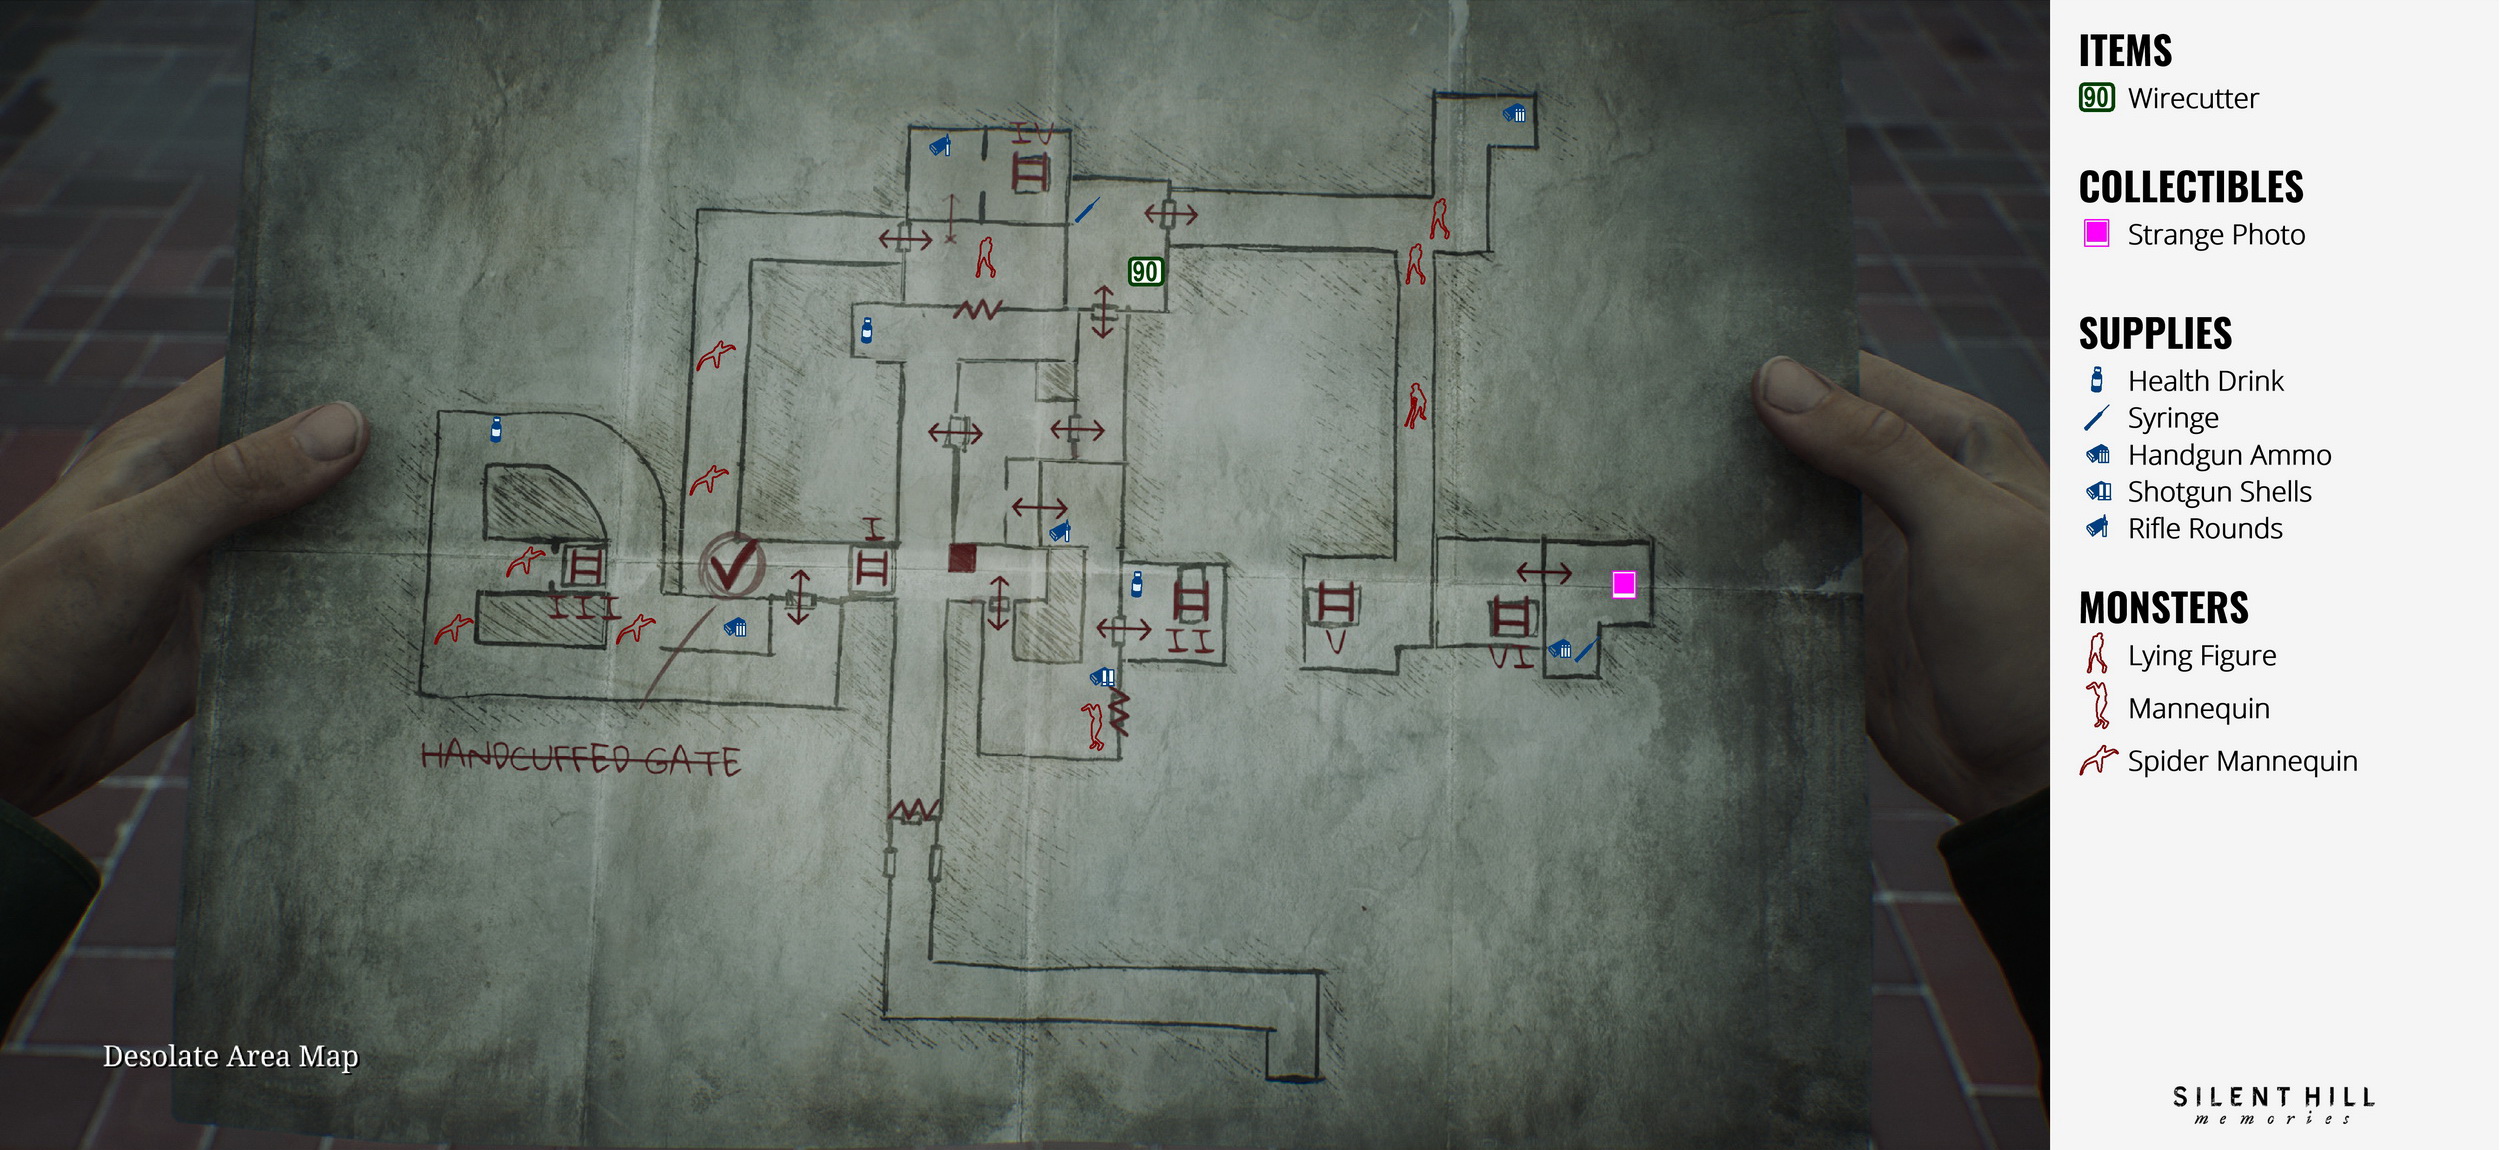
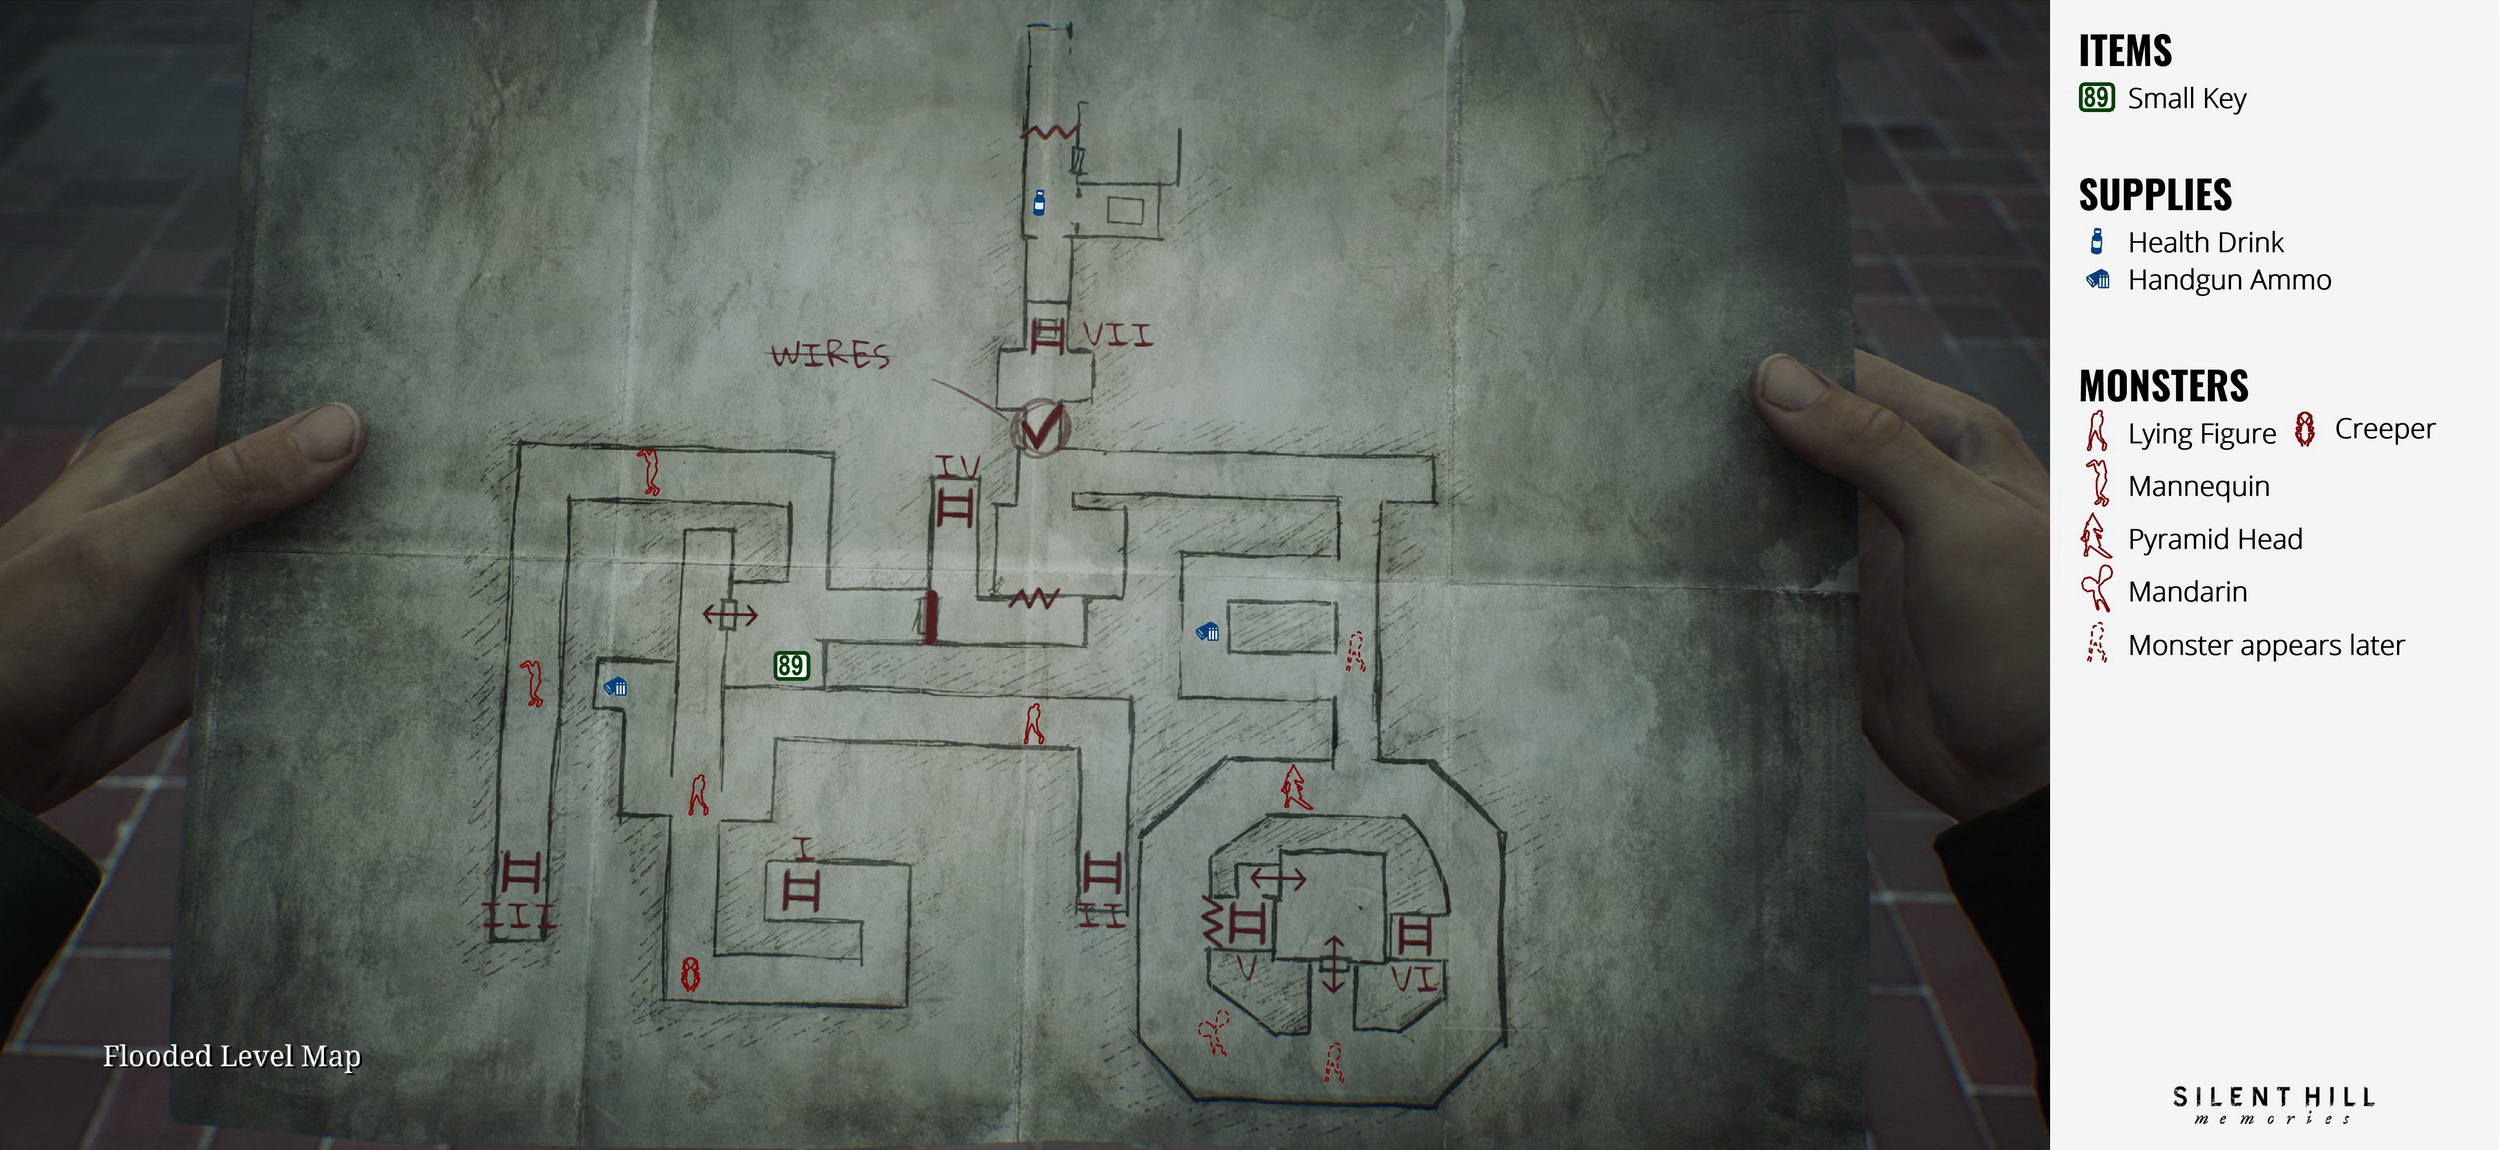
Desolate/Flooded Area
Complete Maps |
|
|
Desolate Level
You will find a Save Point at the crossroads at the start of the area. You will find a Health Drink on a dresser at the north end of the corridor. Take the door to access a room northeast of the save point and proceed through a wall gap in the walk-in closet. Take Rifle Rounds sitting on the box immediately at the exit from the closet. In the next room, there's a Mannequin, Shotgun Shells in the right drawer of a dresser and Handgun Ammo on a sofa. Enter a room to the east, grab a Health Drink and climb down ladder II.
Flooded Level
Follow the flooded path, meeting a single Lying Figure on your way. You can see a key on the other side through a hole in the wall to your right. Another Lying Figure is met at the crossroads. You can find Handgun Ammo at the end of the northwestern pathway. Go south, passing a Creeper, then around the corner and use ladder I.
Desolate Level
The gate here is blocked with attached handcuffs.
Take the door to the left. Some Spider Mannequins populate this area. Also, you can find Handgun Ammo at the end of the small alcove in the eastern portion and a Health Drink in the northern portion. Climb down using ladder III.
Flooded Level
There are a couple of Mannequins in this pathway. At the end of the path, you will find a 89 Small Key in a tray on a box.
Unlock the door to the right. Go south to the end of the path and return to ladder I. Climb to the top level.
Desolate Level
Approach the gate and use the Small Key to open the handcuffs. Turn the valve to lift the gate and continue the path where you will run into a couple of Spider Mannequins. A Lying Figure is waiting for you in the end room. After you deal with it, grab a wheeled cart and use it to reach a crawl space in the next room. Take Rifle Rounds sitting on a box and climb down ladder IV.
Flooded Level
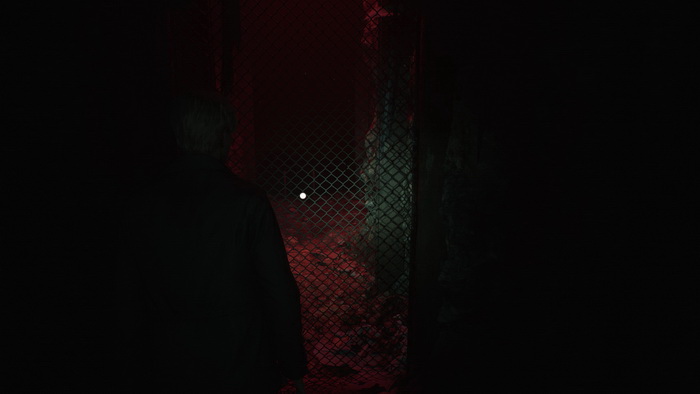
Follow the path and use the floor-level opening to crawl to the next area, after which the opening will get blocked. Take note of a wired fence up ahead and proceed around the corridor. In the detour to the right, you can find more Handgun Ammo. Finally, you will reach an octagonally-shaped area with Pyramid Head himself patrolling the corridor. Take the left path and climb the ladder VI for a collectible and some supplies.
Desolate Level
Squeeze into the next room to find Strange Photo #20: "Whole world ahead of us" on a cabinet.
 |
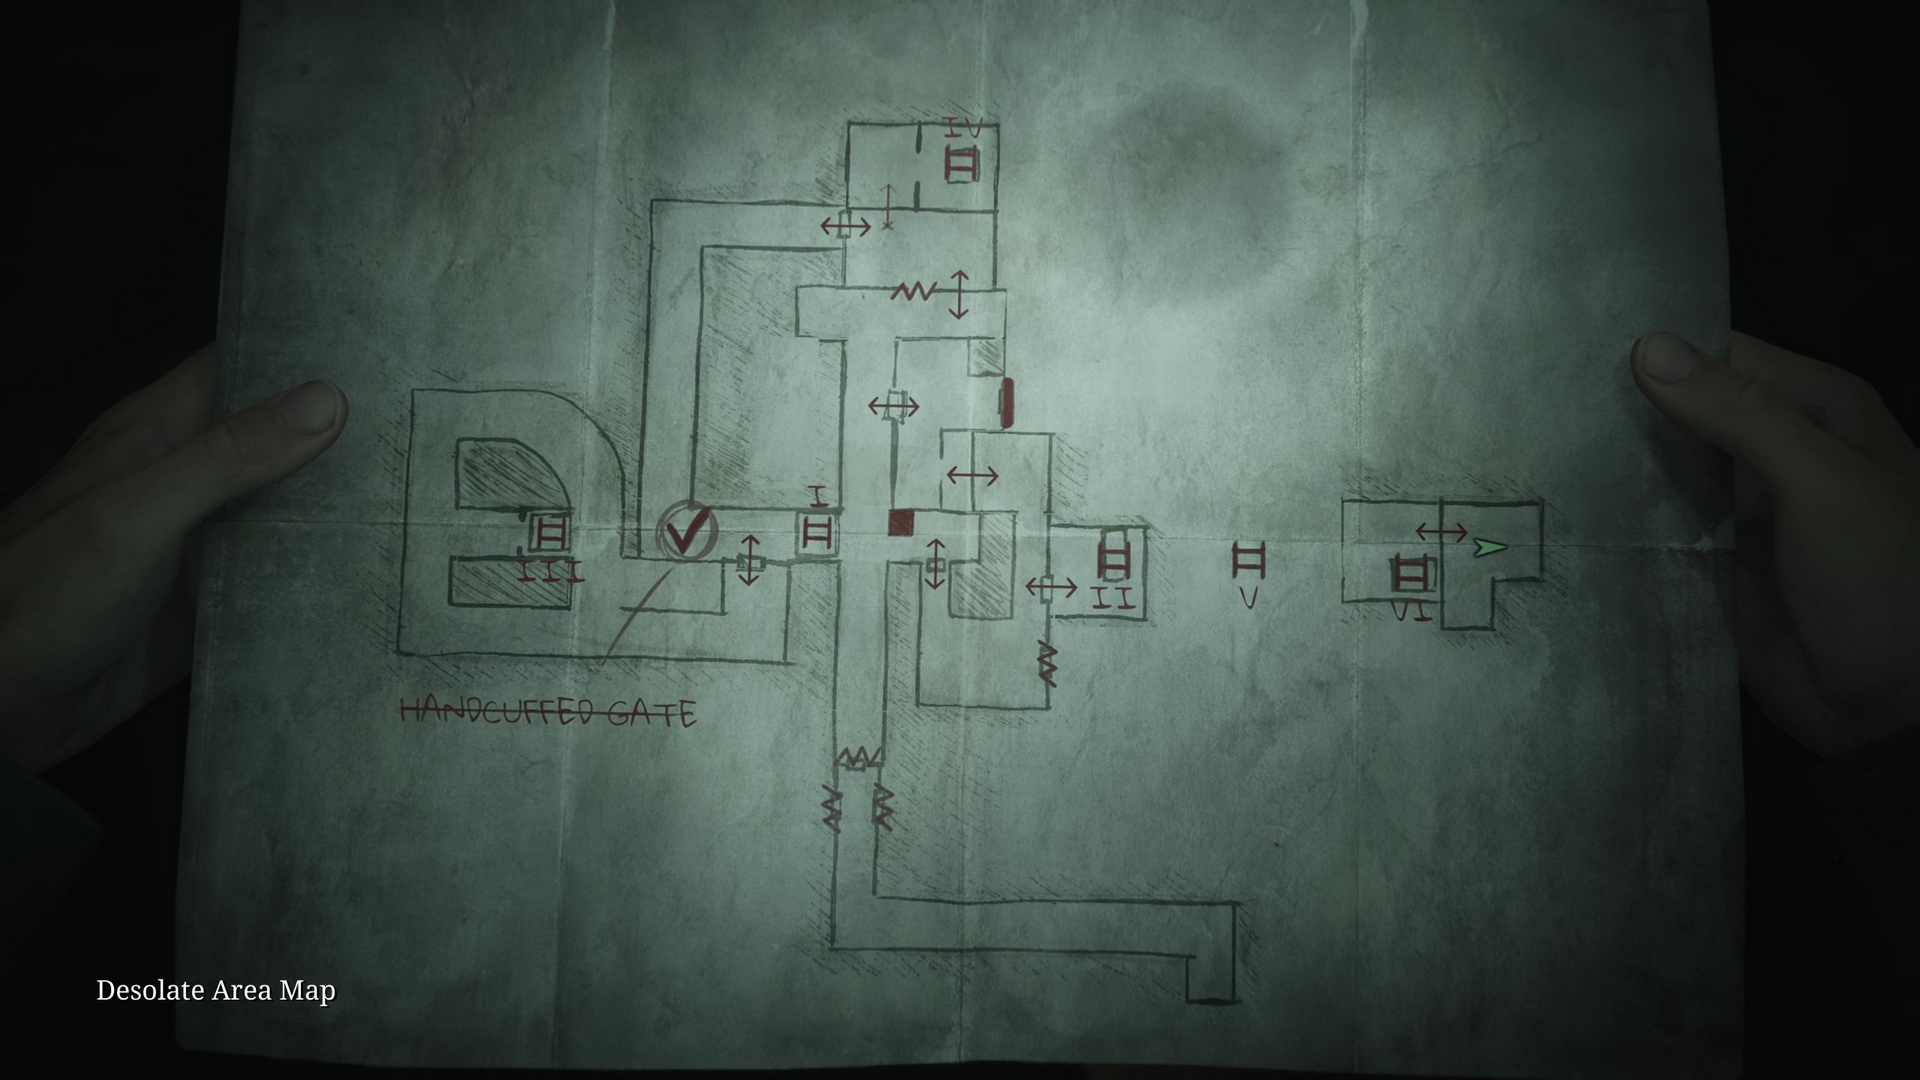 |
Also, in the room, there is a Syringe and Handgun Ammo on the floor. Return to the lower level via the ladder.
Flooded Level
Take the path to the right and enter a red-lit room. Break a wall here to reach ladder V and climb to the top level.
Desolate Level
Follow the pathway where you will meet a Nurse and two Lying Figures. At the dead end to the right, you can find Handgun Ammo in the left drawer of a dresser. Continue to the end of the corridor. In the end room, you will find a Syringe in a first-aid kit on the floor and a 90 Wirecutter stuck in a power box.
You can unlock the door nearby to return to the save point and save your game if you wish. However, to progress, you must return to the area with the Pyramid Head using ladder V.
Flooded Level
More monsters will spawn in the octagonal area. Run past them back to the wired fence and use the Wirecutter. Squeeze through the opening.
Climb down the ladder, grab a Health Drink from a dresser and jump down through a hole in the floor. Proceed through the door to return to the central area.
Labyrinth Center
Rotating Cube Puzzle: Accessing the Third Area
Before proceeding to the last area of the labyrinth, you can rotate the cube to more optional positions if you want all collectibles as more openings are now open. Press down-down to rotate the cube to show the scratched-out symbol.
Step inside the cube and find Strange Photo #21: "Your Best Buddy!" on the floor downstairs.
 |
 |
If you rotate to the same scratched-out symbol to have it upside down (down-down-right-right), you can access a hidden corridor in the right wall with a Health Drink and Handgun Ammo at the end of it.
There's one more optional position if you rotate to a previous symbol for the Desolate Area (double cross with two circles at the bottom). Go downstairs and into another corridor in the right wall to collect Handgun Ammo on a nighstand.
Return to the cube and rotate it to show the symbol of a downward-facing triangle with a cross at the bottom to access the final area (press up).
Enter the cube and go downstairs. Follow the corridor and enter the door to the right to access the next labyrinth area.
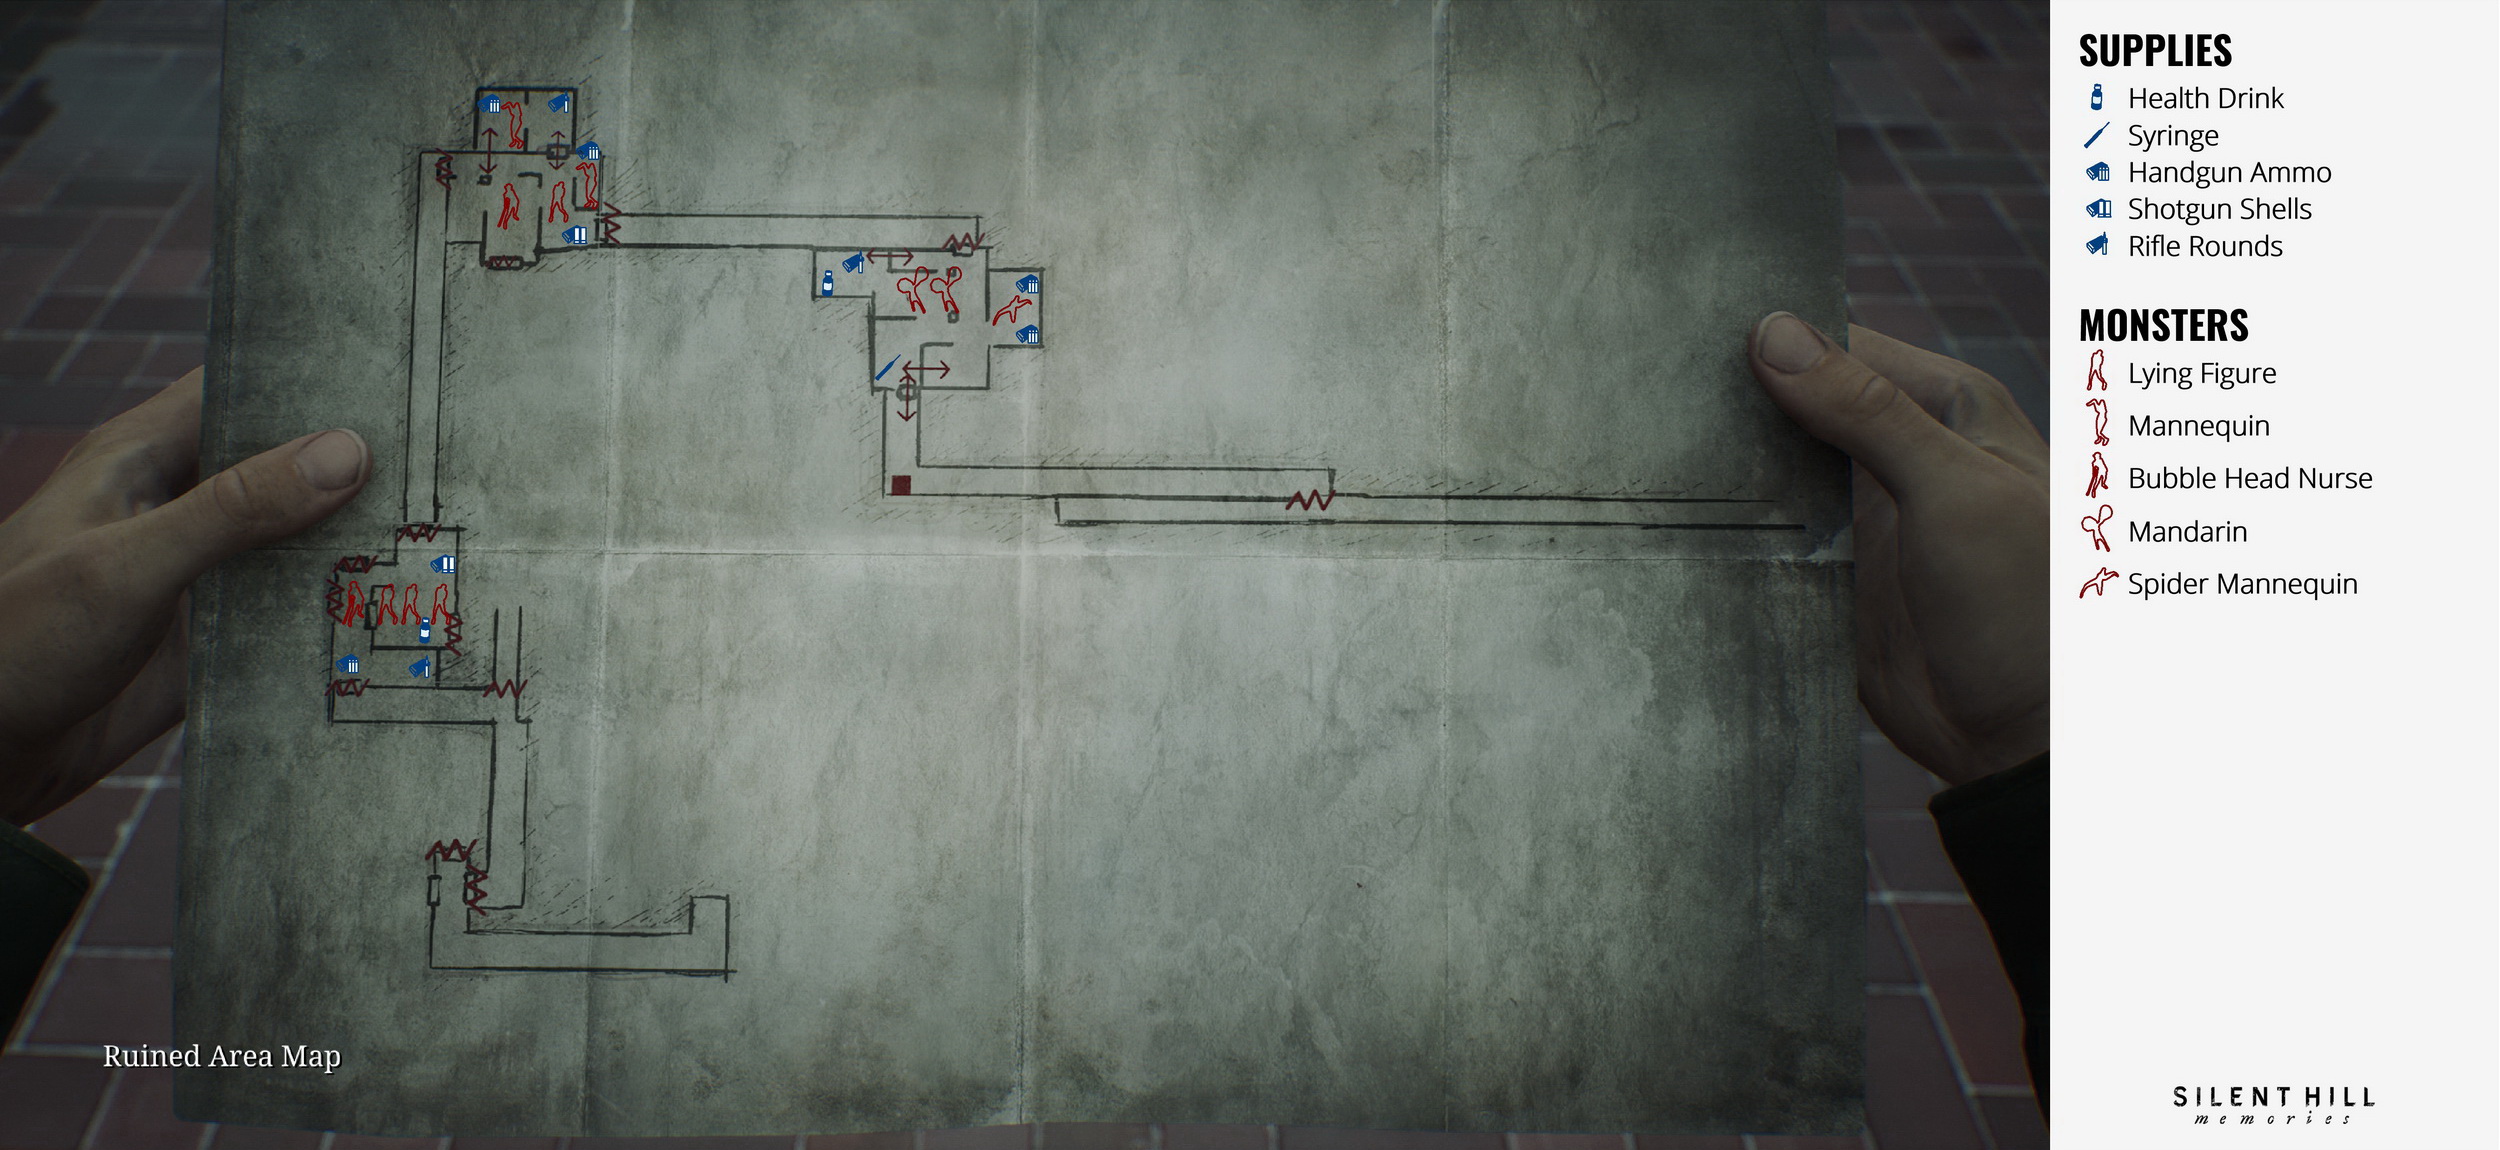
Ruined Area
Complete Map |
|
|
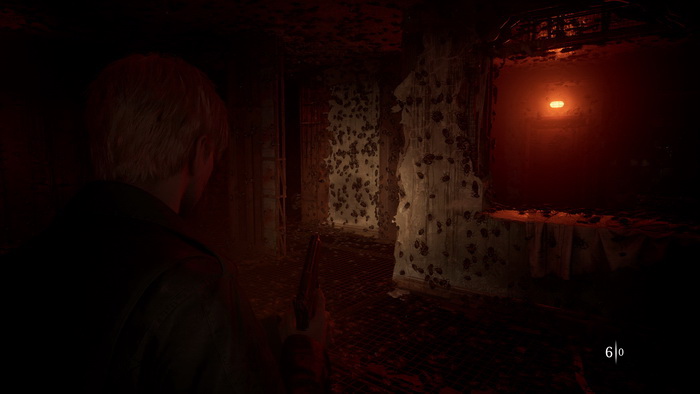
This labyrinth area will present a set of arenas where you will have to combat monsters. Enter the first apartment. Collect the supplies: Handgun Ammo on a dresser next to the entrance, Rifle Rounds in the bedroom to the right, a Health Drink next to the TV in the living area and Shotgun Shells in the kitchen drawer. Try to open the red door next to the kitchen to trigger the monsters: a Nurse and three Lying Figures. The battle is timed, so you don't have to defeat all the monsters to proceed, but doing so will instantly open the exit door.
Proceed to the next apartment. Here, the fight will stand as soon as you enter the room. In total, you will have to fight a Nurse, a Lying Figure and two Mannequins. Again, you can kill all the monsters or just survive long enough to open the exit door. In the apartment, you can grab Handgun Ammo from the bathroom sink, another Handgun Ammo on a shelf in the room through a wall gap, Rifle Rounds in the right nightstand drawer in the nearby room and Shotgun Shells on the oven.
Proceed to the third apartment, where you will have two Mandarins and a Spider Mannequin. To make things easier, you can go to the right room and kill the Mandarins while standing in the corner. Aim for their arms one at a time until they drop down. After you deal with Mandarins, you can wait till the time runs out and the door is open. Before you proceed, you can grab Handgun Ammo in a glass cabinet, another Handgun Ammo in the nightstand drawer in the same room, Rifle Rounds on a shelf, a Health Drink in the right drawer of a desk and a Syringe in a first-aid kit on the kitchen counter next to the exit.
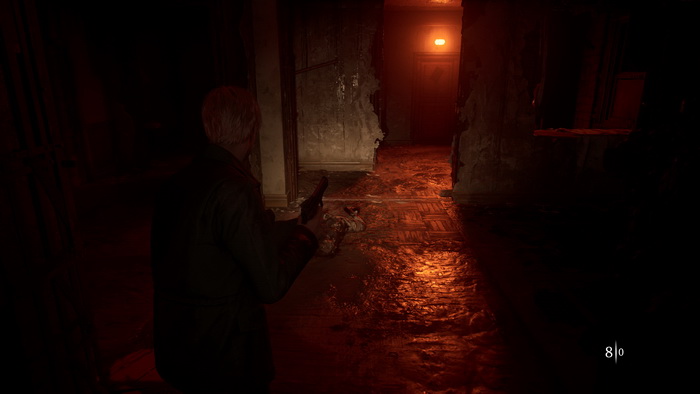
Exit the apartment. You will be presented with an option to save your game at the Save Point. Follow the corridor and turn right until you run into Pyramid Head. Turn around and push yourself through the writhing-body corridor to escape.
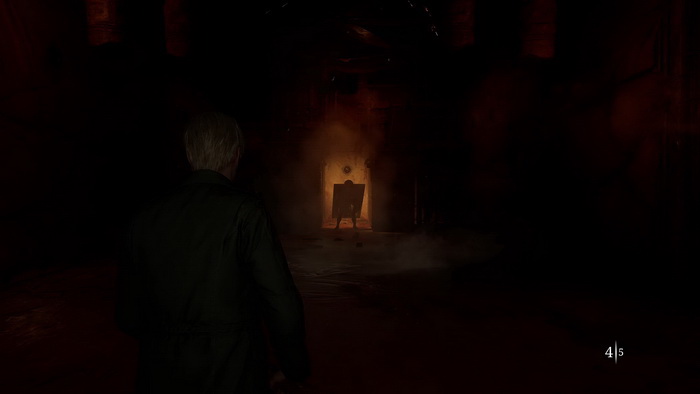
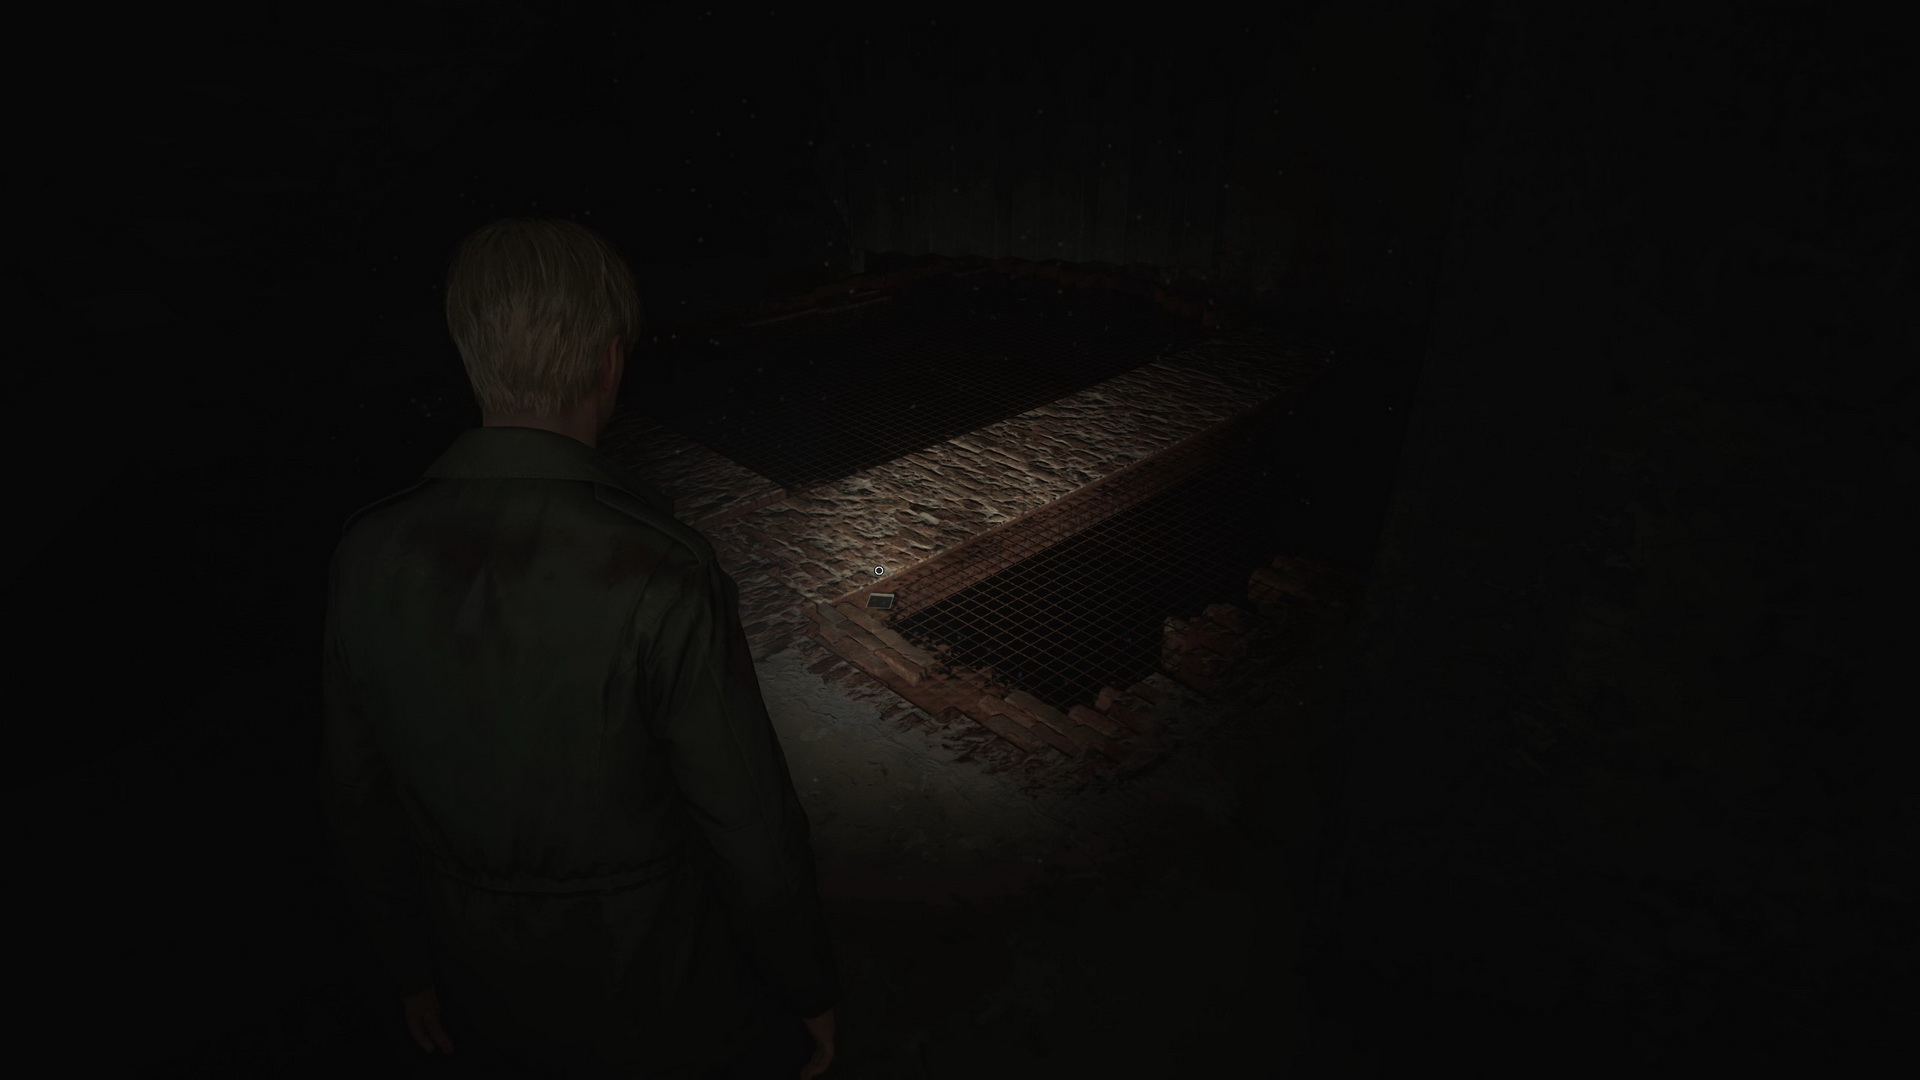
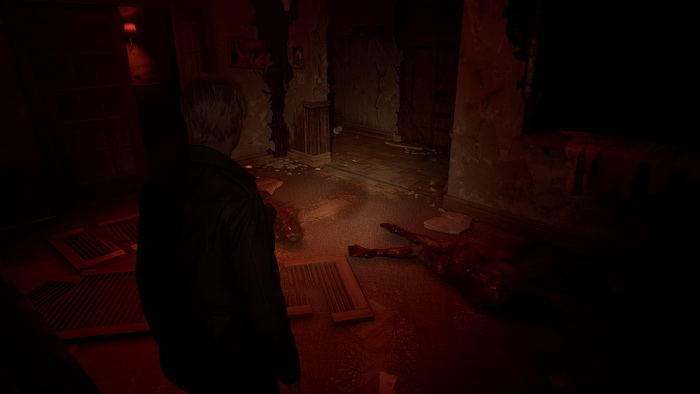
Enter the door at the end of the corridor to find Maria again. Alas, she's dead again... Exit the room to see Pyramid Head's knife instead of the rotating cube. Take the cumbersome weapon and, with its power, pass through the strange wall. Drop the knife as soon as you pass the writhing bodies and climb the ladders to reach an underground cemetery. You can inspect multiple tombstones here, as well as collect Shotgun Shells from one of the tombstones and a Health Drink by the northern wall. There's also a Save Point here, which you can use before the soon-happening boss battle. When you are ready, jump through through the leftmost grave that bears James' name.
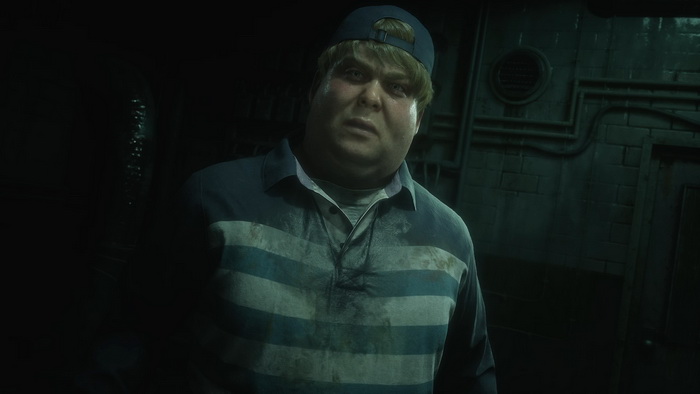
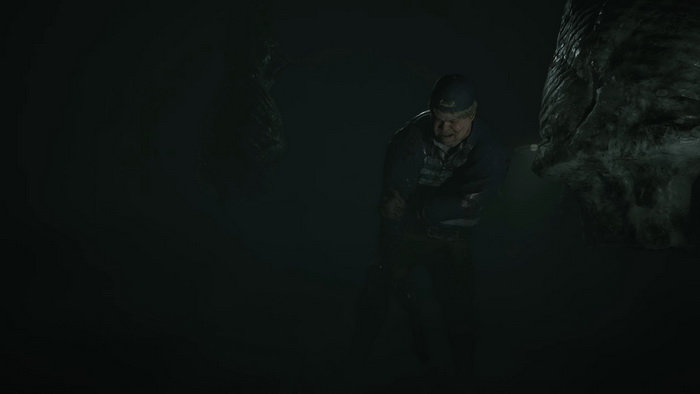
Proceed downstairs and through a bloody door for a cutscene with a deranged Eddie. After the cutscene, grab available supplies in the room and step through the next door for a boss fight.
Boss: Eddie
Phase One
Eddie moves fast around the room during the first phase and uses the carcasses of meat to conceal himself after every shot. If you get close to him, he will also hit you with a melee attack. Because of the limited visibility in the room, sound is the key here. A good strategy would be staying away from, listening to Eddie's footsteps to pinpoint his position (headphones help a lot) and using a long-distance firearm, a rifle or a handgun to shoot at him from a long distance. Since Eddie is using a revolver, you will also be able to know when he's going to fire as he's cocking the hammer and know when to dodge or use a carcass for protection.
Phase Two
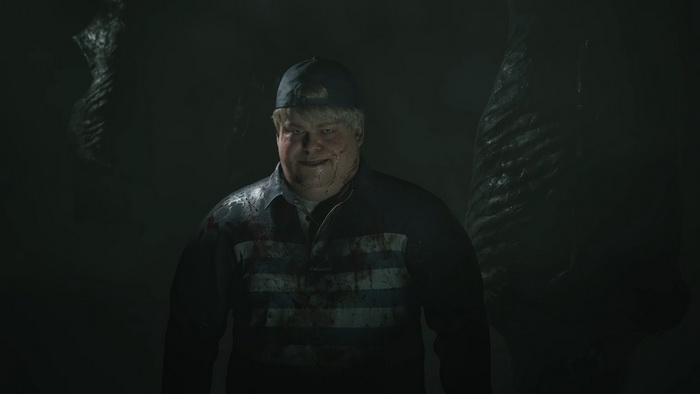
Once Eddie is damaged, he will shoot the pipes, filling the room with fog. Listening carefully becomes even more crucial during this phase. Switch to a shotgun, stay in place and keep listening until Eddie comes at you, trying to hit you with a melee attack. Make your shot at him as he's trying to land his attack. From this point, you can chase after him, keeping a shorter distance and blasting him with a shotgun. If you lose track of him, listen again to find his position.
Phase Three
During the last phase, Eddie activates the conveyor belt with the meat carcasses. He will be significantly slower now. You can use one of the previous strategies: wait for his attack and fire at him from a distance, try to chase him down and keep shooting from a shotgun, or even use a melee attack. Remember to listen to his attacks for successful dodges and use the carcasses for additional protection.
After the fight, you can collect the remaining supplies in the room and exit the meat locker.
Toluca Lake
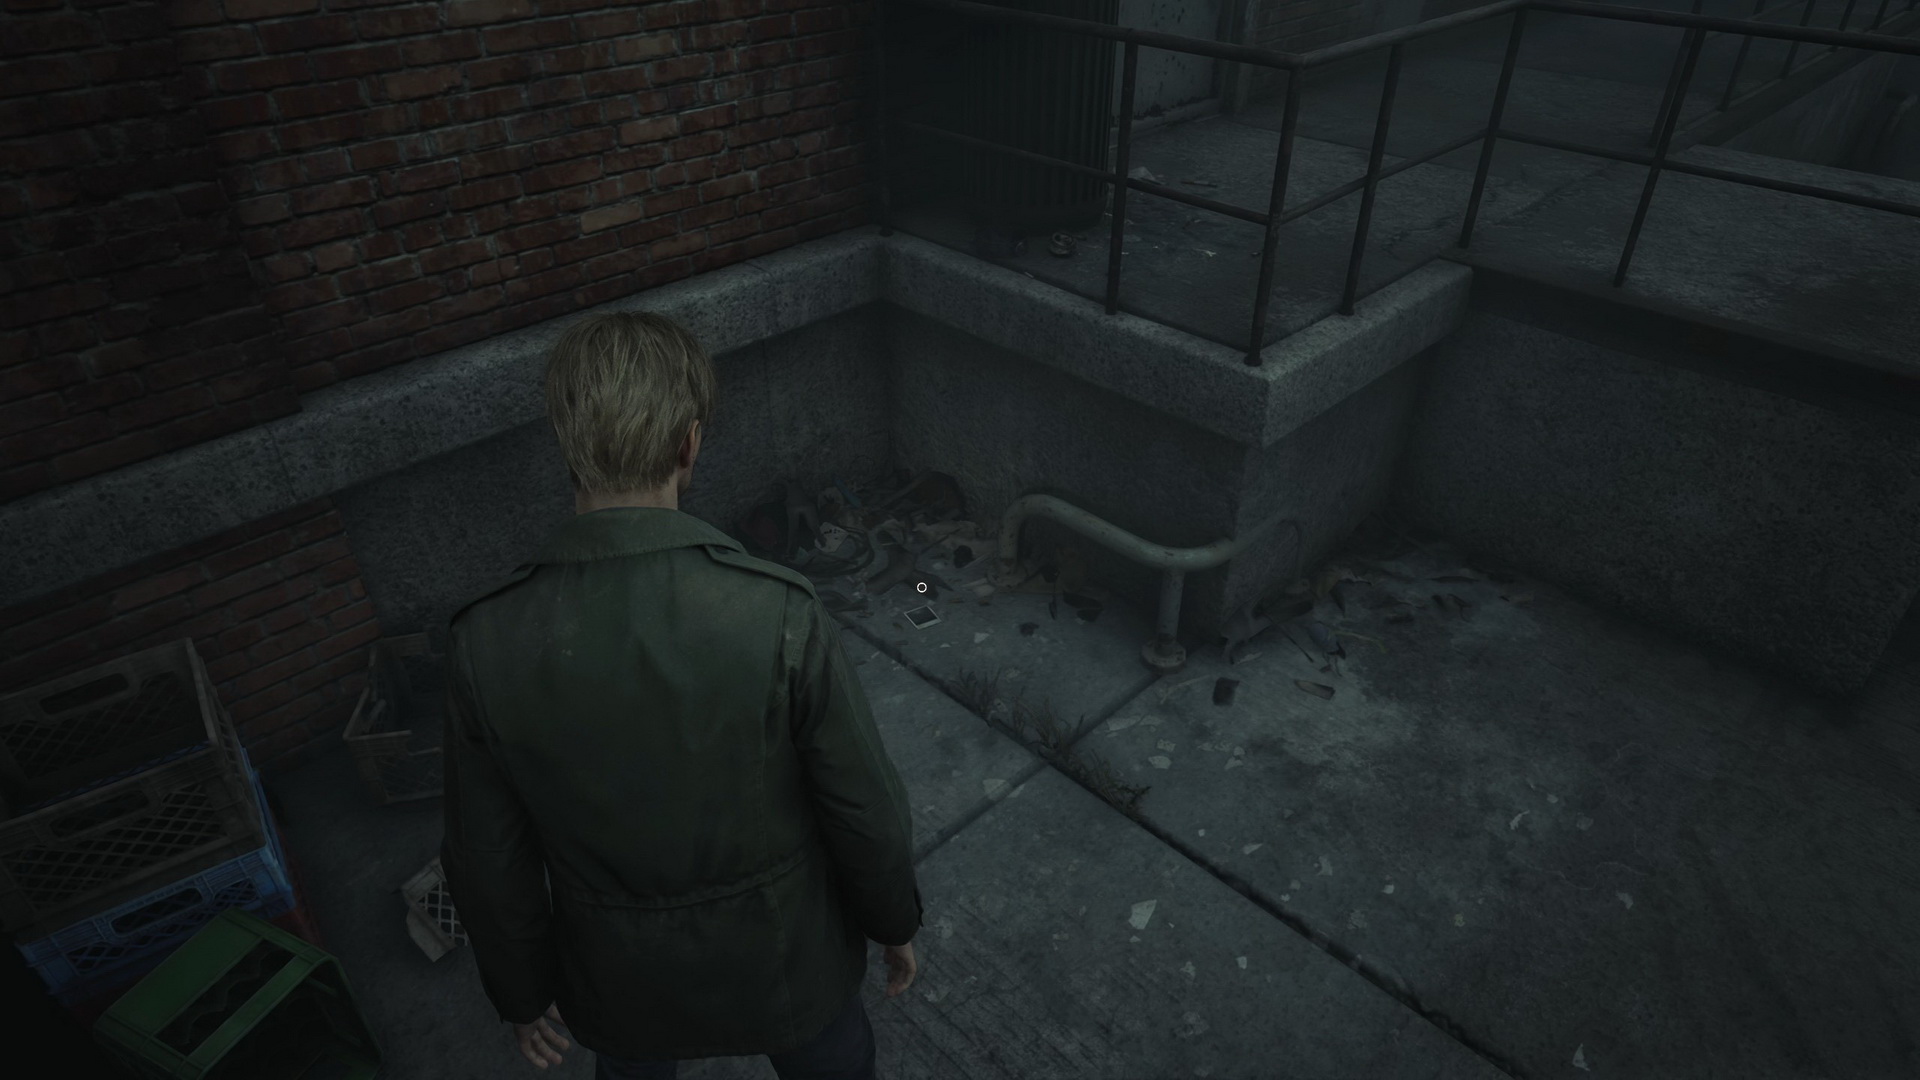
There is a Save Point atop the wooden spool. You can find a Health Drink on a garbage bin and Strange Photo #22: "Road trip!" on a floor behind the steps.
 |
Step into the boat to continue.
Trophy/Achievement: Scourge of Toluca Lake |
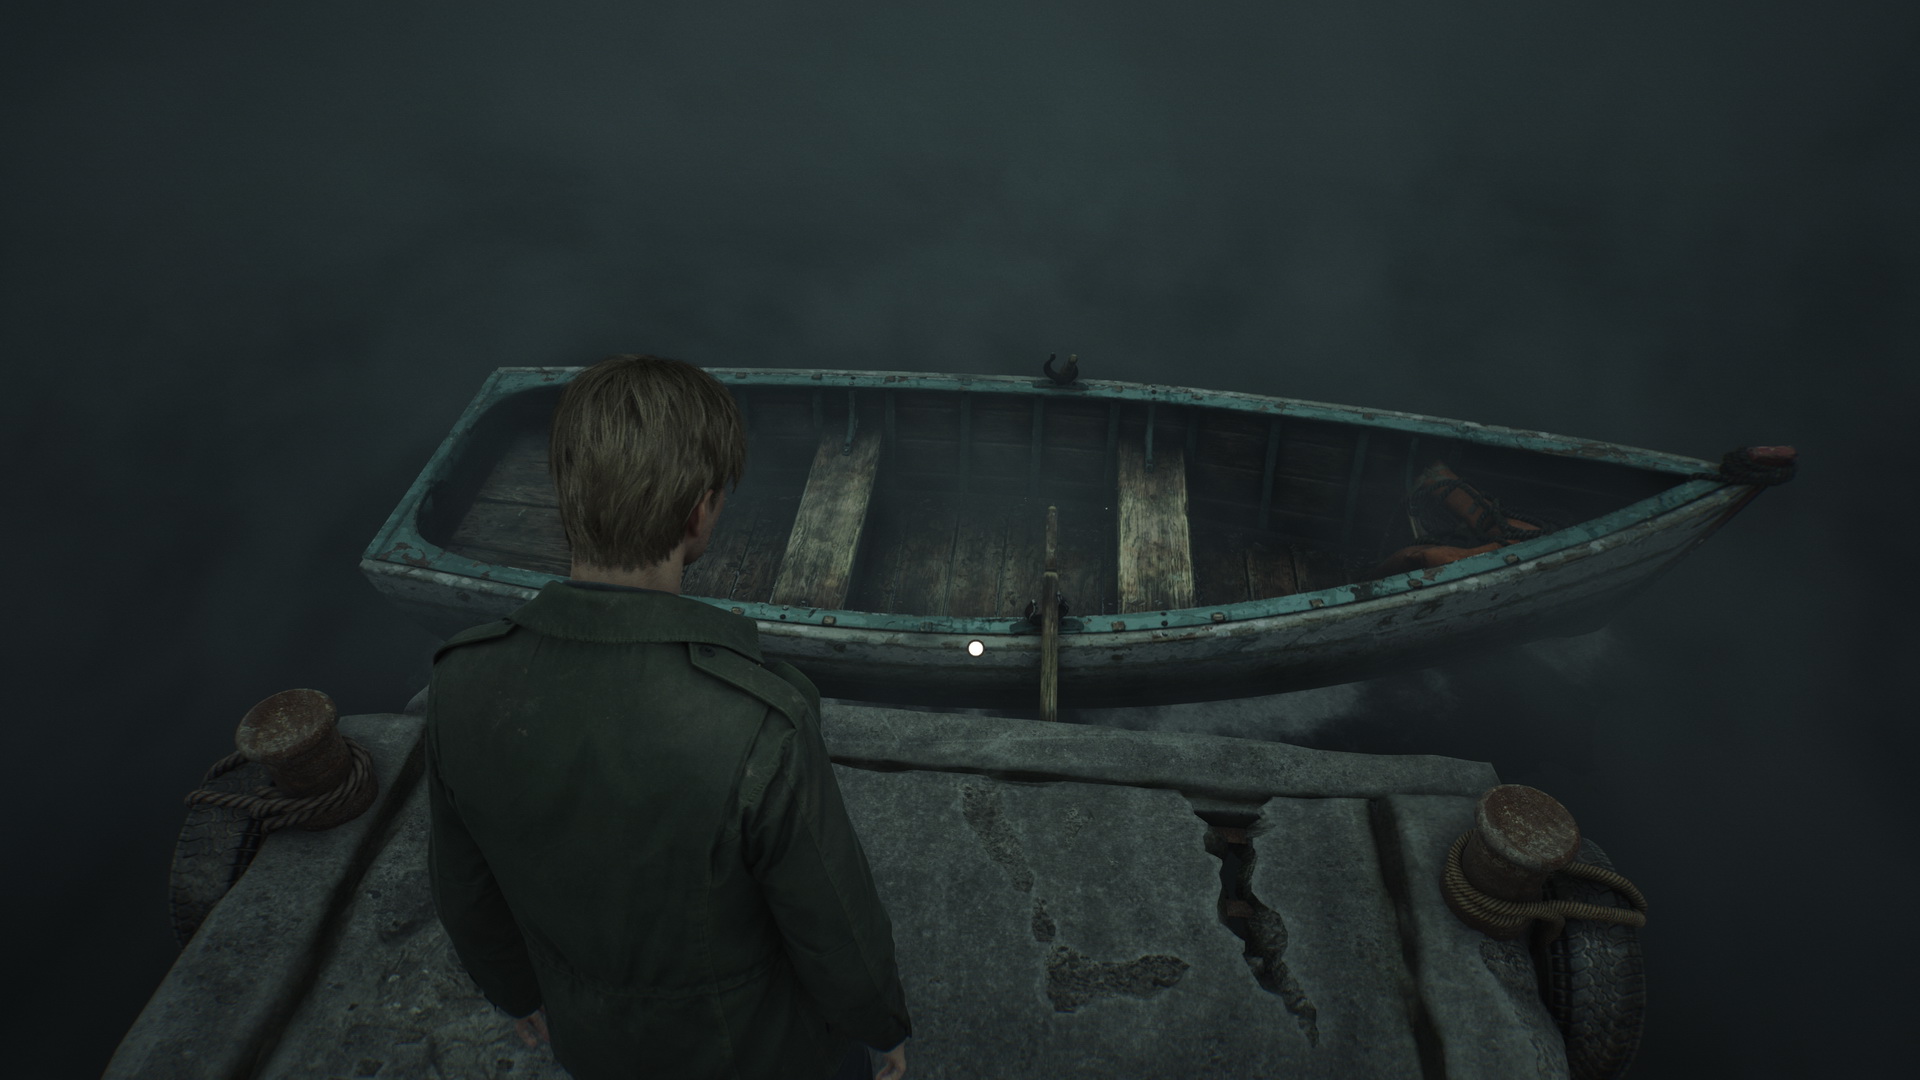 Sit still in the boat for 10 minutes before you continue. |
The job here is simple and easy. Navigate the boat towards the light you see in the distance, and you will finally reach your final destination – Lakeview Hotel.
| 09. Toluca Prison | 11. Lakeview Hotel |