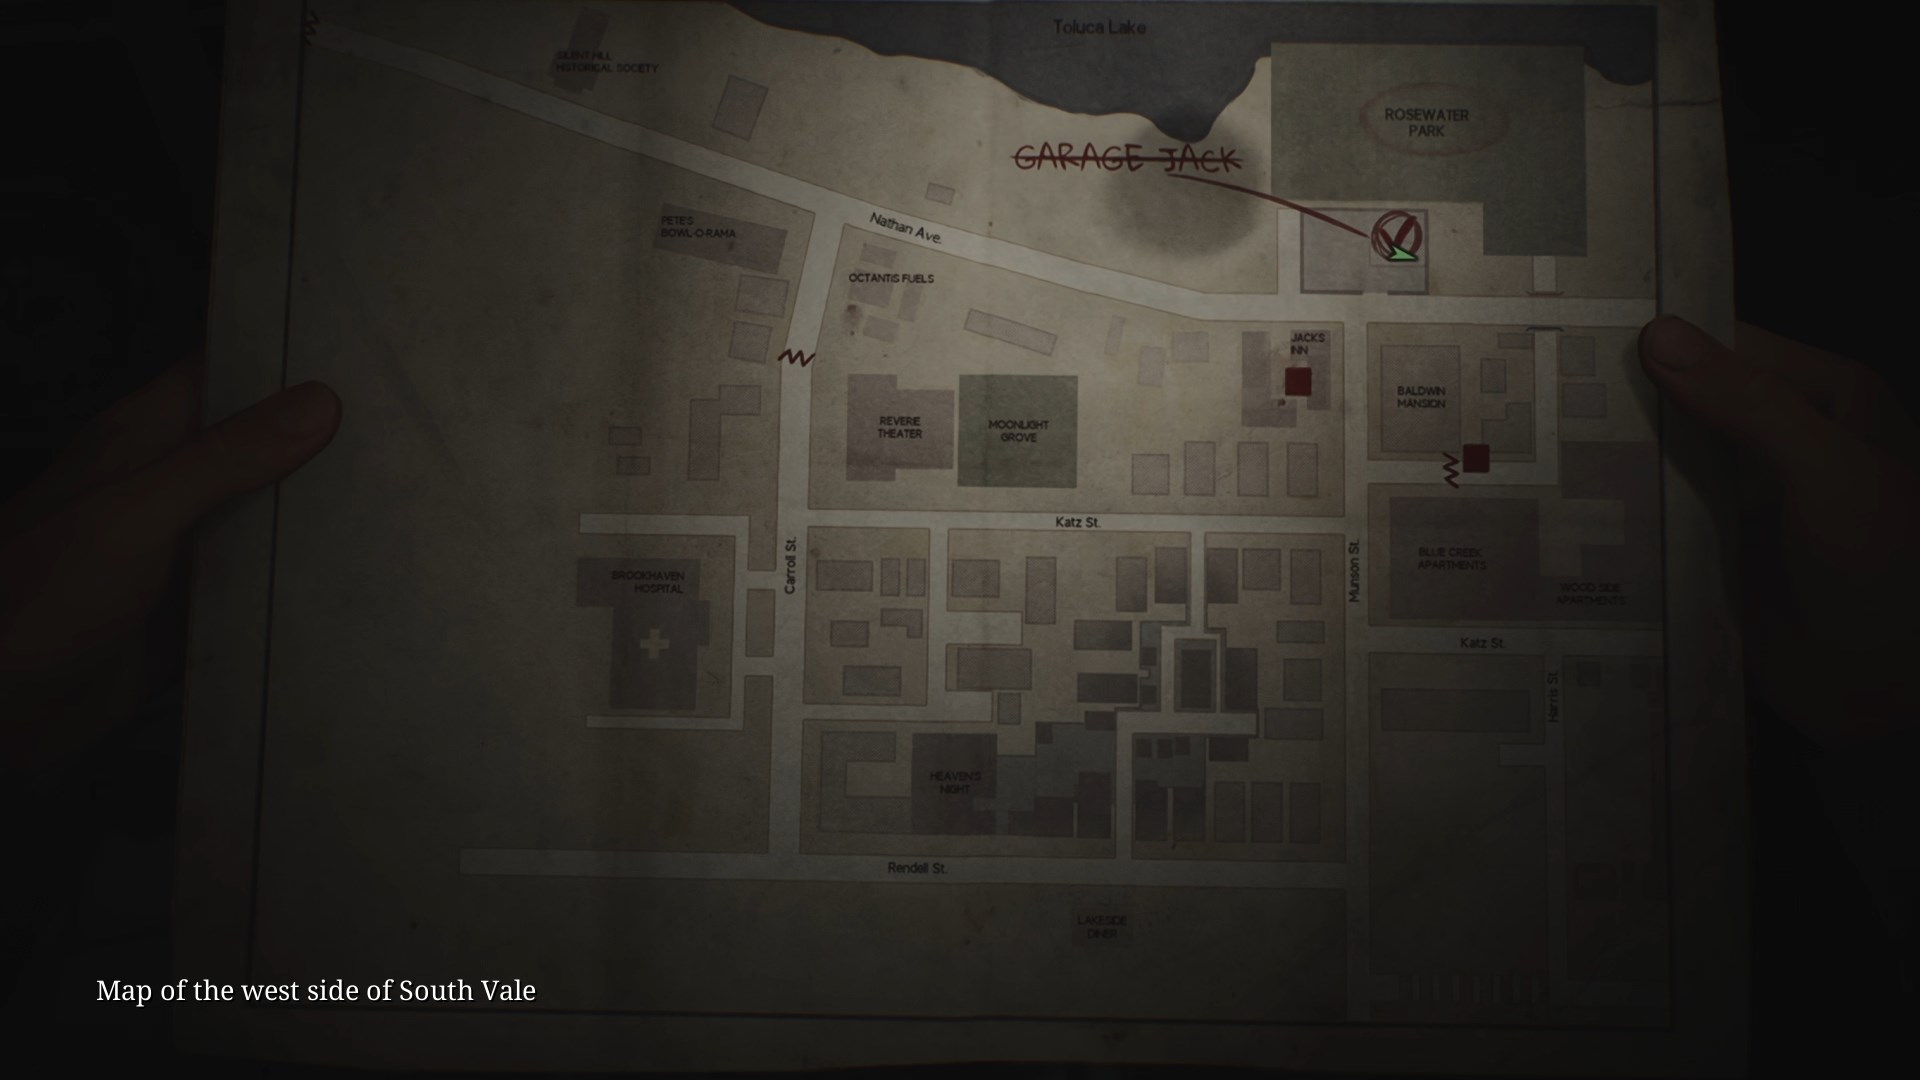
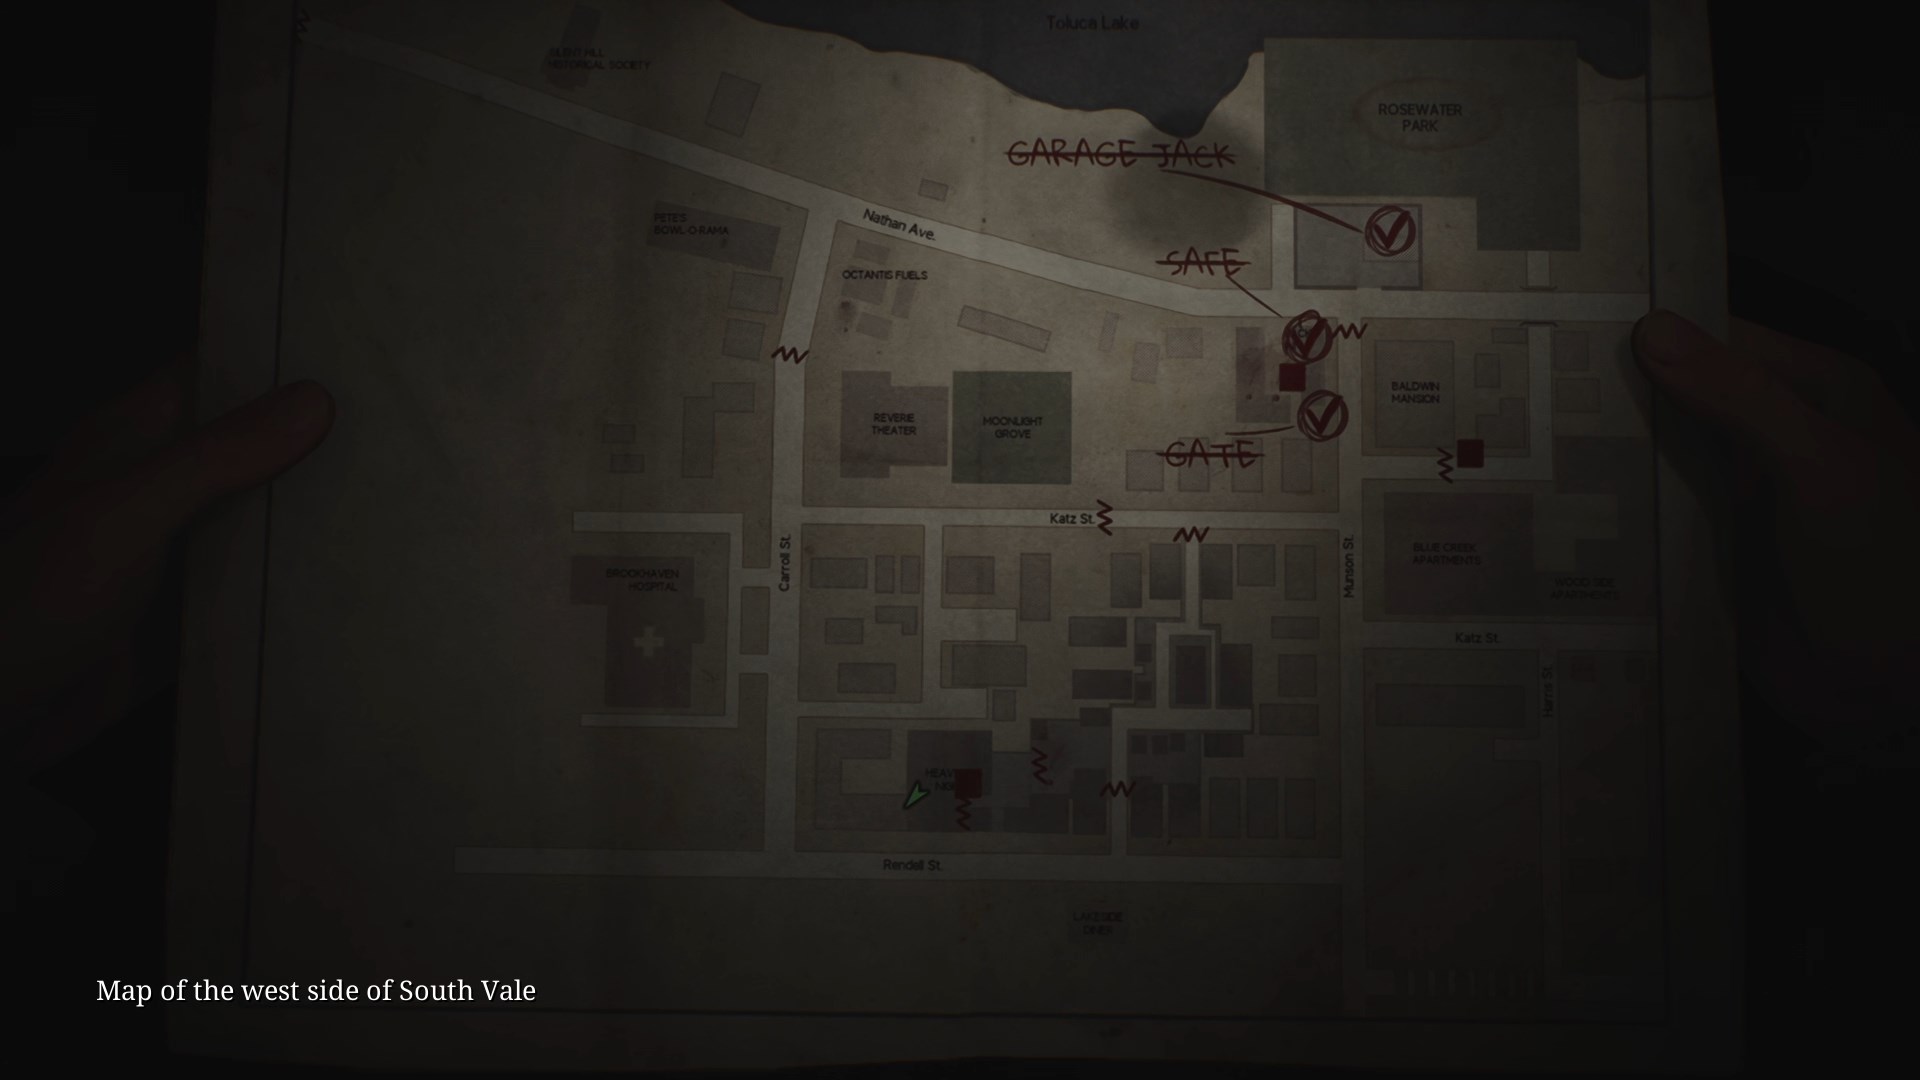
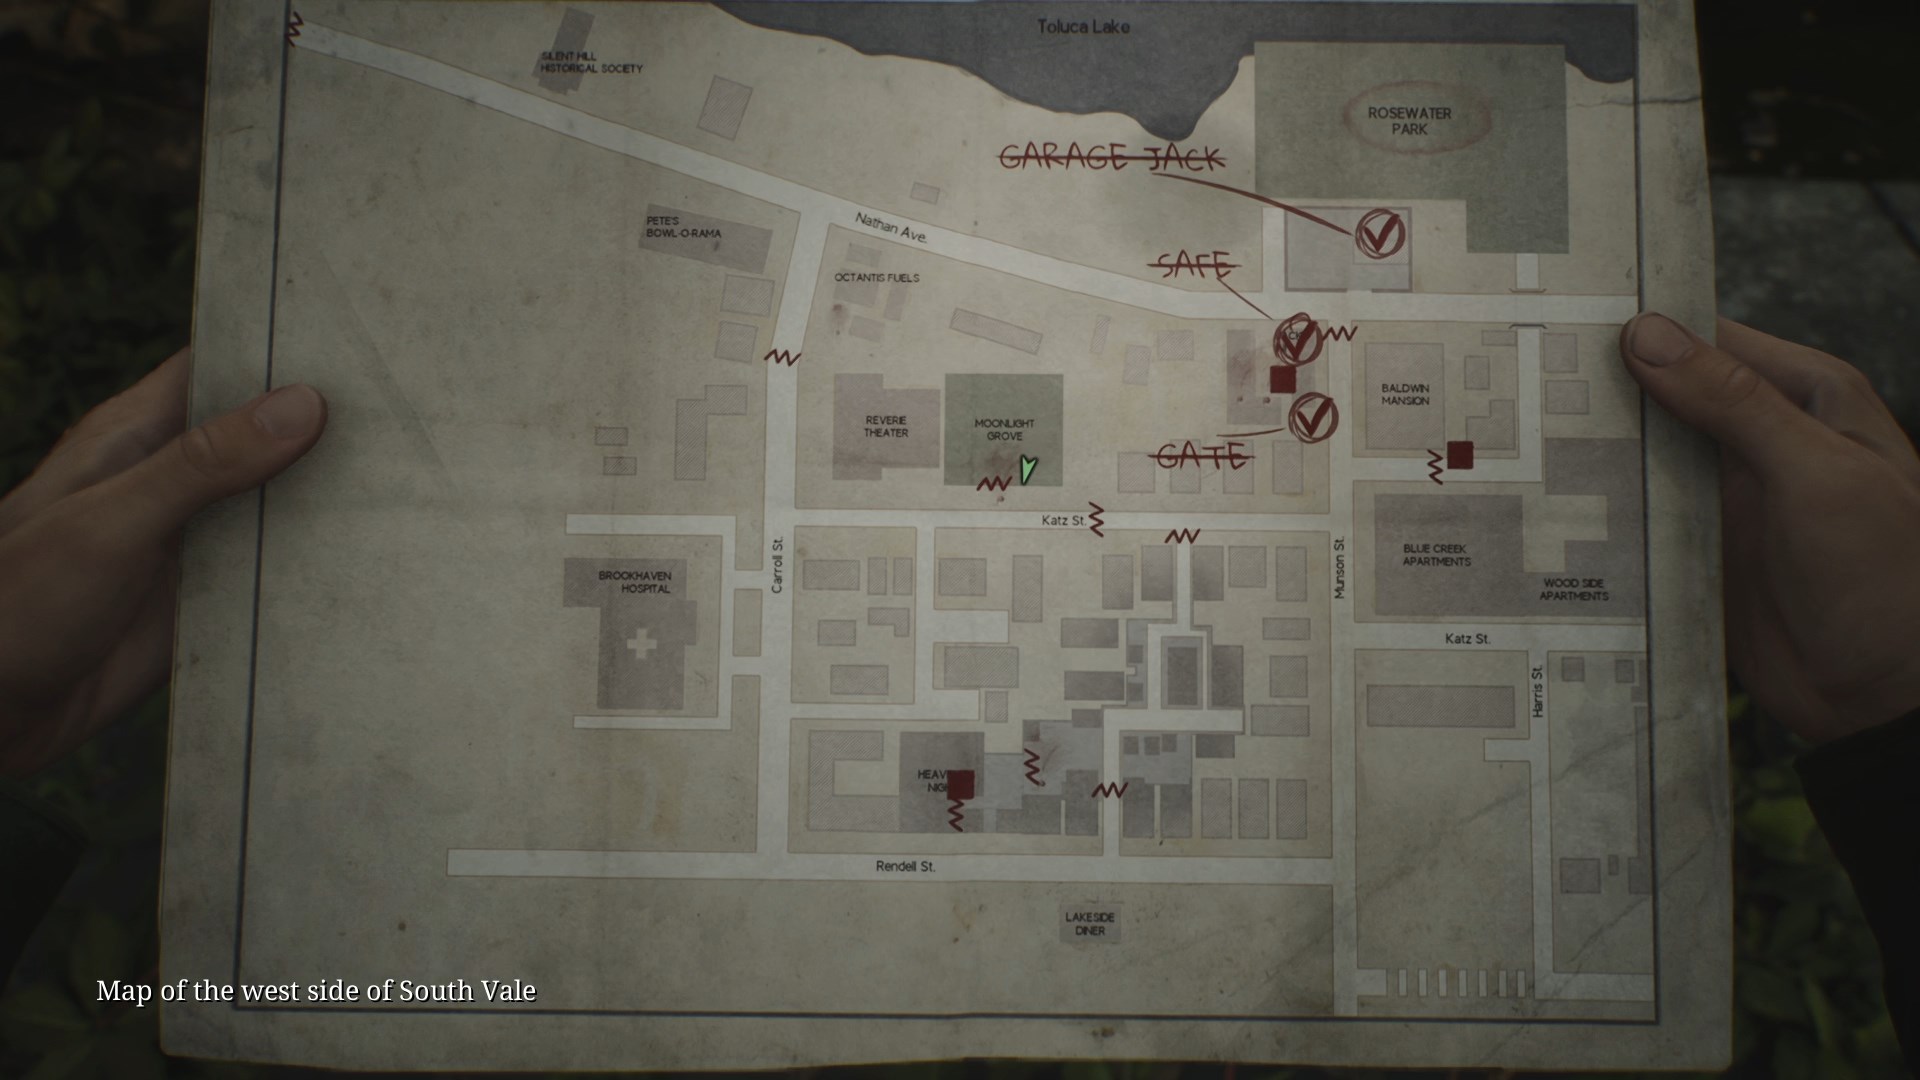
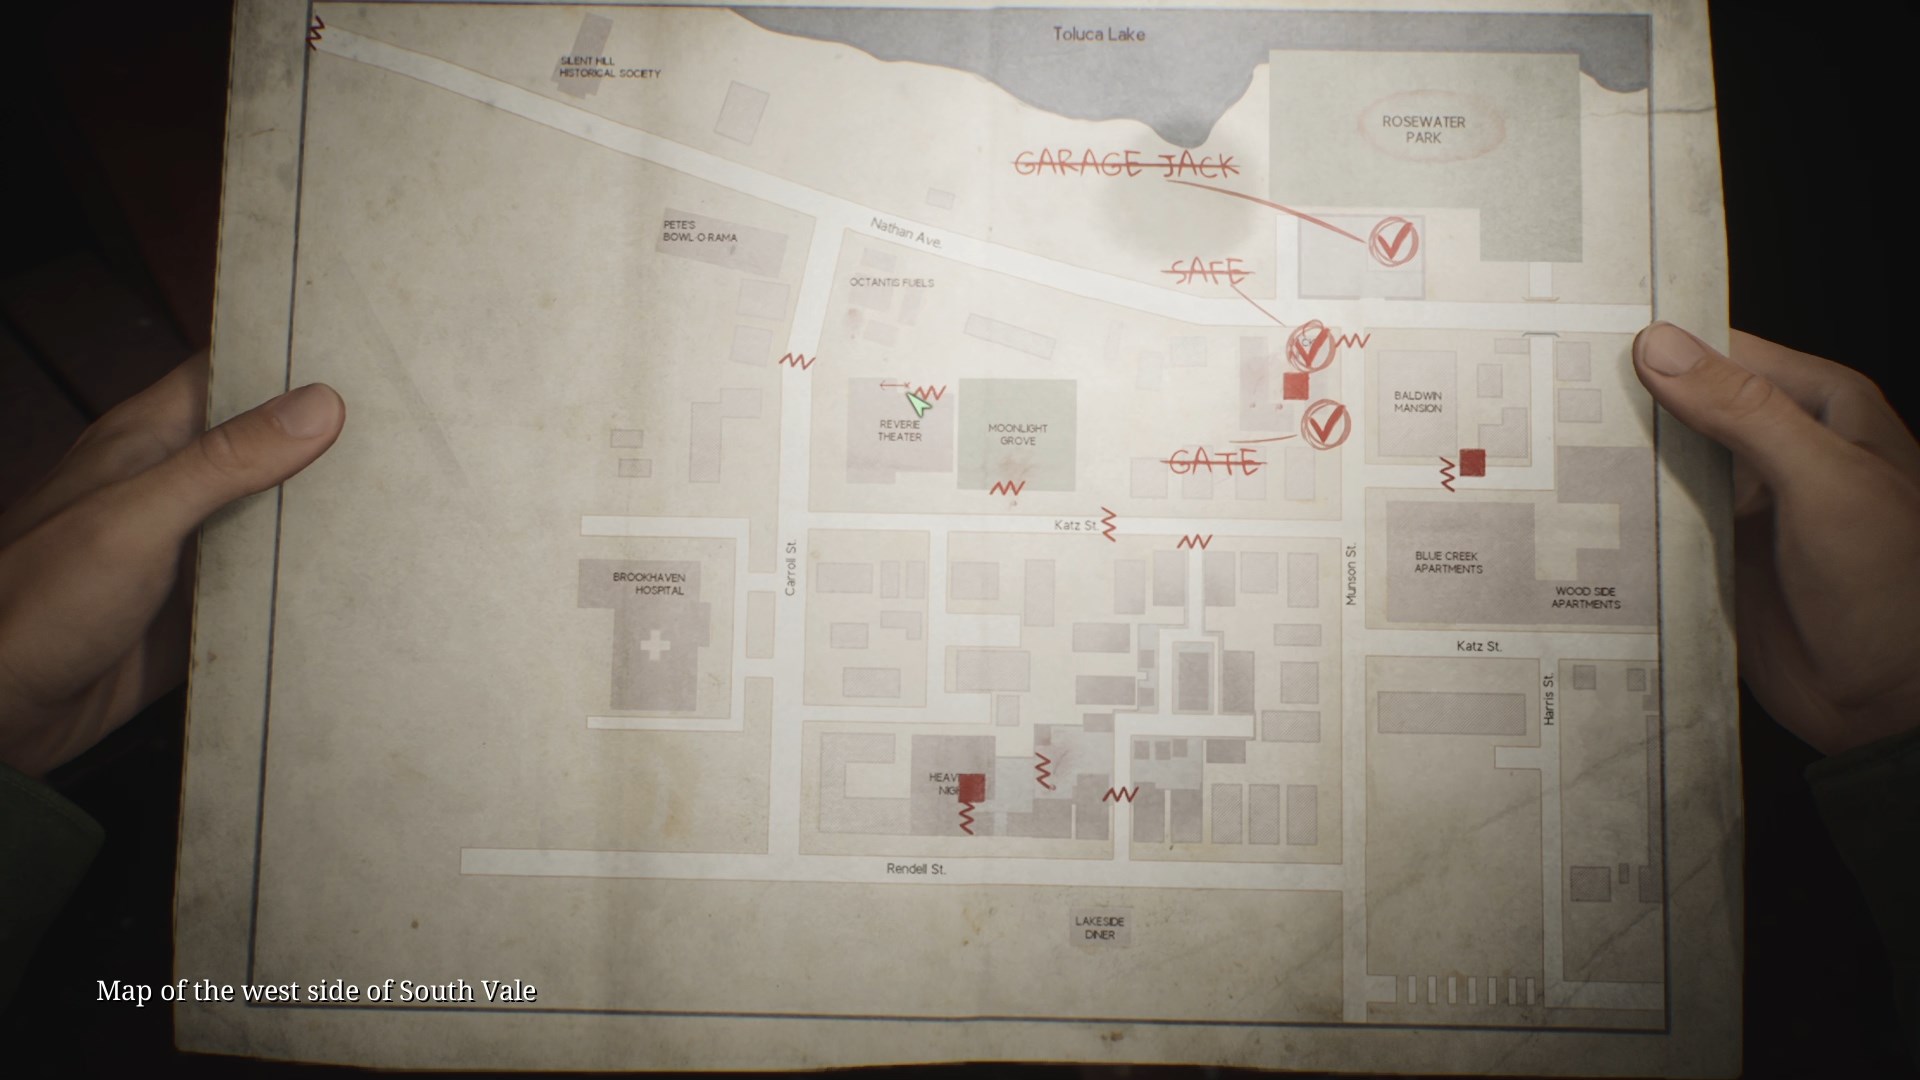
Western South Vale
Welcome to the fourth chapter of the complete walkthrough guide for Silent Hill 2 Remake (2024) covering Western South Vale. Use the key summary below for short, spoiler-free directions and the complete walkthrough section for in-depth guidelines with extra explanations. This walkthrough also includes complete maps with all items and monsters marked for easy reference.
Legend
1 Auto Parts key – key items
2 Radio – equipment
Health Drink – supplies
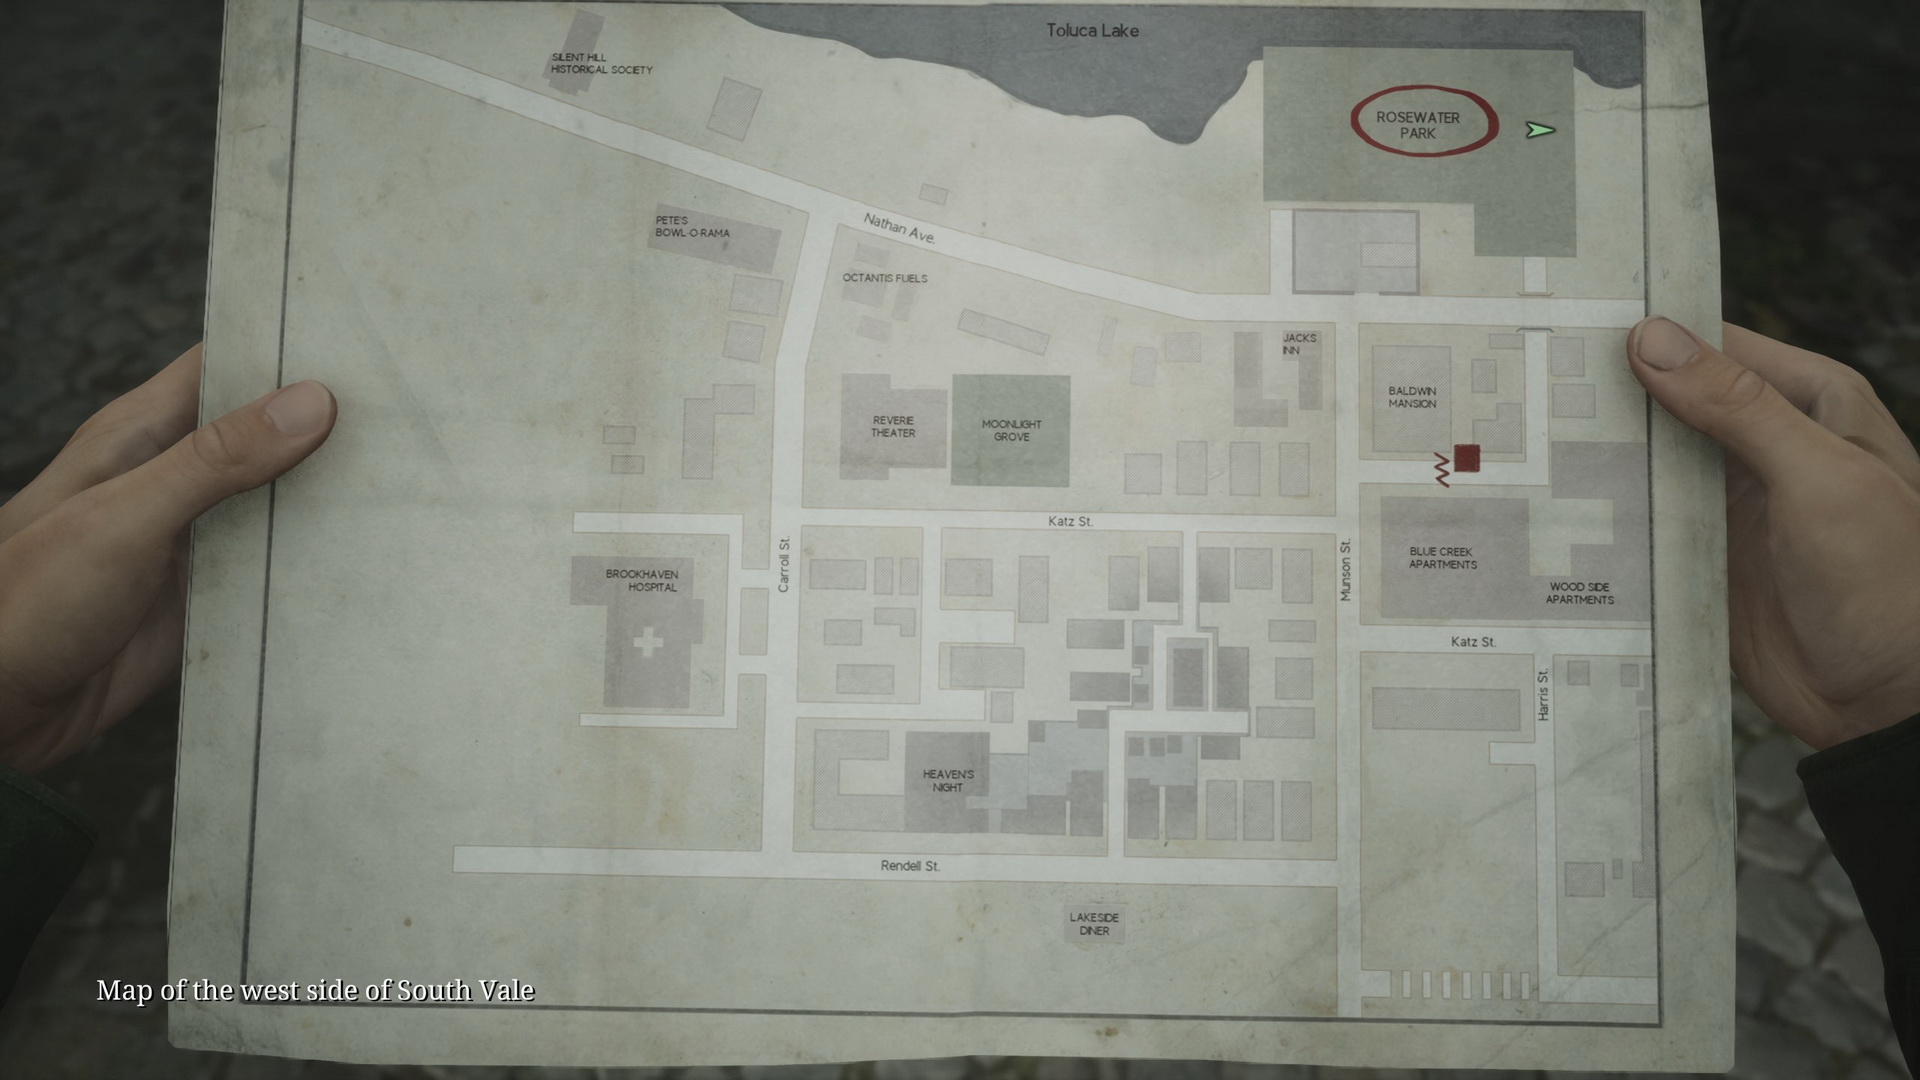
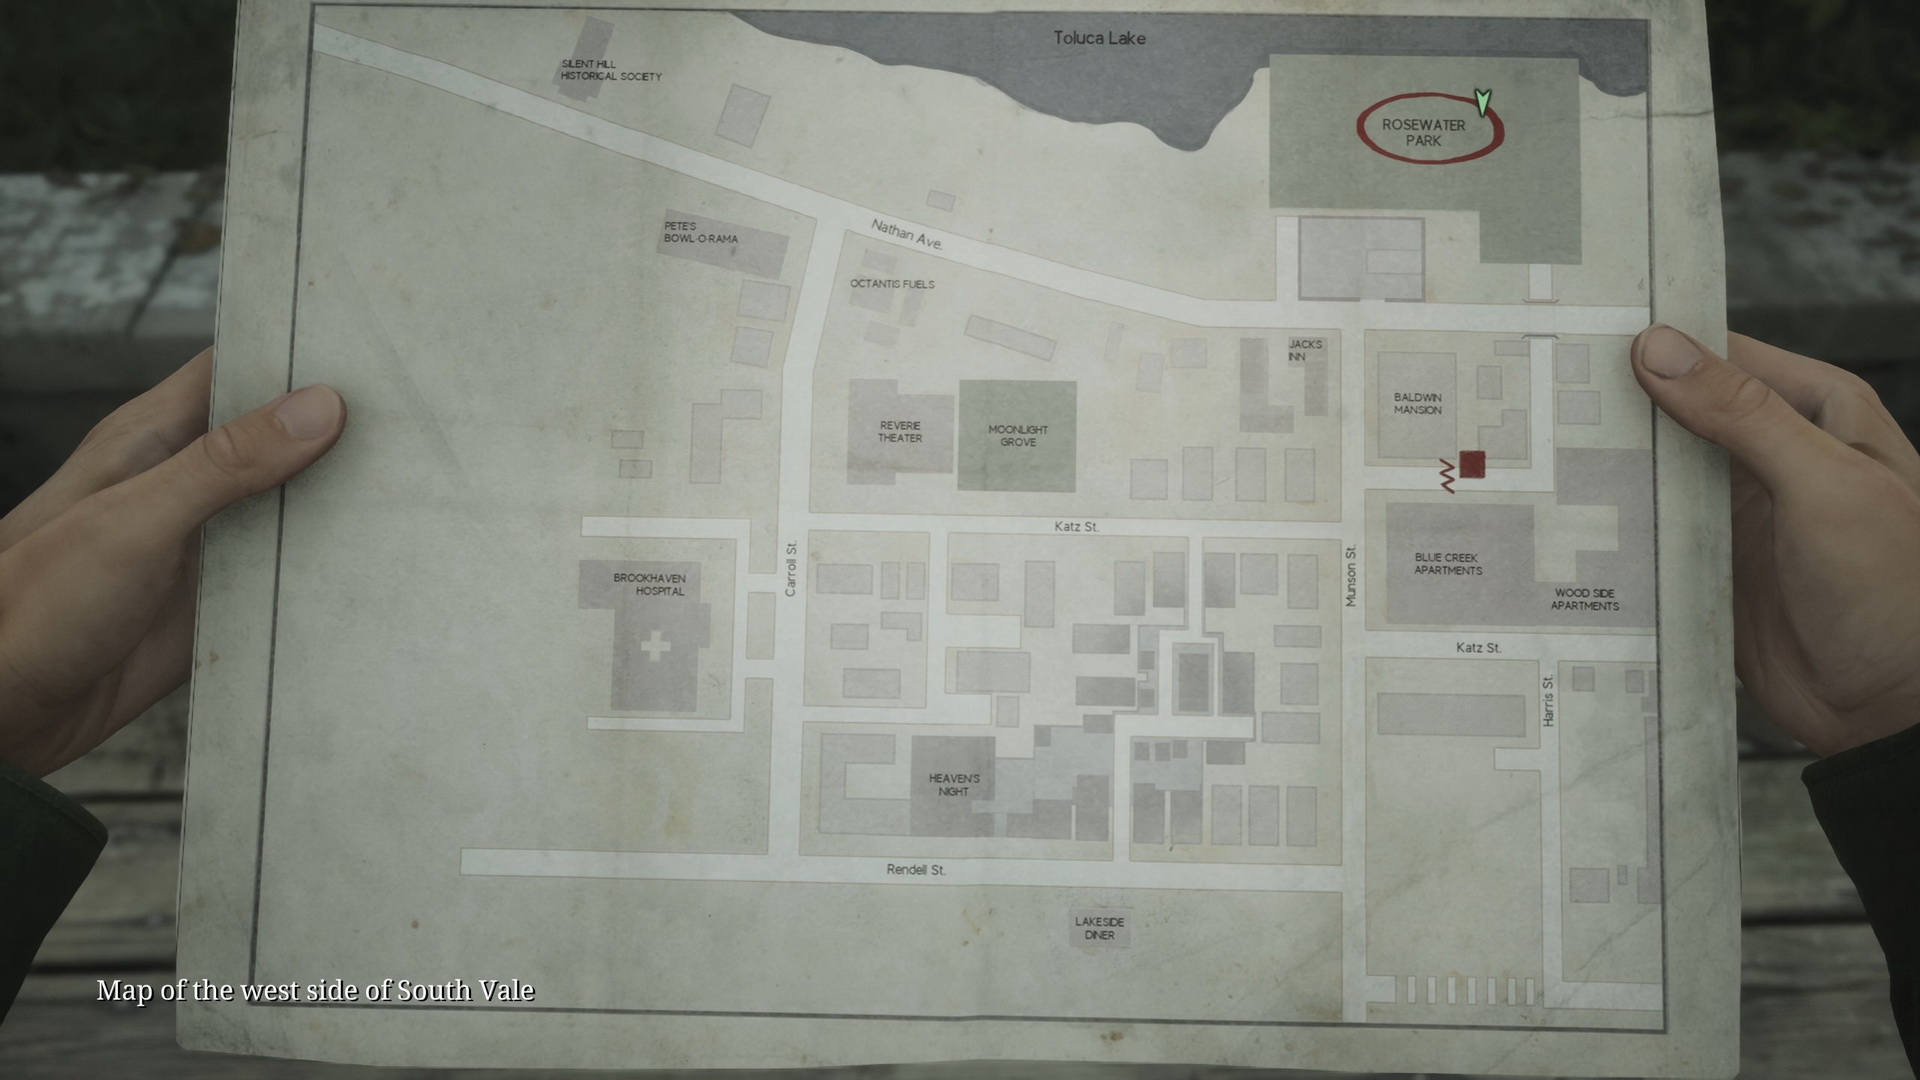
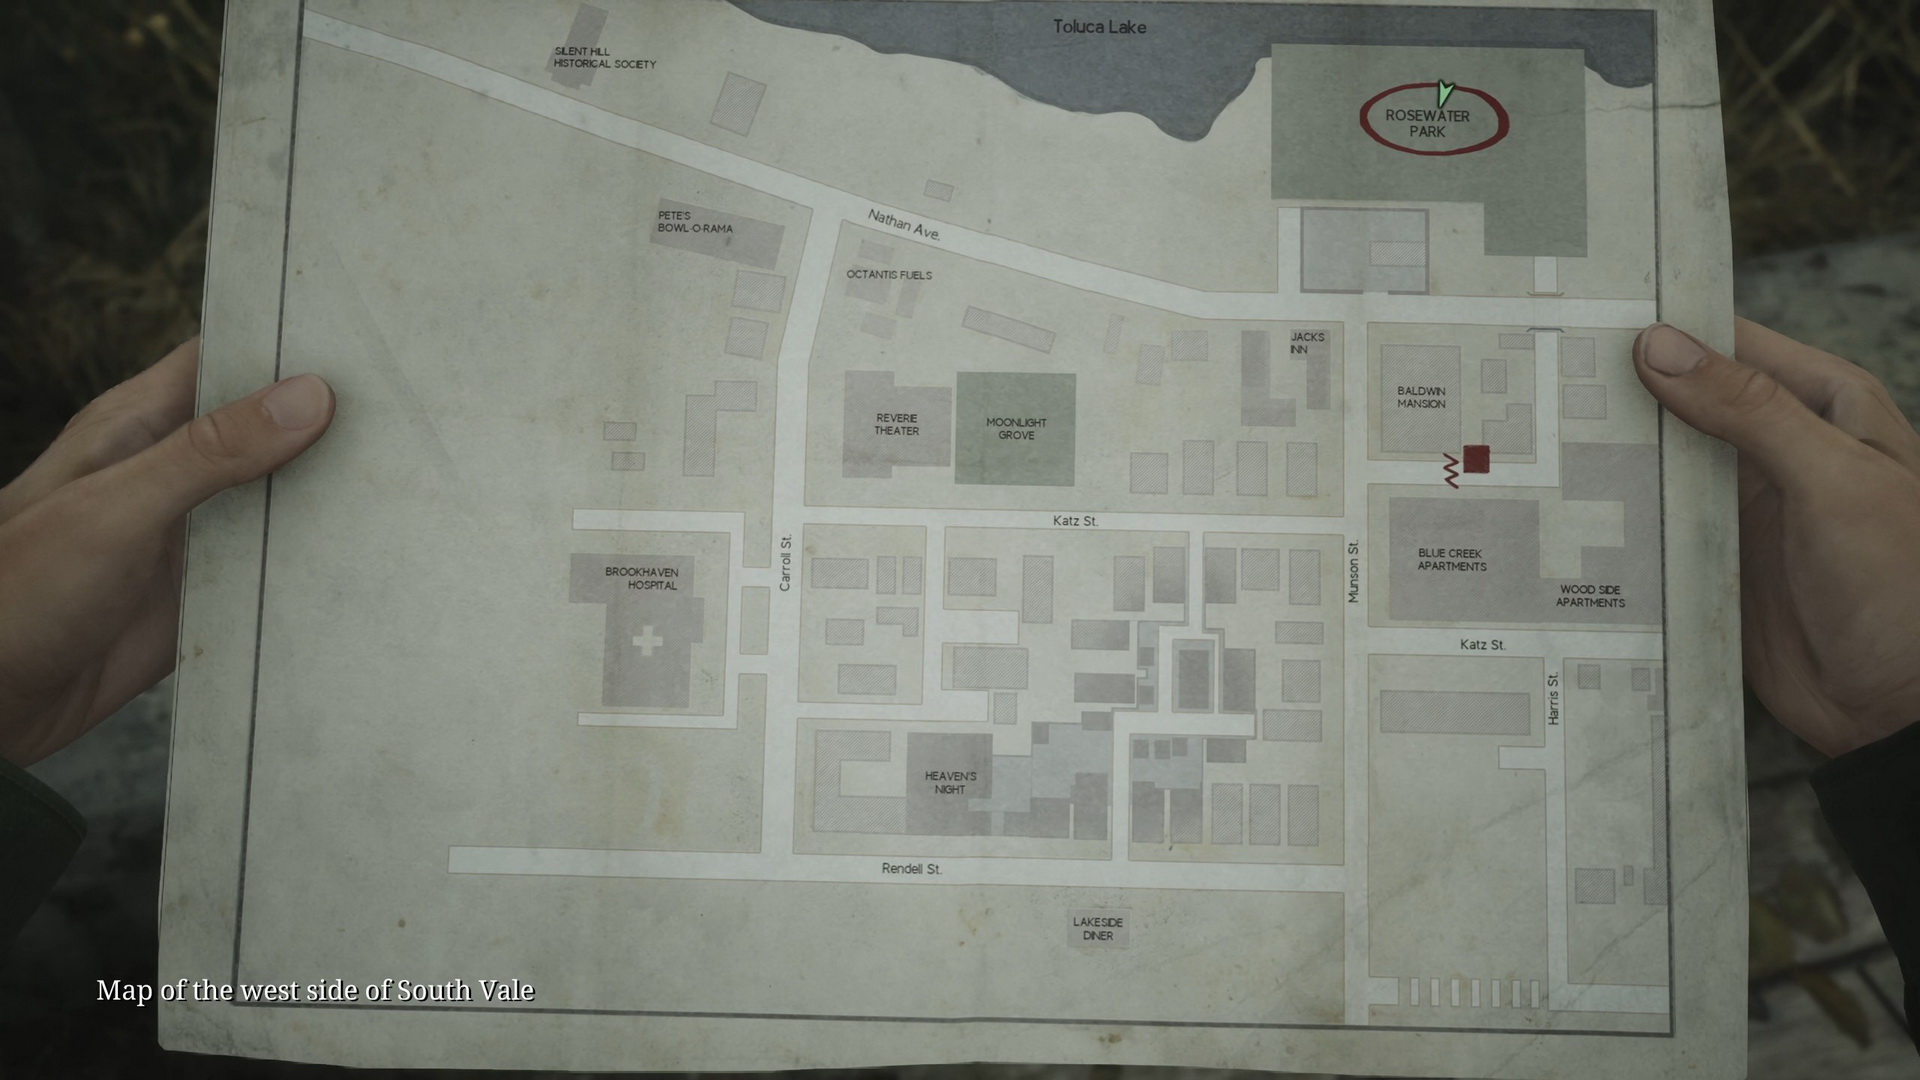
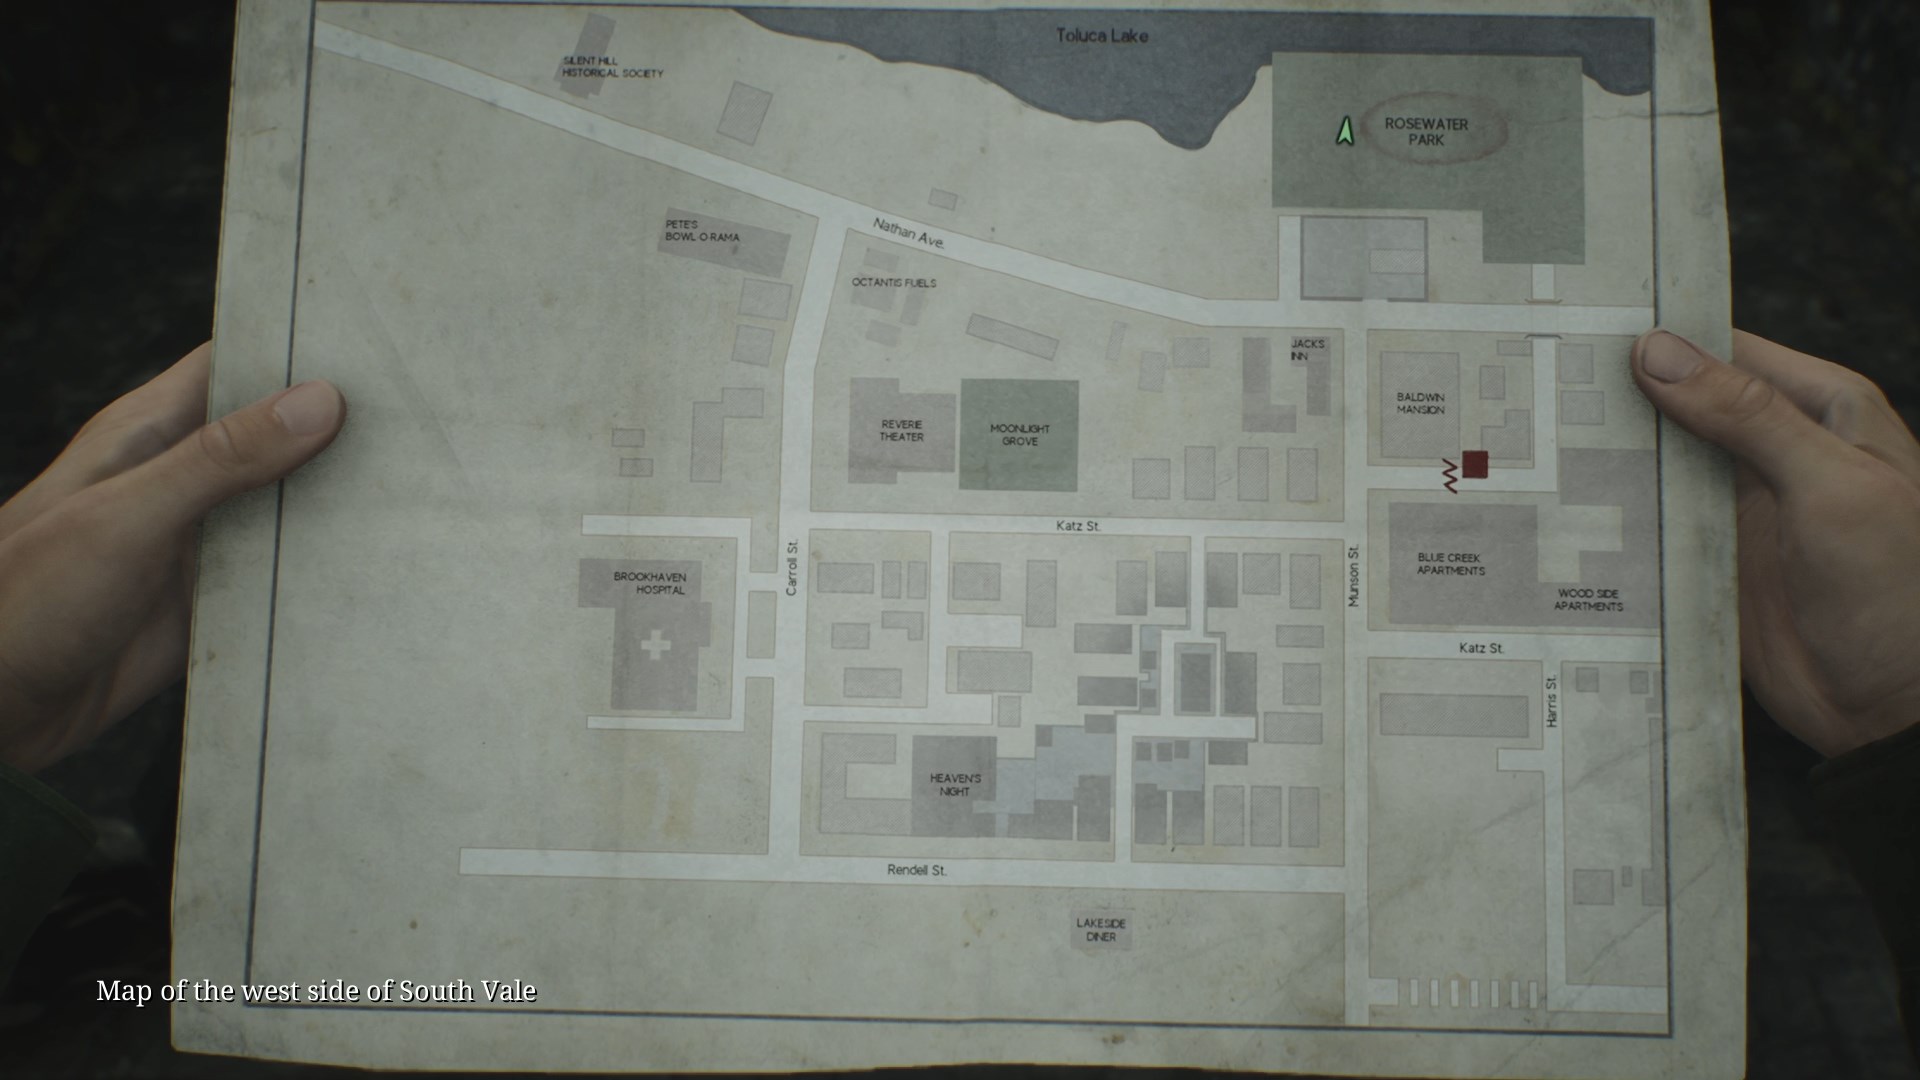
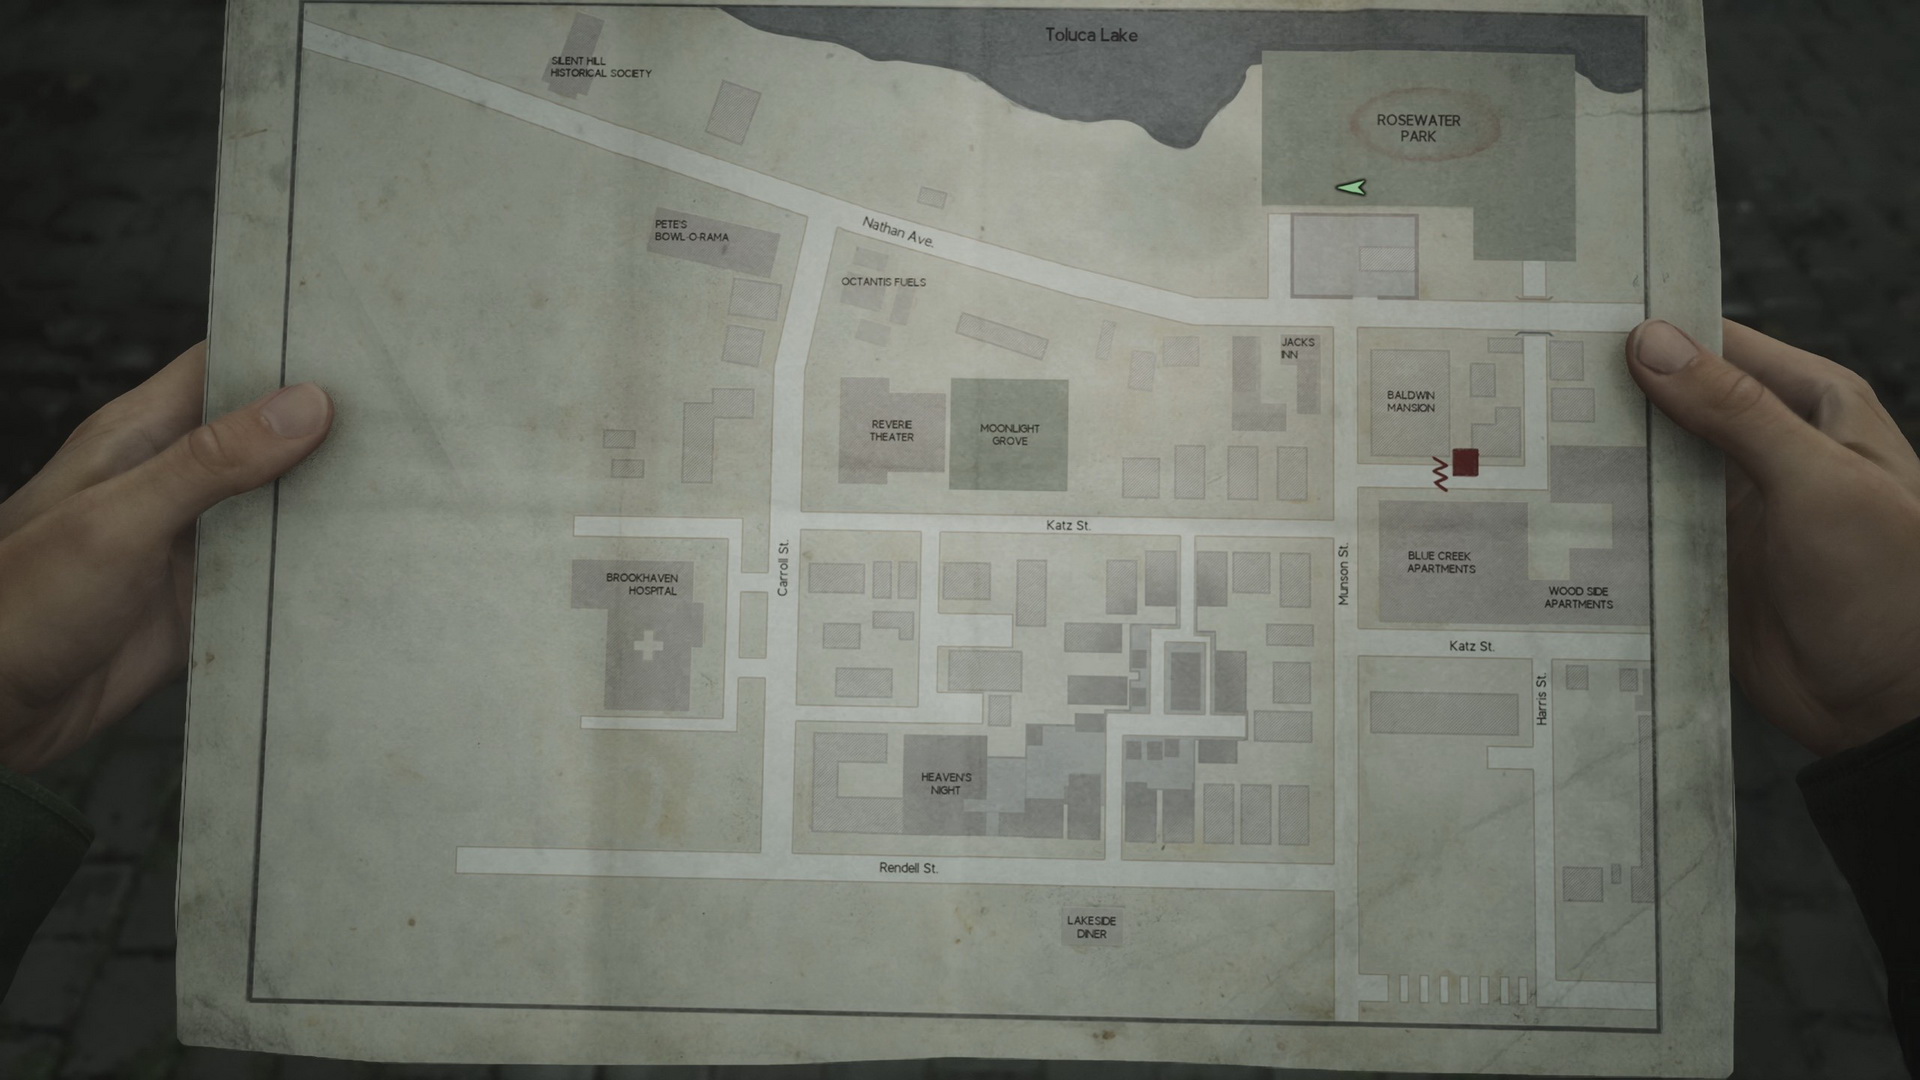
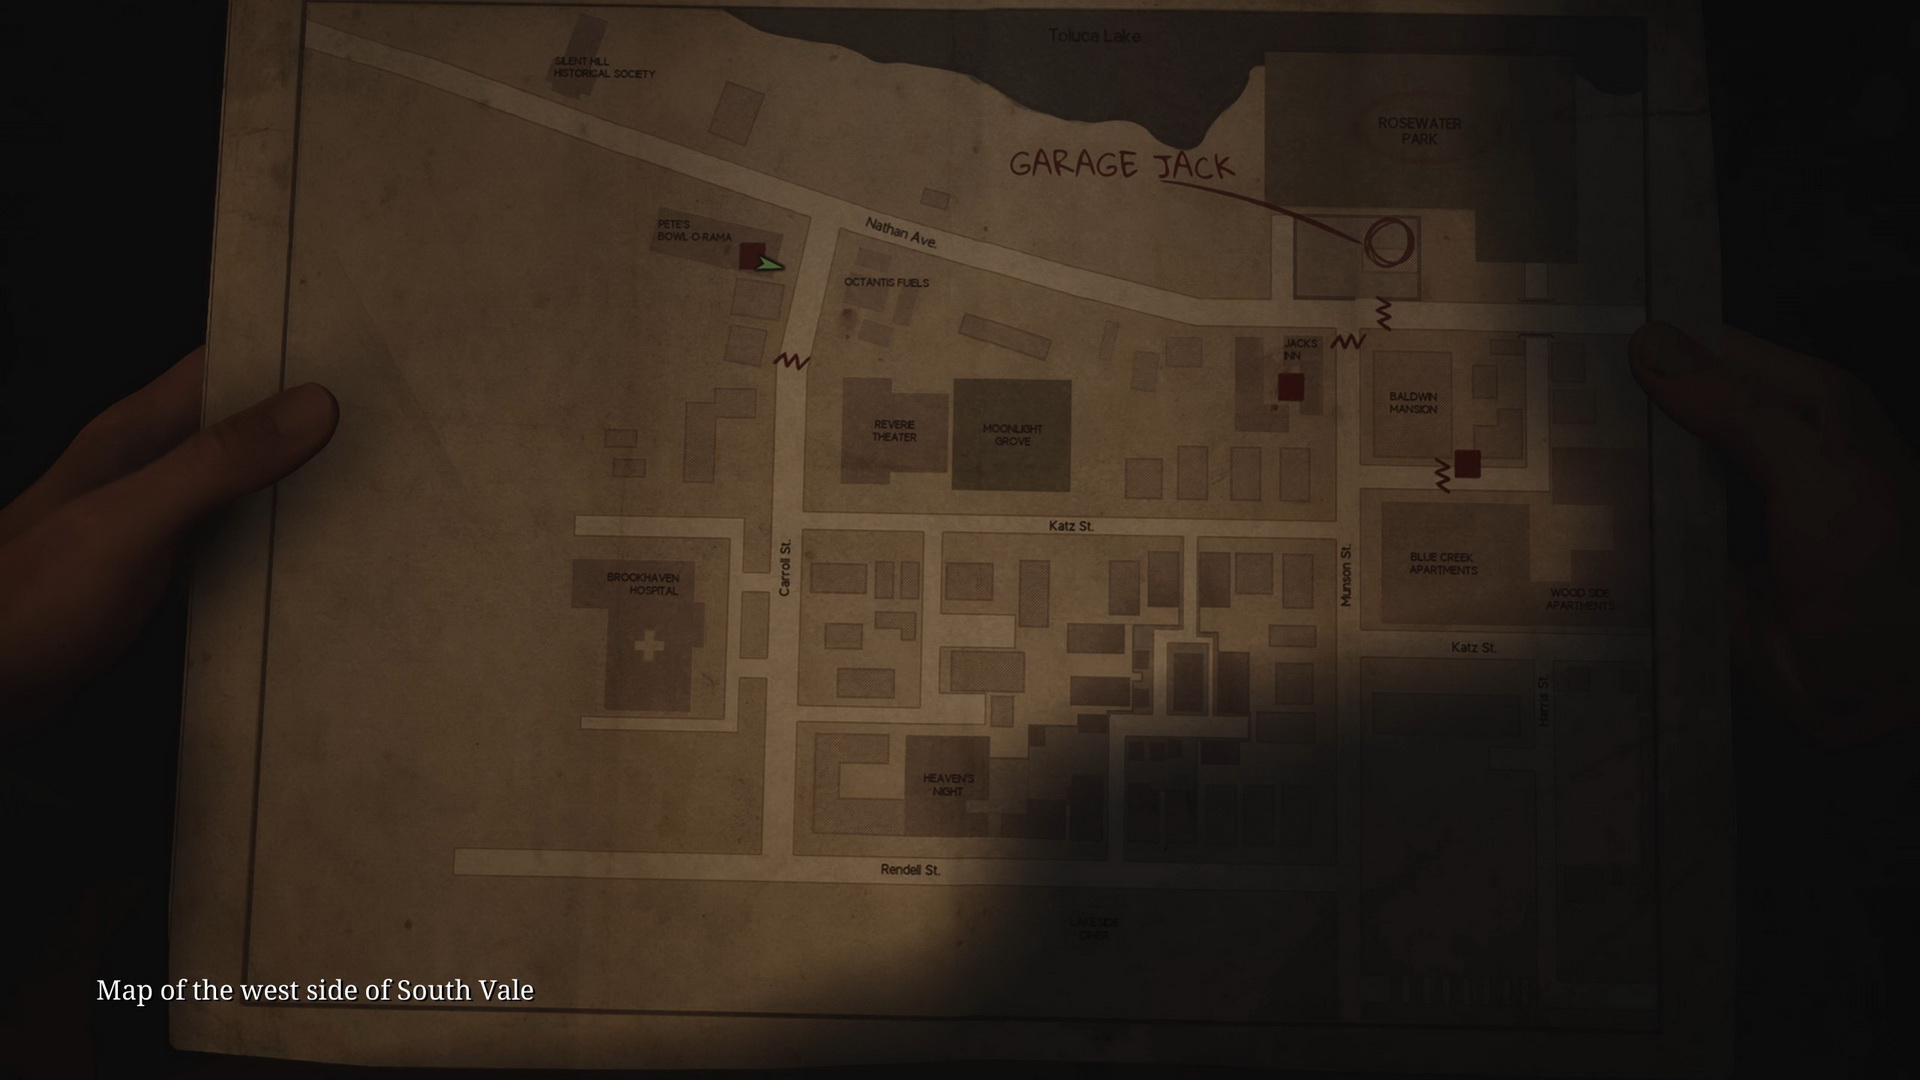
Map of Silent Hill – maps
Save Point – save points
Flower Shop Message – collectibles: memos, strange photos and glimpses of the past
NG+ – New Game+ items, memos and actions
Contents
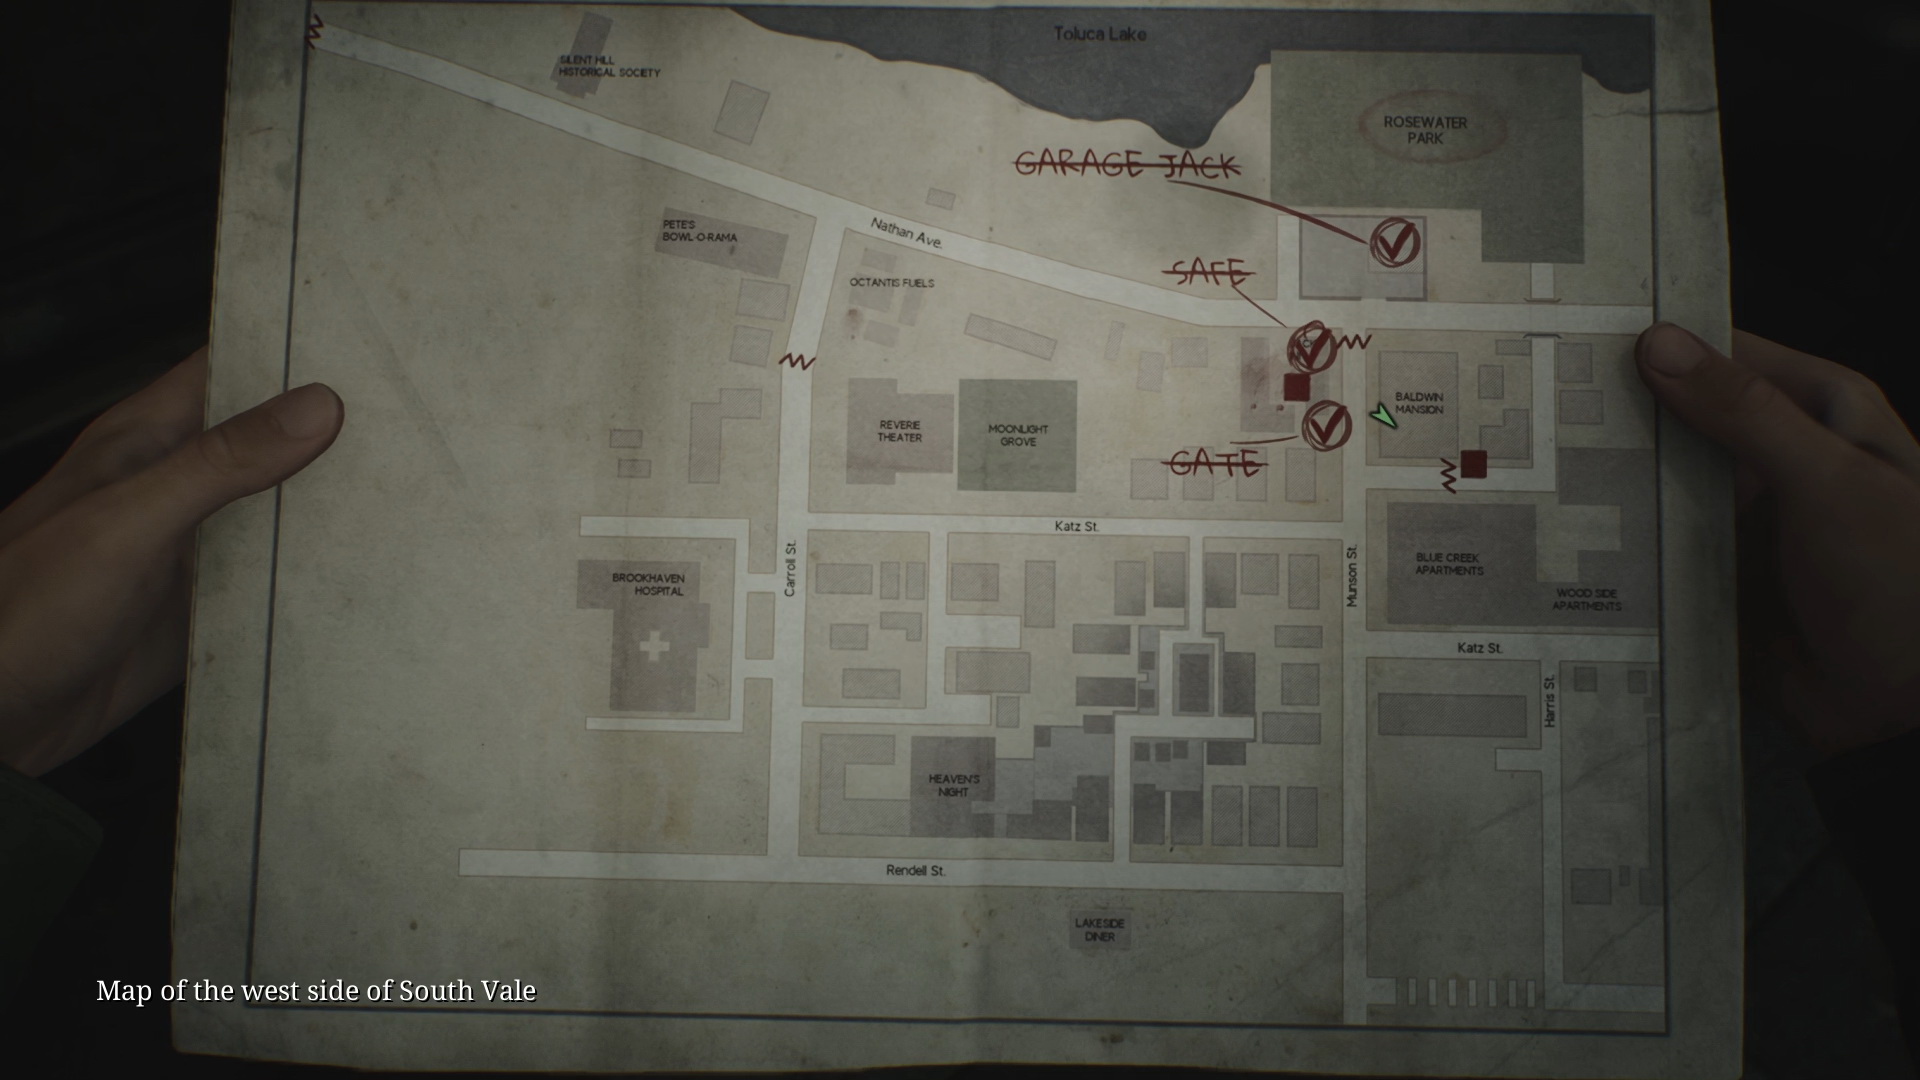
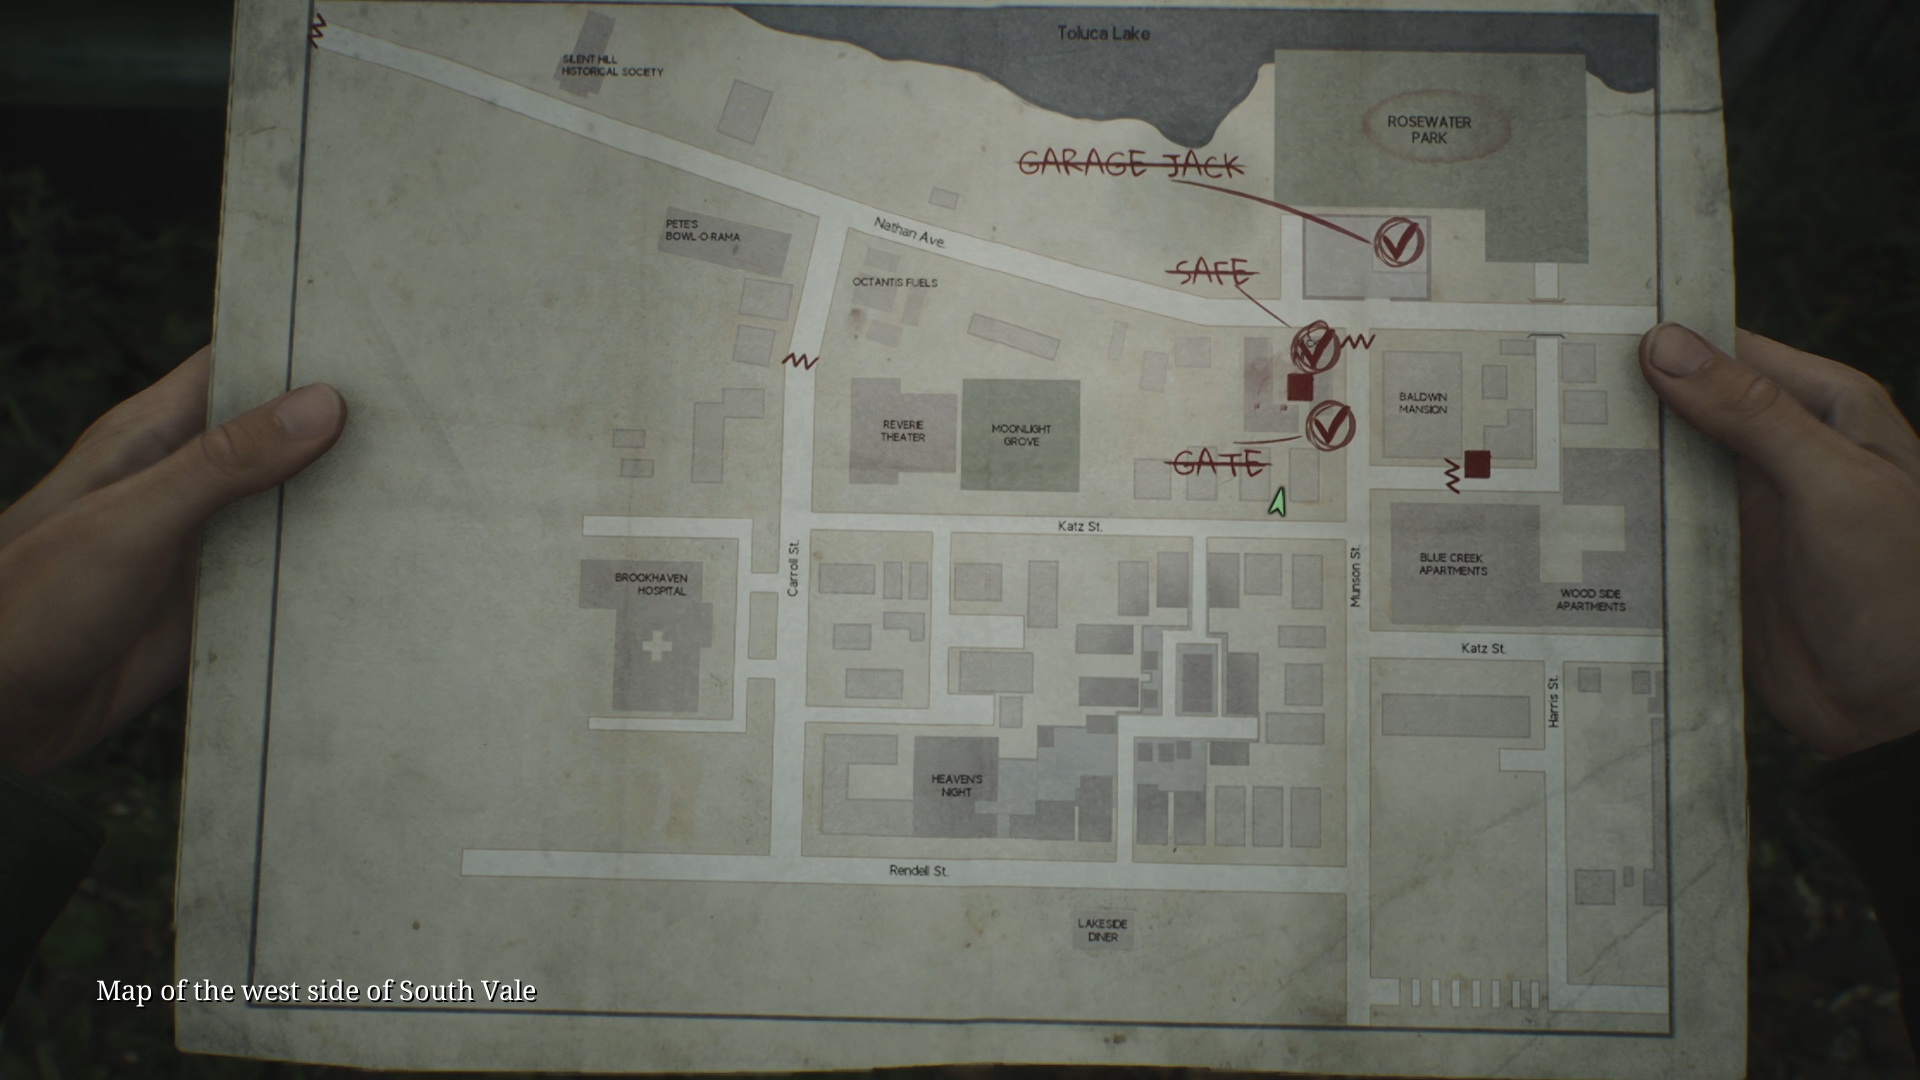
Complete Maps |
|
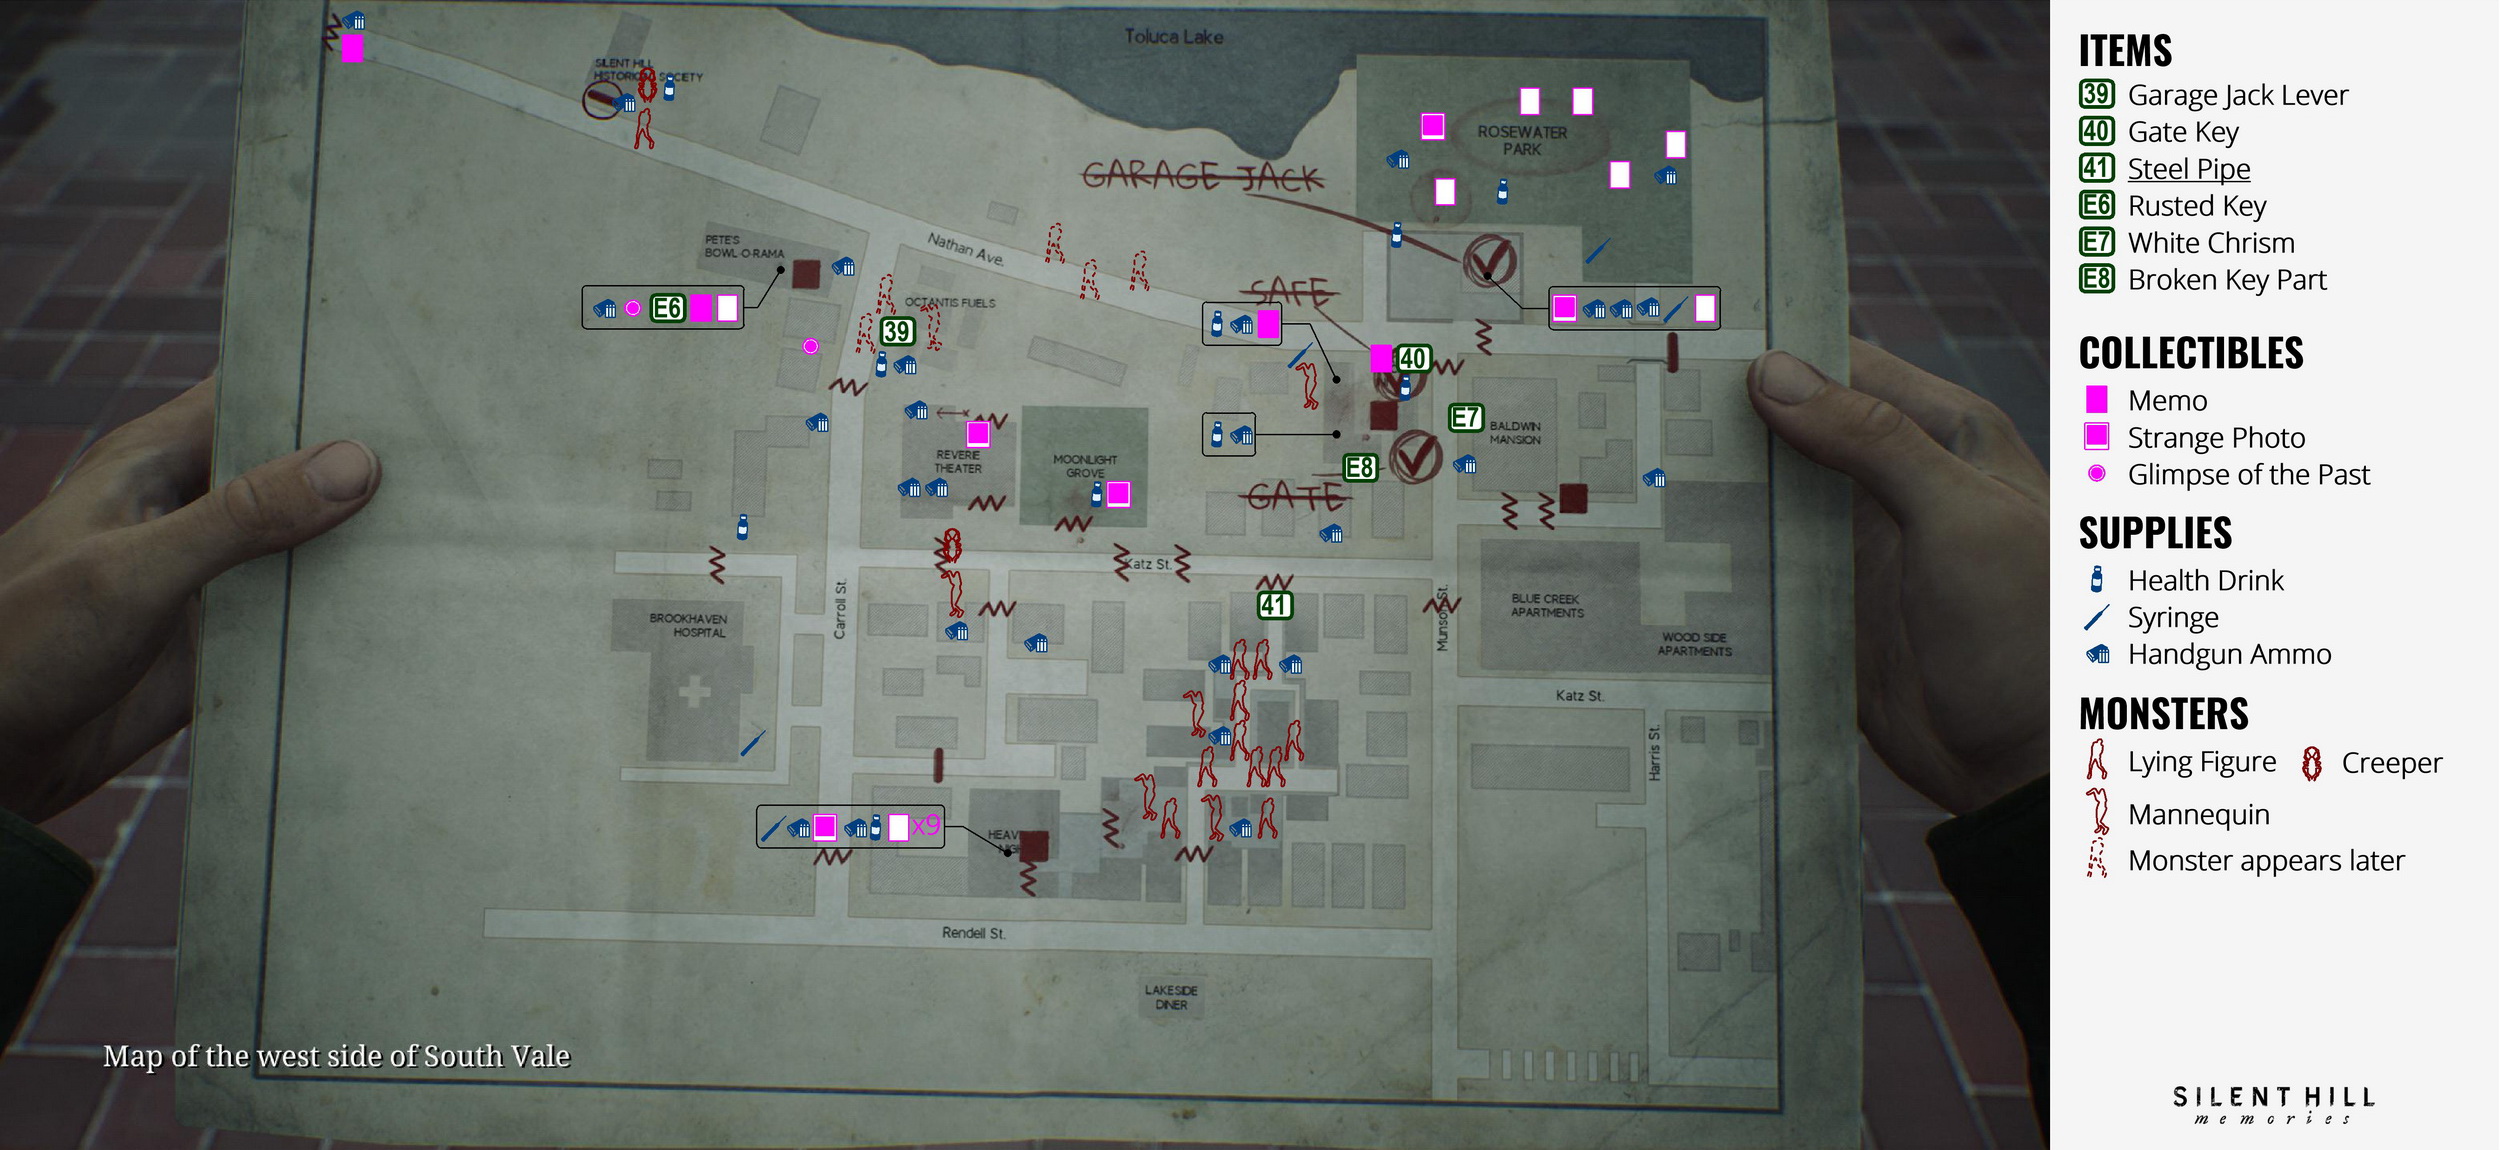
Collectibles count:
- 3 memos (+1 in NG+)
- 5 strange photos
- 2 glimpses of the past
Key Summary
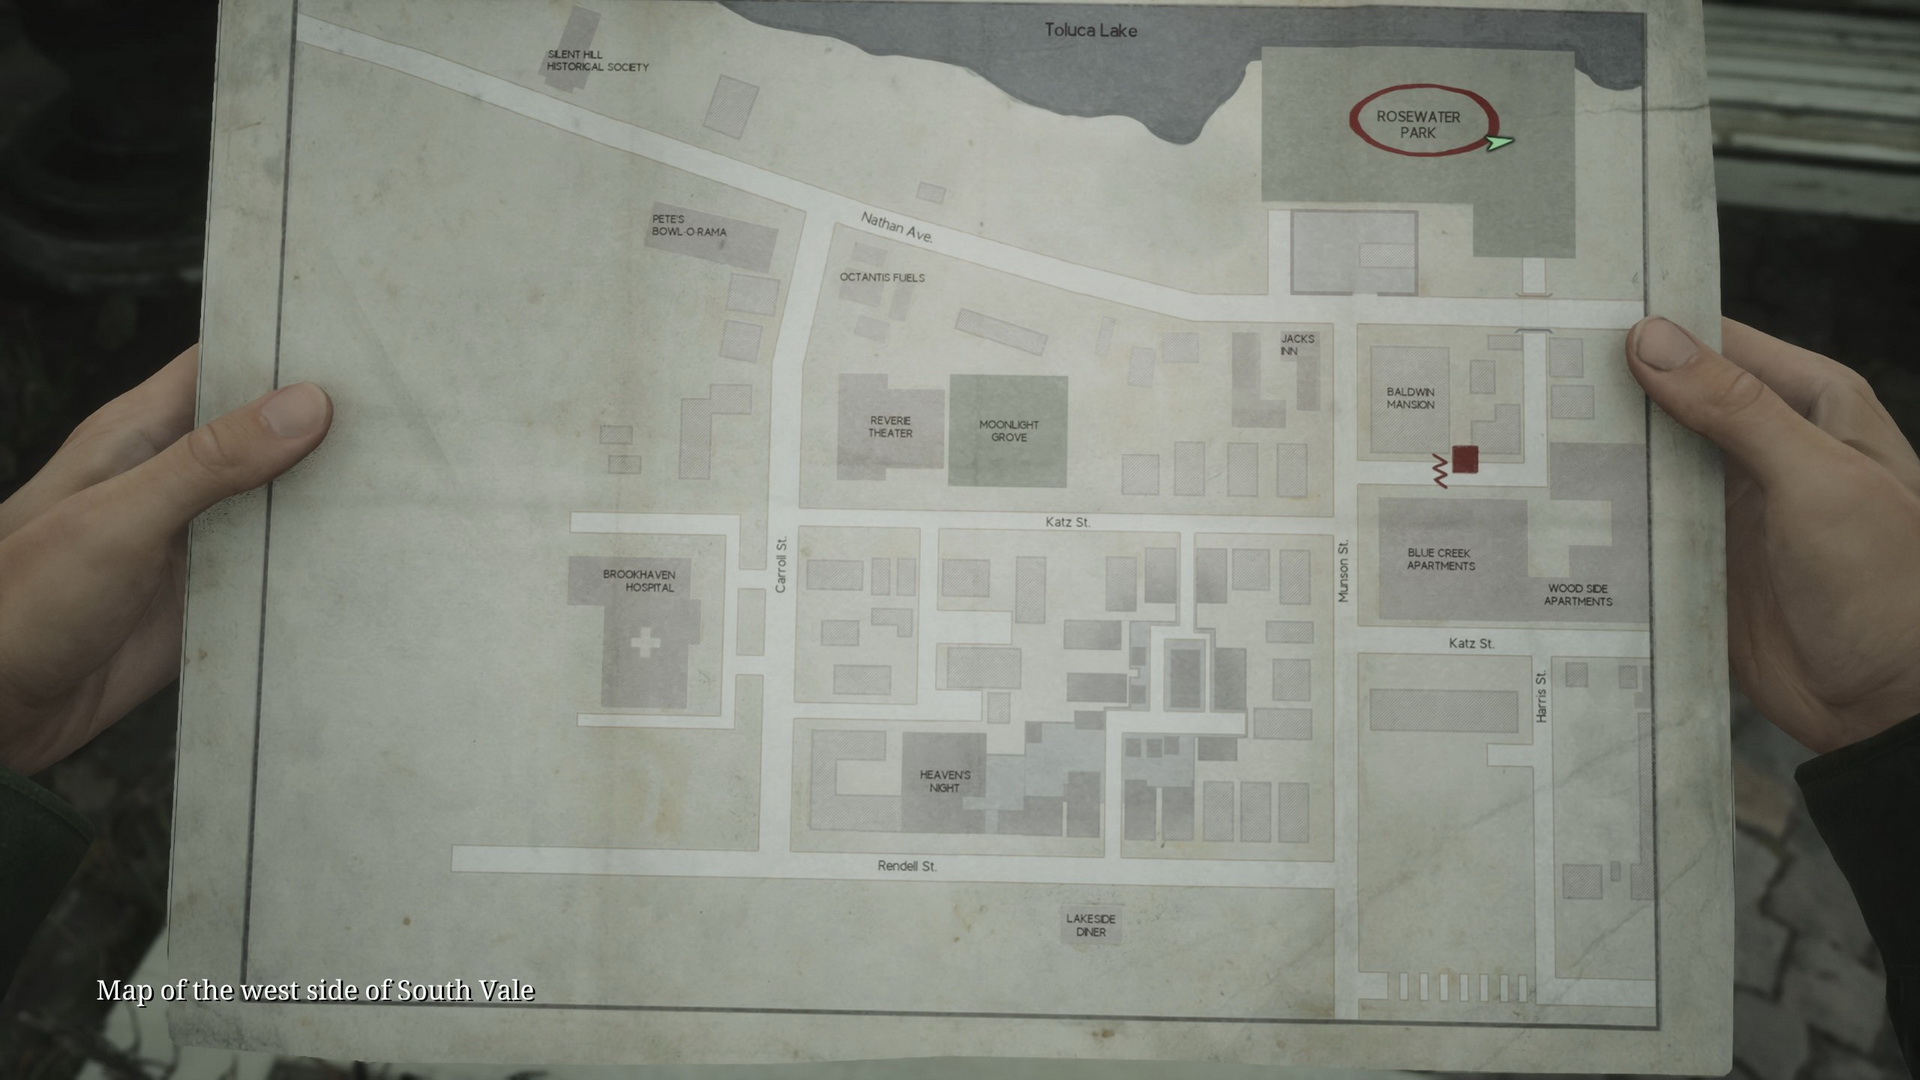
Rosewater Park
- Leave the apartment building – there's a Save Point directly ahead.
- Proceed towards Rosewater Park.
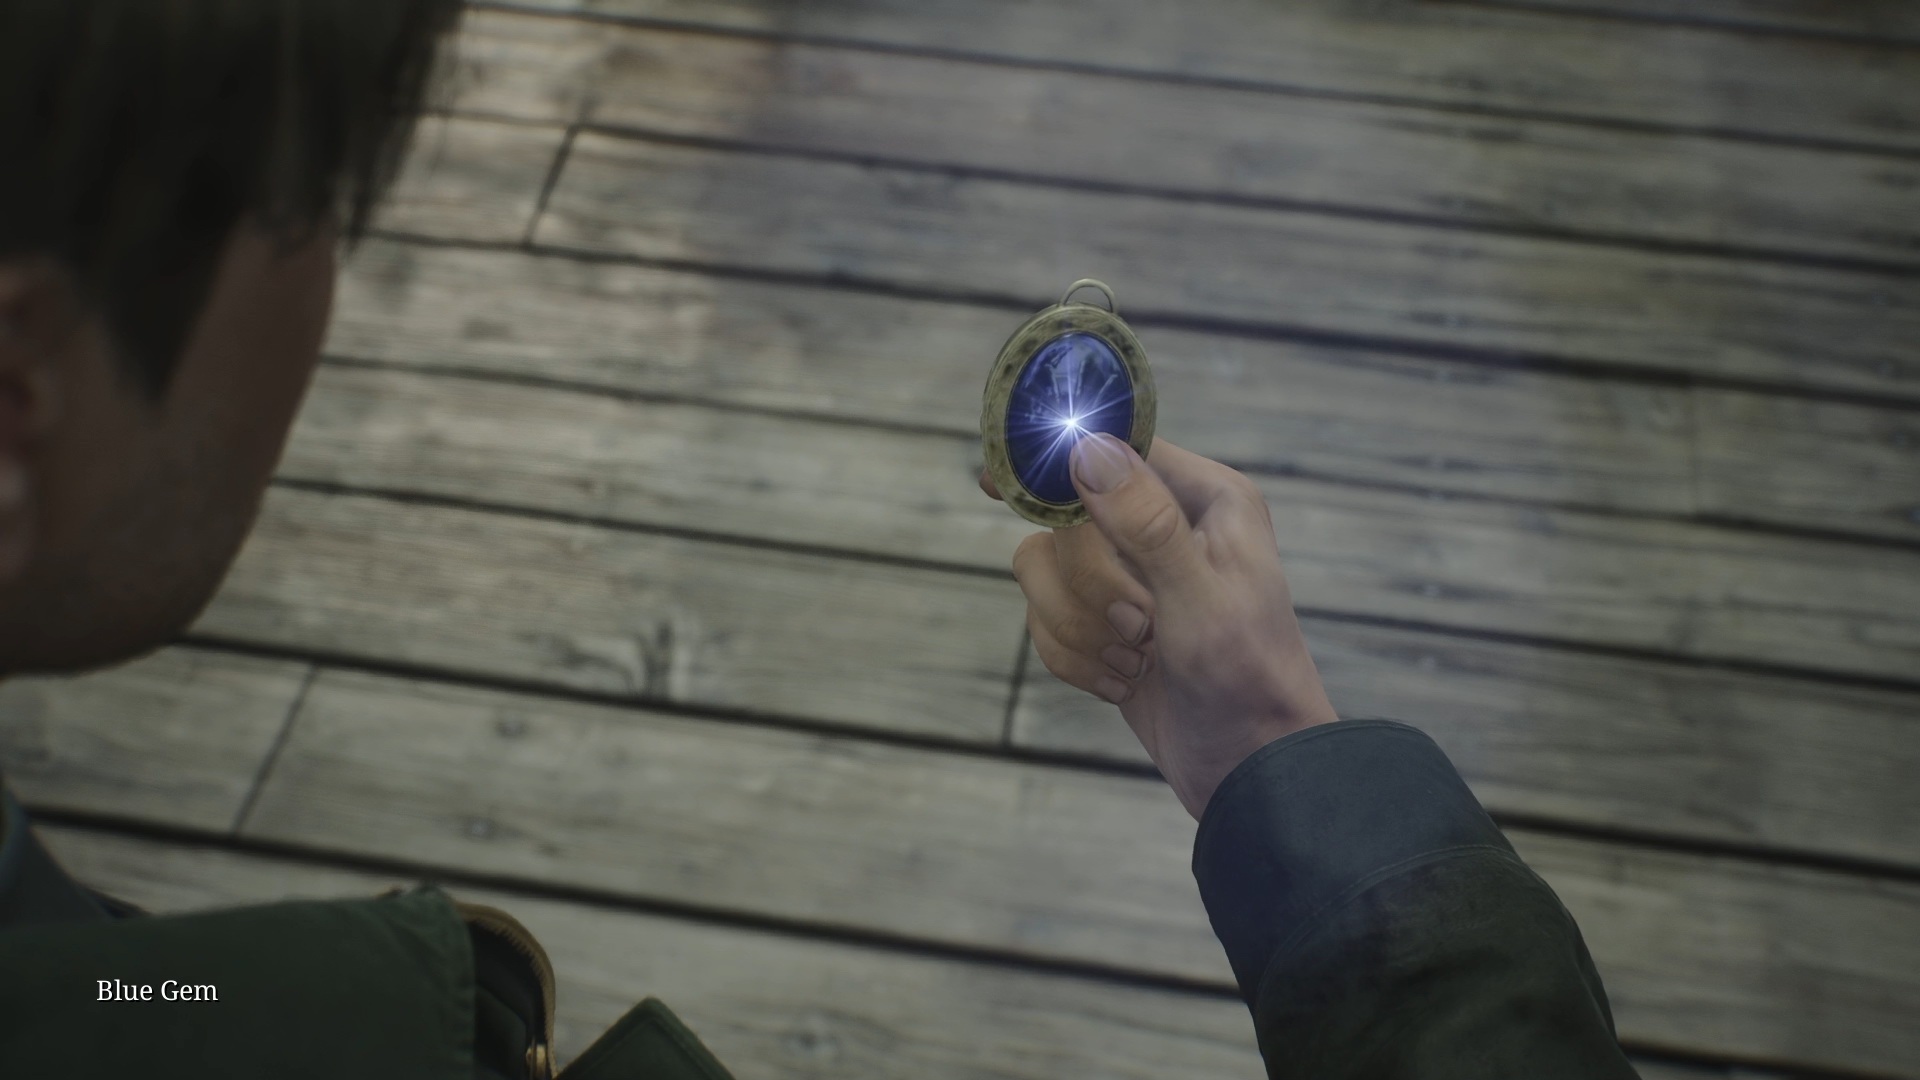
- NG+ Use the Blue Gem for the second time for the UFO ending in the northeastern corner of the pier.
- Go to the end of the central pier to meet Maria.
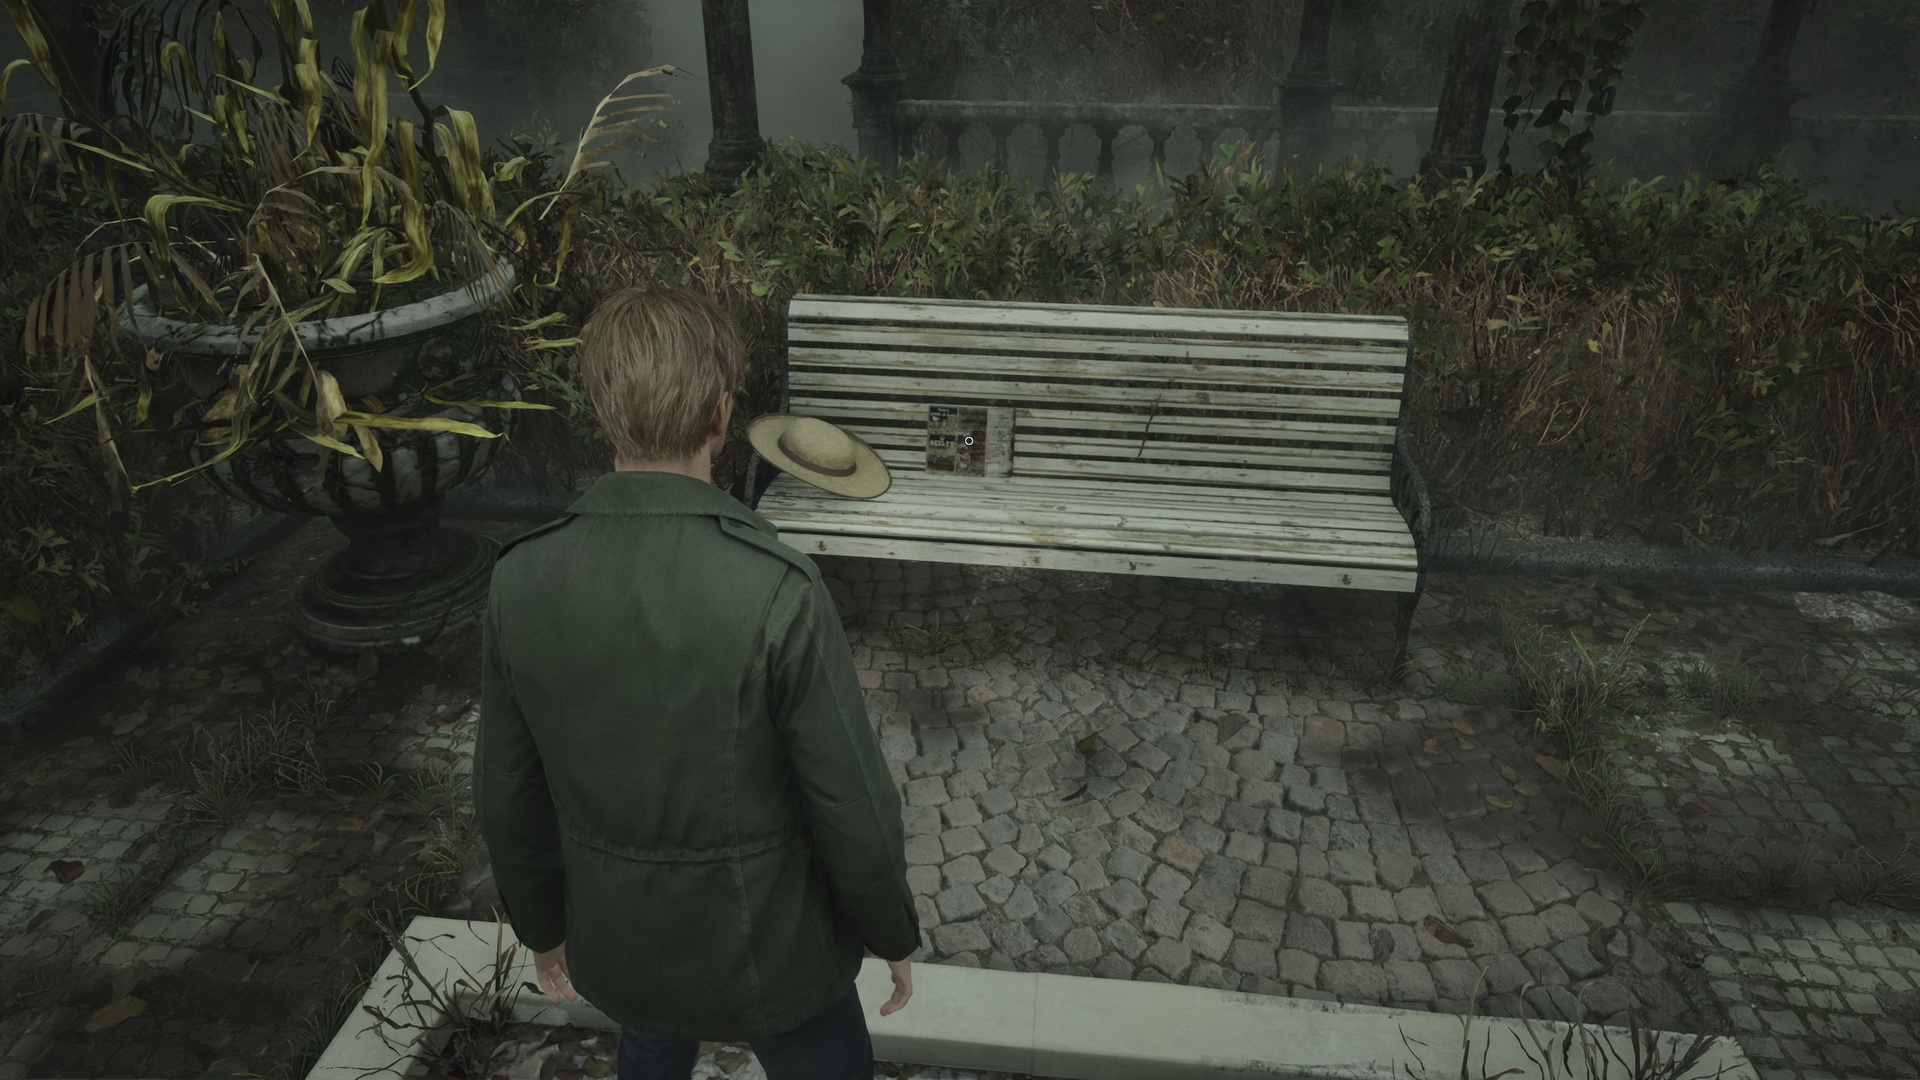
- Strange Photo #7: "So far from home". After meeting Maria, enter the west part of the park and look for the bench to the right of the gate.
Nathan Avenue
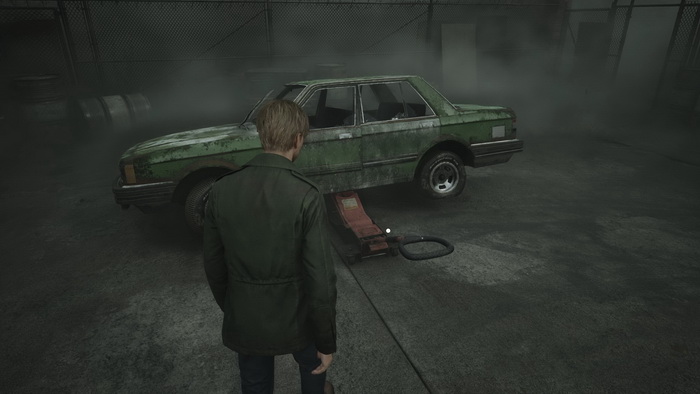
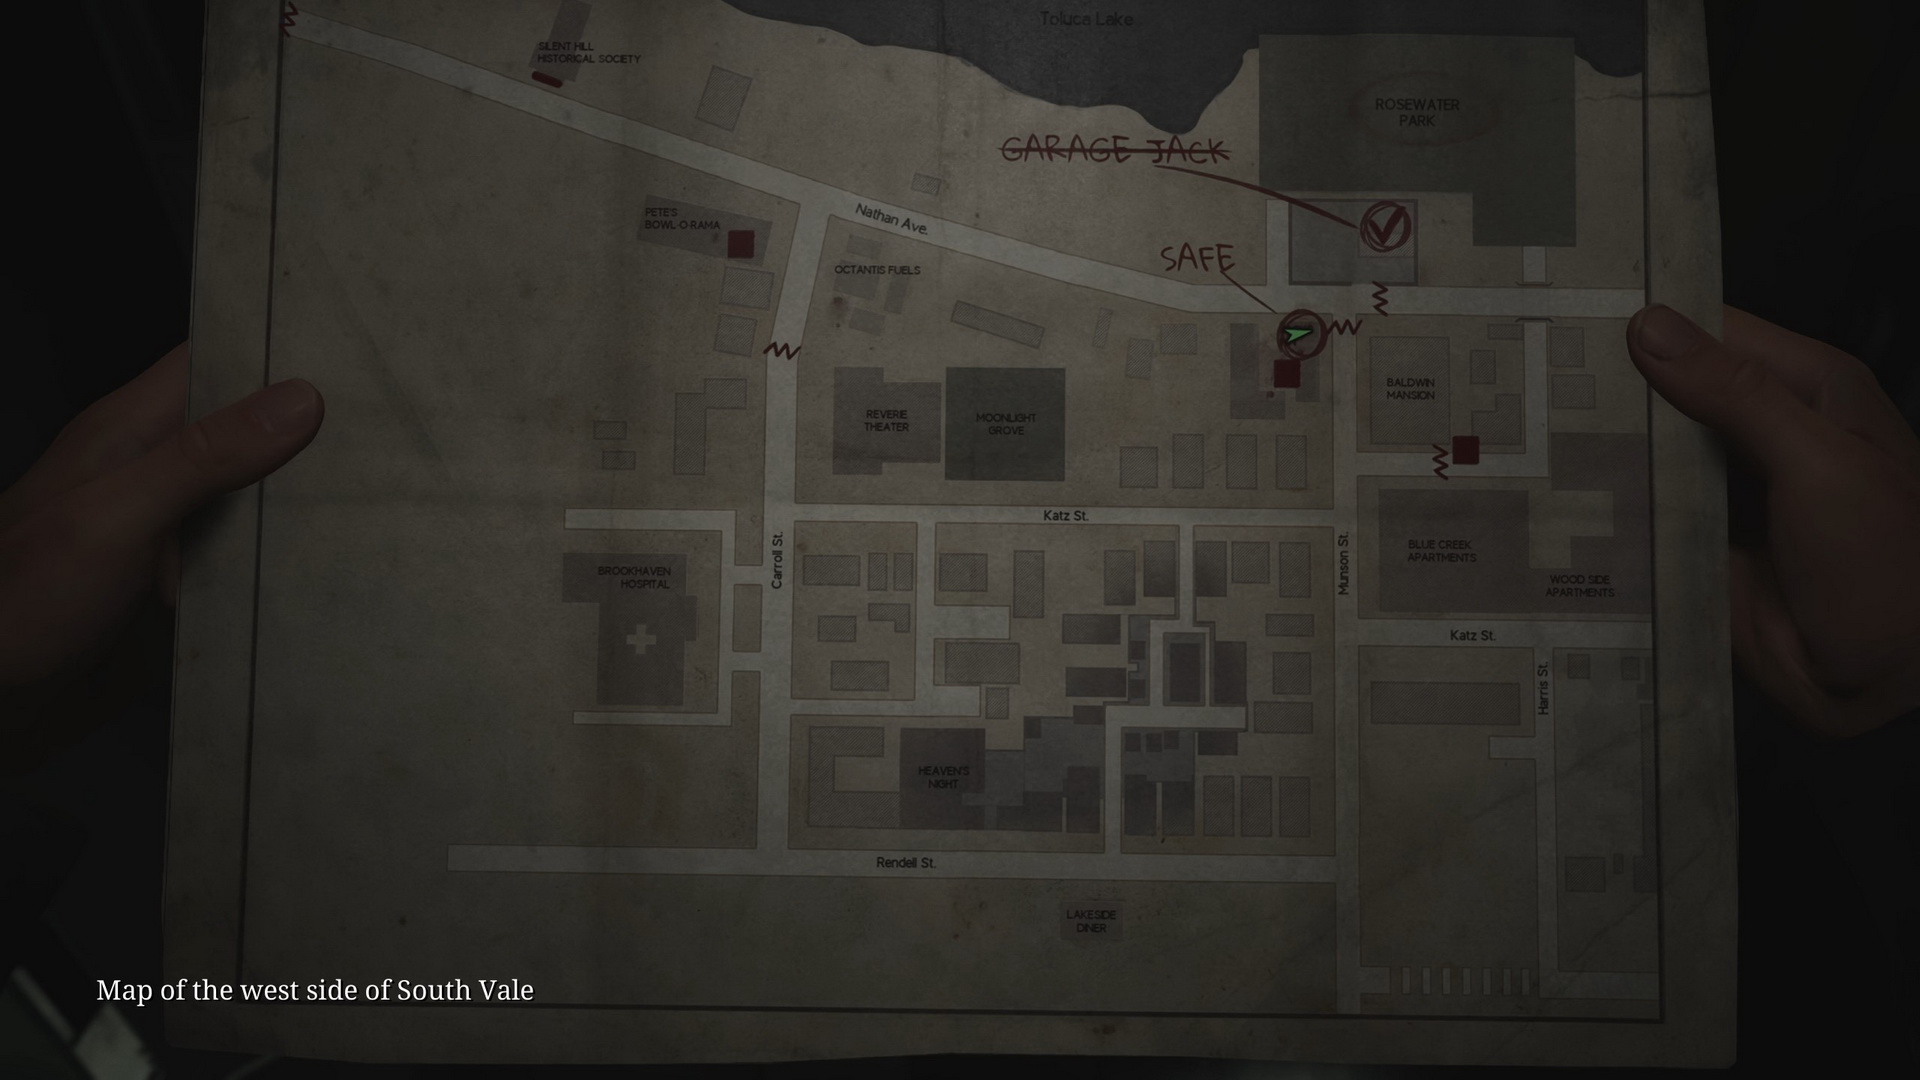
- Optional: 39 Garage Jack Lever is in the back lot of the Octantis Fuels gas station underneath the green car. This item is needed to get inside the garage outside Rosewater Park.
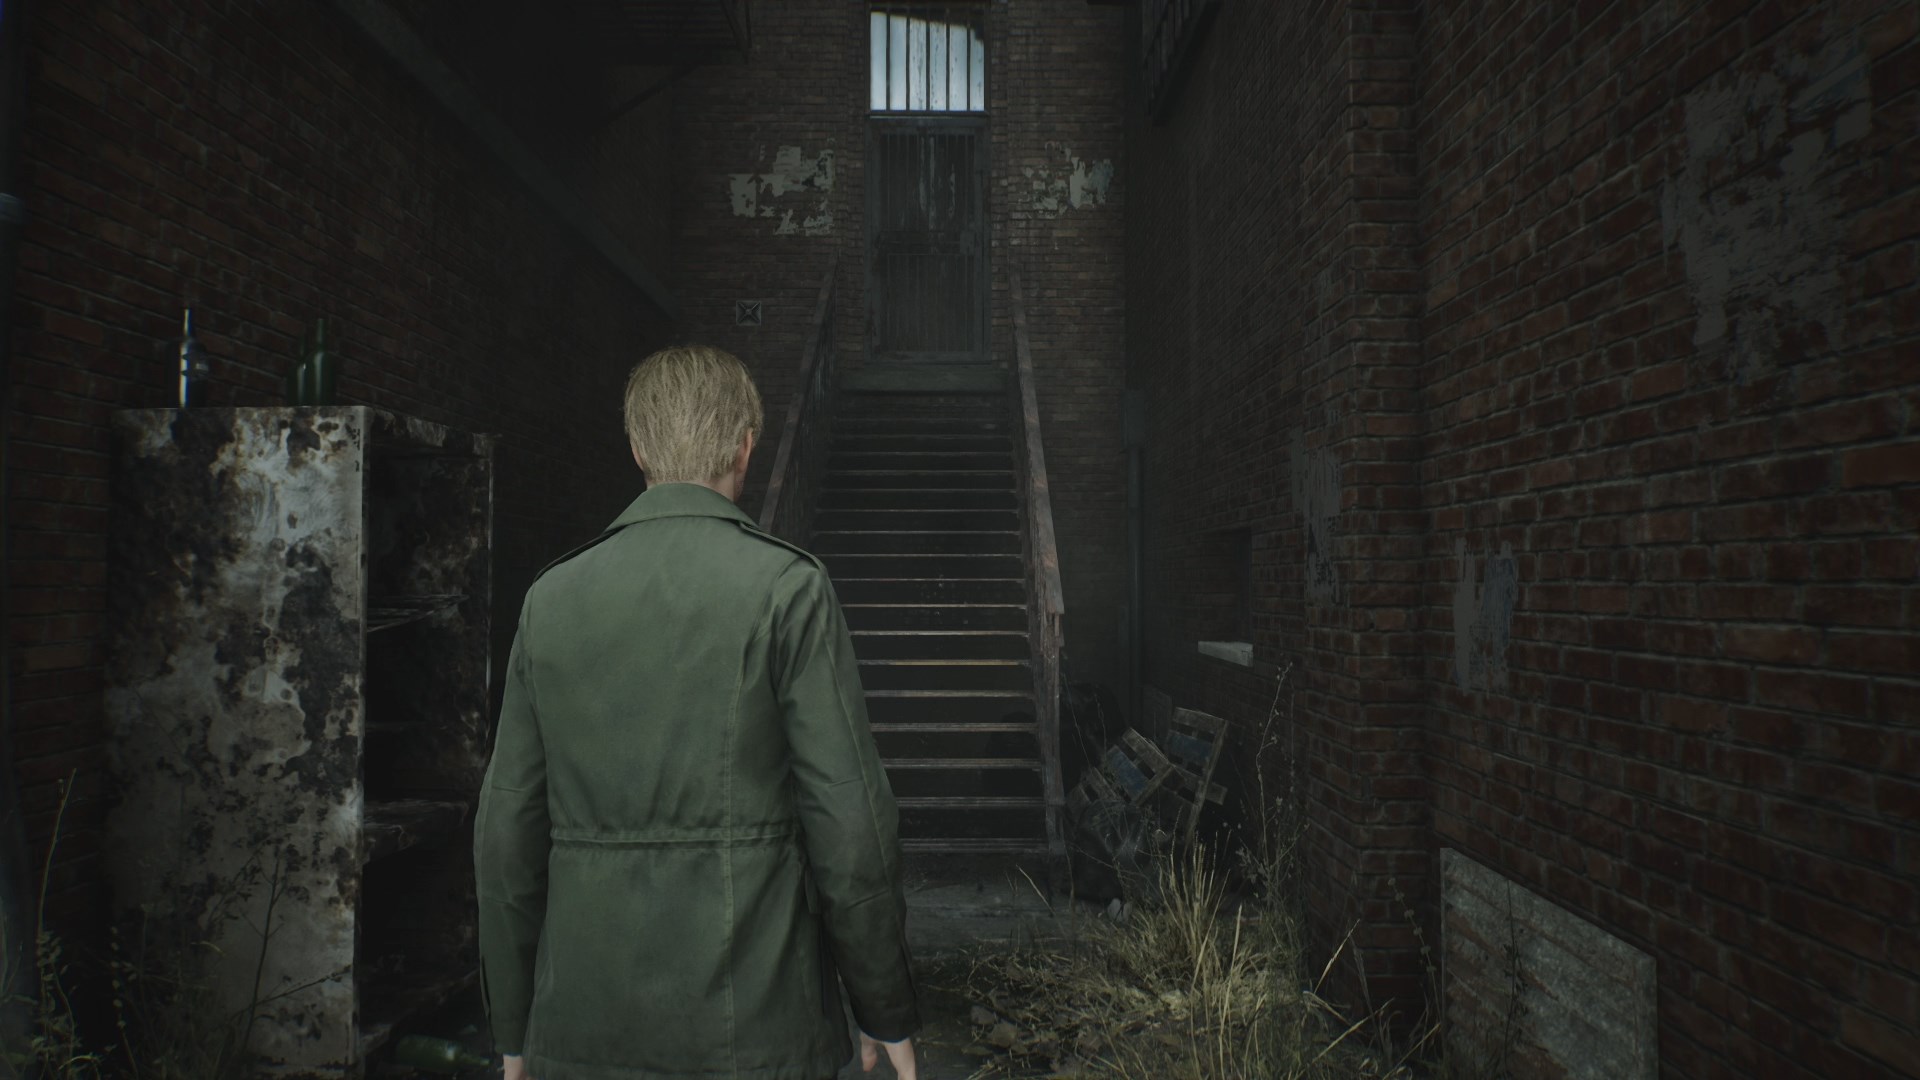
- Glimpse of the Past #9. A barred door at the end of the long stairs between the houses at Carroll St. to the south of Pete's Bowl-O-Rama.
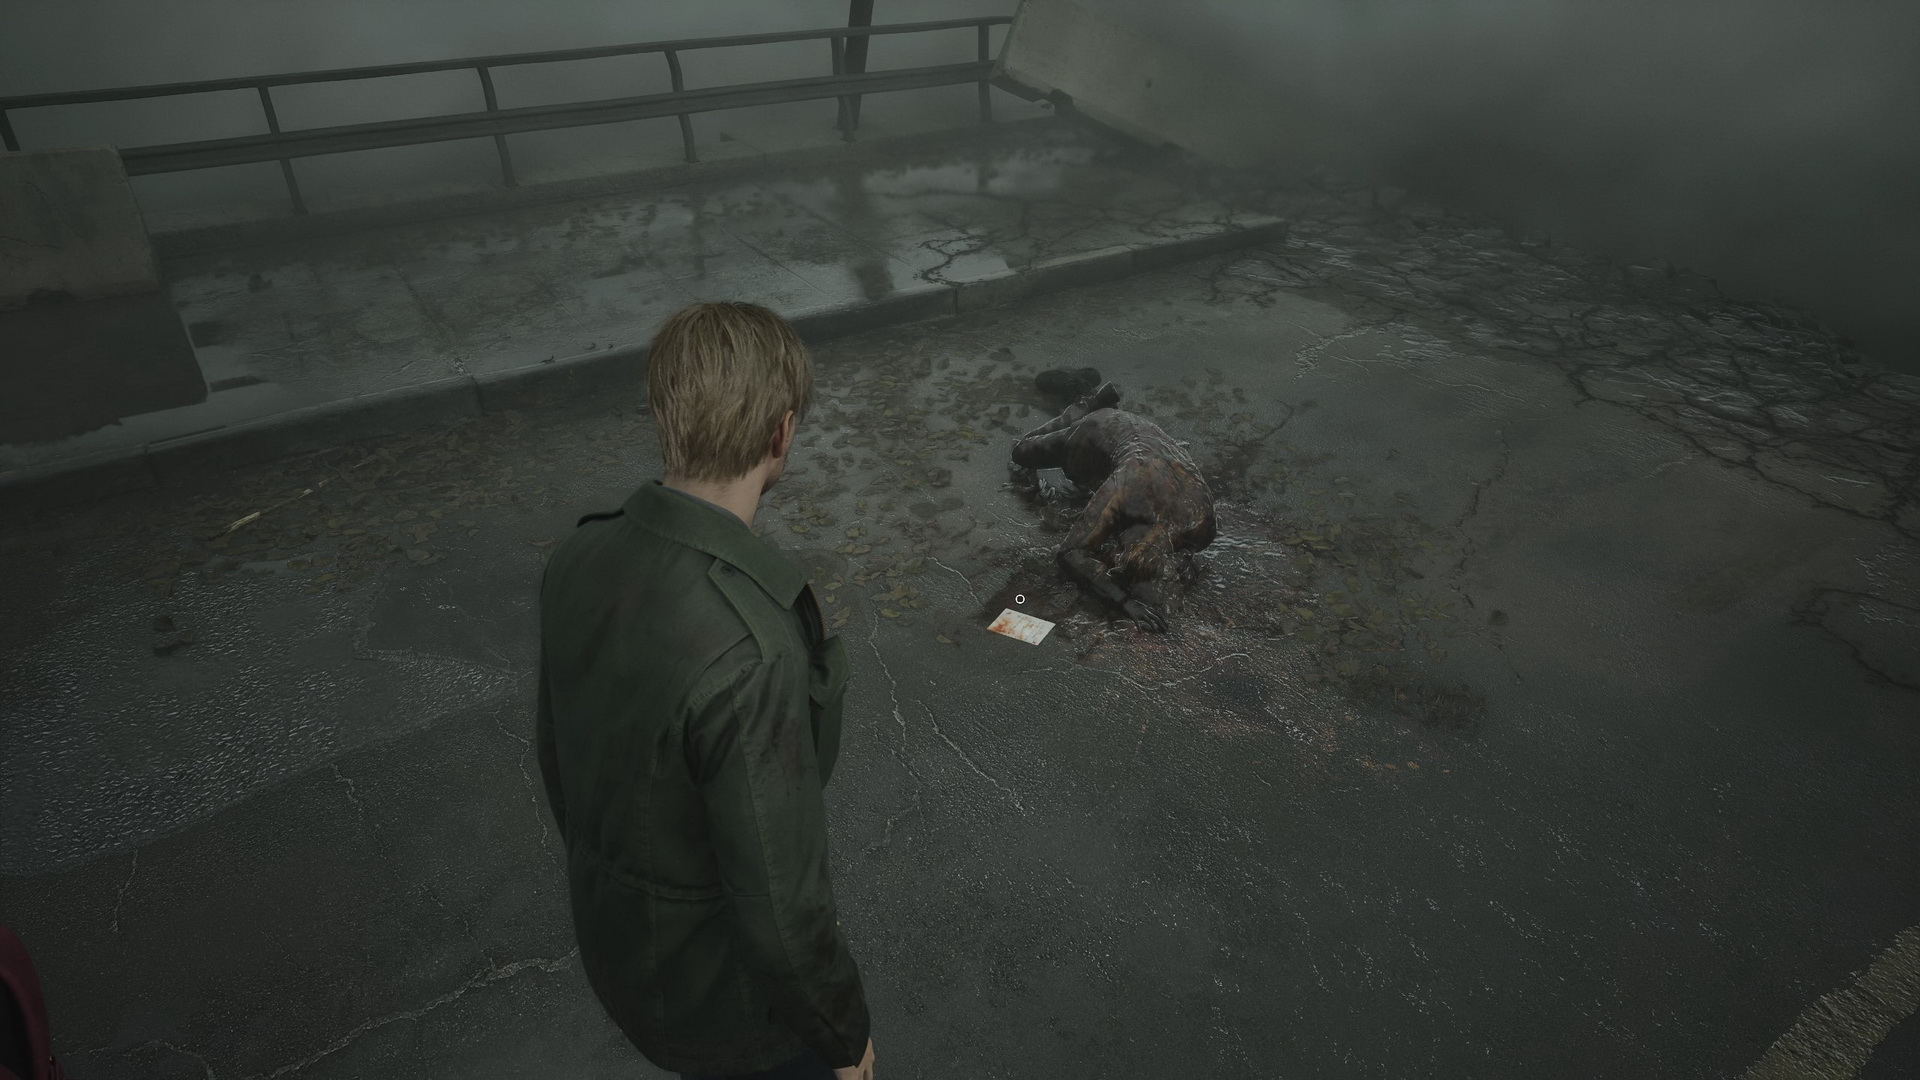
- Memo #22: Bloody Note. Go west to the end of Nathan Ave. to find this note next to a corpse.
Pete's Bowl-O-Rama
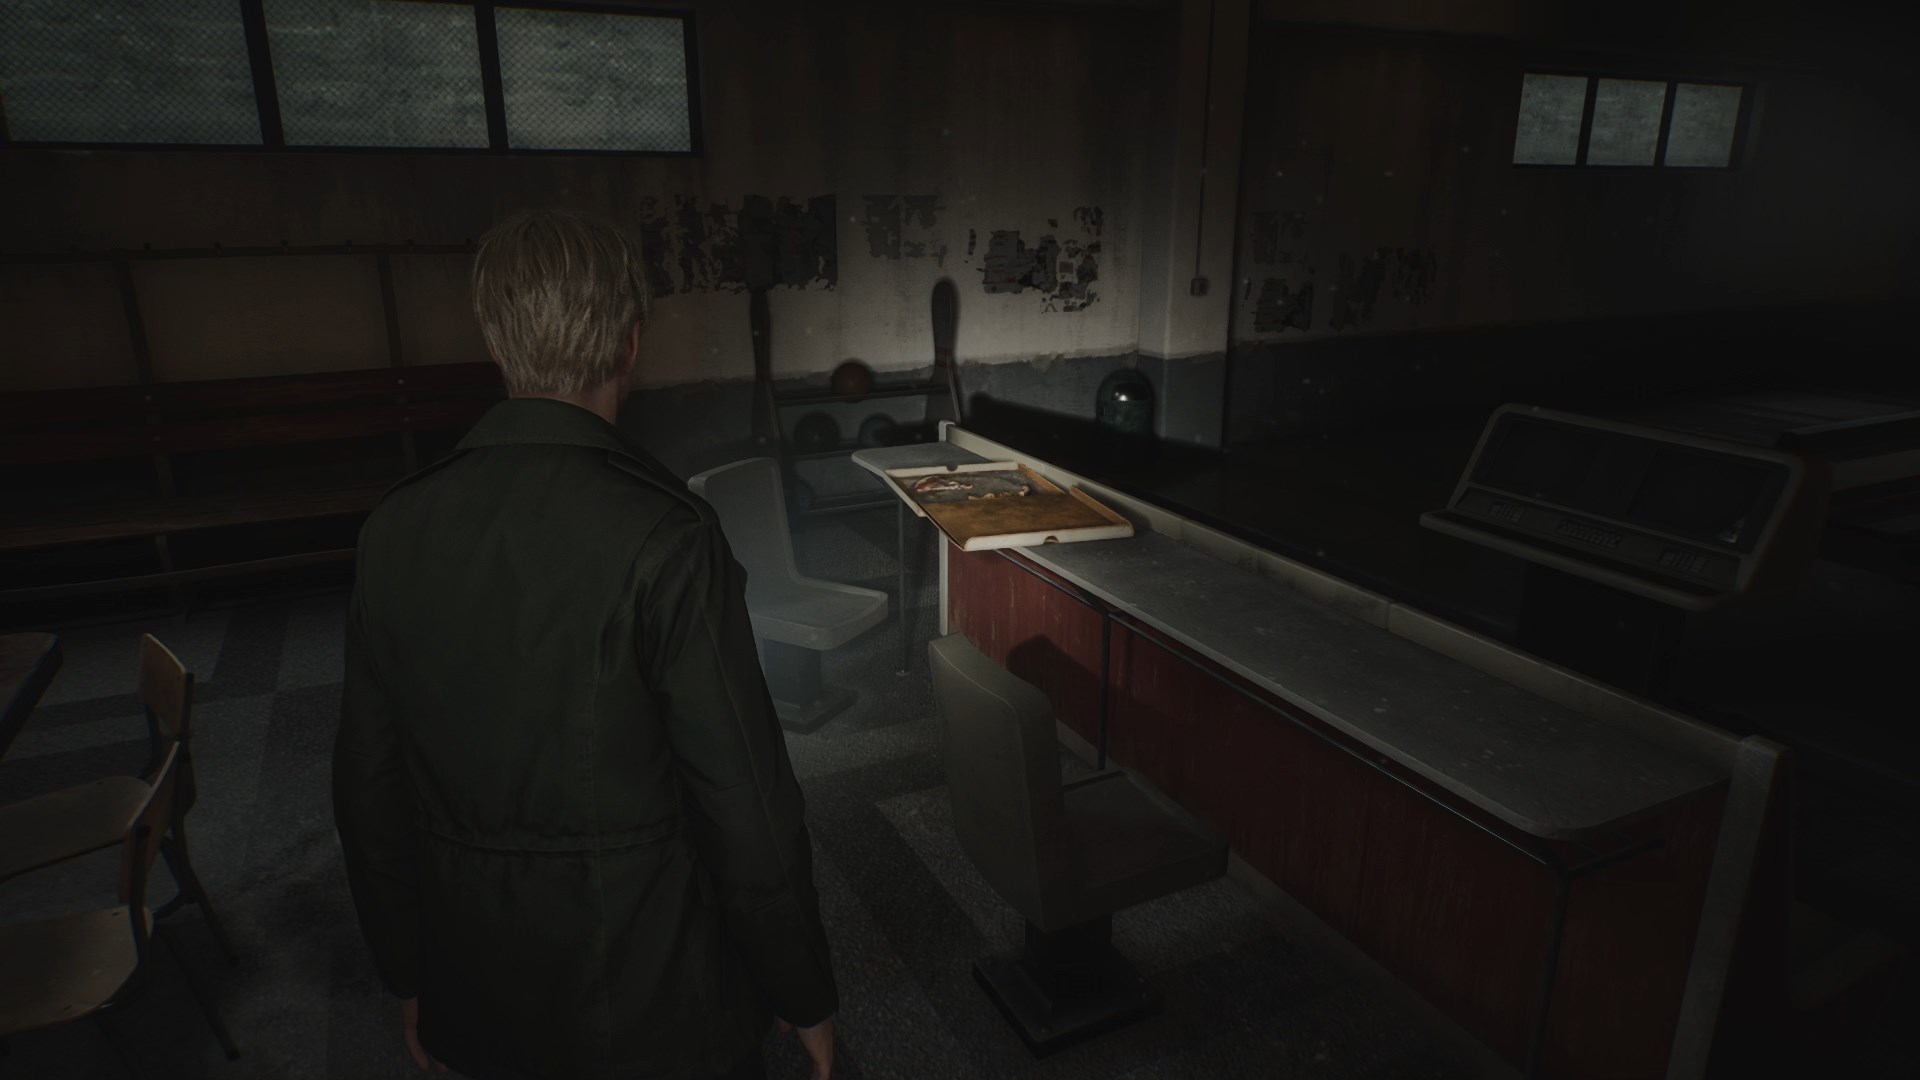
- There's a Save Point in Pete's Bowl-O-Rama in the employee room.
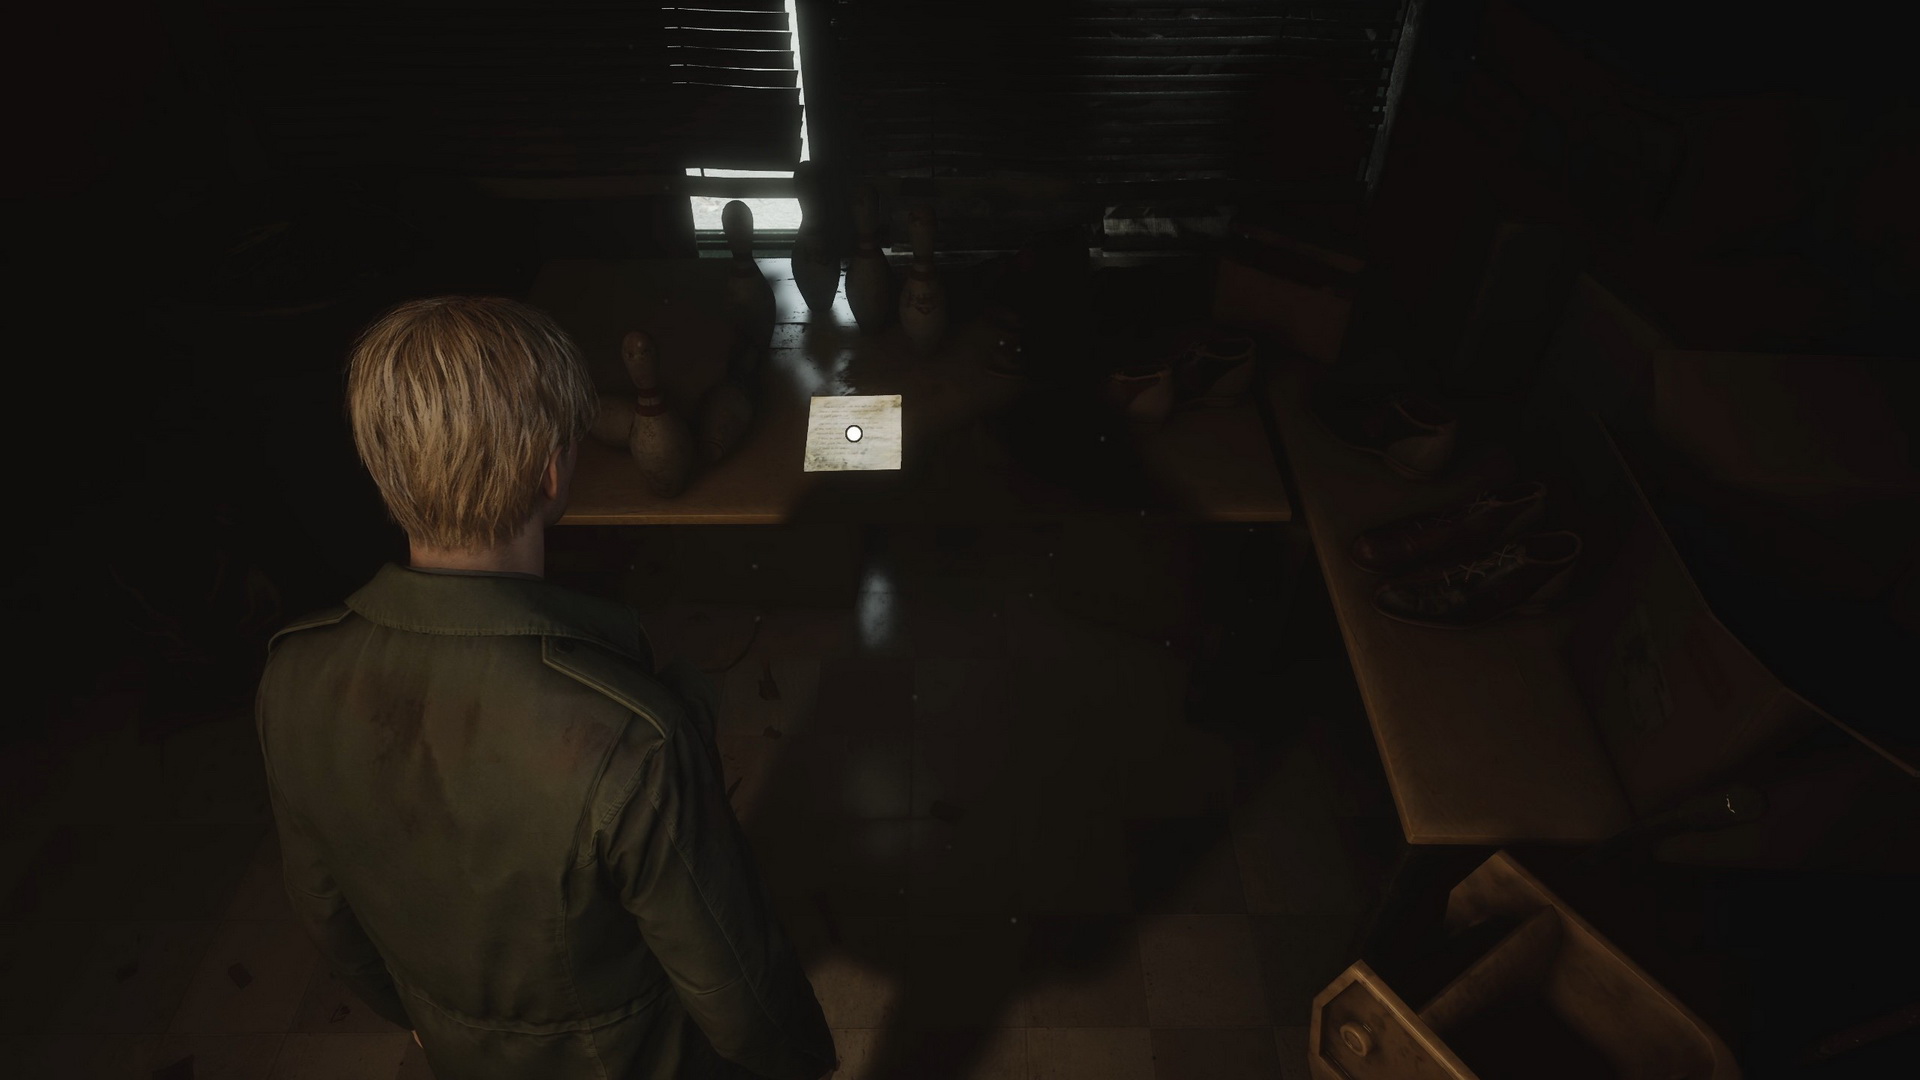
- Glimpse of the Past #10. Pete's Bowl-O-Rama, a box with pizza leftovers on the bowling alley countertop.
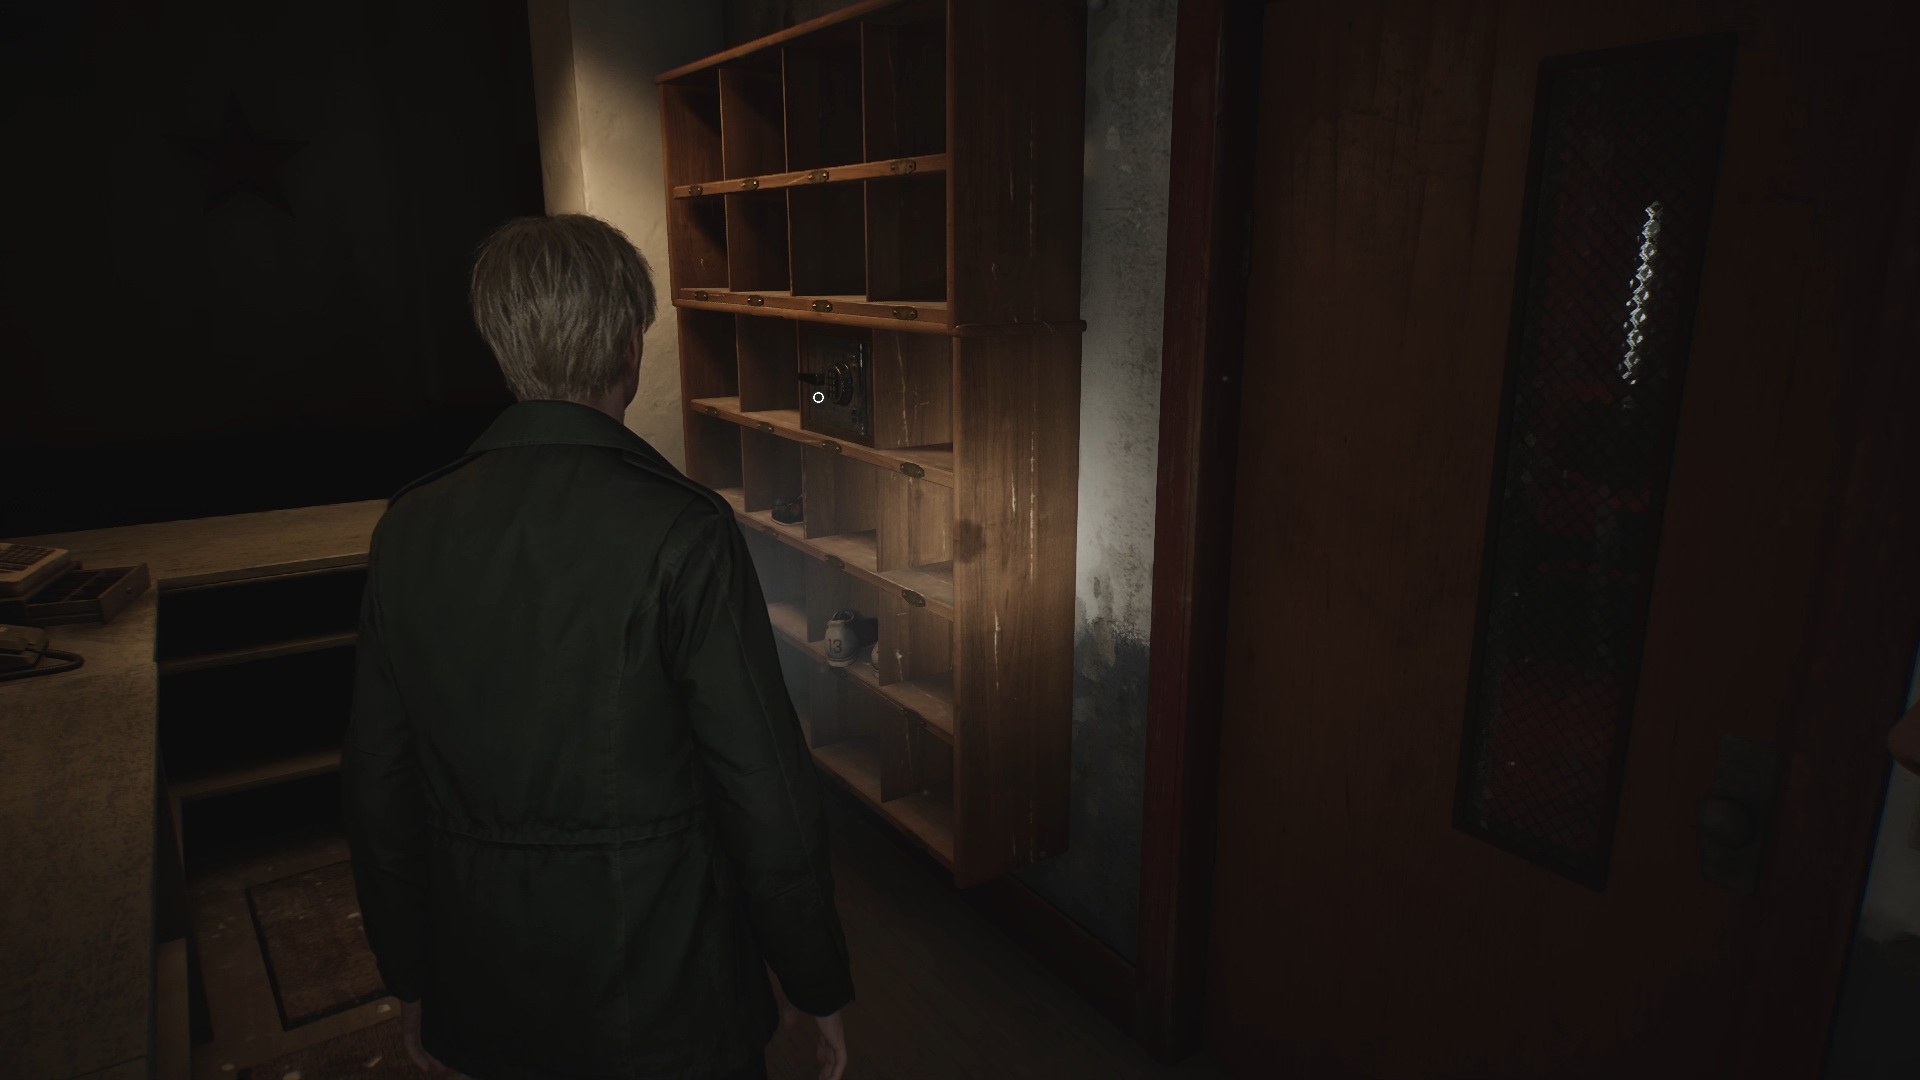
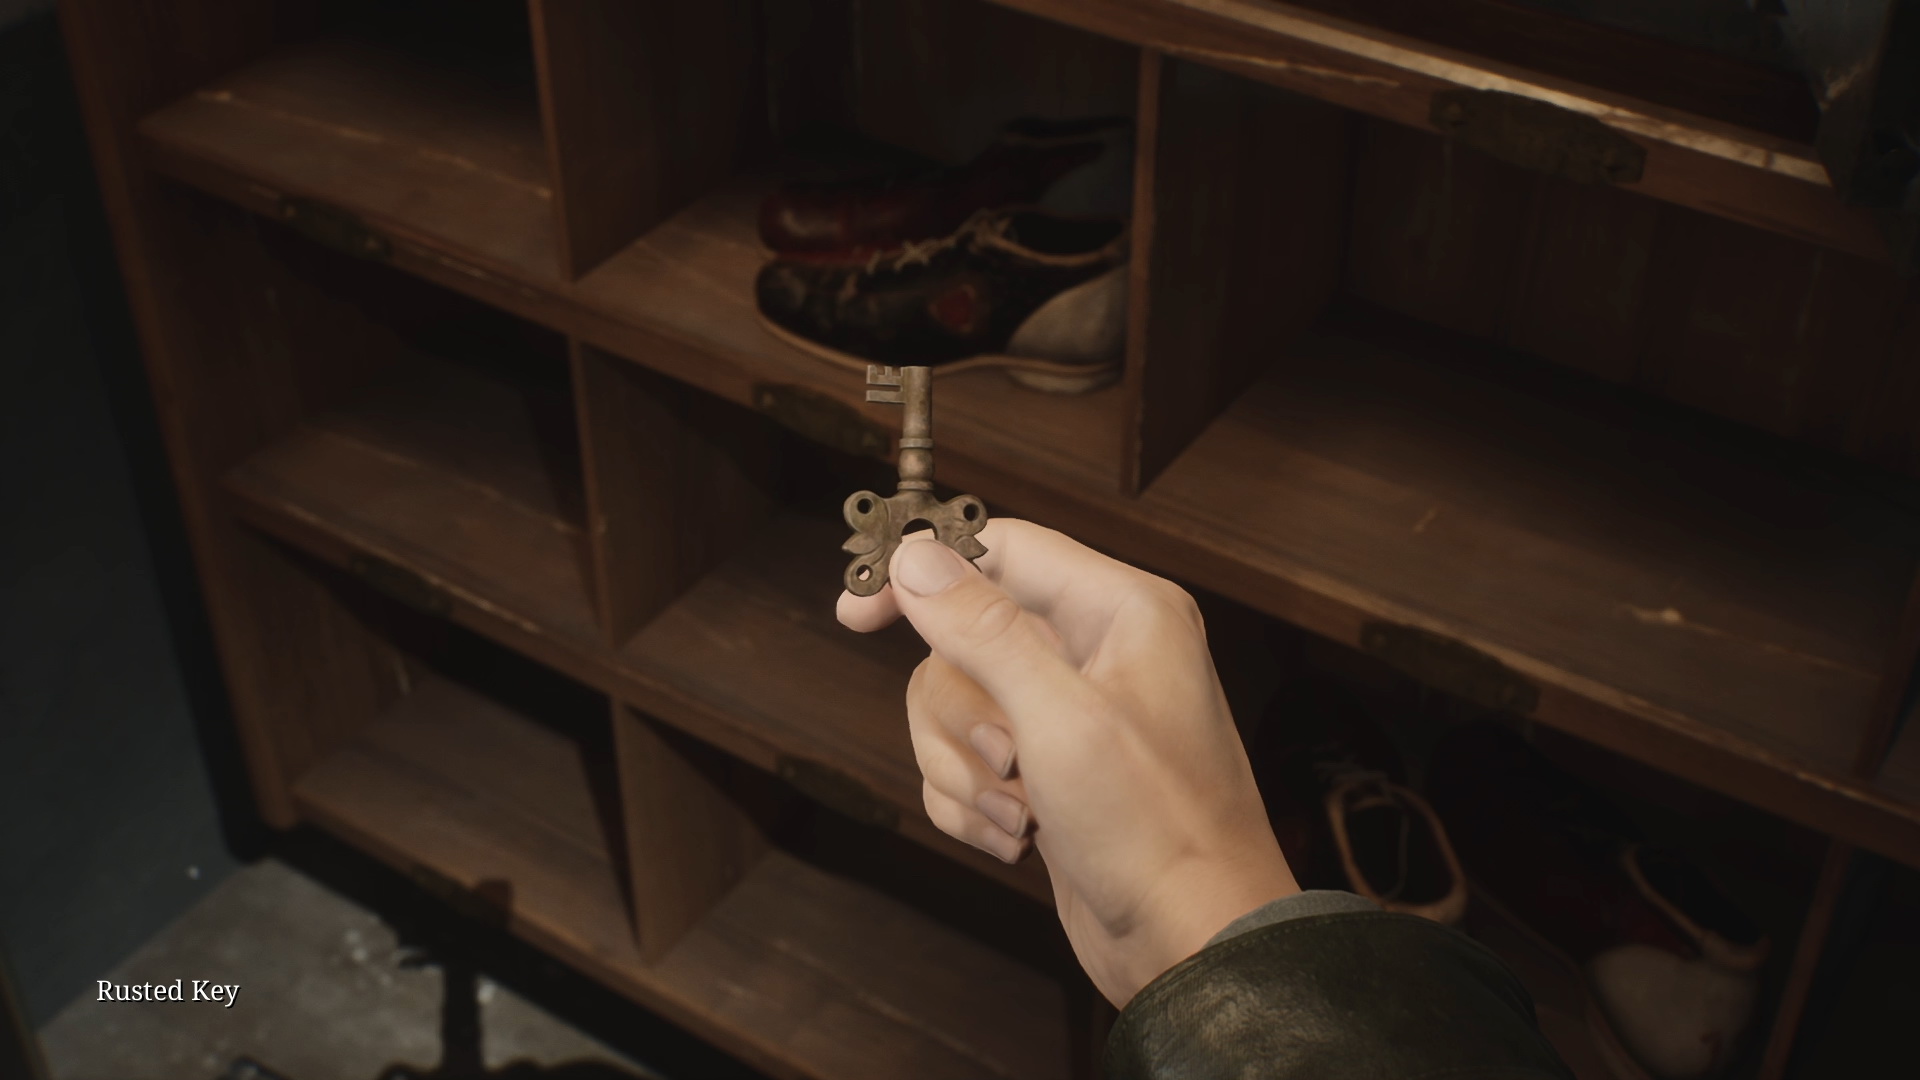
- NG+ E6 Rusted Key. Inside the safe locker in Pete's Bowl-O-Rama. Use the following combination for the safe – 1887
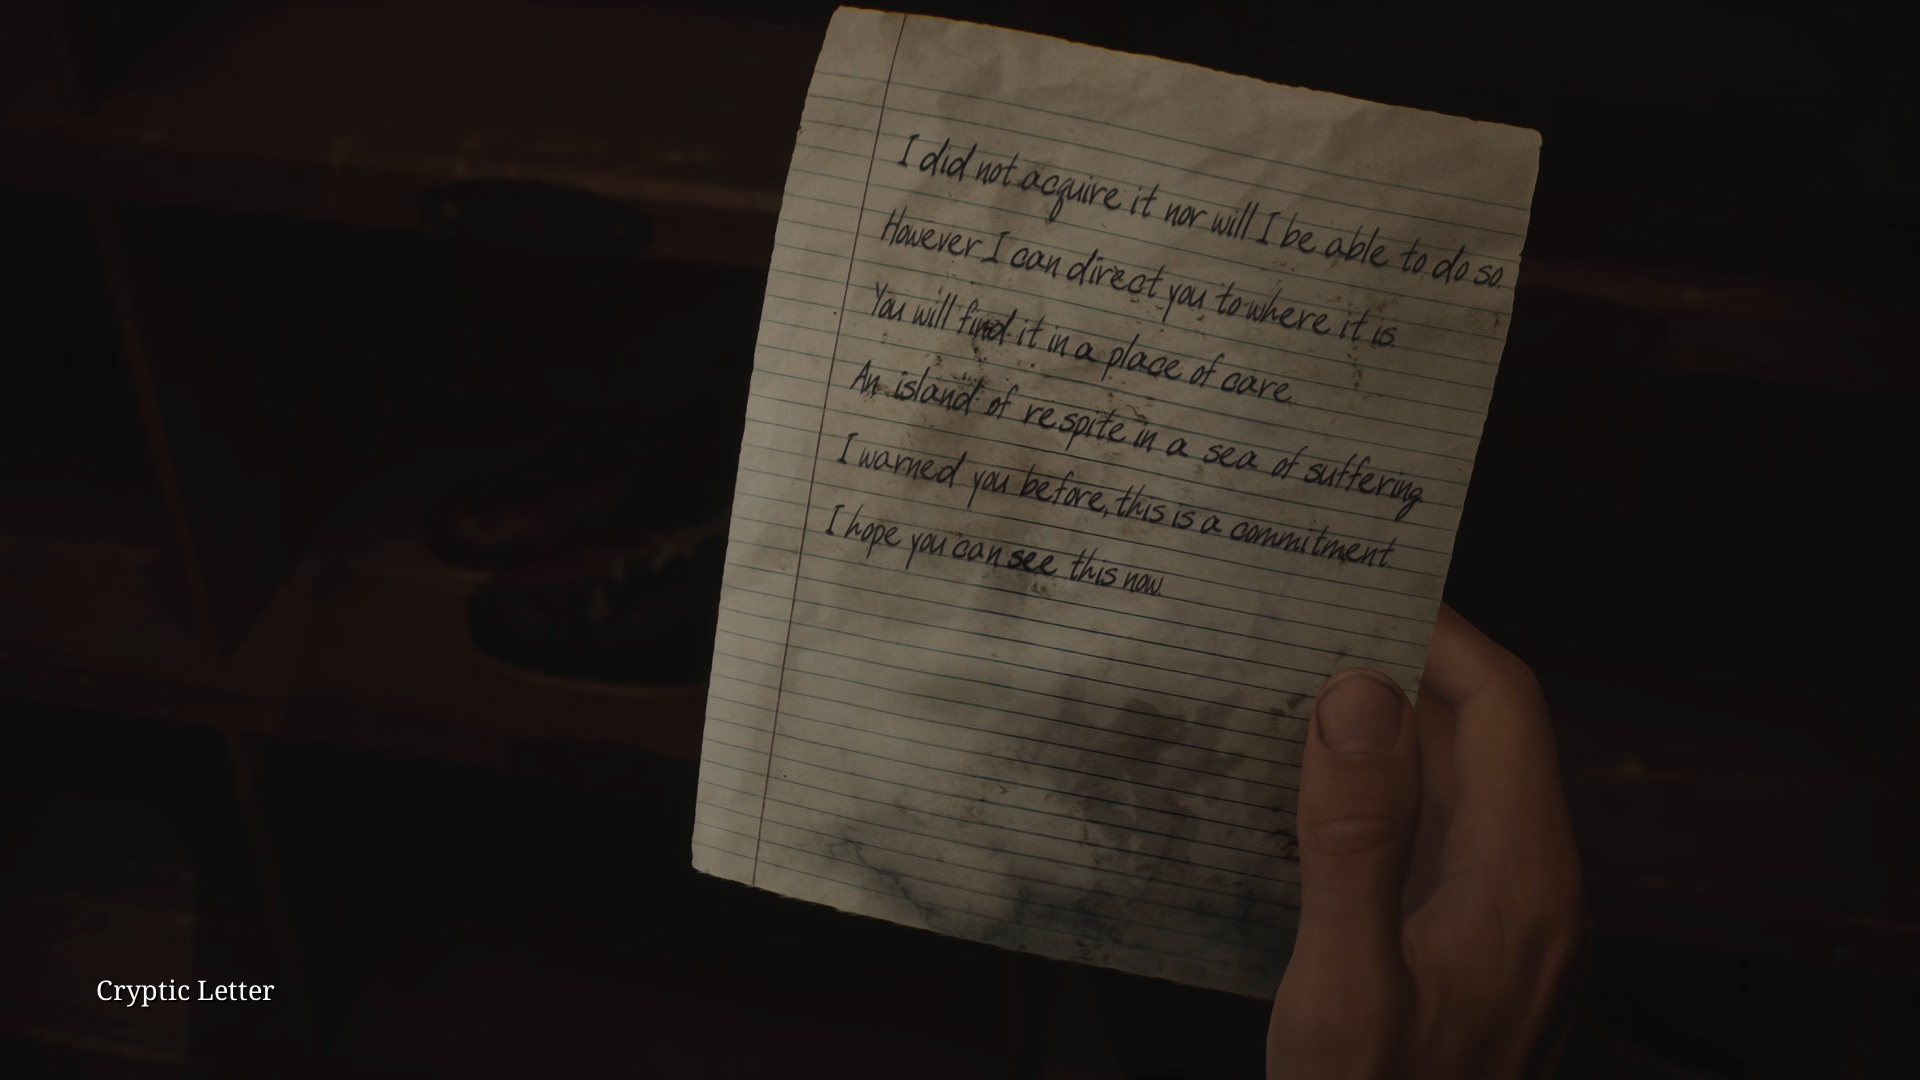
- NG+ Memo: Cryptic Letter. Inside the safe locker in Pete's Bowl-O-Rama.
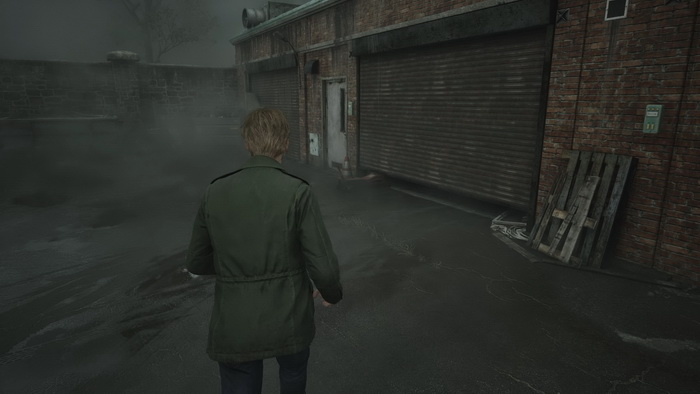
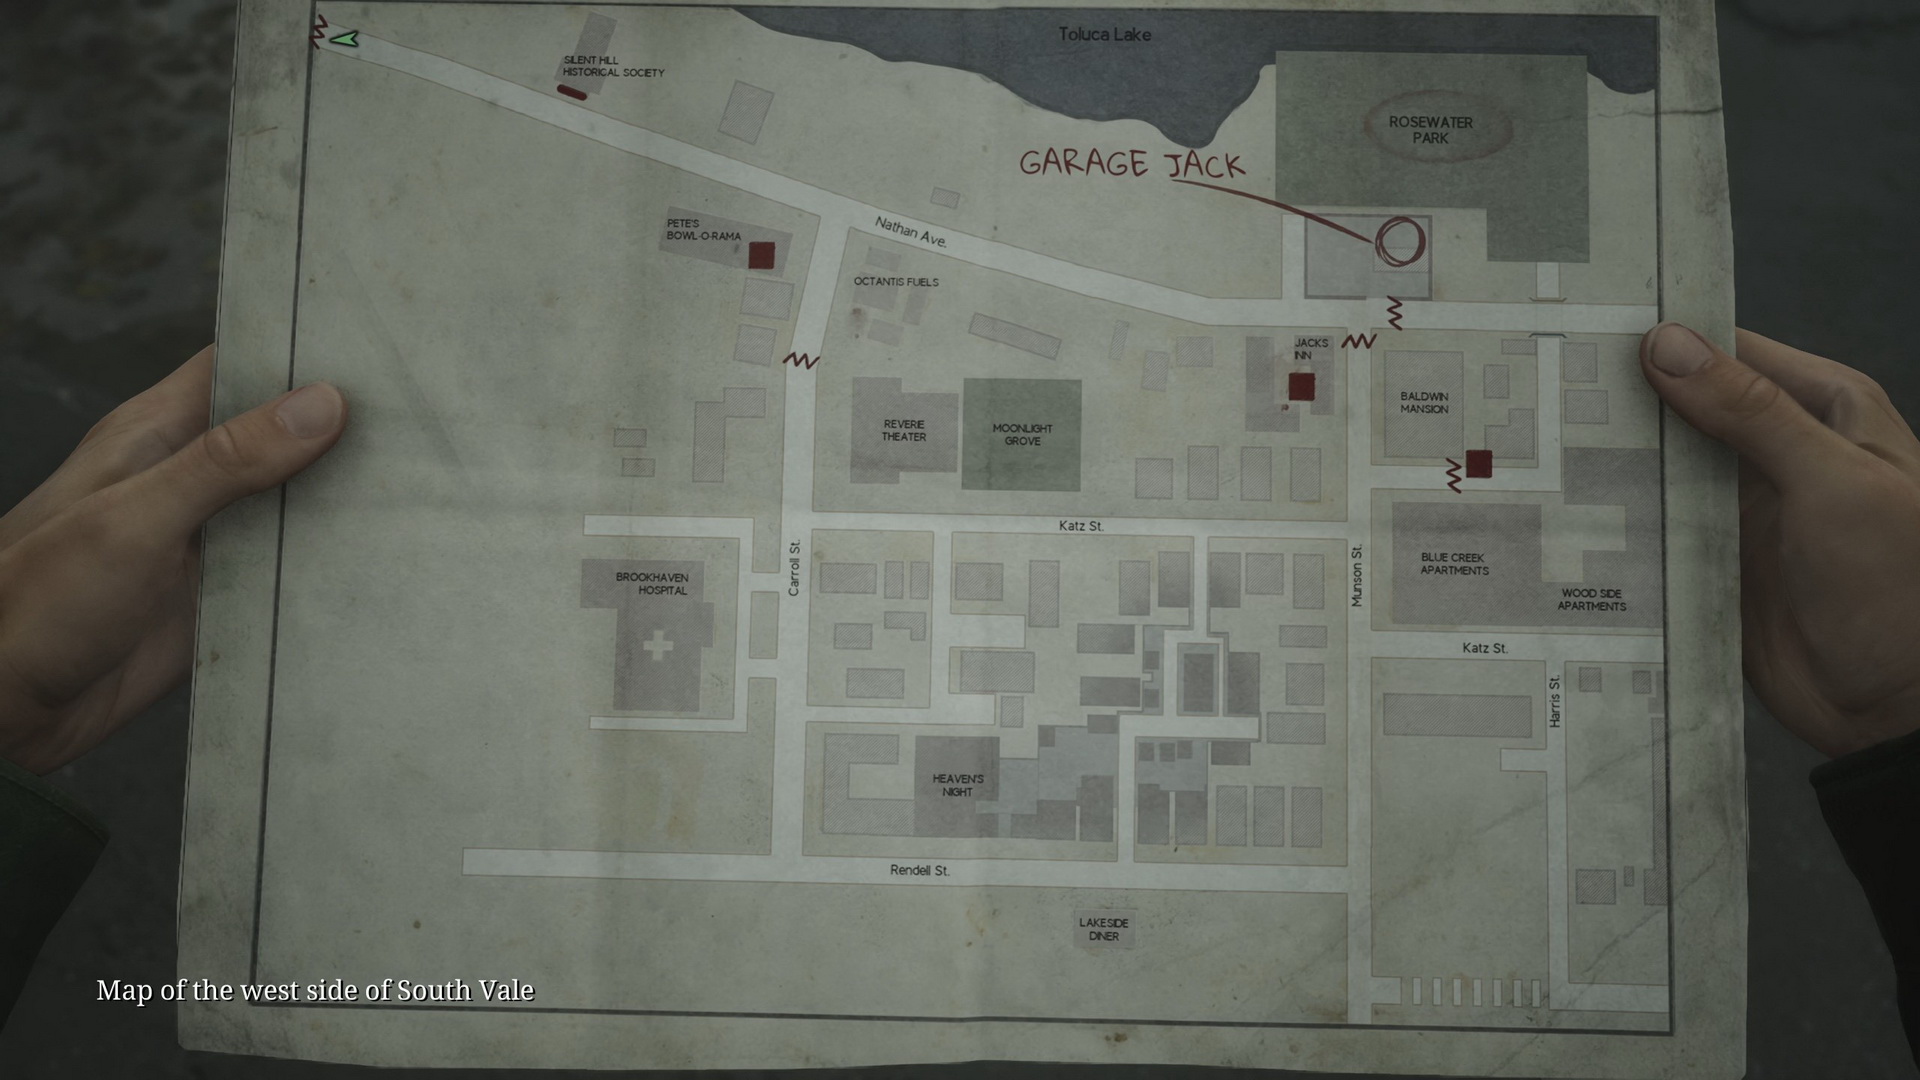
Garage
- Use the Garage Jack Lever to get inside the garage.
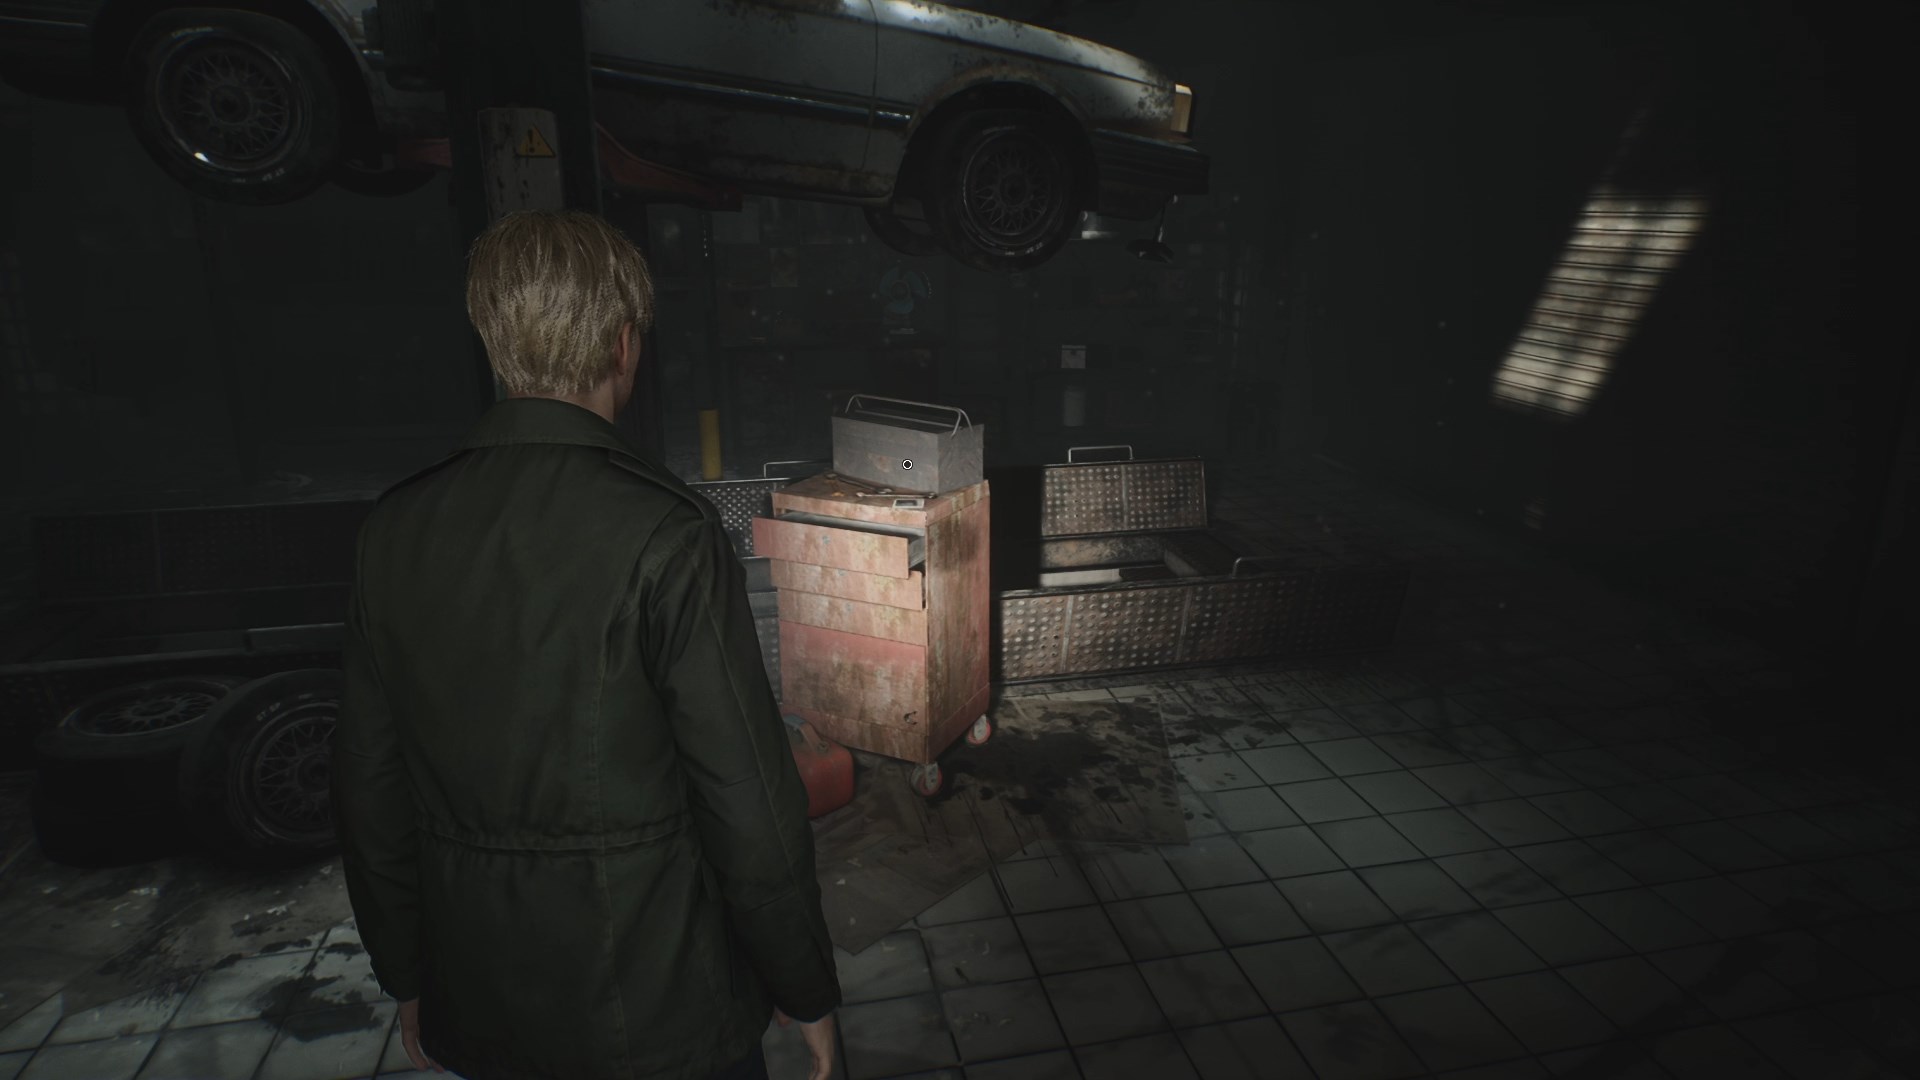
- Strange Photo #8: "Made it!". On a red cabinet inside the garage.
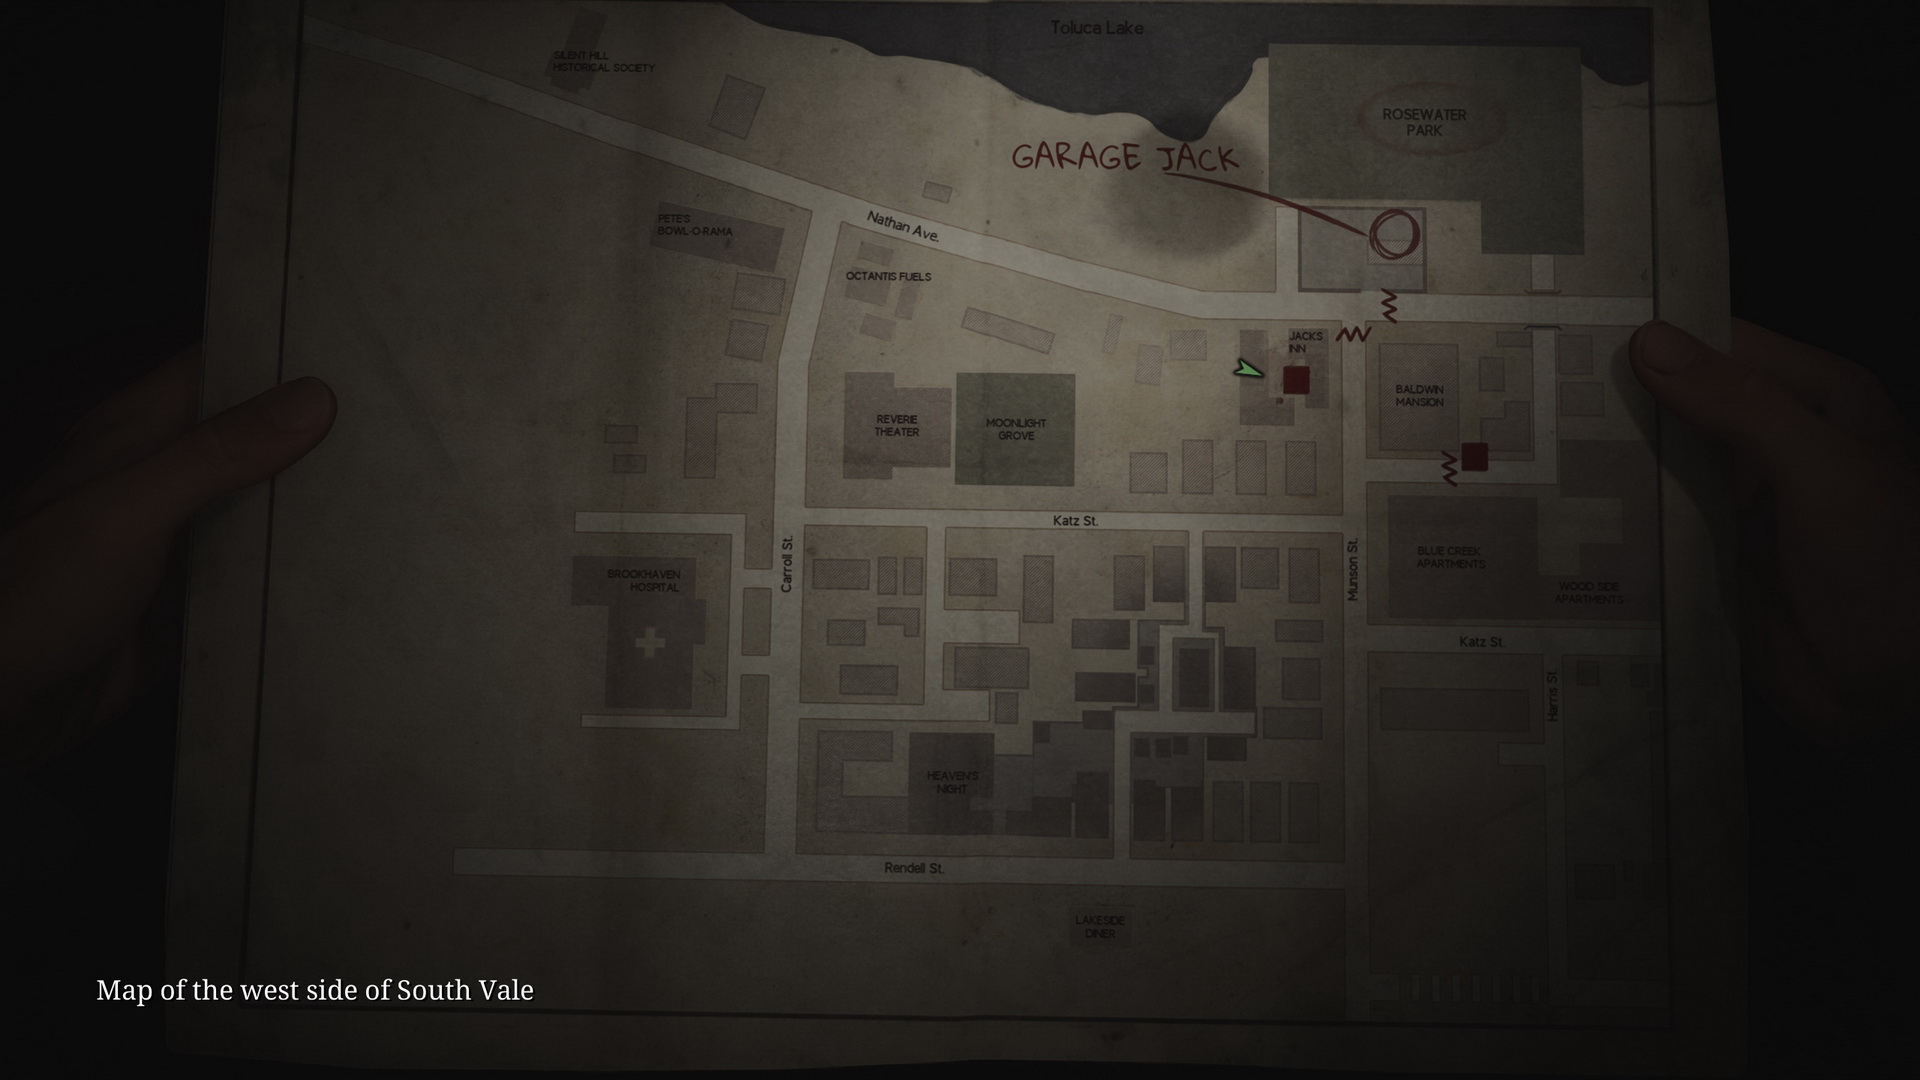
Jacks Inn
- Go to the Jacks Inn motel to proceed. There's a Save Point on the car's trunk parked in the inner courtyard.
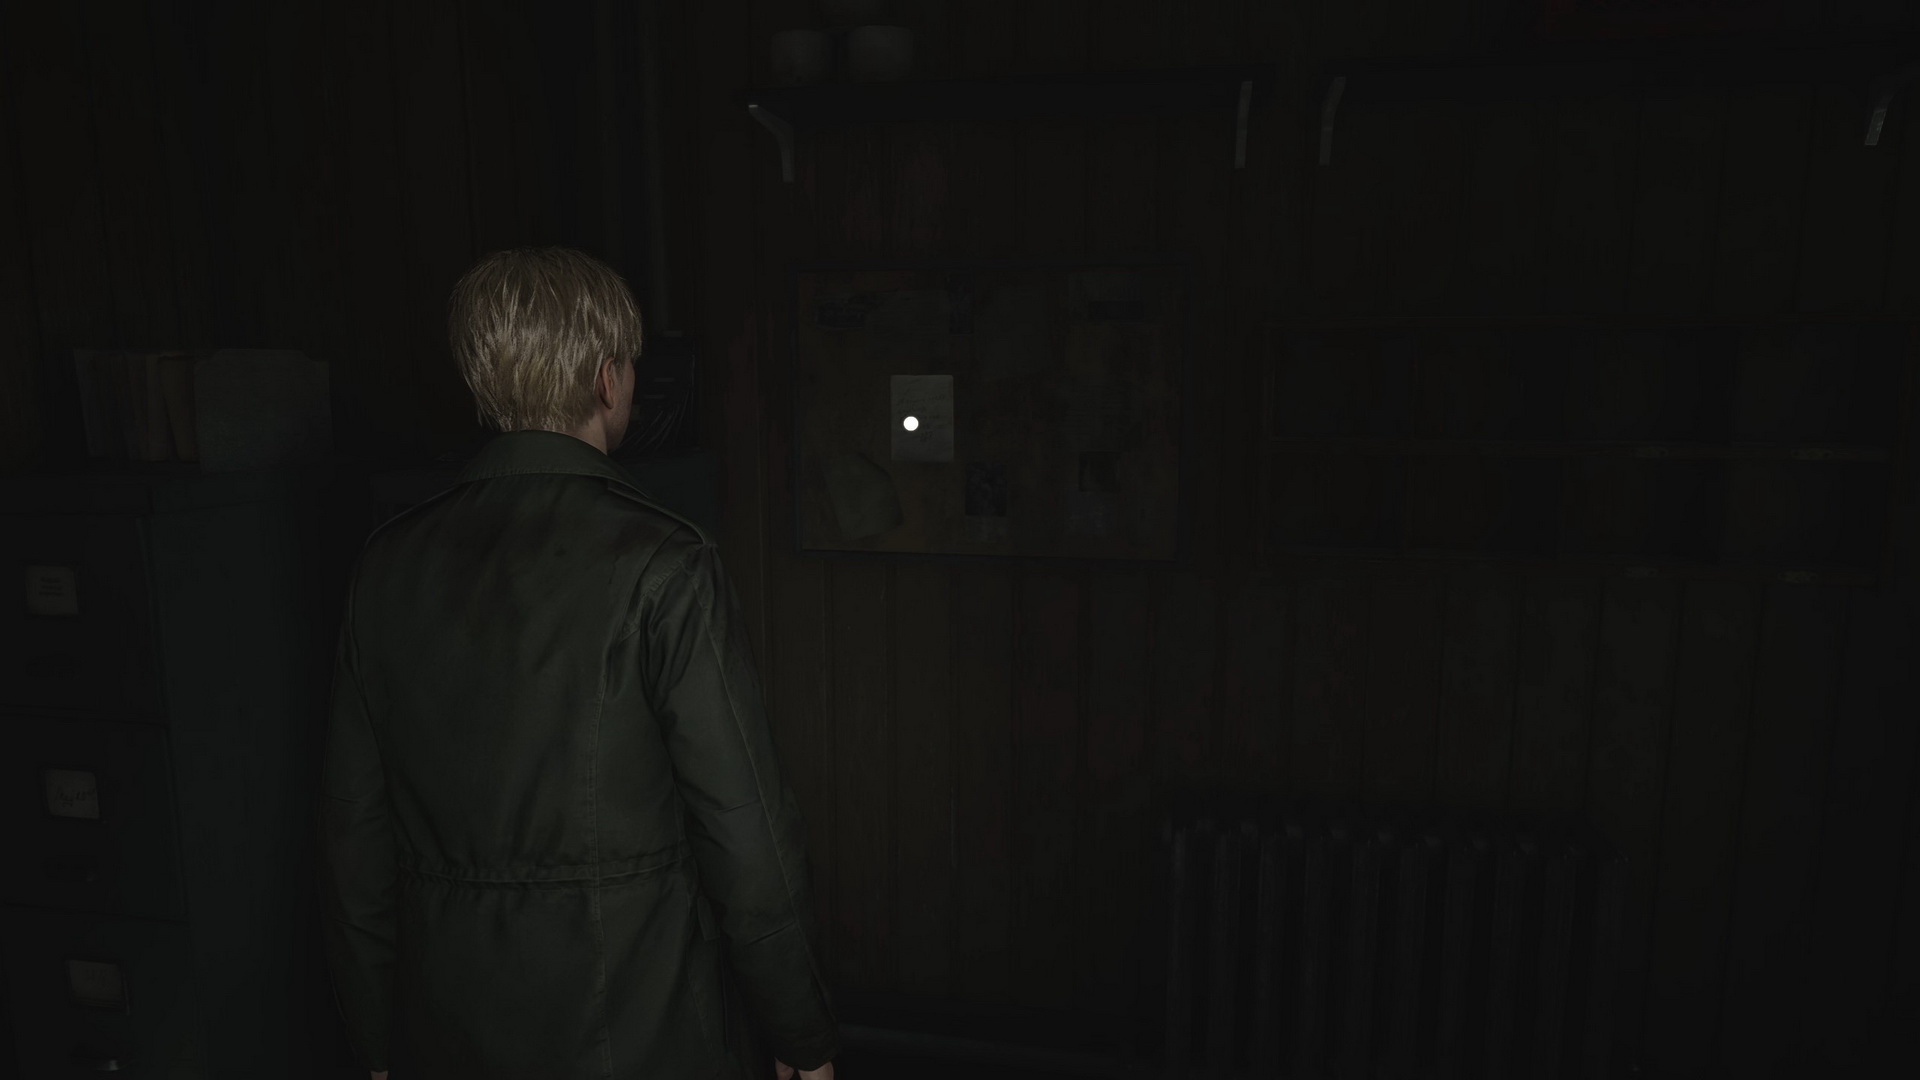
- Memo #23: Reception Desk Note. On the bulletin board in the reception of Jacks Inn.
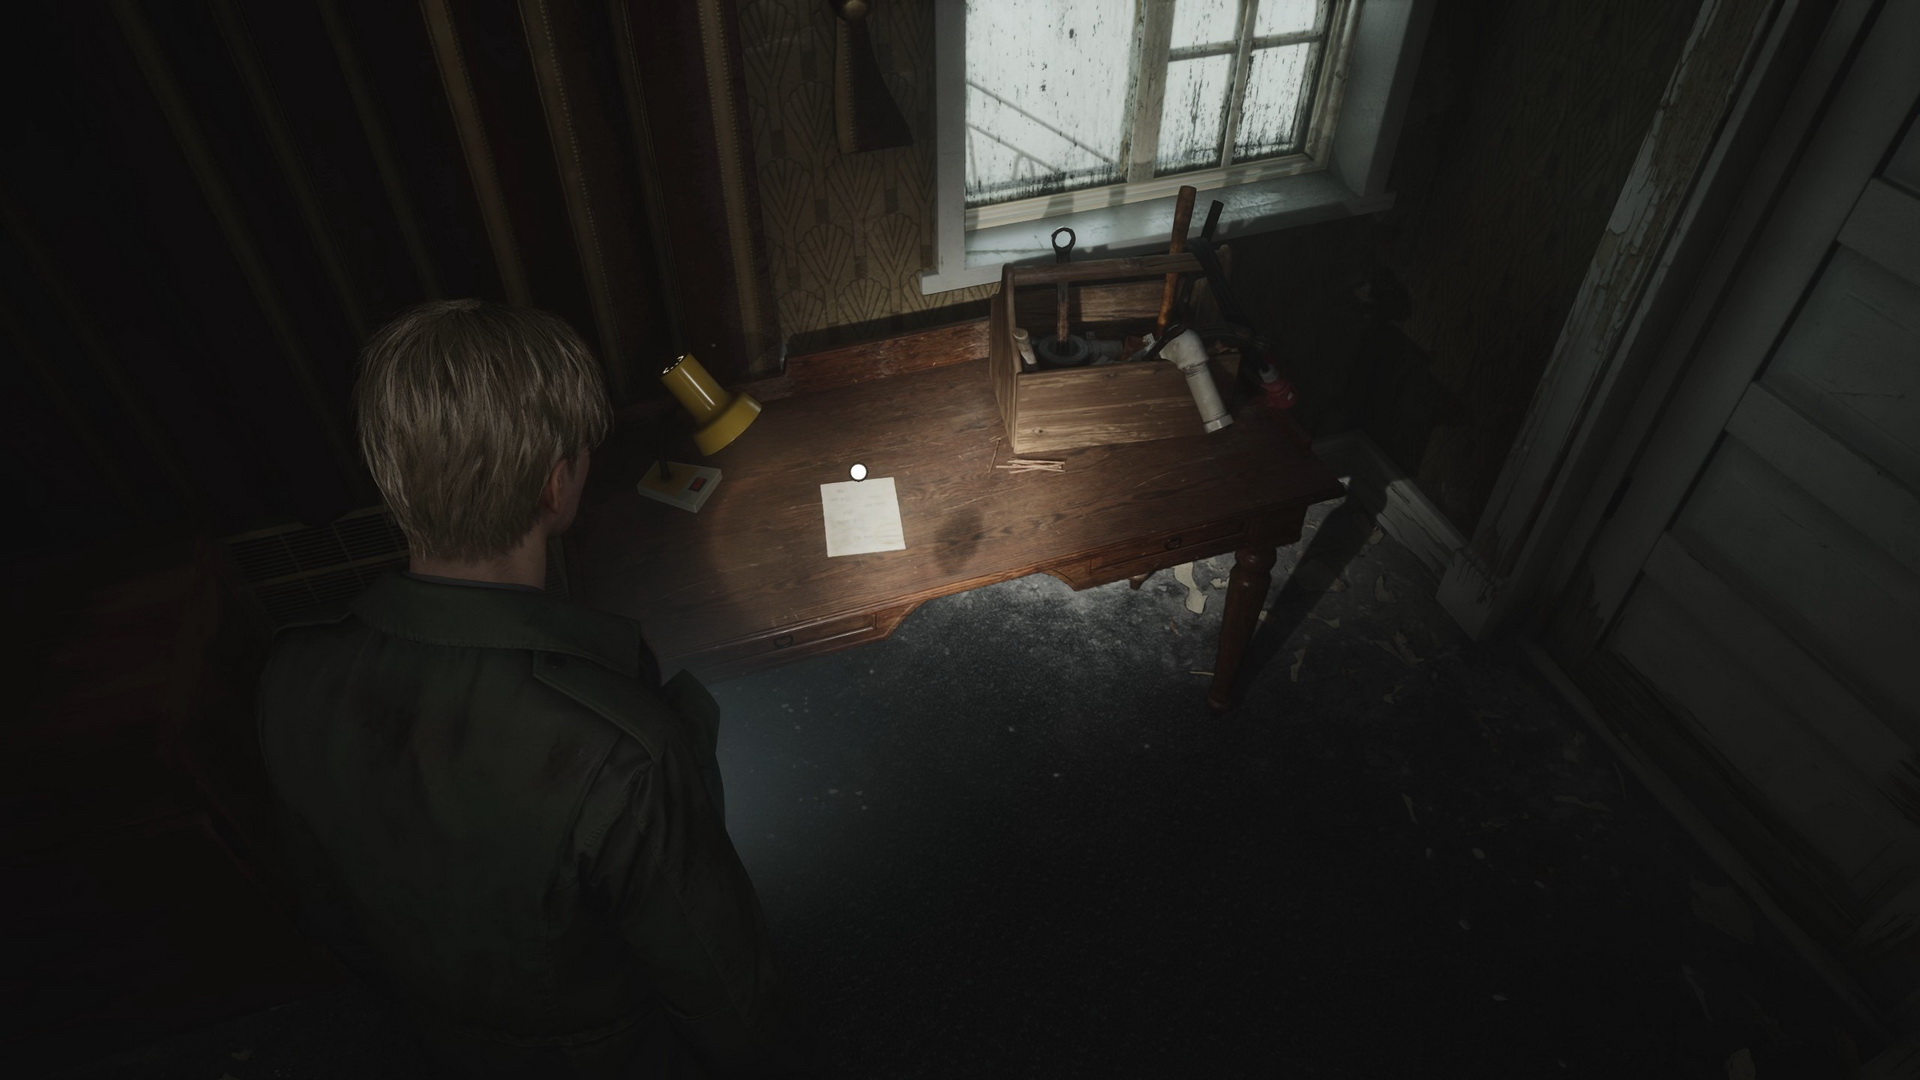
- Memo #24: Toolbox Memo. On a table in the motel room 107 upstairs. Get to the room by breaking into the room 108 first.
- 40 Gate Key is inside the safe locker in Jacks Inn's reception. The code is:
- Light/Standard: 0451
- Hard: 0533
- Exit Jacks Inn by opening the gate with the Gate Key.
Munson and Katz Street
- NG+ E7 White Chrism. A bottle of white liquid on a table near the Baldwin Mansion entrance.
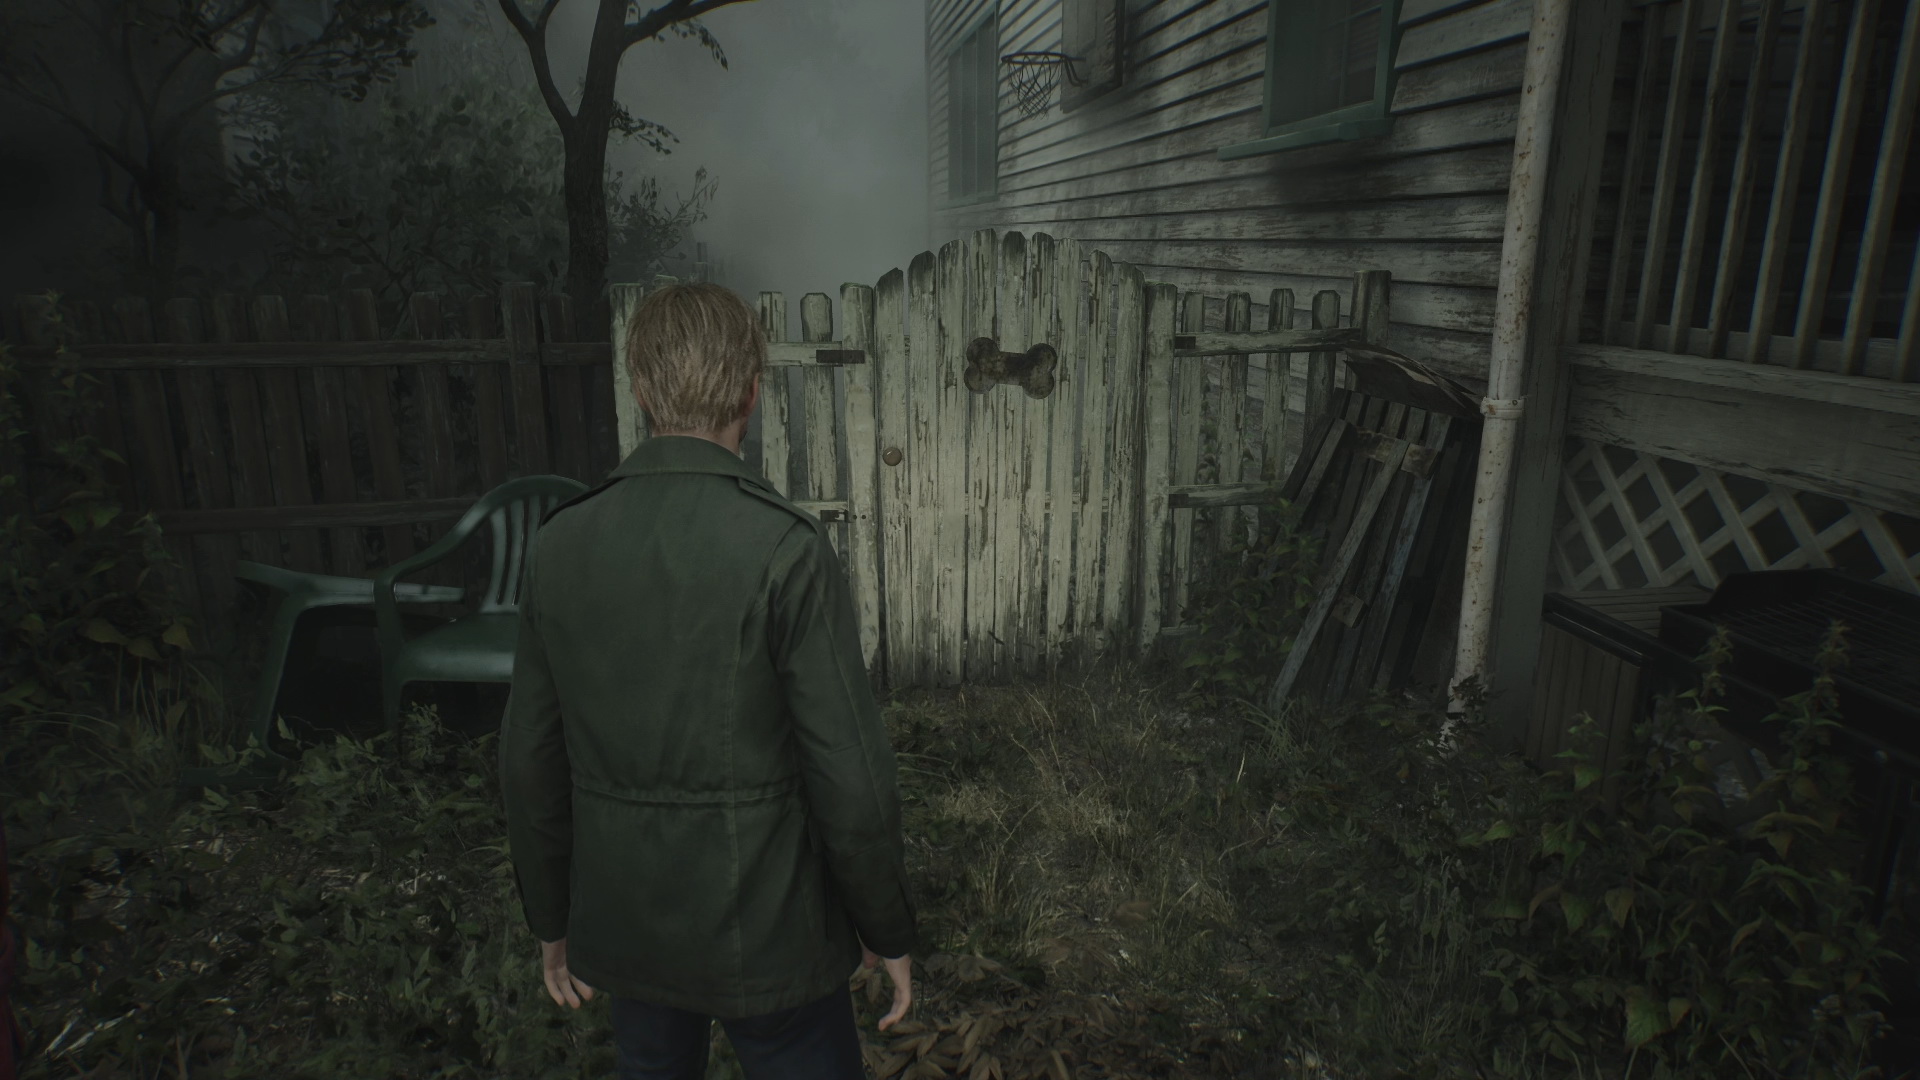
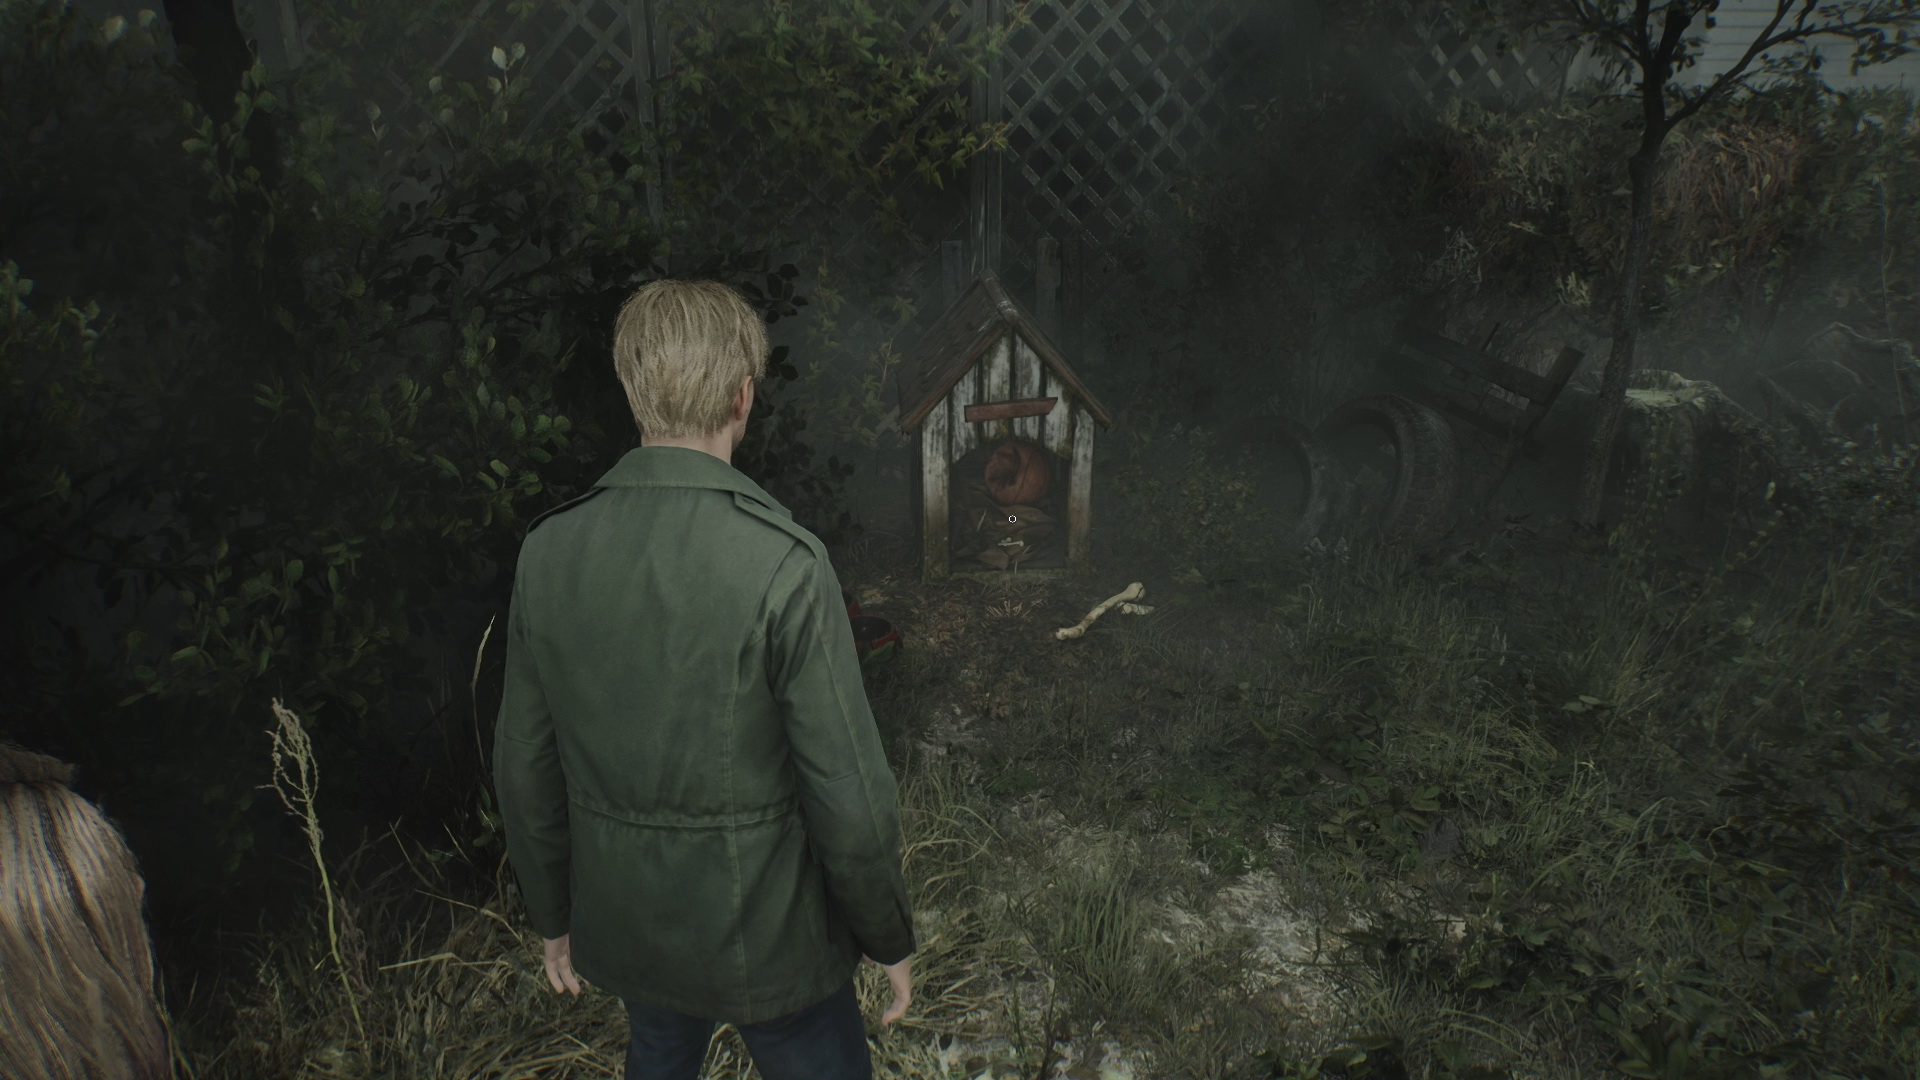
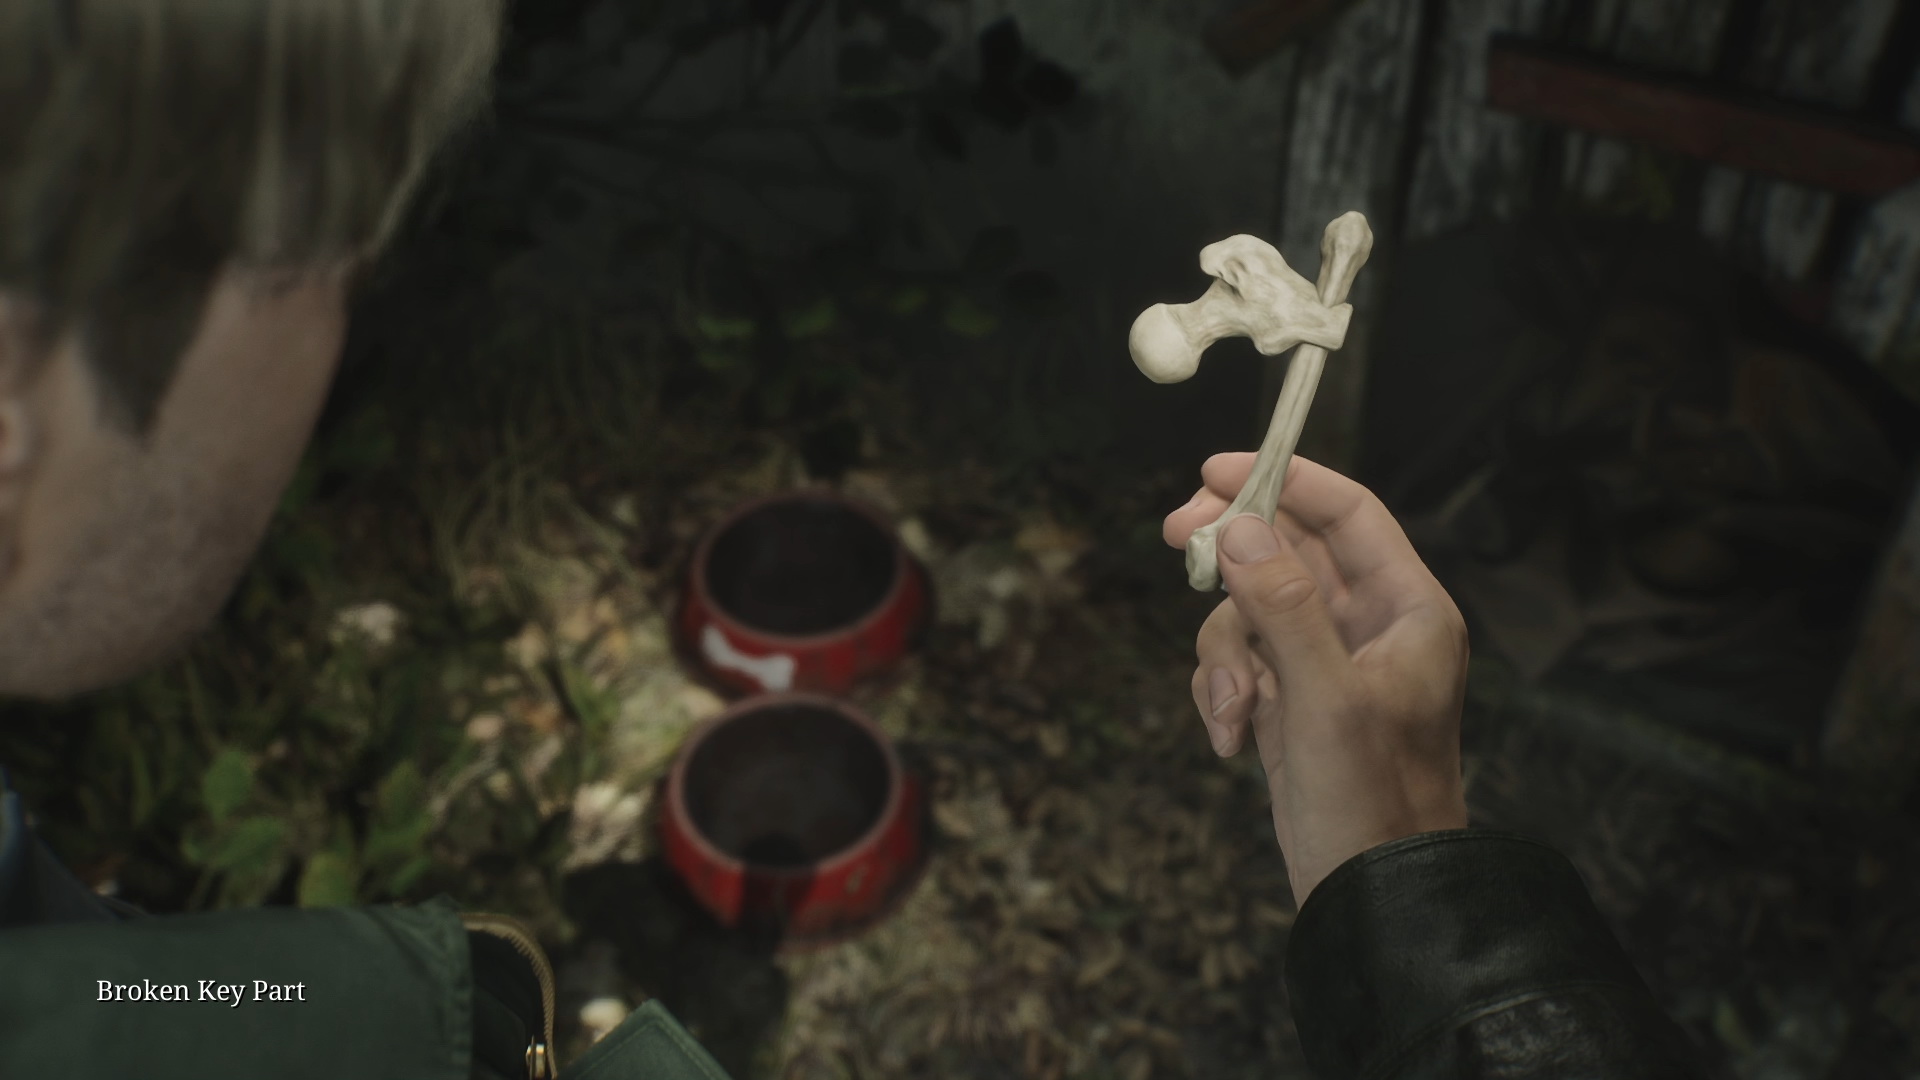
- NG+ E8 Broken Key Part. Find a backyard gate with a dog bone symbol next to the first house on Katz Street. Proceed inside and collect the second key part inside the dog house. Combine the two broken key parts to get the Dog Key.
- Proceed west until you hit a chasm on Katz St. A cutscene will follow and you will automatically get a 41 Steel Pipe to replace your Wooden Plank.
- Navigate through the backyards, taking the right path until you reach a shed with a movable plank in the fence. Enter the Heaven's Night nightclub.
Heaven's Night / Moonlight Grove / Reverie Theater
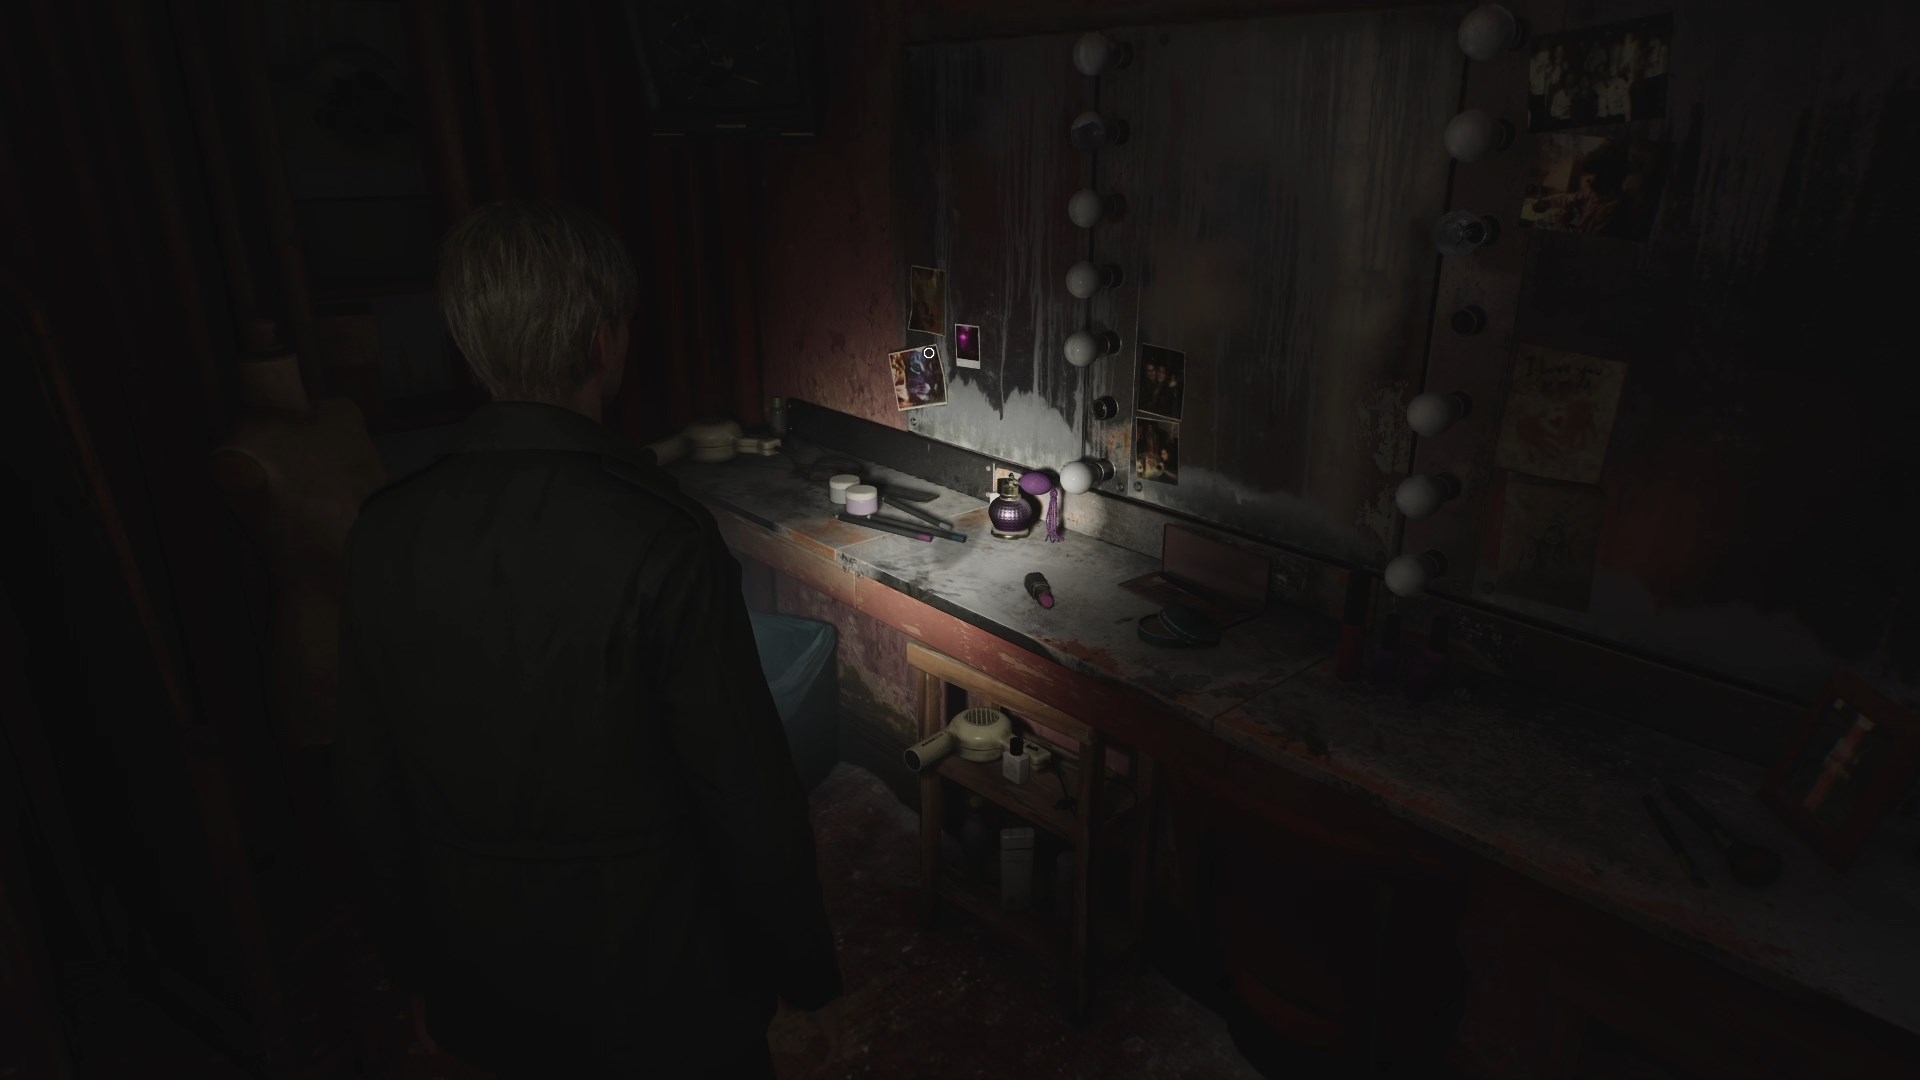
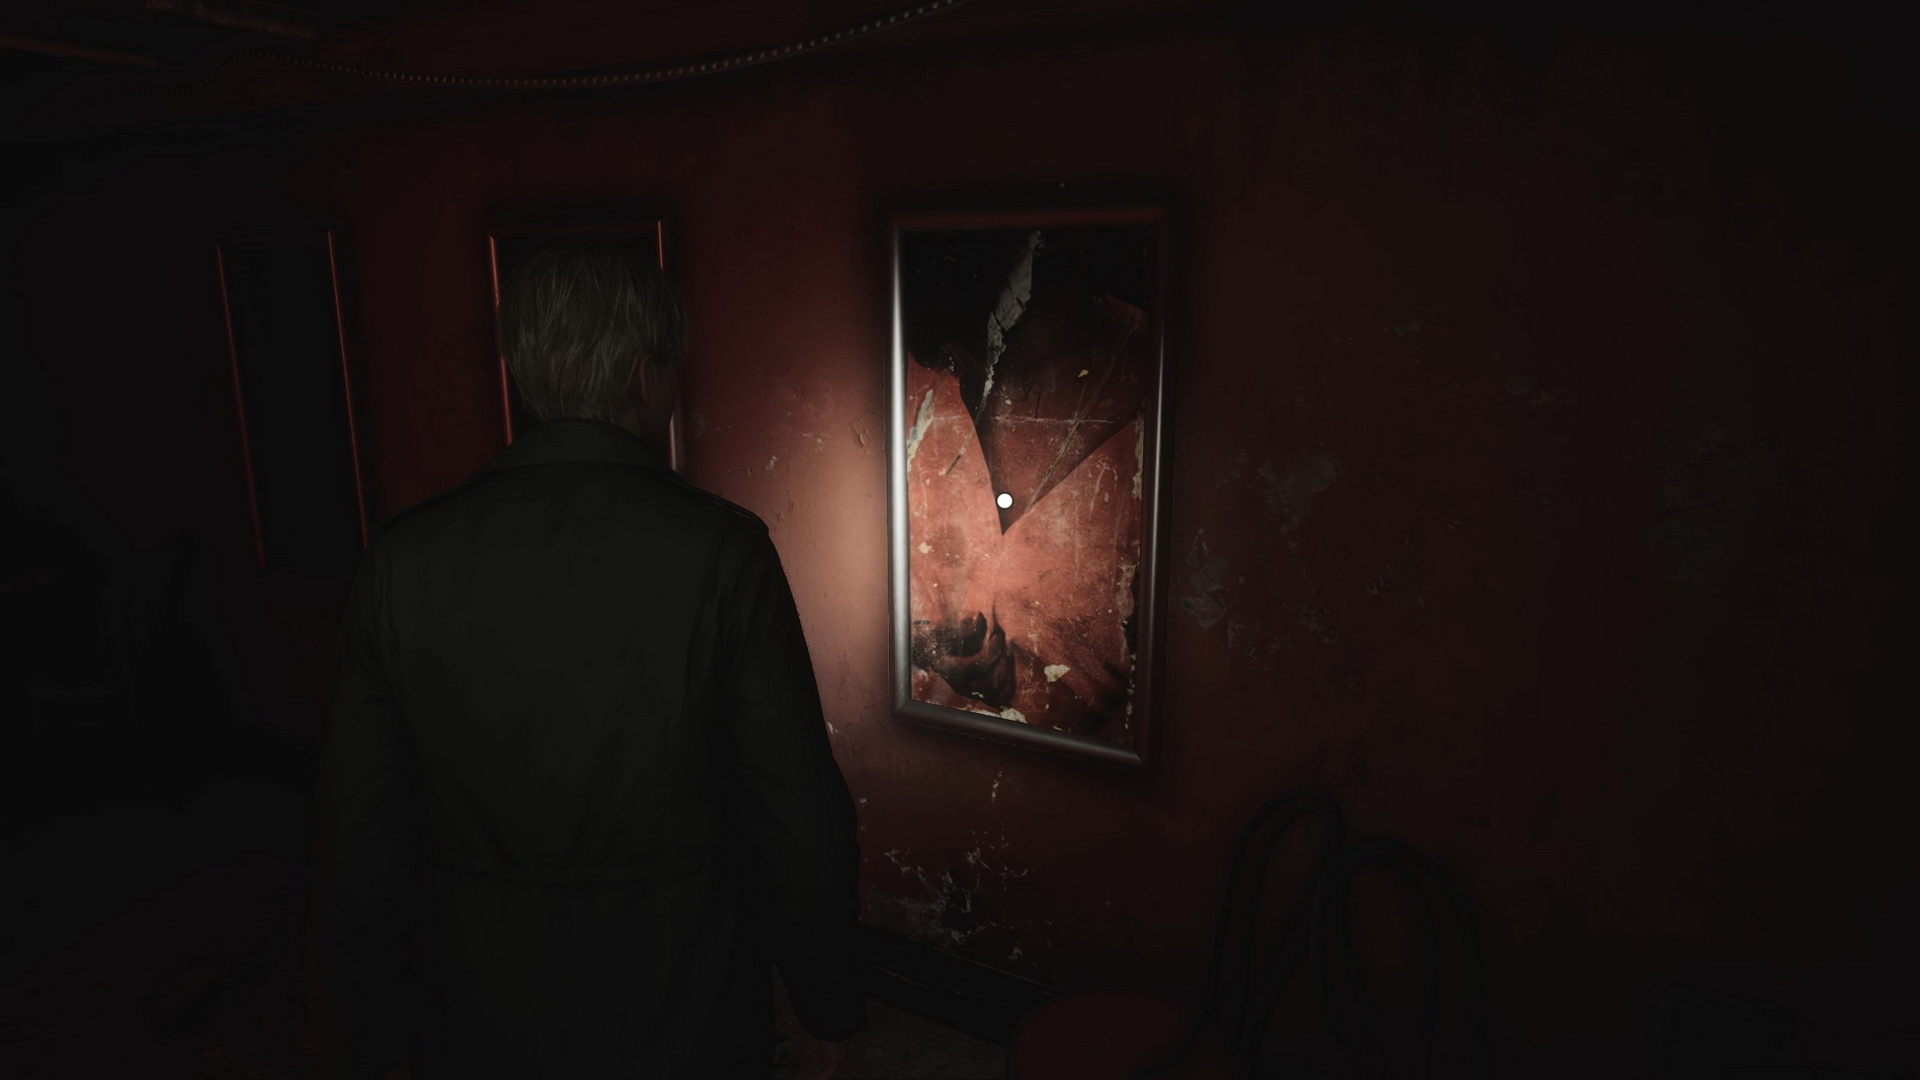
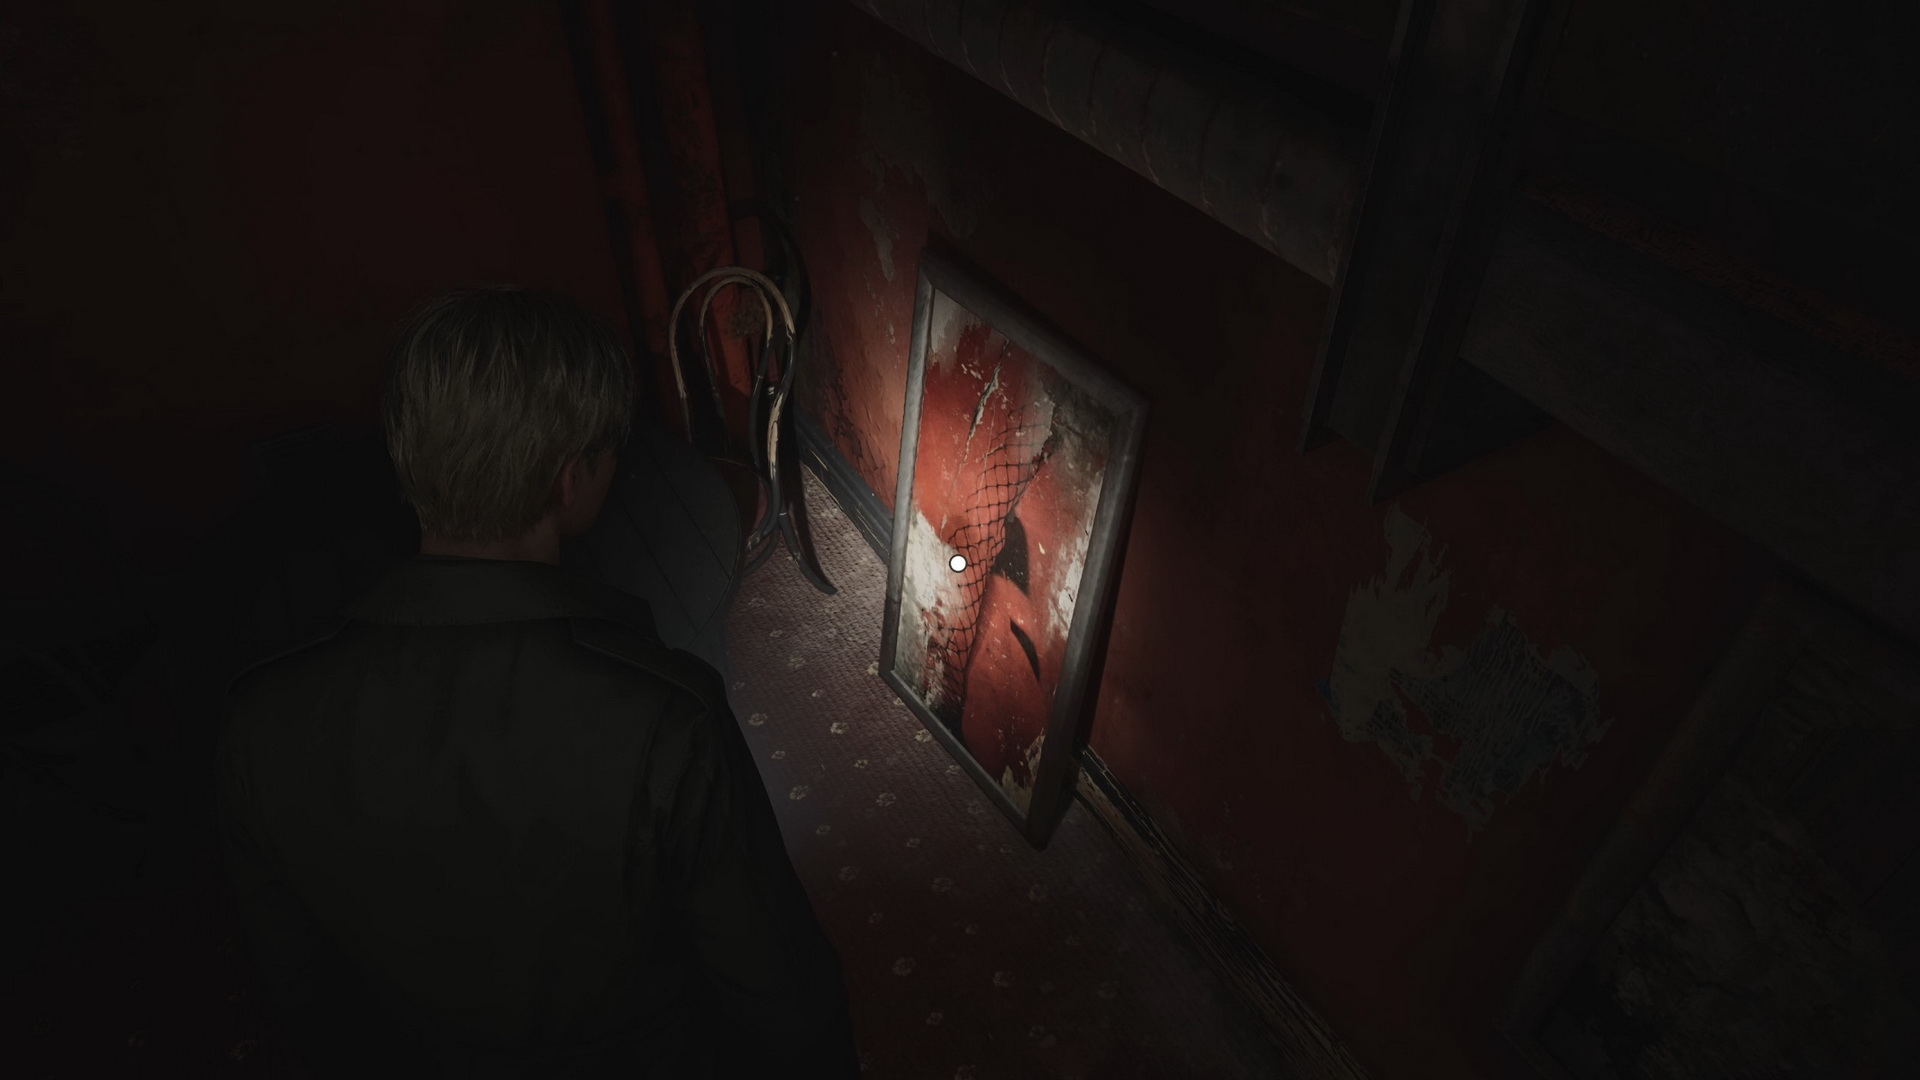
- Strange Photo #9: “Ready to kill it!”. Inside Heaven’s Night, attached to one of the mirrors in the dressing room.
- There's a Save Point in the main area. After you're done exploring, let Maria know that and exit the nightclub. Go north until you reach the Moonlight Grove.
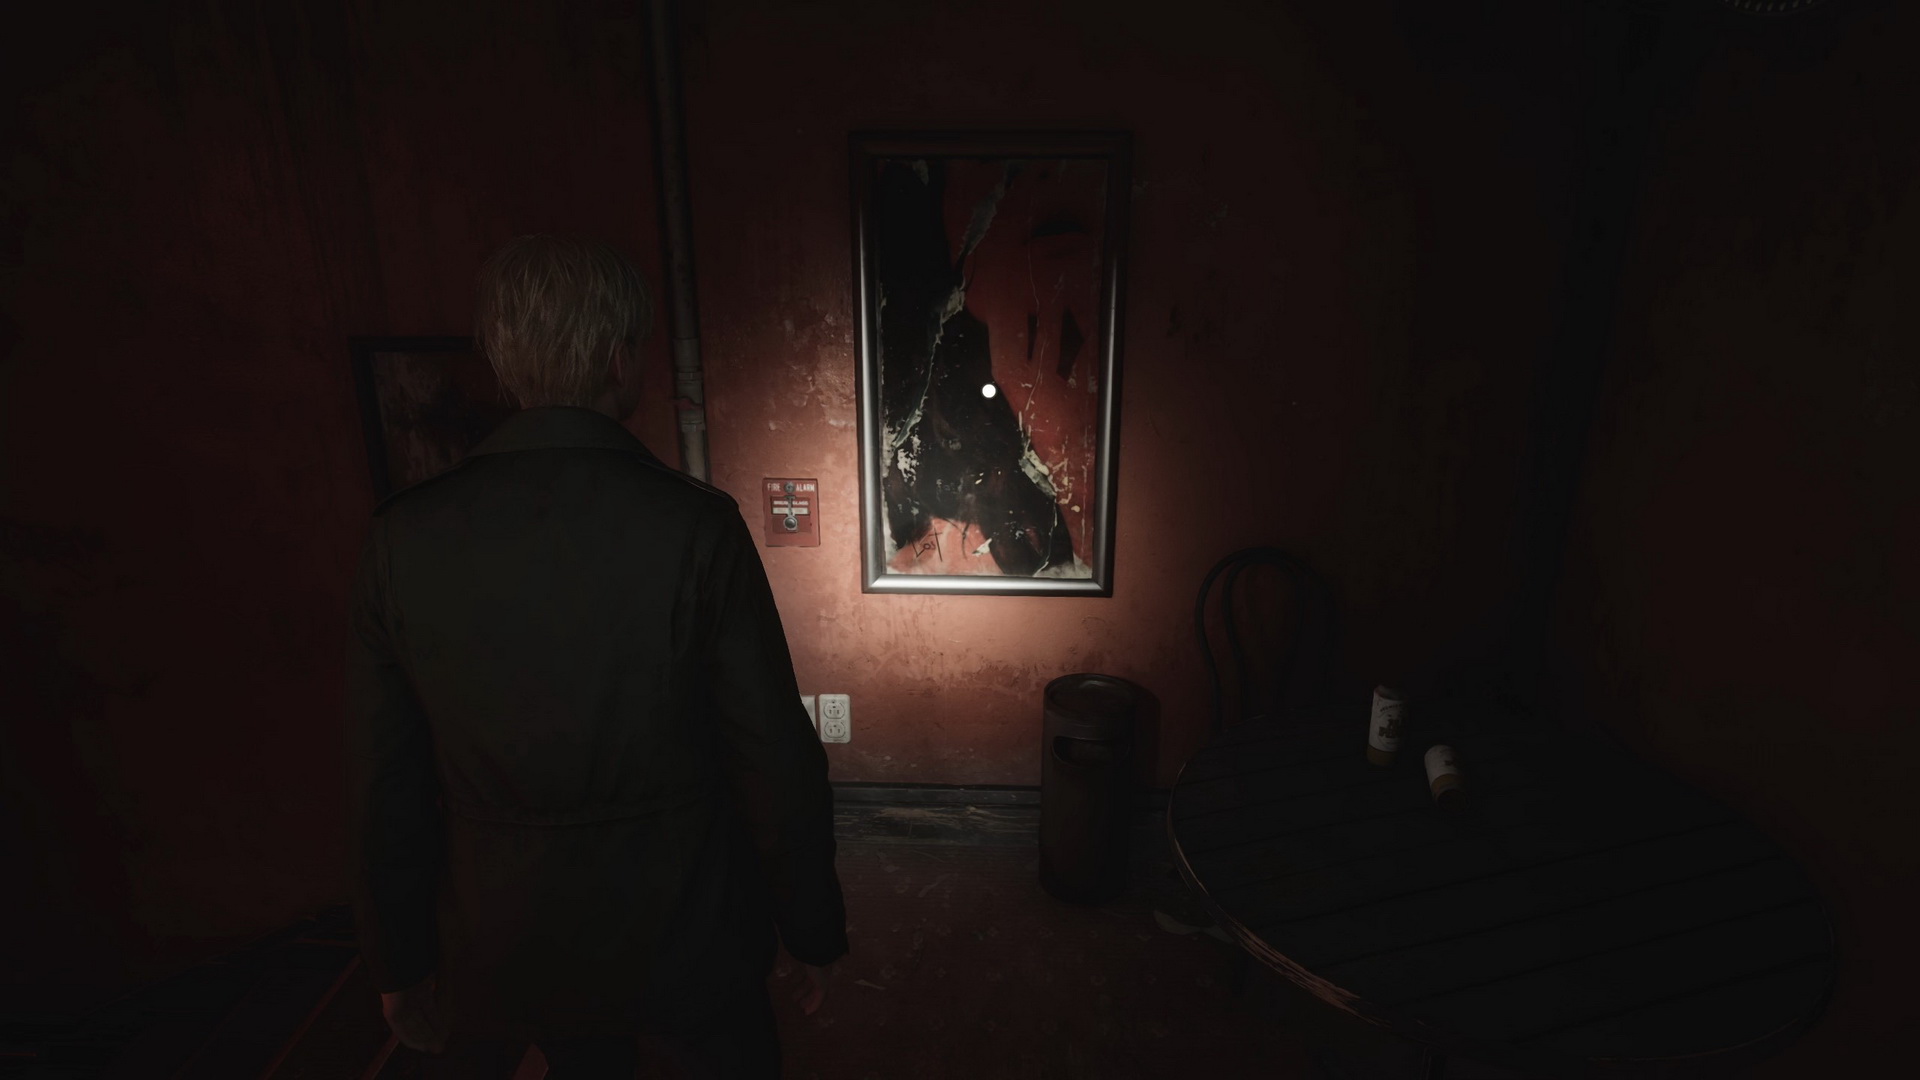
- Strange Photo #10: "Church entrance". Moonlight Grove, on the fountain in the souther part of the park after the cutscene.
- Exit the park and enter the Reverie Theater through an open window. Enter the auditorium with Eddie.
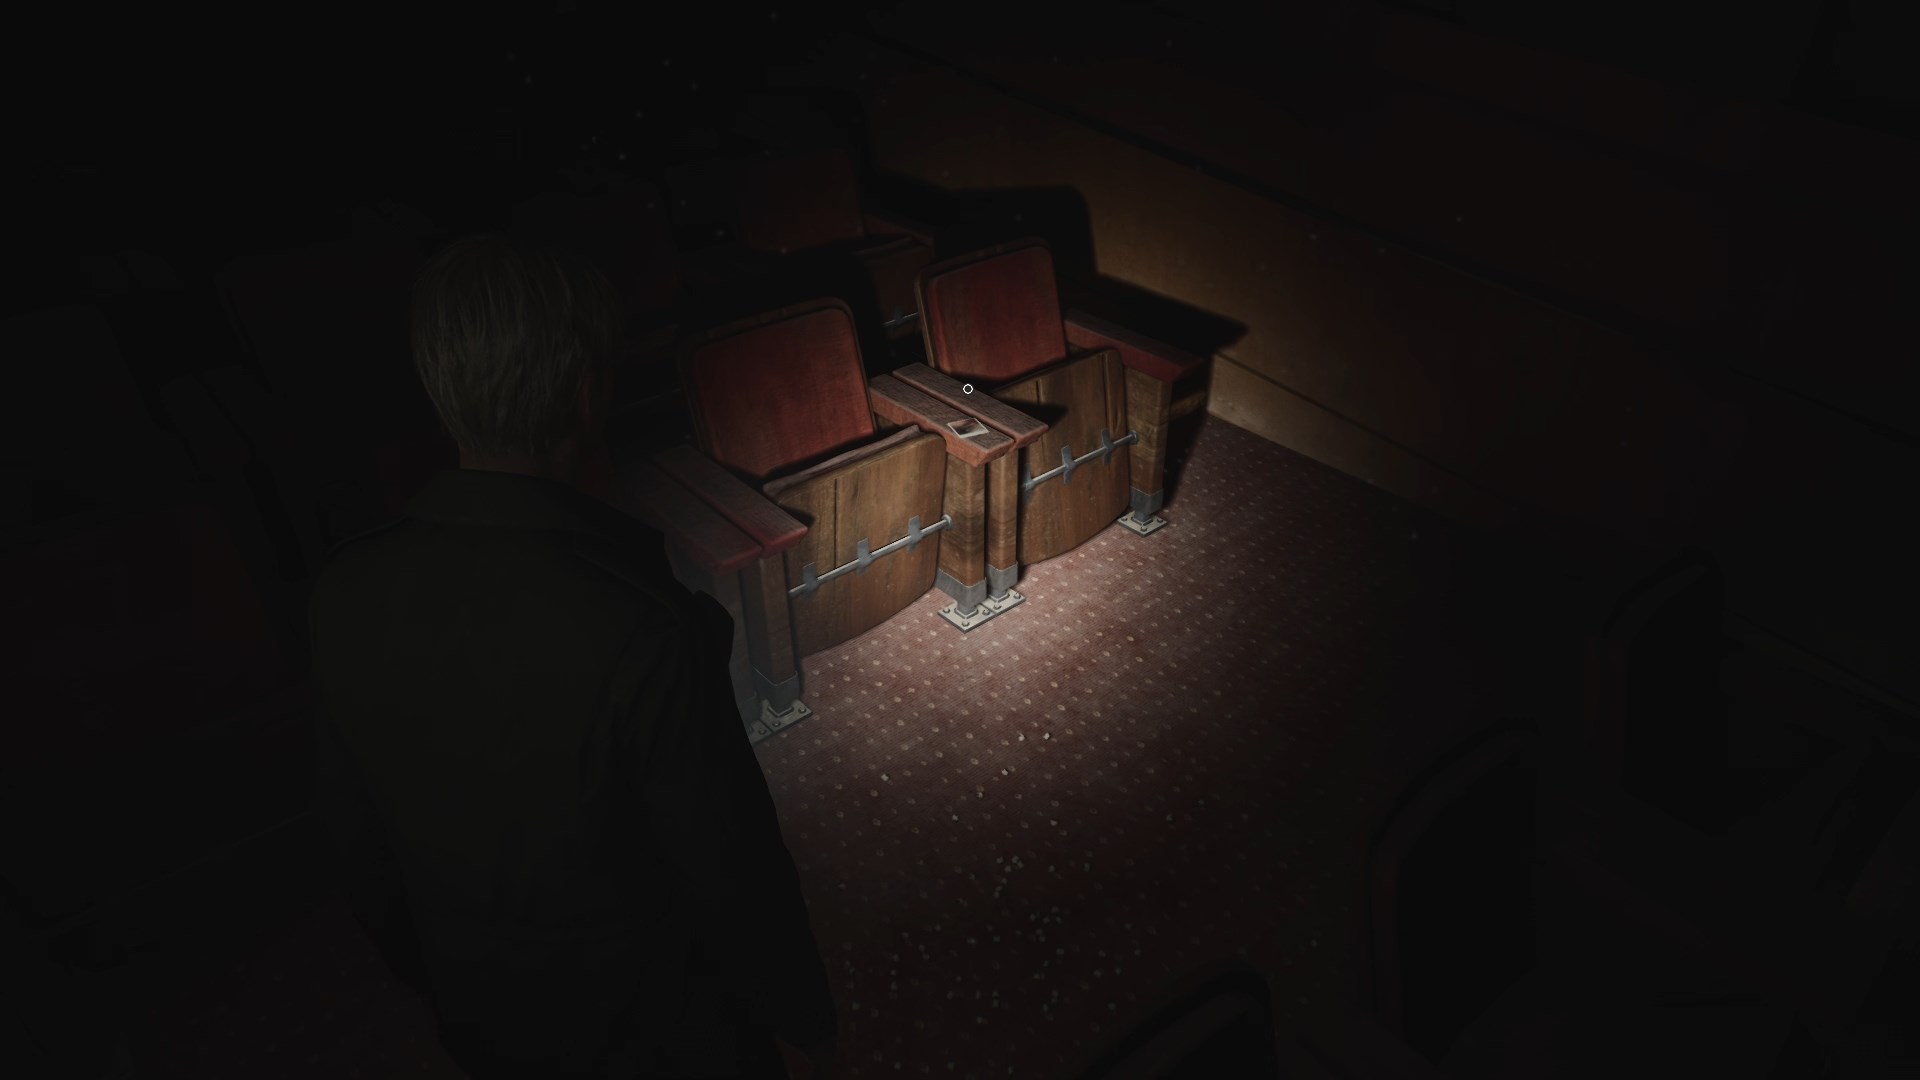
- Strange Photo #11: “Best Flavor!”. Reverie Theater, on one of the seat armrests behind Eddie.
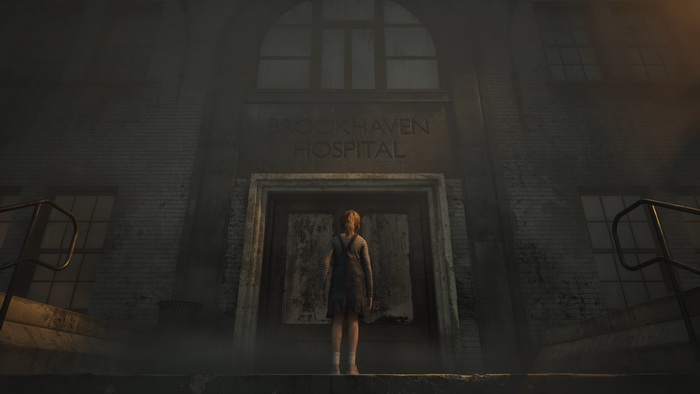
- After the cutscene, chase Laura until you reach the main lobby. Then, head outside and enter Brookhaven Hospital.
Complete Walkthrough
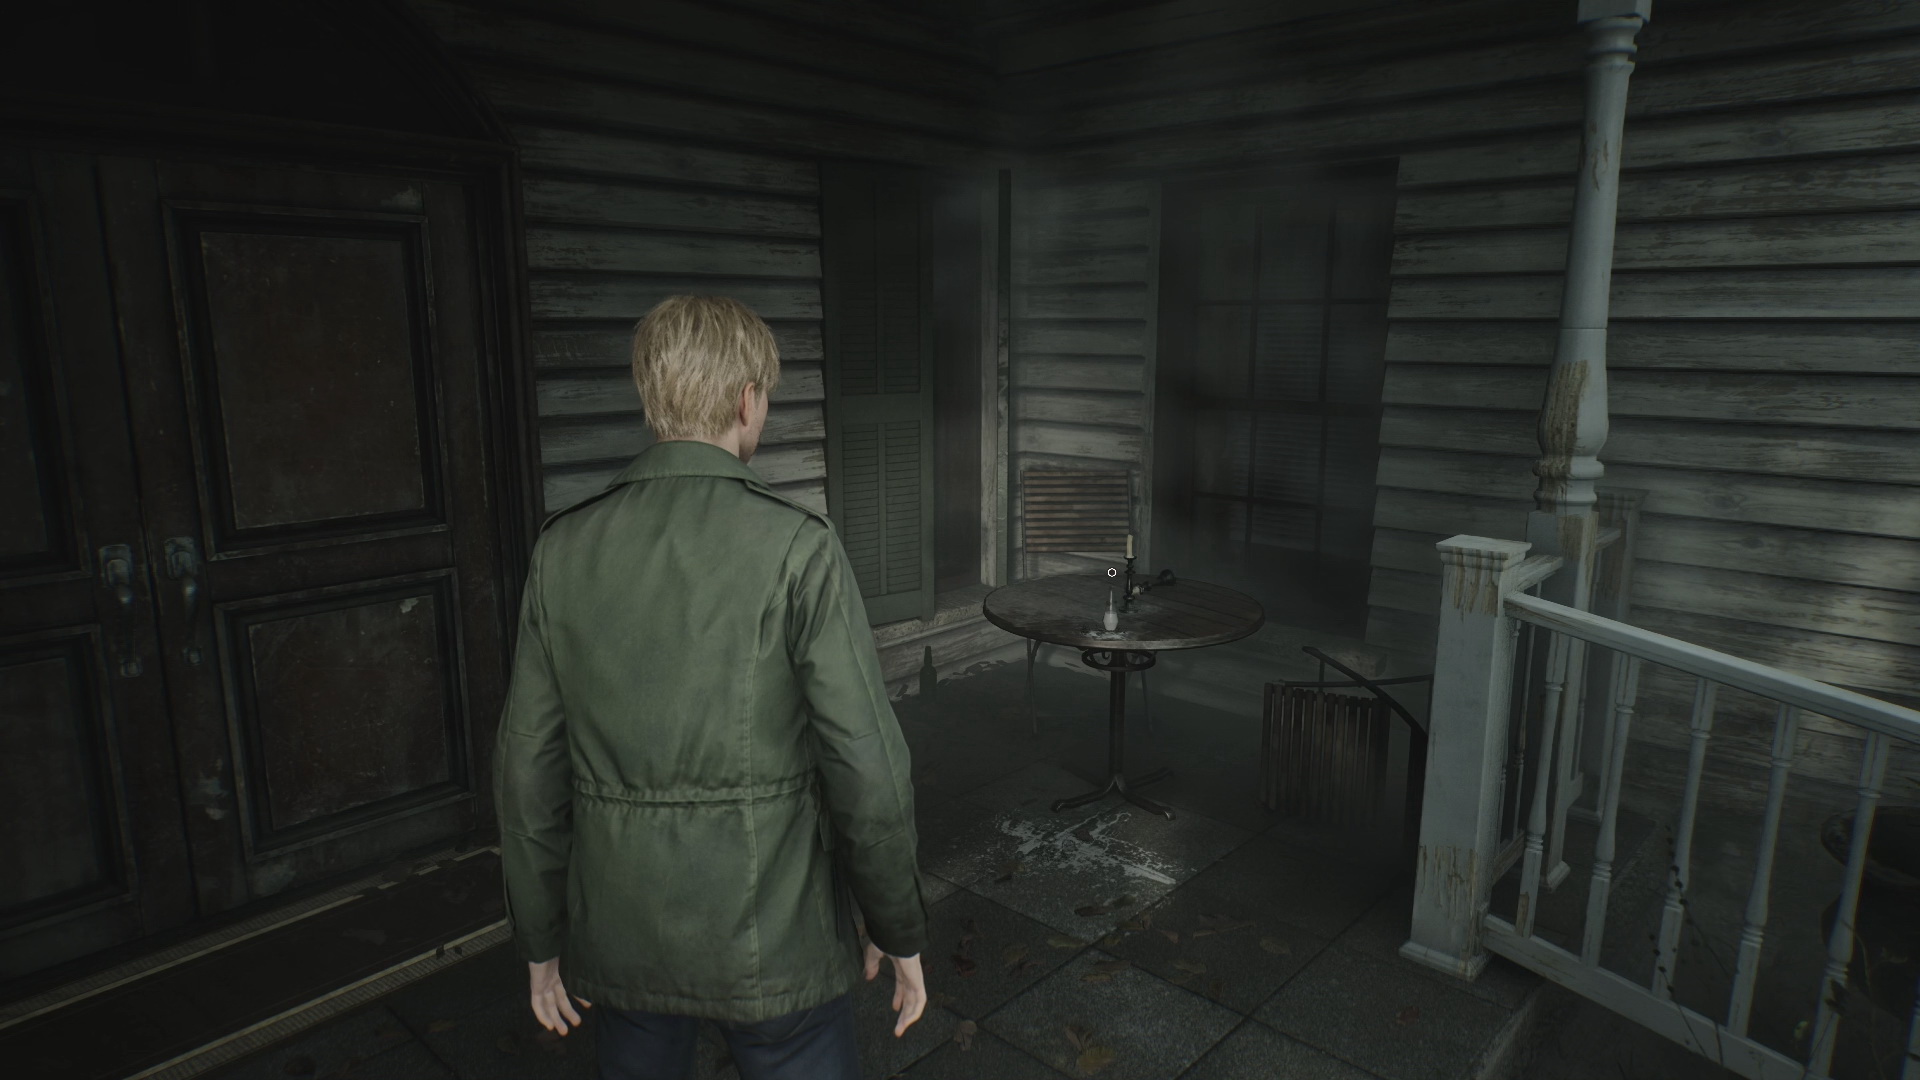
There's a Save Point right when you exit the apartment building. Continue your way down the alley toward Rosewater Park. There's Handgun Ammo in the driver's seat of the green SUV parked around the corner. Proceed for a cutscene with the girl you met at the Wood Side Apartments.

After the cutscene, pass through the tunnel and finally find yourself in the park.
Rosewater Park
If you explore the area to the left of the entrance, you can find a Syringe on one of the benches. You can find a tourist pamphlet on another bench in the area with the fountain pools.
 |
 |
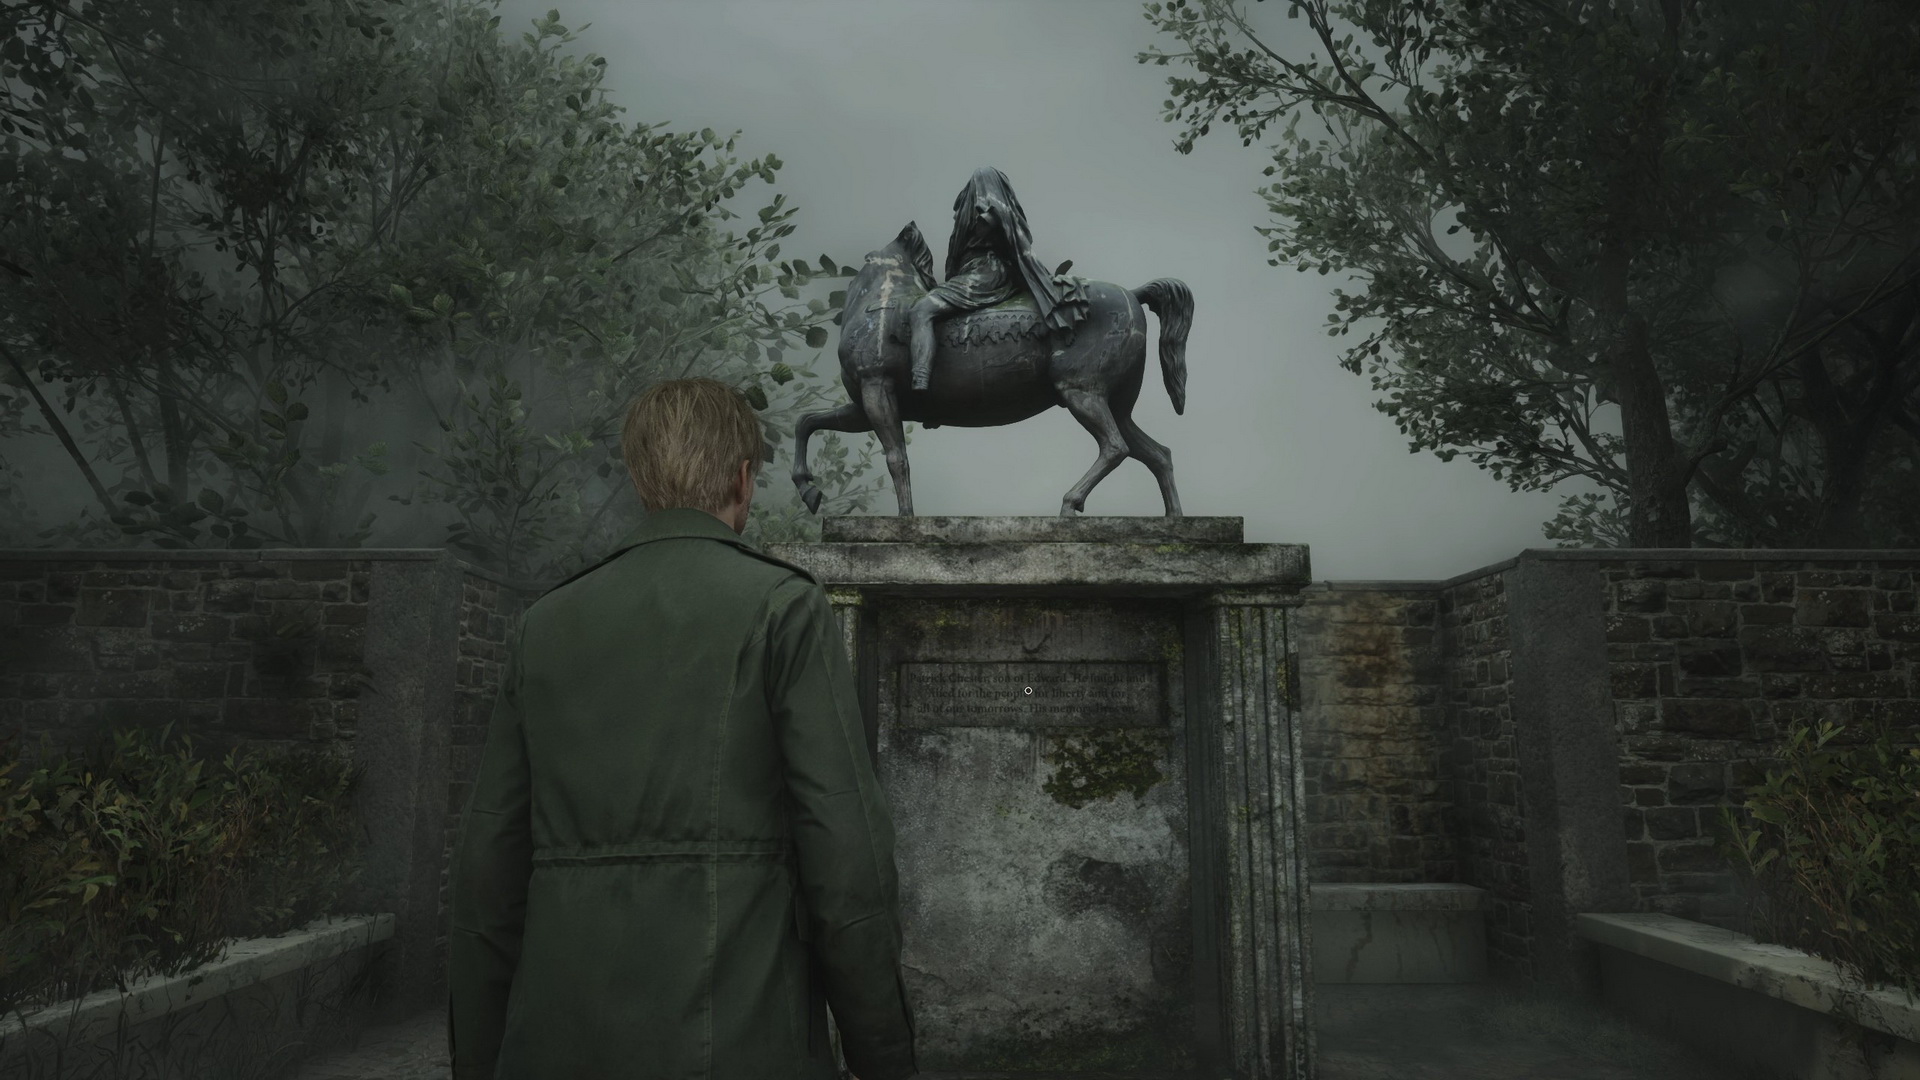
Back in the east alley, there's Handgun Ammo on a stone bench and a monument to Patrick Chester.
 |
 |
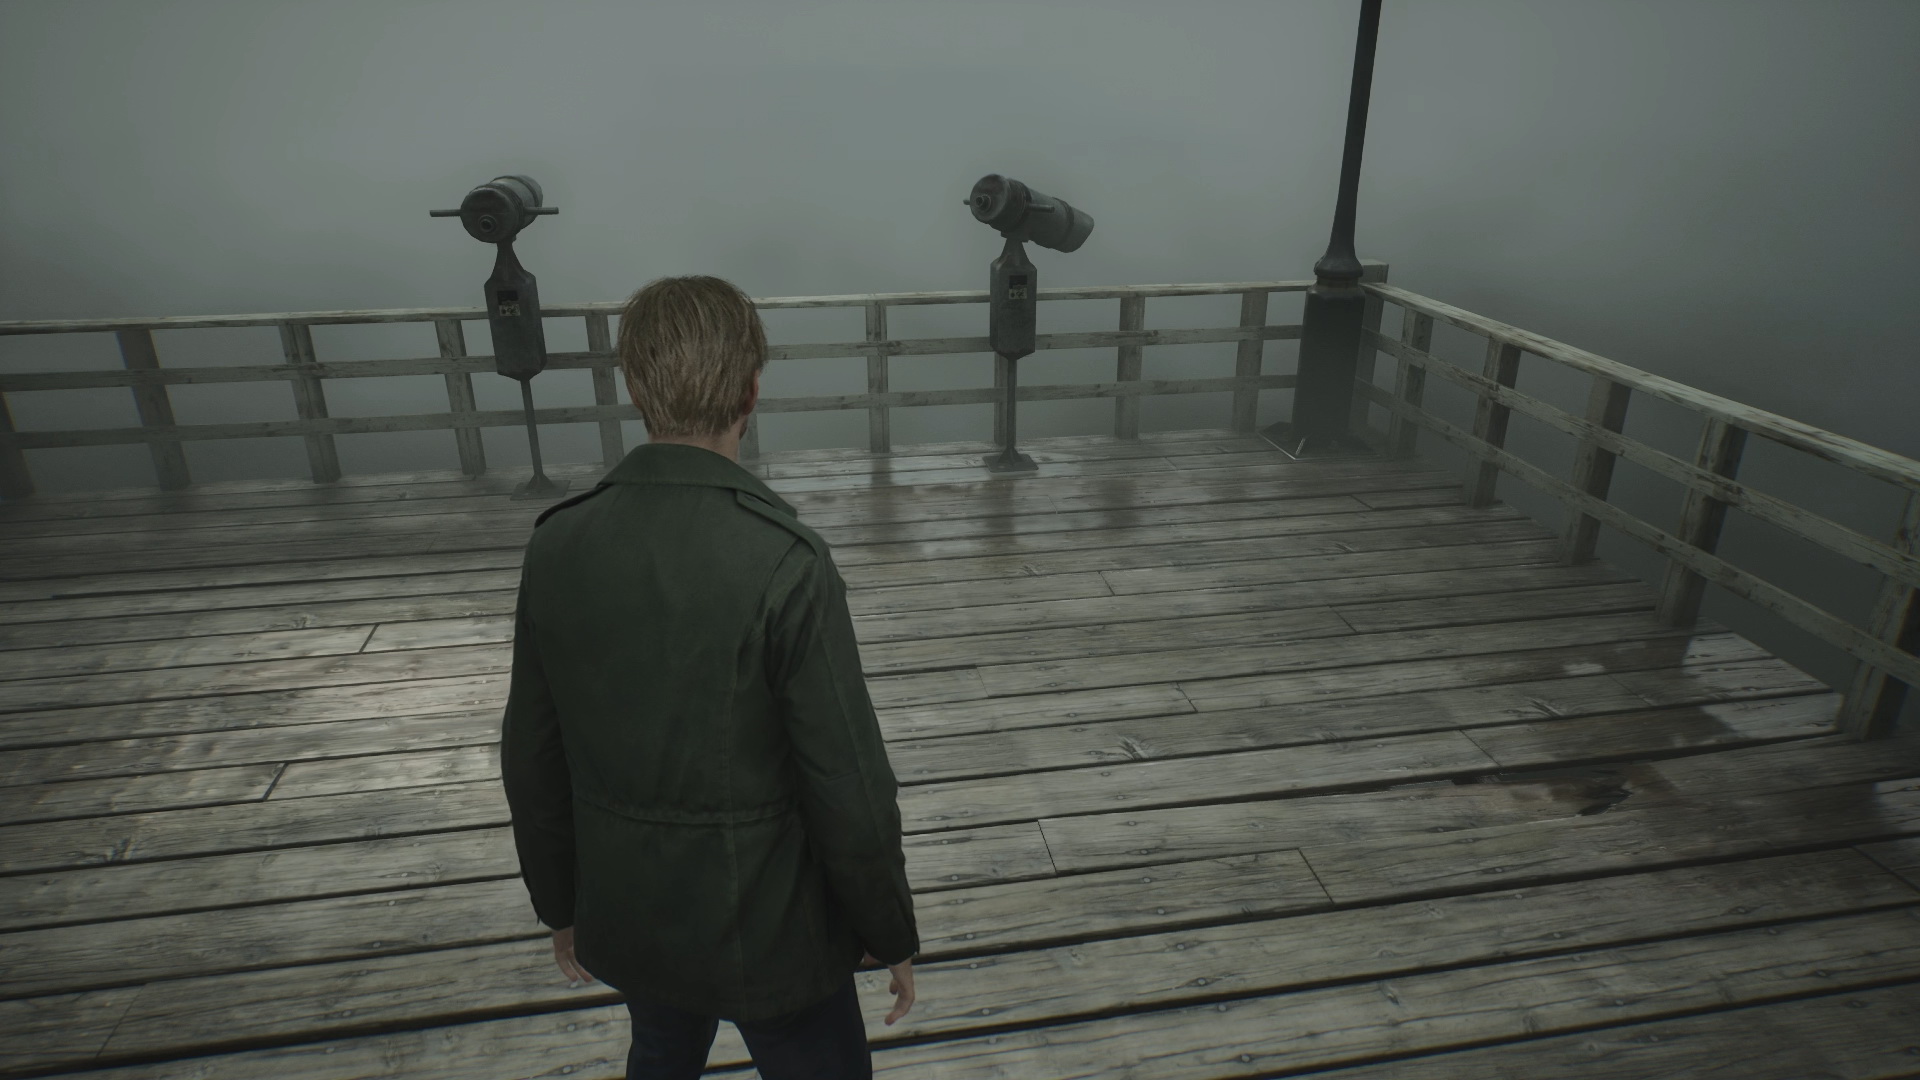
Proceed to the pier area.
New Game+: Using the Blue Gem |
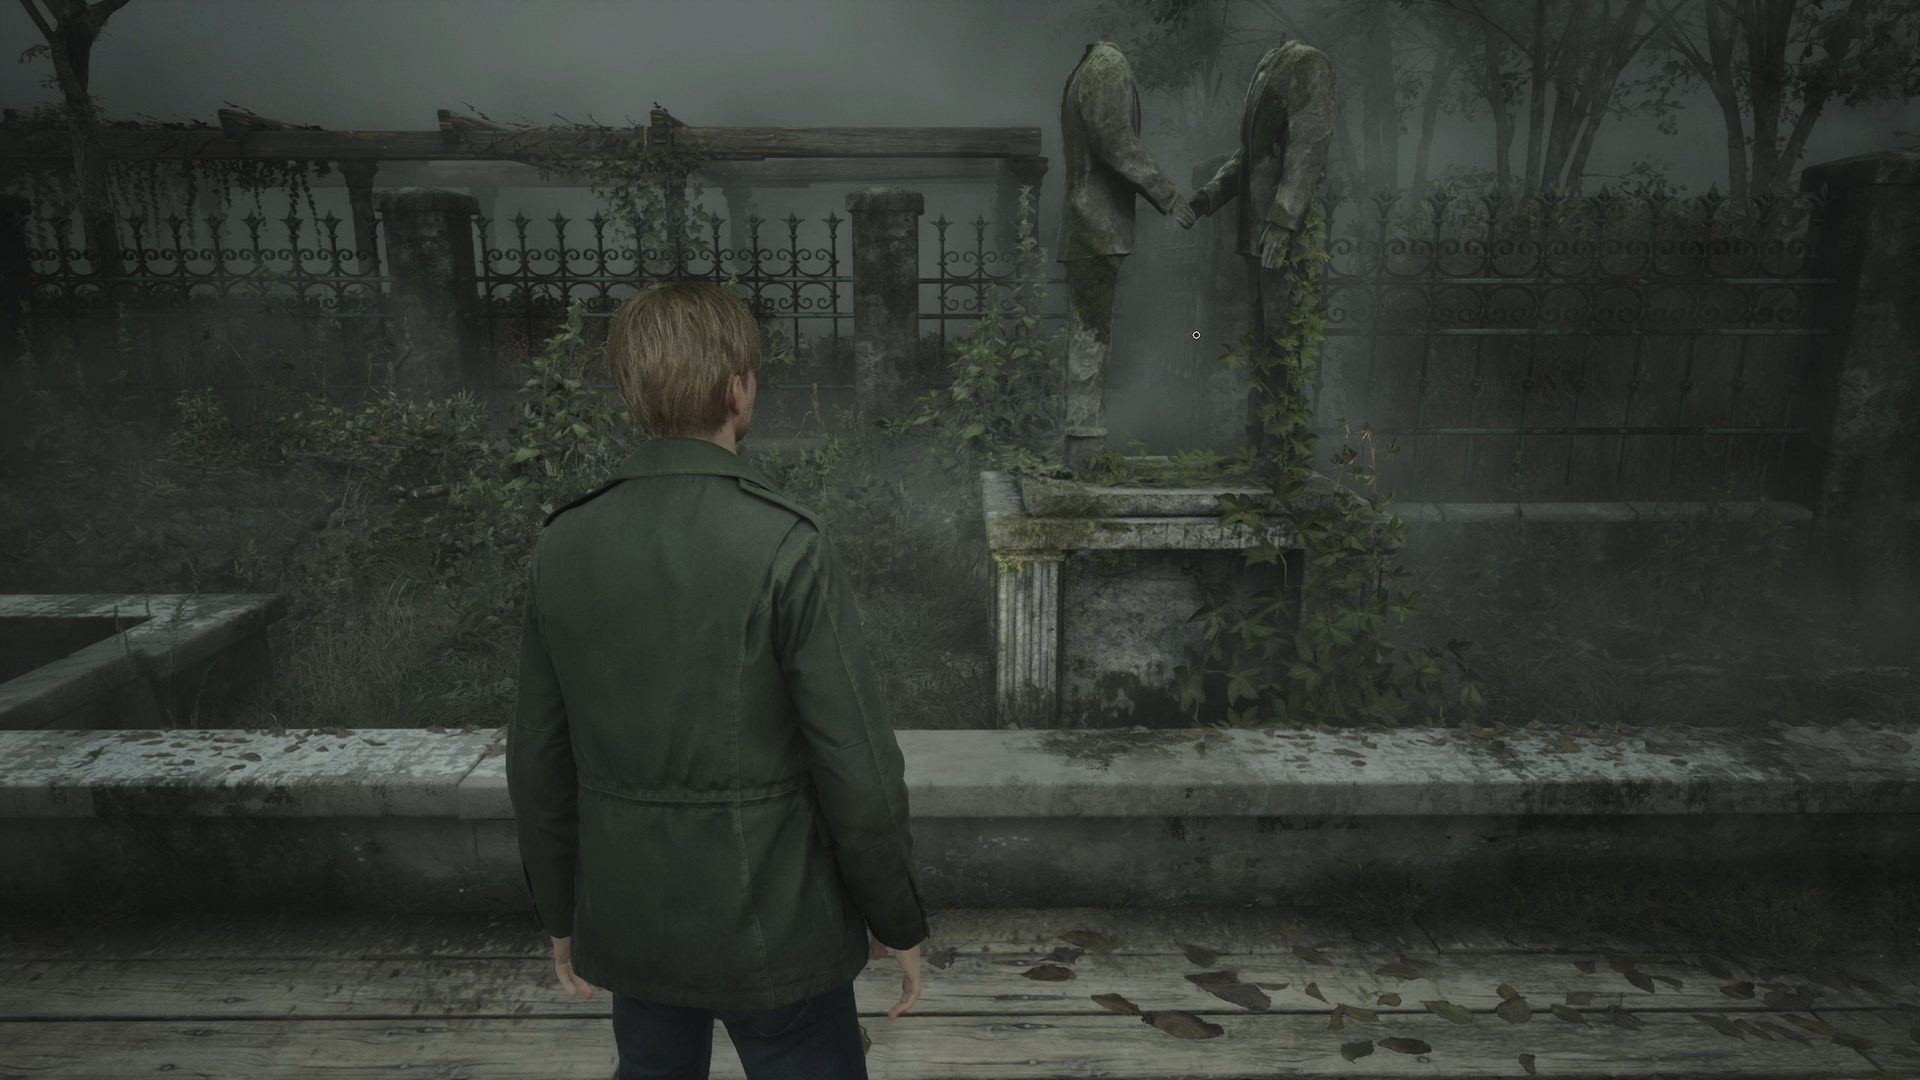
Another statue of two men shaking hands can be inspected on the pier. There is no label, though.
 |
 |
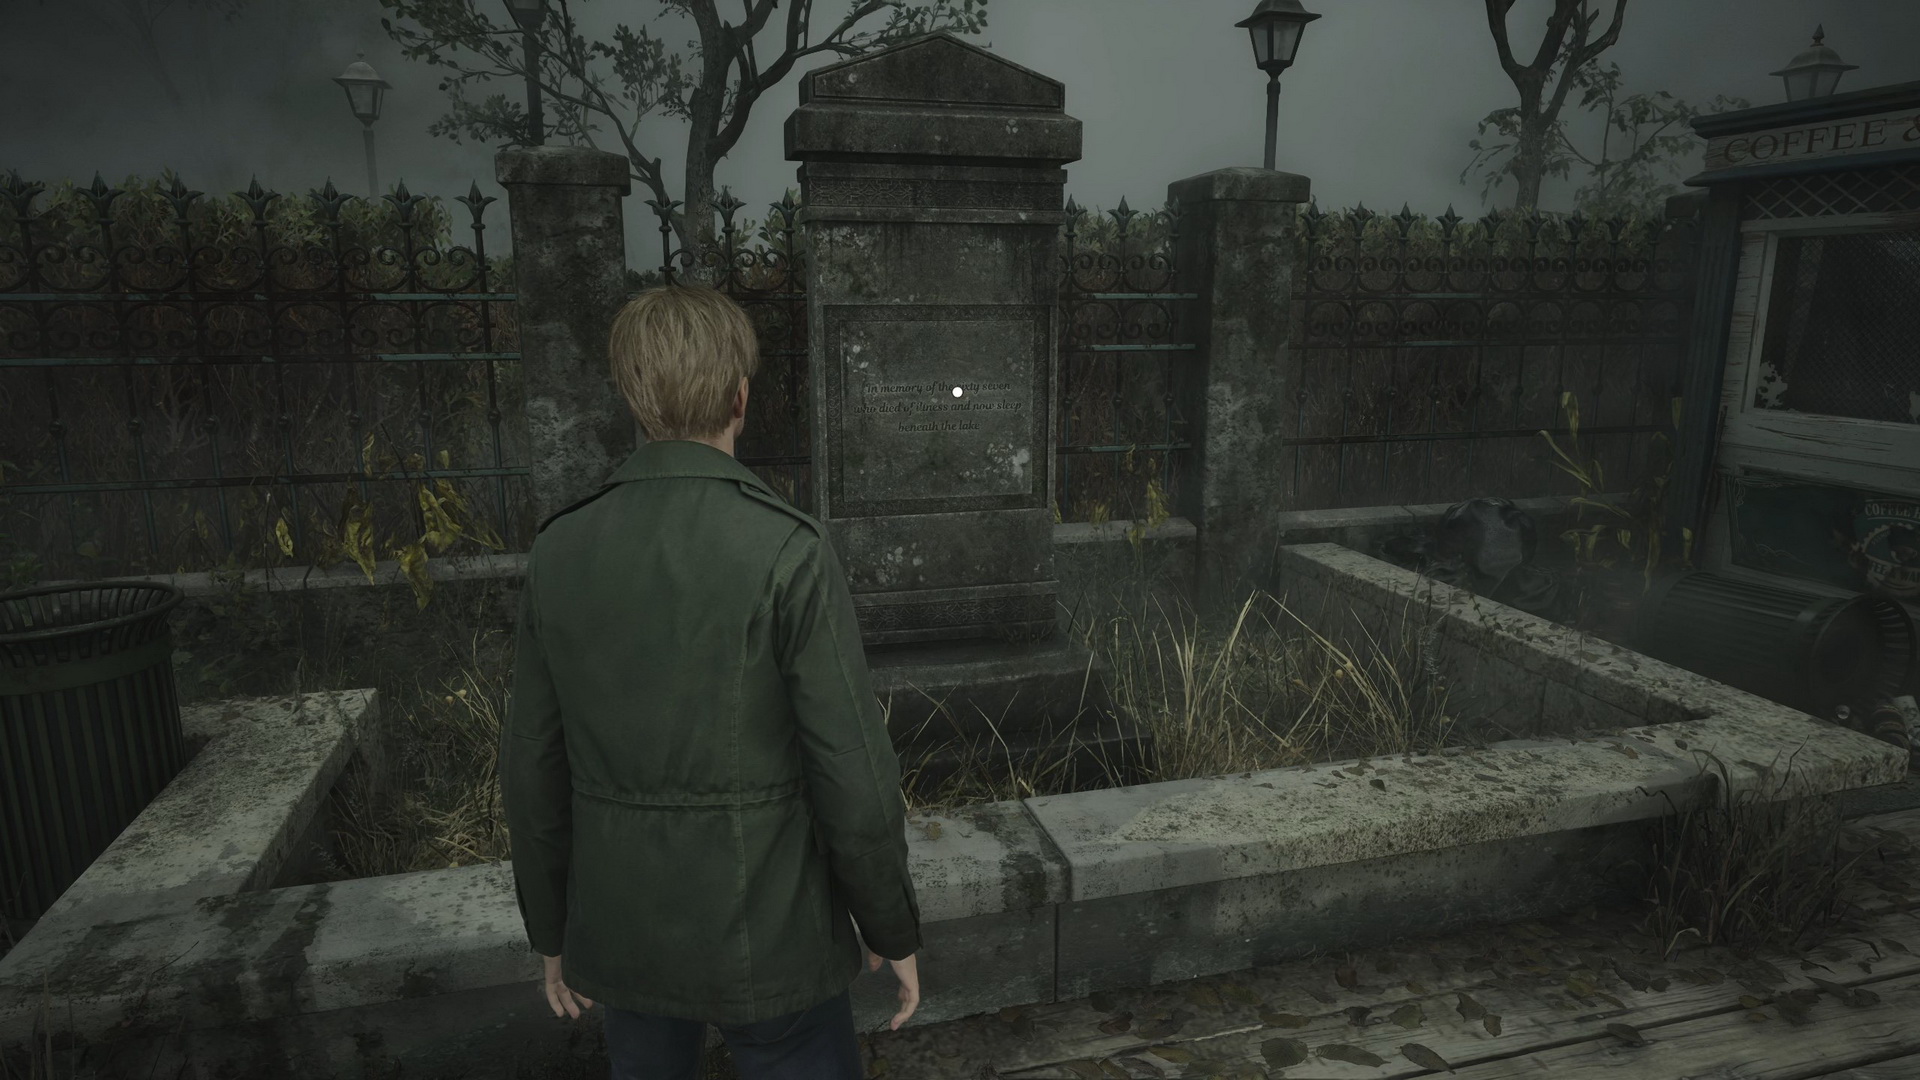
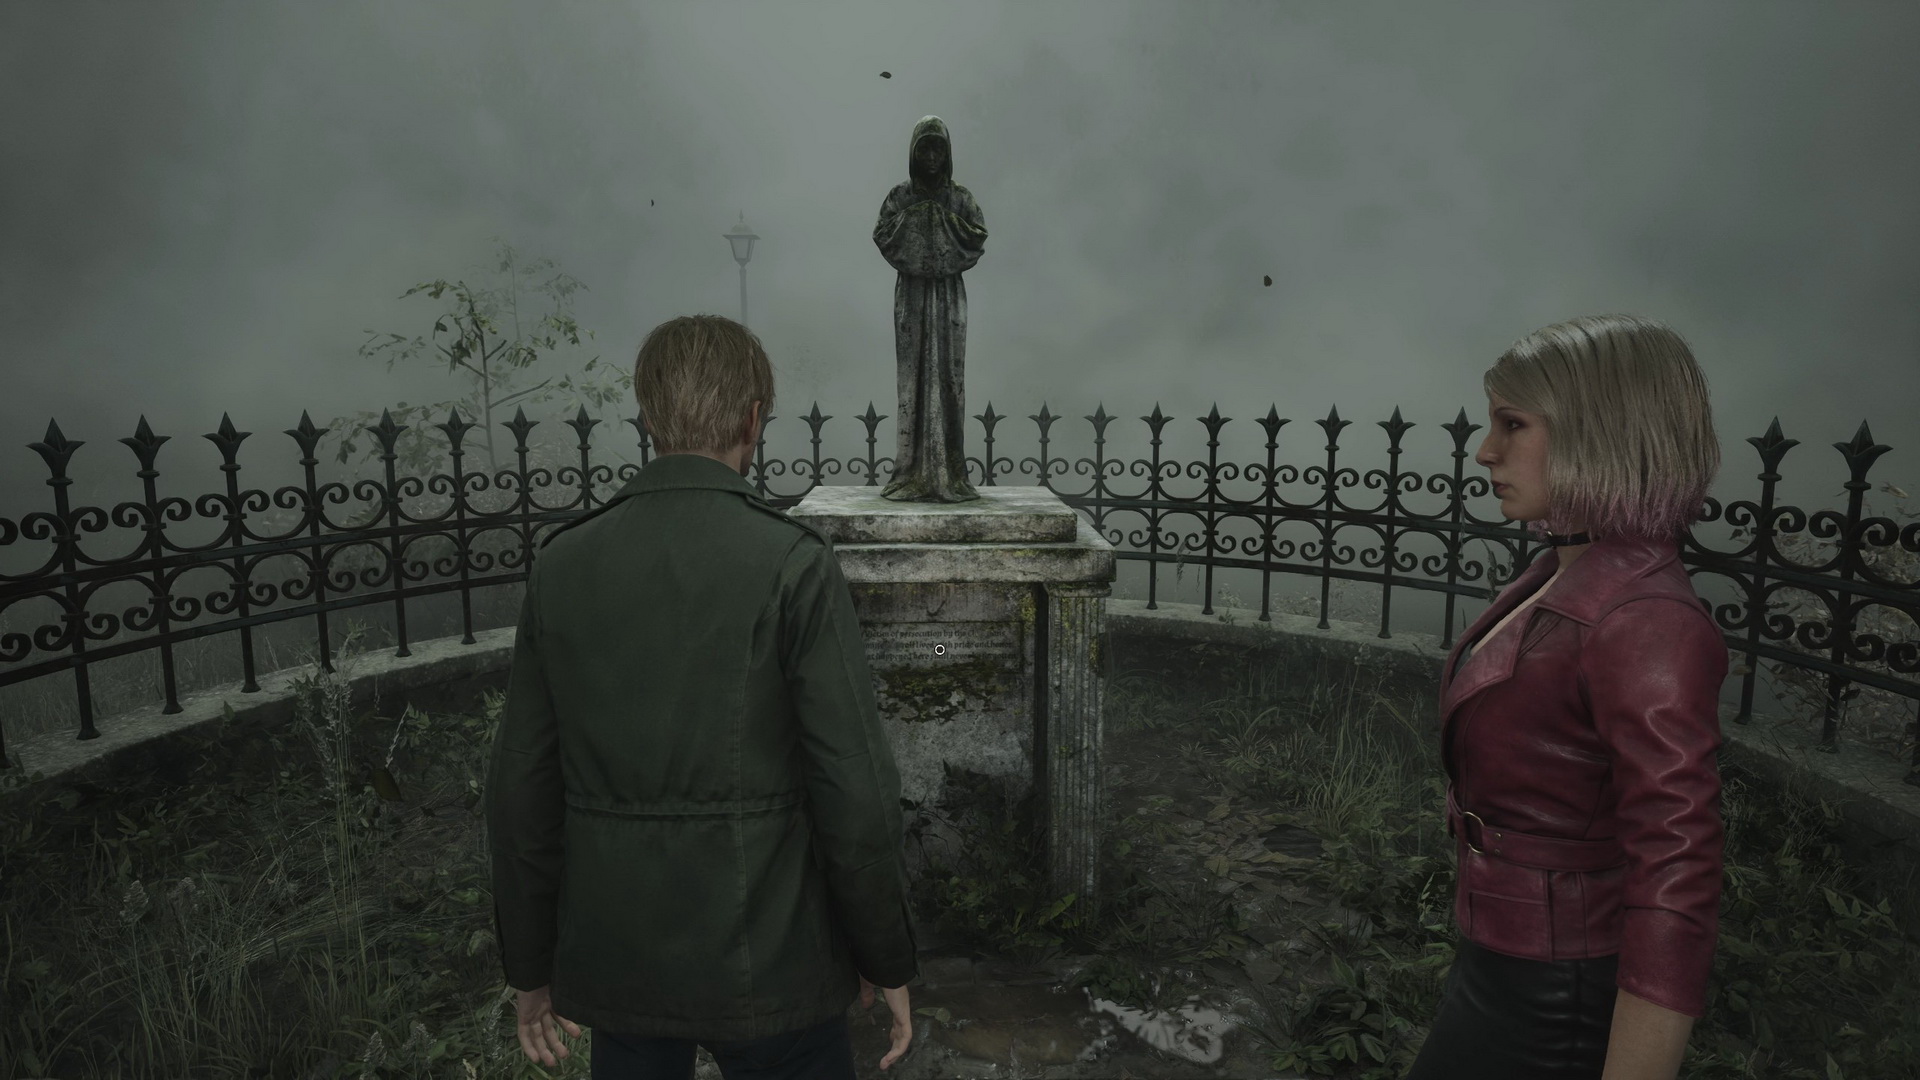
Another memorial is across the central pier. Read the inscription carefully as you will need this information later in the game.
 |
 |
When you're done enjoying the scenery, proceed to the end of the central pier to meet a new character: Maria.
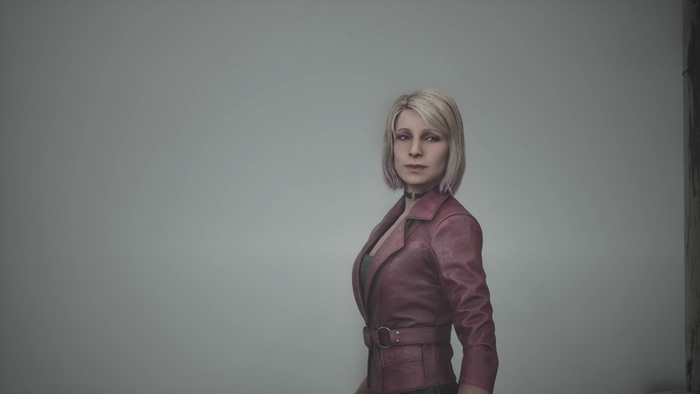
After the cutscene, Maria will join James. You can choose whether to actively protect and react to her or not pay attention to her at all – read more about how it affects the ending in the Endings section. Proceed through the western portion of the park. To the right of the gate, you can find Strange Photo #7: "So far from home".
 |
 |
A romantic carving is on one of the benches to the left of the gate. The women's restroom in the southern section has a Health Drink in a destroyed toilet bowl. In the southern alley, a monument to Jennifer Carroll is also located.
 |
 |
Nearby, in the park play area, you can get Handgun Ammo on the middle chess table. There is nothing else to see in the park, so feel free to exit and return to the streets.
If you are uninterested in collectibles and supplies and want to progress with the main story, skip to the Jacks Inn section. Nonetheless, there is a lot to explore here.
Getting inside the Garage / Pete's-Bowl-O-Rama
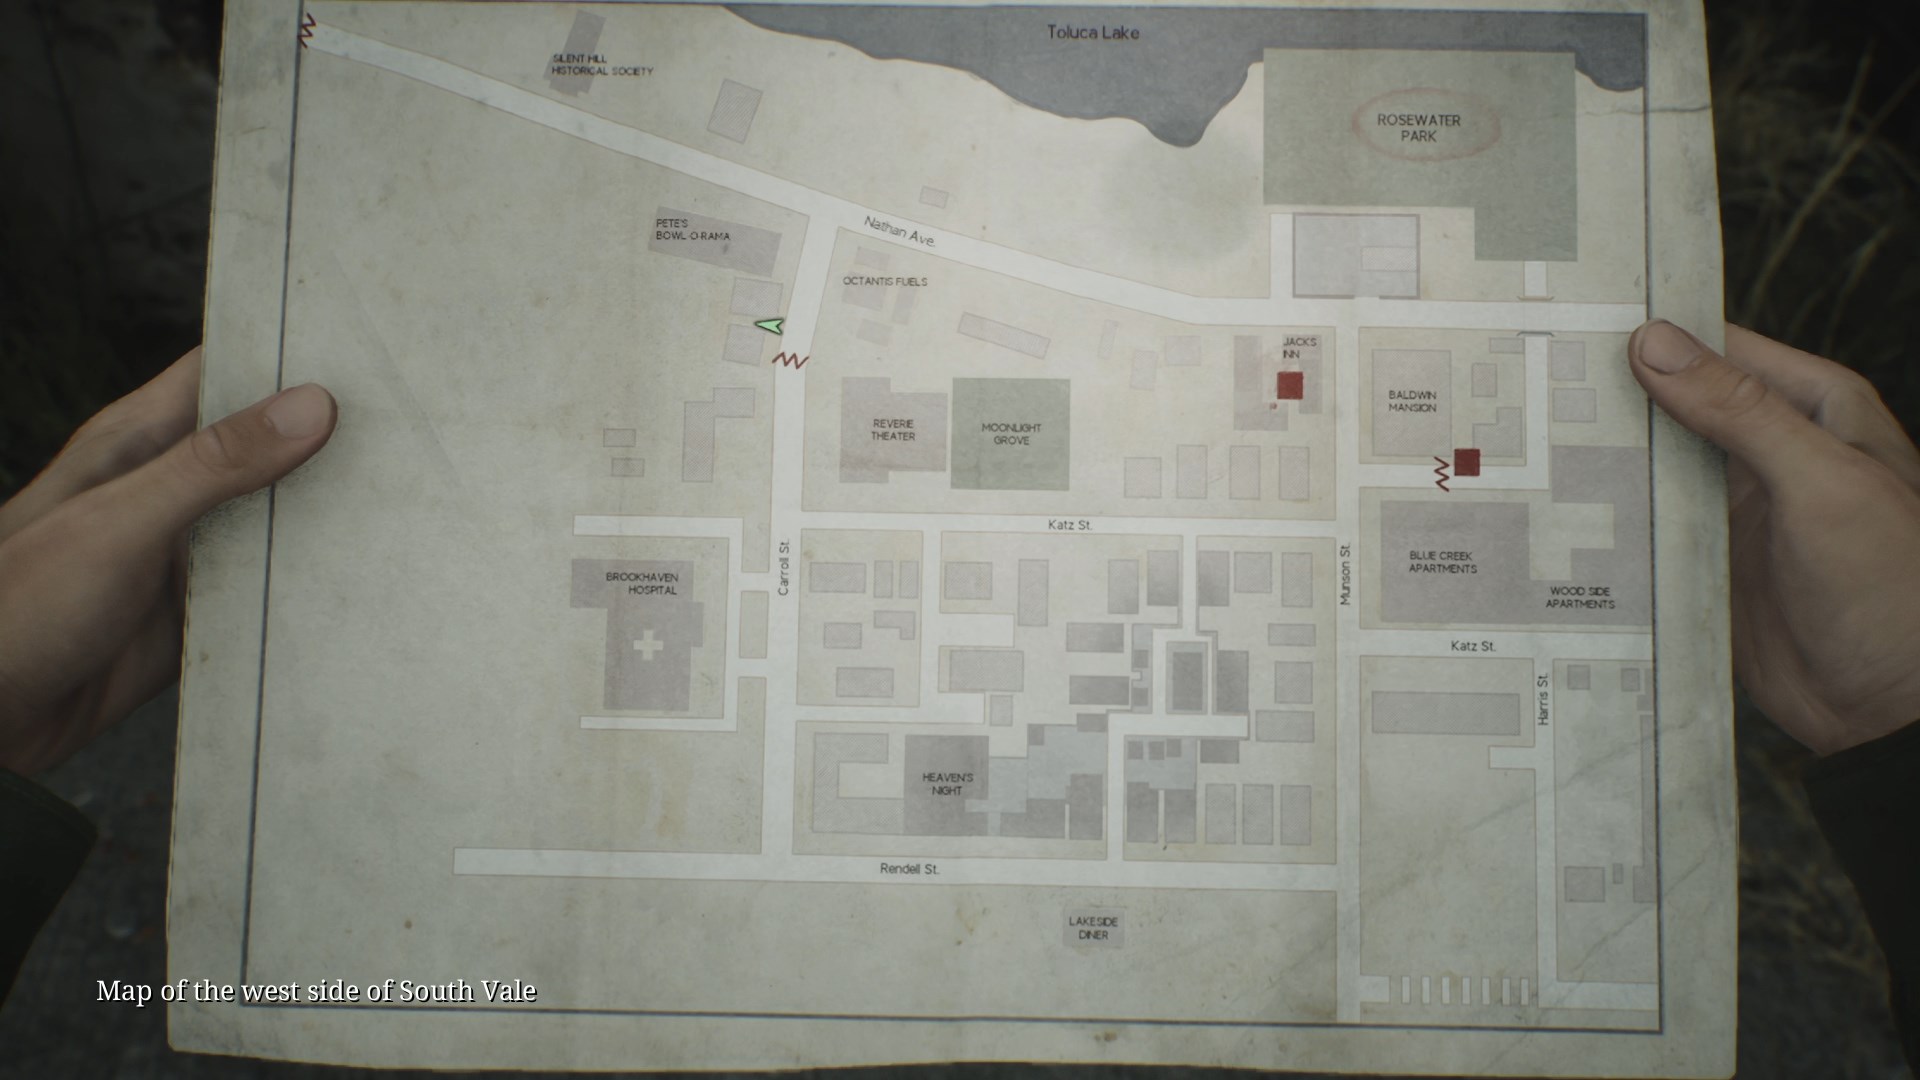
Nathan Avenue
First, you can check a parking lot south of Rosewater Park. There's a Health Drink in the passenger's seat in a green car in the corner. Then, check the jack underneath the garage door. There's no way to get inside for now – you must find a jack lever first.
Now, let's explore Nathan Avenue. On the north side of the street, just west of Jacks Inn, you can get a Syringe in the first aid kit box stored in the SUV's back. Beware of a Mannequin, though, that guards this stash. Continue west until you reach the Octantis Fuels gas station. In the back lot of the station, you can get a Health Drink in the driver's seat of the green SUV, Handgun Ammo in the trunk of the same SUV and 39 Garage Jack Lever underneath the green car.
Once you take the item, you will be attacked by a Mannequin, a Creeper and two Lying Figures. Another Lying Figure will appear in front of the station's building. Taking a short detour onto Carroll St., you can find Glimpse of the Past #9 by inspecting a barred door at the end of the long stairs between the houses south of Pete's Bowl-O-Rama. This door used to be the Heaven's Night nightclub entrance in the original Silent Hill 2.
 |
 |
If you need all collectibles, you must go to the west end of Nathan Ave. Run to the locked Silent Hill Historical Society first to find a Health Drink in the red SUV's trunk and Handgun Ammo in the driver's seat of the green car parked outside. Nearby, you will have a Lying Figure and a Creeper roaming the street. Make your way to the west end of Nathan Ave., where you will find Memo #22: Bloody Note and more Handgun Ammo next to a corpse.
 |
 |
Let's return and come back to the garage, but first, you can visit another place.
Pete's Bowl-O-Rama
On your way back, you can explore Pete's Bowl-O-Rama and its surroundings. In the bowling alley parking lot, you can find Handgun Ammo in the red SUV's trunk east of the building. Enter the building. There's Handgun Ammo on a shelf behind the counter in the main hall, a Save Point and a note on a table in the employee room.
 |
 |
New Game+ Item: Rusted Key / Cryptic Letter |
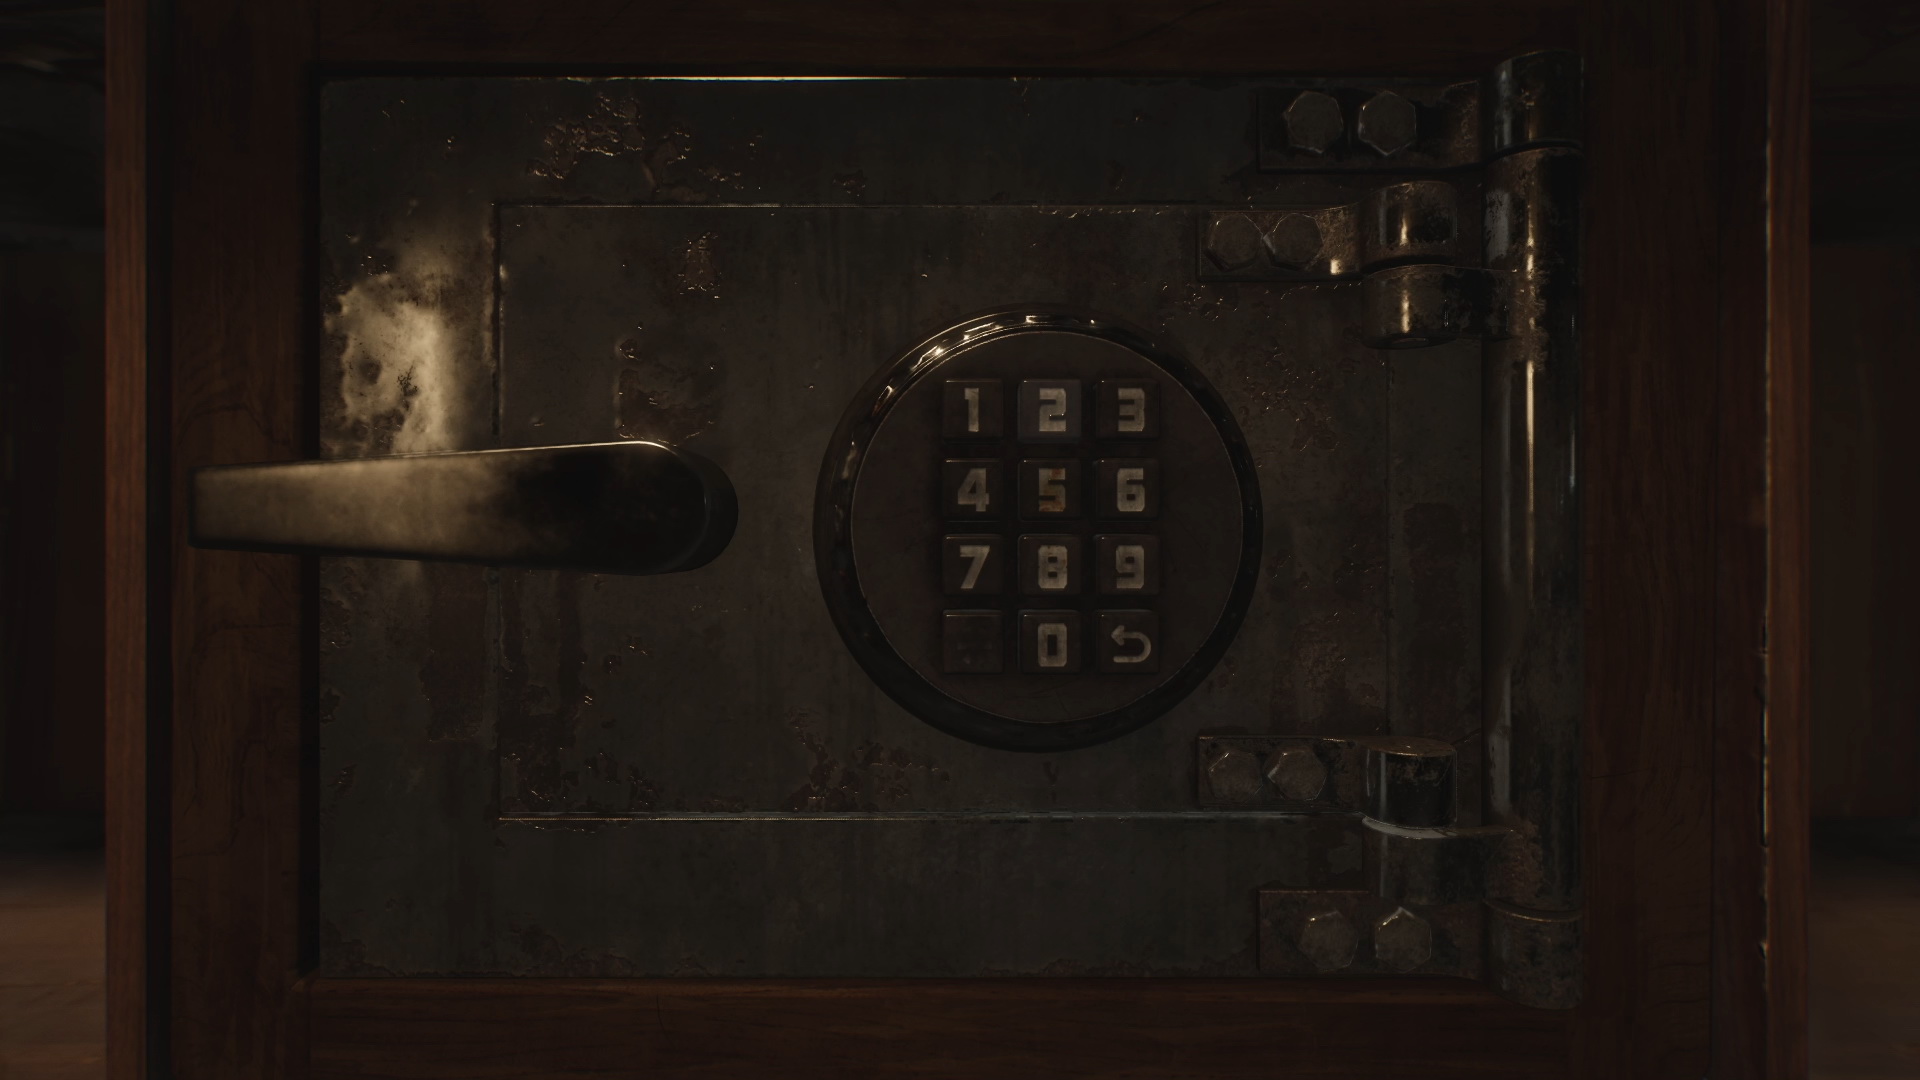
E6 Rusted Key / Memo: Cryptic Letter. In Pete's Bowl-O-Rama, there's a safe that becomes available during New Game+. The code for the safe is 1887, which you can learn from the memo by the corpse at the west end of Nathan Ave. Inside the safe, you will find a key to use later in the game and a letter hinting at the location of the secret item. |
Inspect a box with pizza leftovers on the bowling alley countertop for the Glimpse of the Past #10. The famous dialogue line belonged to James in the original Silent Hill 2 when he met Eddie at the bowling alley. You will also get the Leftovers trophy/achievement.
 |
 |
There's more Handgun Ammo at the end of the last bowling lane next to messy clothes and mops. There is nothing else to see here, so let's exit the building.
Make your way back to the garage on Nathan Ave.
Garage
Stick the Garage Jack Lever and use it to crawl inside the garage. You can unlock the door to let Maria in or ignore her request. Inside, find Strange Photo #8: "Made it!" on a red tool cabinet beside an elevated car.
 |
 |
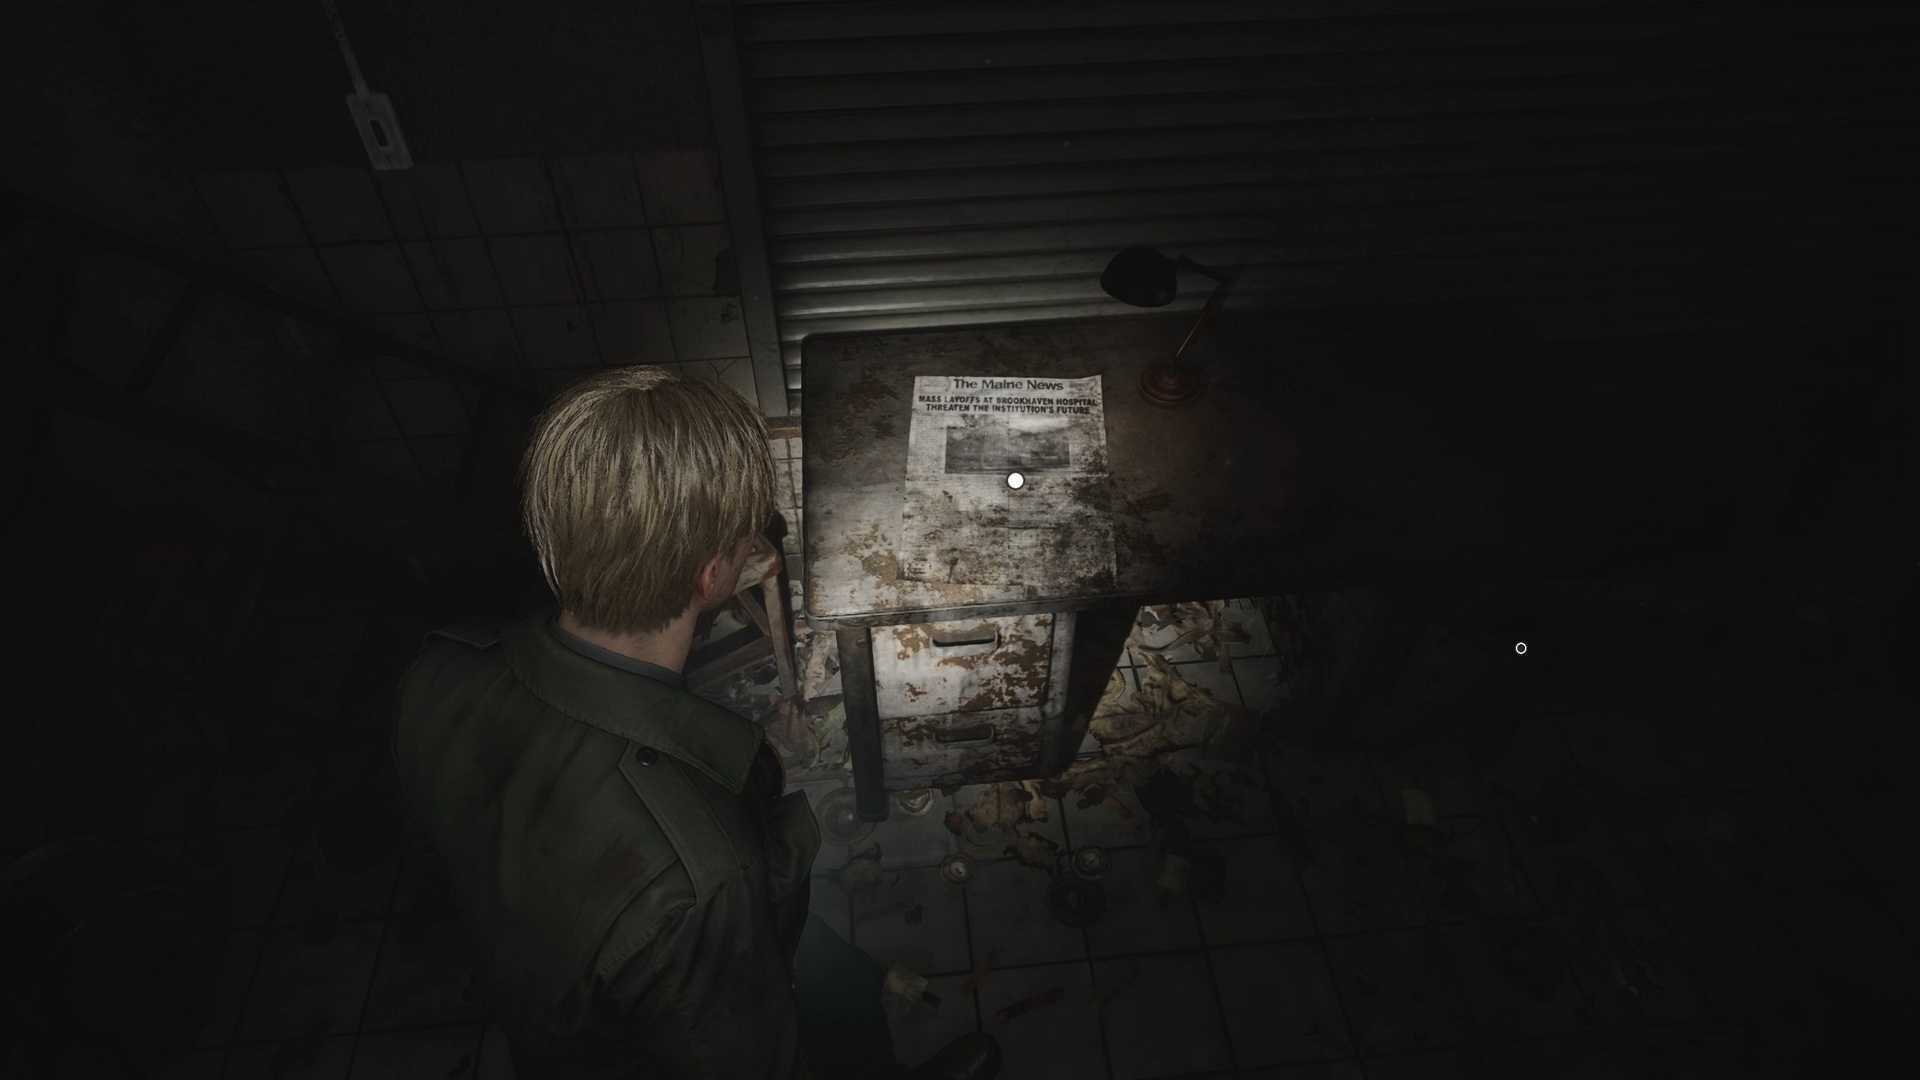
You can find Handgun Ammo on the workbench, a Syringe in the first aid kit on a shelf to the right of the bench, more Handgun Ammo on a shelf on the other side of the garage, a newspaper on a desk and another box of Handgun Ammo in the desk's drawer.
 |
Exit the garage and head to Jacks Inn to proceed with the game.
Jacks Inn
You can find a Save Point on the car's trunk in the motel parking lot. The gate on the other side of the parking lot is locked, so there is no way to get through yet. Go to the reception area of the motel to find a locked safe and Memo #23: Reception Desk Note on the bulletin board.
 |
 |
The message is clear – check room 107. Outside, you can check room 106 first, which is the last one on the ground level. James doesn't like the room so much, so let's quickly grab Handgun Ammo in the TV cabinet and a Health Drink on the chair by the table and get out of it.
Go upstairs and smash a window to get inside room 108. You can let Maria inside or ignore her. Break the wall into room 107. On the nightstand, you can find a Health Drink and Memo #24: Toolbox Memo on a table by the window. There's more Handgun Ammo in the closet.
 |
 |
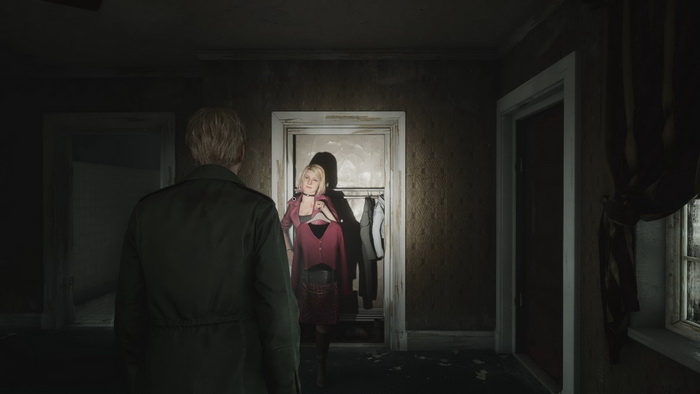
Return to room 108. Maria is not quickly bored, and she has already found a new outfit in the room's closet. Choose whether to comment on this or ignore her.
Get outside and return to the motel reception to solve a puzzle.
Puzzle: Jacks Inn Safe Code

The code for the safe is learned from the Toolbox Memo, and its text will be different on different riddle difficulty levels.
Light
The memo will look like:
Gotta remember:
No money four the fifth onesie.
The message is quite simple:
- no money = 0
- four = 4
- fifth = 5
- onesie = 1
The code is 0451.
Standard
The memo is a bit more complicated and you will need to do some simple math:
one one less,
three one more,
eight three less,
zero one more
The logic is as follows:
- 1 - 1 = 0
- 3 + 1 = 4
- 8 - 3 = 5
- 0 + 1 = 1
The code is 0451.
Hard
This one will not be as easy. The memo is lengthy:
feels like we're stuck
she says its gonna be fine
but the math don't lie
the numbers are all there:ALL ROOMS need to be refurnished
then we gotta MULTIPLY that by the cost of labor
then there's the plumbing in the ROOMS UPSTAIRS
I swear, there are TIMES when I just wanna give up
I'm not THIRTY THREE anymore
if we can make it all ADD up
maybe there's hope for the FIVE of usXXXX
Let's decipher the encrypted message and look for the words emphasized in uppercase:
- ALL ROOMS = 8 rooms in the motel
- MULTIPLY = ×
- ROOMS UPSTAIRS = 2 rooms
- TIMES = ×
- THIRTY THREE = 33
- ADD = +
- FIVE = 5
The equation will look then like this:
- 8 × 2 × 33 + 5 = 533
This combination doesn't work, though, so what gives? Well, the four Xs at the bottom imply that there are four digits. With no other number in the message, let's add a zero at the beginning and get the final code 0533.
The reward waiting for you inside the safe is the 40 Gate Key. Grab it and prepare to save a damsel in distress, Maria, who has been attacked by a Mannequin. Save her and then check the now-open storage room to find a Health Drink inside. It's time to leave the motel. Go to the gate and open it with the Gate Key.
Munson and Katz Street
Across the street, you can check Baldwin Mansion. You will find Handgun Ammo in the front yard on a wooden table to the right of the entrance. Disturbed Maria will have her remarks about the place on your way out.
New Game+ Item: White Chrism |
Turn onto Katz St. More Handgun Ammo is on the second house's porch bench on the street's north side.
New Game+ Item: Broken Key Part |
Escaping the Monsters
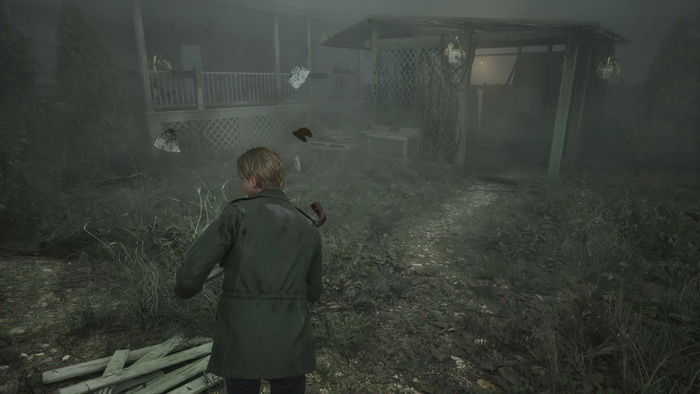
Proceeding further down the street will lead you to another chasm with no way to go. A cutscene will follow, and a horde of Lying Figures will ambush you. James and Maria will go through a nearby gate, and James will block it with his Wooden Plank, replacing it with a 41 Steel Pipe he conveniently snatches from a car's hood nearby.
An intense action sequence will follow with multiple monsters in the area. Do not try to fight them all; follow the quickest route: keep to the right side of the path. Some supplies are in the area, but you might want to skip them to stay safe. Before you follow the right path, you can snatch Handgun Ammo in the back of a pickup truck to the left and more Handgun Ammo in the passenger's seat of a green station wagon to the right. Run along the path to the right until you see a shed with a lit-up lamp.

Be careful in the shed, as a Mannequin will ambush you from behind. There's also another box of Handgun Ammo on a shelf. Proceed further. There's more Handgun Ammo on a round table in front of a house surrounded by more enemies to the left, so it's not really worth it. Look for an open green garage and proceed through it, avoiding or fighting another Mannequin.

Finally, you will see another shed with a light and a fence where you can move the plank and escape safely.
After a short walk, Maria will kindly let you enter the Heaven's Night nightclub.
Heaven's Night
Let's enjoy the respite and explore the area. There's a Syringe in the first aid kit on a shelf in the kitchen. In the corner of the dressing room, there's Handgun Ammo on the countertop and Strange Photo #9: “Ready to kill it!” attached to the last mirror on the left.
 |
 |
In the next corridor, you can find more Handgun Ammo in the right green locker and a Health Drink in a first aid cabinet on the opposite wall. Enter the main area of the club for a cutscene.
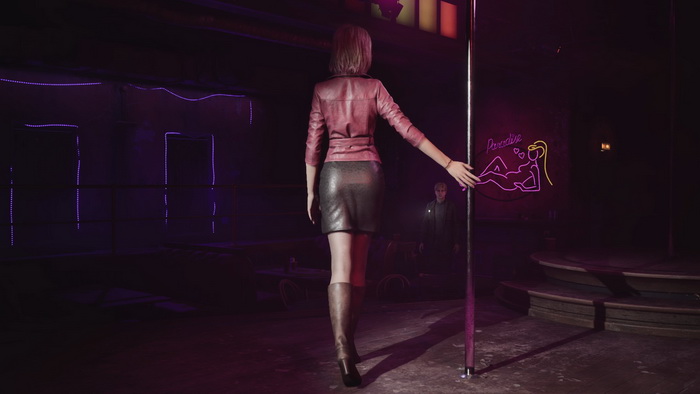
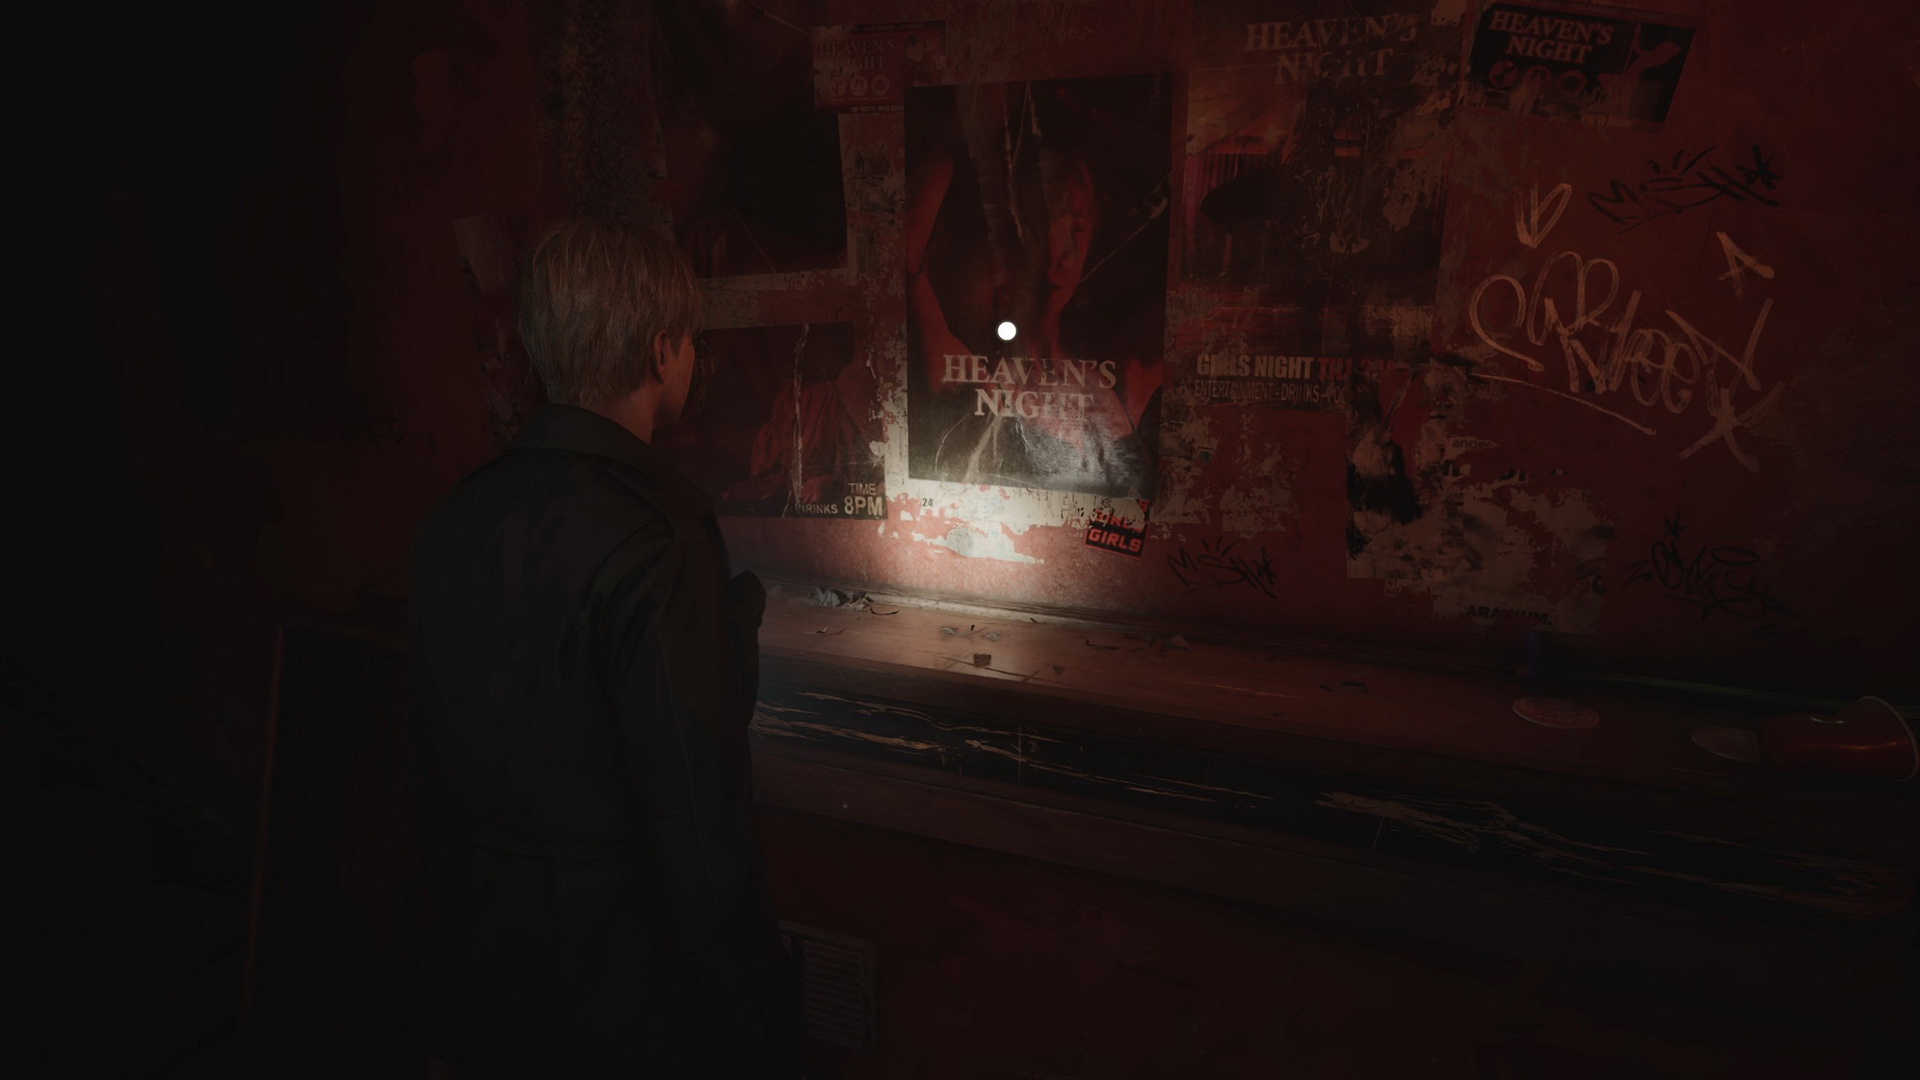
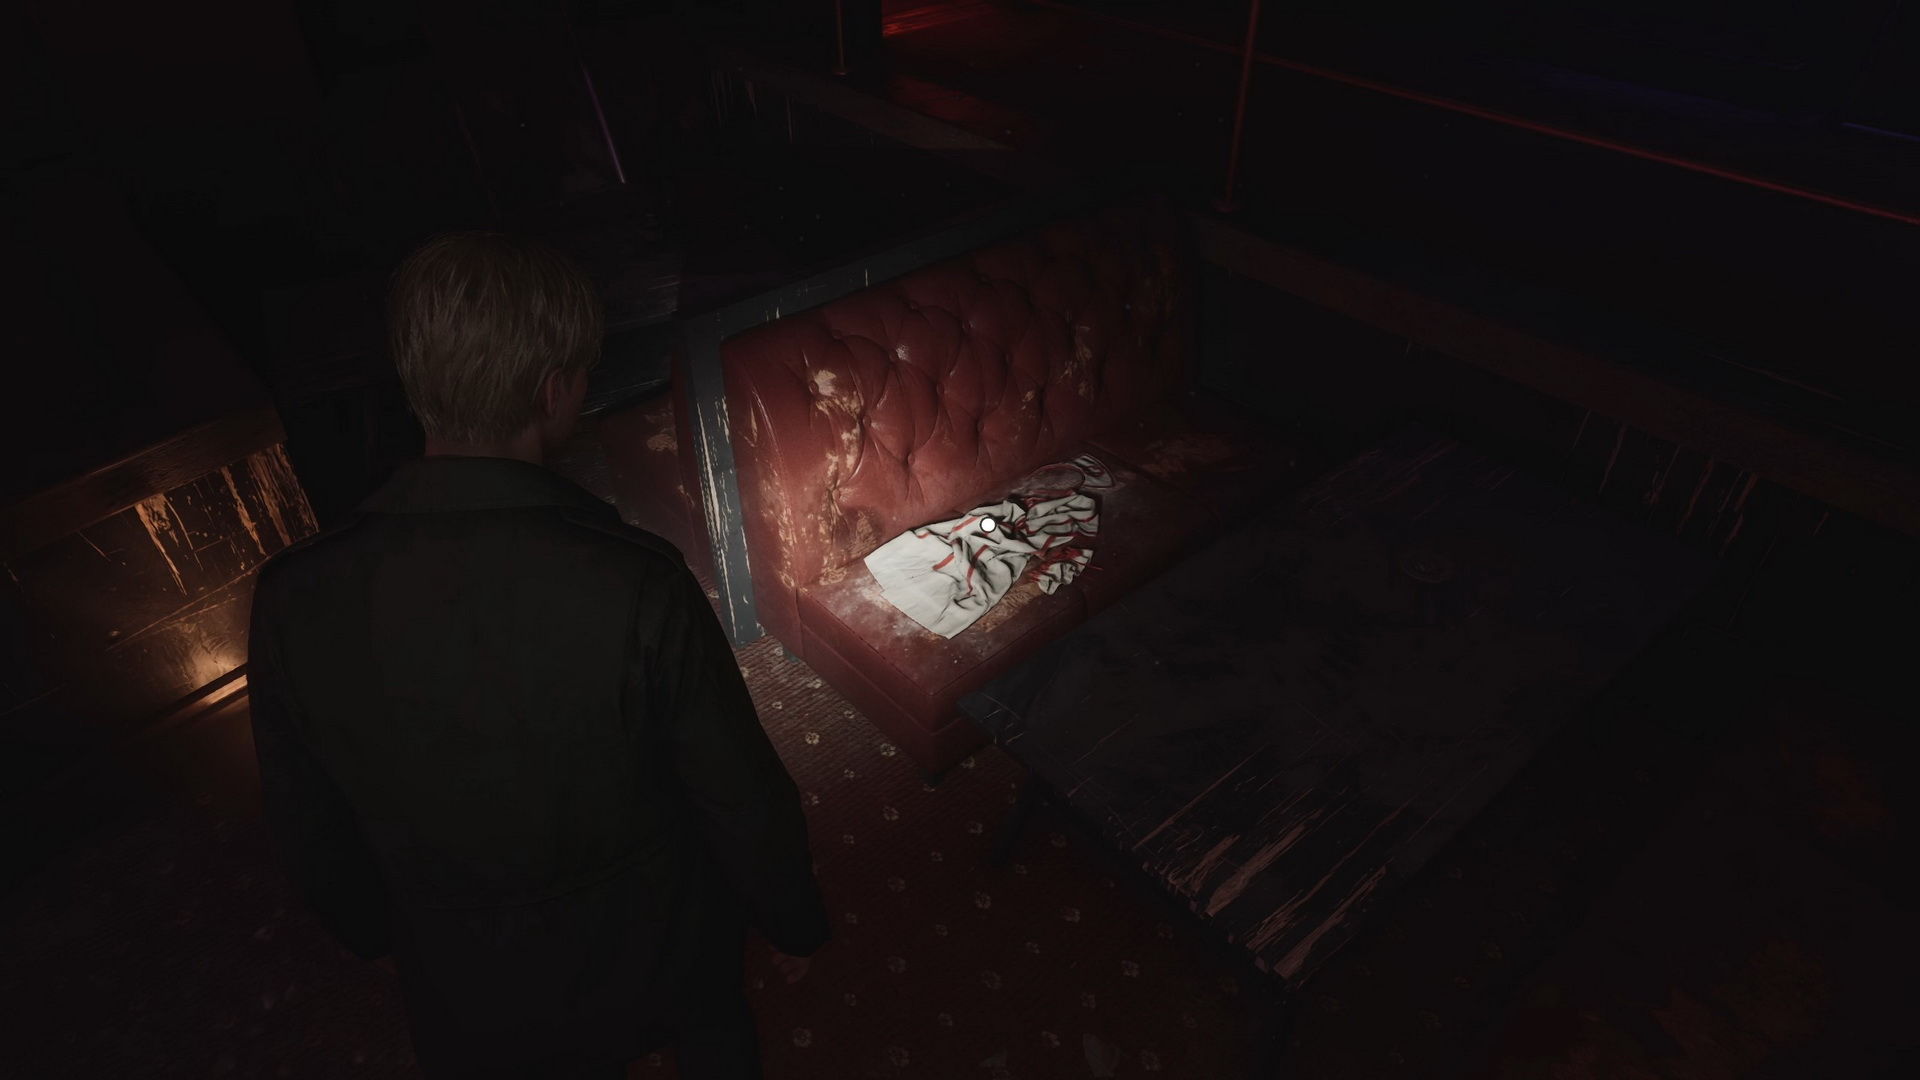
After the cutscene, you can continue to explore, and there are quite a few things to check out here. First, there's a Save Point on a wooden podium. Then there are seven objects that you can inspect to get more points towards one of the main endings – read more in the Endings section: 4 posters around the save point, a sexy nurse outfit on a banquette to the right of the pole, a bottle of whiskey behind the bar counter and a lost and found bin at the right end of the bar.
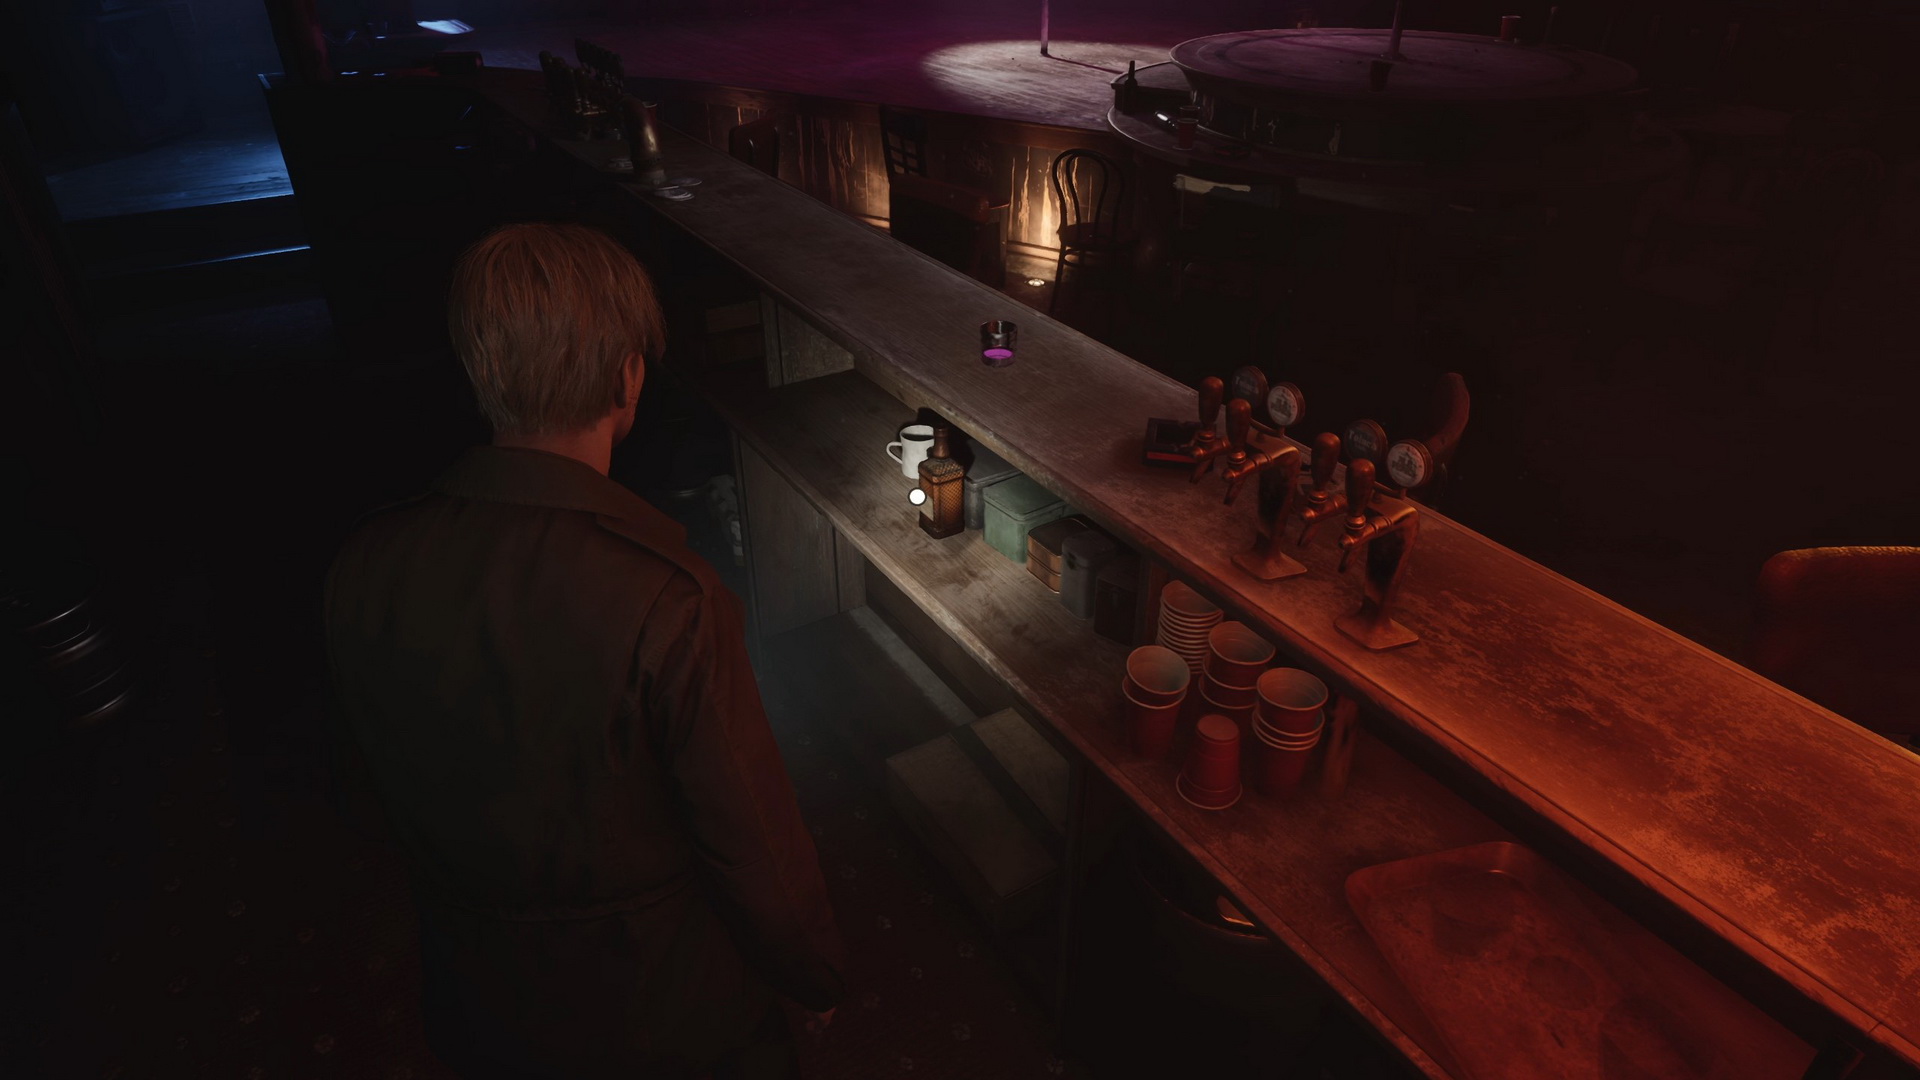
|
There are also two posters behind the scene to check, and you can approach the dancing pole to get a witty remark from Maria. After you're done exploring, let Maria know that and exit the nightclub.
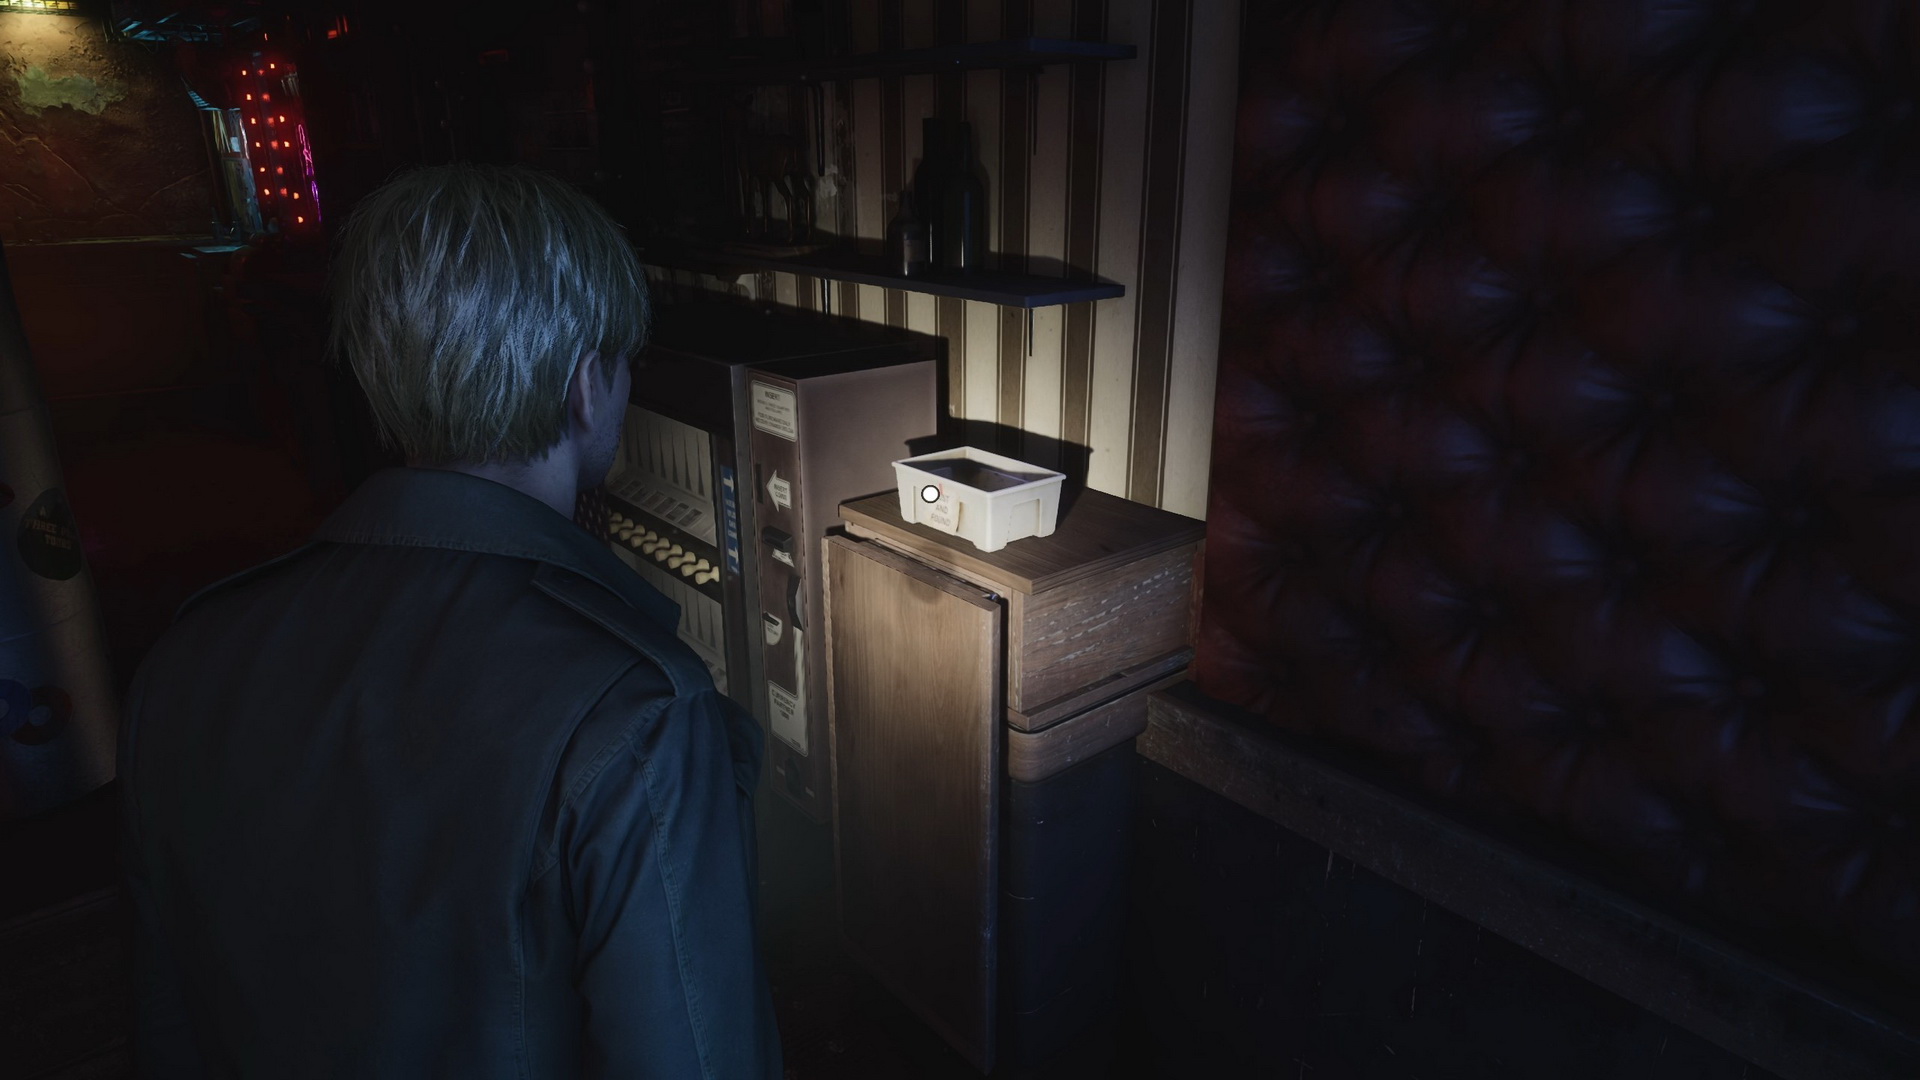
The Special Place
In the back alley, you can take a little detour to the left to find Handgun Ammo on a basement window sill guarded by a Mannequin. There's more Handgun Ammo in the back of the green station wagon in the parking lot. Go east until you see the "NO PARKING GARAGE" label with an arrow on the wall, and take that route to get back onto Katz St. You will find yourself on the other side of the chasm you could not cross earlier. Cross the street and enter Moonlight Grove through the gate.
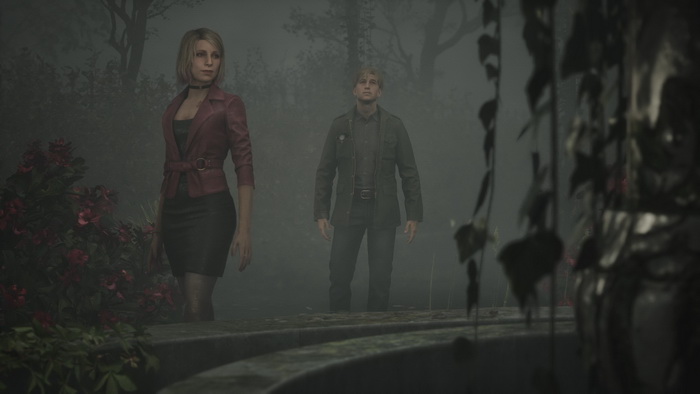
Moonlight Grove
Follow Maria for another cutscene. That is the special place that Maria was having in her mind.
After the cutscene, we must investigate the source of a girl's scream. Before leaving the park, though, take the southern path to find Strange Photo #10: "Church entrance" on the fountain and a Health Drink on a bench to the right.
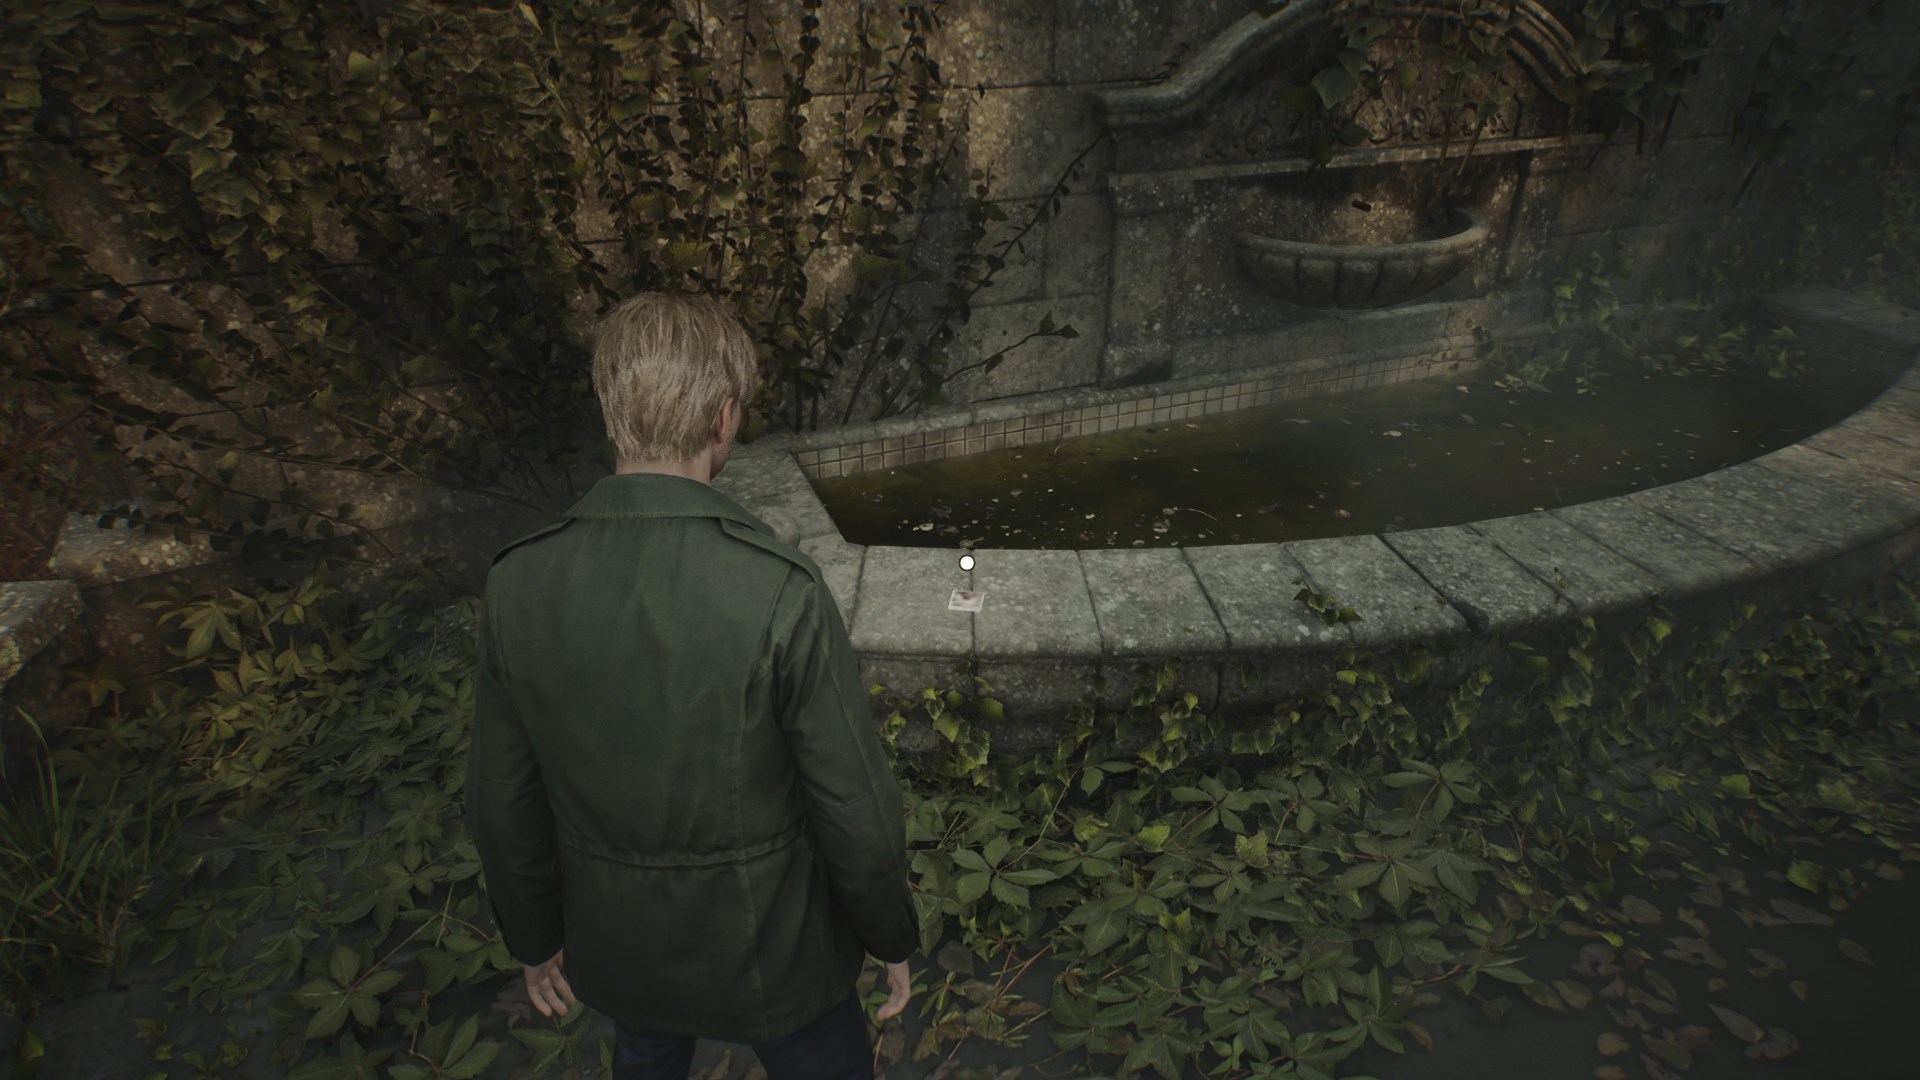 |
 |
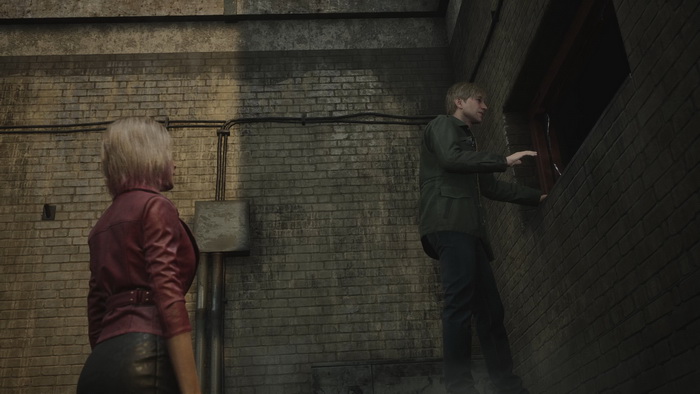
Proceed through the northern path and exit the park. Through a high, open window, enter the Reverie Theater, and James will leave Maria behind.
Reverie Theater
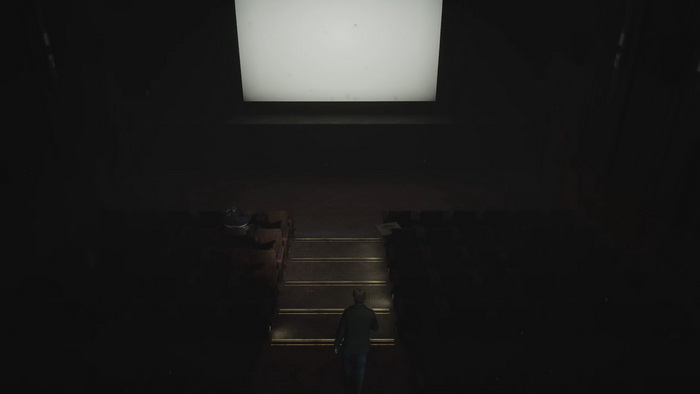
Grab Handgun Ammo from the top drawer as soon as you drop down. Then, you can listen to the conversation of our previously met acquaintances sitting in the auditorium. Push the wardrobe, blocking the room's door and exit. Before you enter the auditorium, you can find two boxes of Handgun Ammo in the main lobby restrooms: one box in the last stall in the left restroom and another one on the vanity countertop in the right restroom. Proceed to the auditorium.
After the cutscene, find Strange Photo #11: “Best Flavor!” on one of the seat armrests behind Eddie.
 |
 |
Enter the next auditorium and go upstairs to the second level. Proceed through the projection room, squeeze between the shelves, moving the ladder out of your way, and then through the second projection room. Take the stairs down to the main lobby to see the fleeting girl. Exit the theater to be reunited with Maria.
Carroll St.
Before you chase Laura down the street, explore the street to find more supplies. At the north end of the street, grab Handgun Ammo from the driver's seat of a red sedan. A Health Drink can be found in the second ambulance in the northern parking lot of Brookhaven Hospital. Finally, a Syringe in a first aid kit sits on a bench to the left of the main hospital entrance. After you are done here, follow Laura into Brookhaven Hospital.
| 03. Blue Creek Apartments | 05. Brookhaven Hospital |