Glimpses of the Past
Glimpses of the Past is one of the collectibles in Silent Hill 2 Remake (2024), which references the original Silent Hill 2. There are 26 such special objects in the game. Finding their locations in a single playthrough unlocks the Echoes trophy/achievement. Beware that the Glimpses of the Past are not tracked anywhere in the game, so you need to track them manually.
Meaning
Many locations were redesigned in the remake, and many items no longer needed to be collected for progress or placed elsewhere in the game. Yet, these were introduced in the remake as a nod to the original Silent Hill 2 game in the form of familiar objects you can interact with.
Below, you will find the complete list of such objects with their locations in the game and comparisons with the original Silent Hill 2.
Contents
- Eastern South Vale
- Wood Side Apartments
- Blue Creek Apartments
- Western South Vale
- Brookhaven Hospital
- Otherworld Hospital
- Otherworld South Vale
- Toluca Prison
- Labyrinth
- Lakeview Hotel
- Ruined Hotel
Eastern South Vale
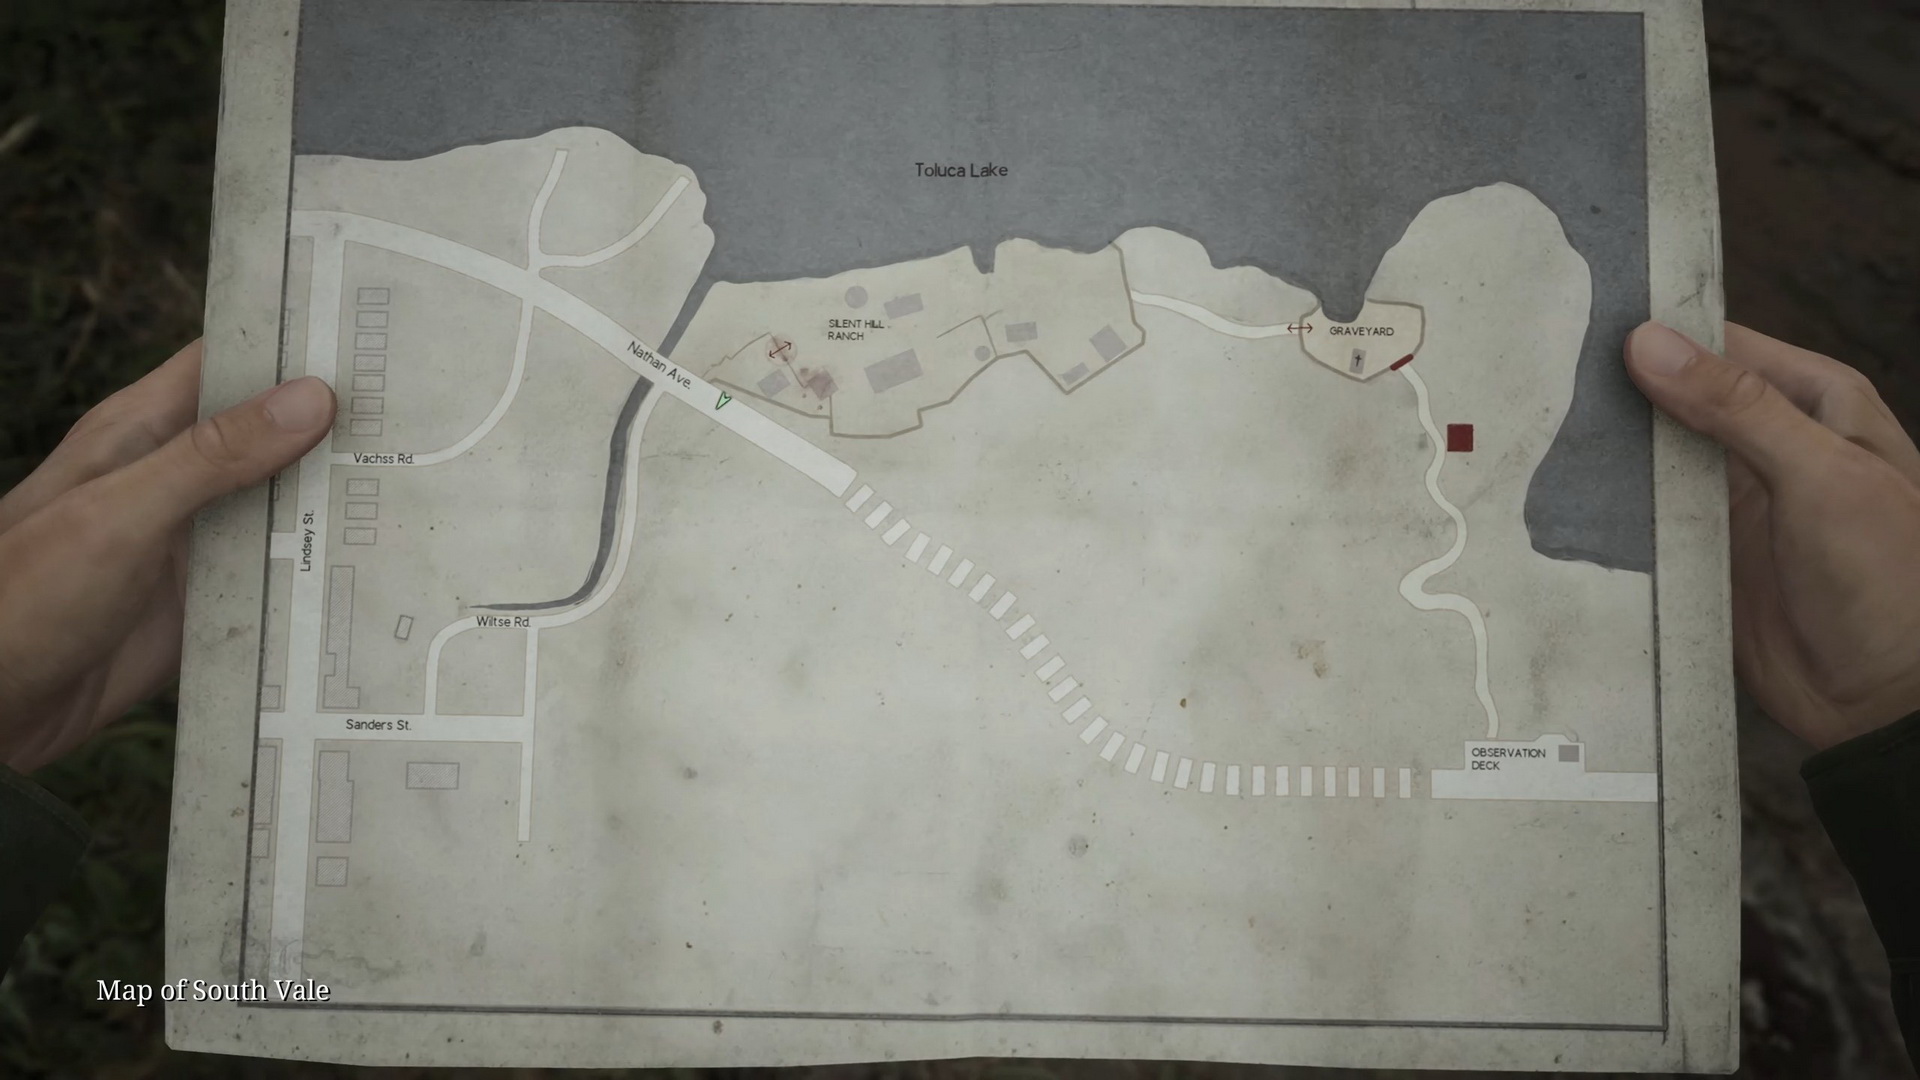
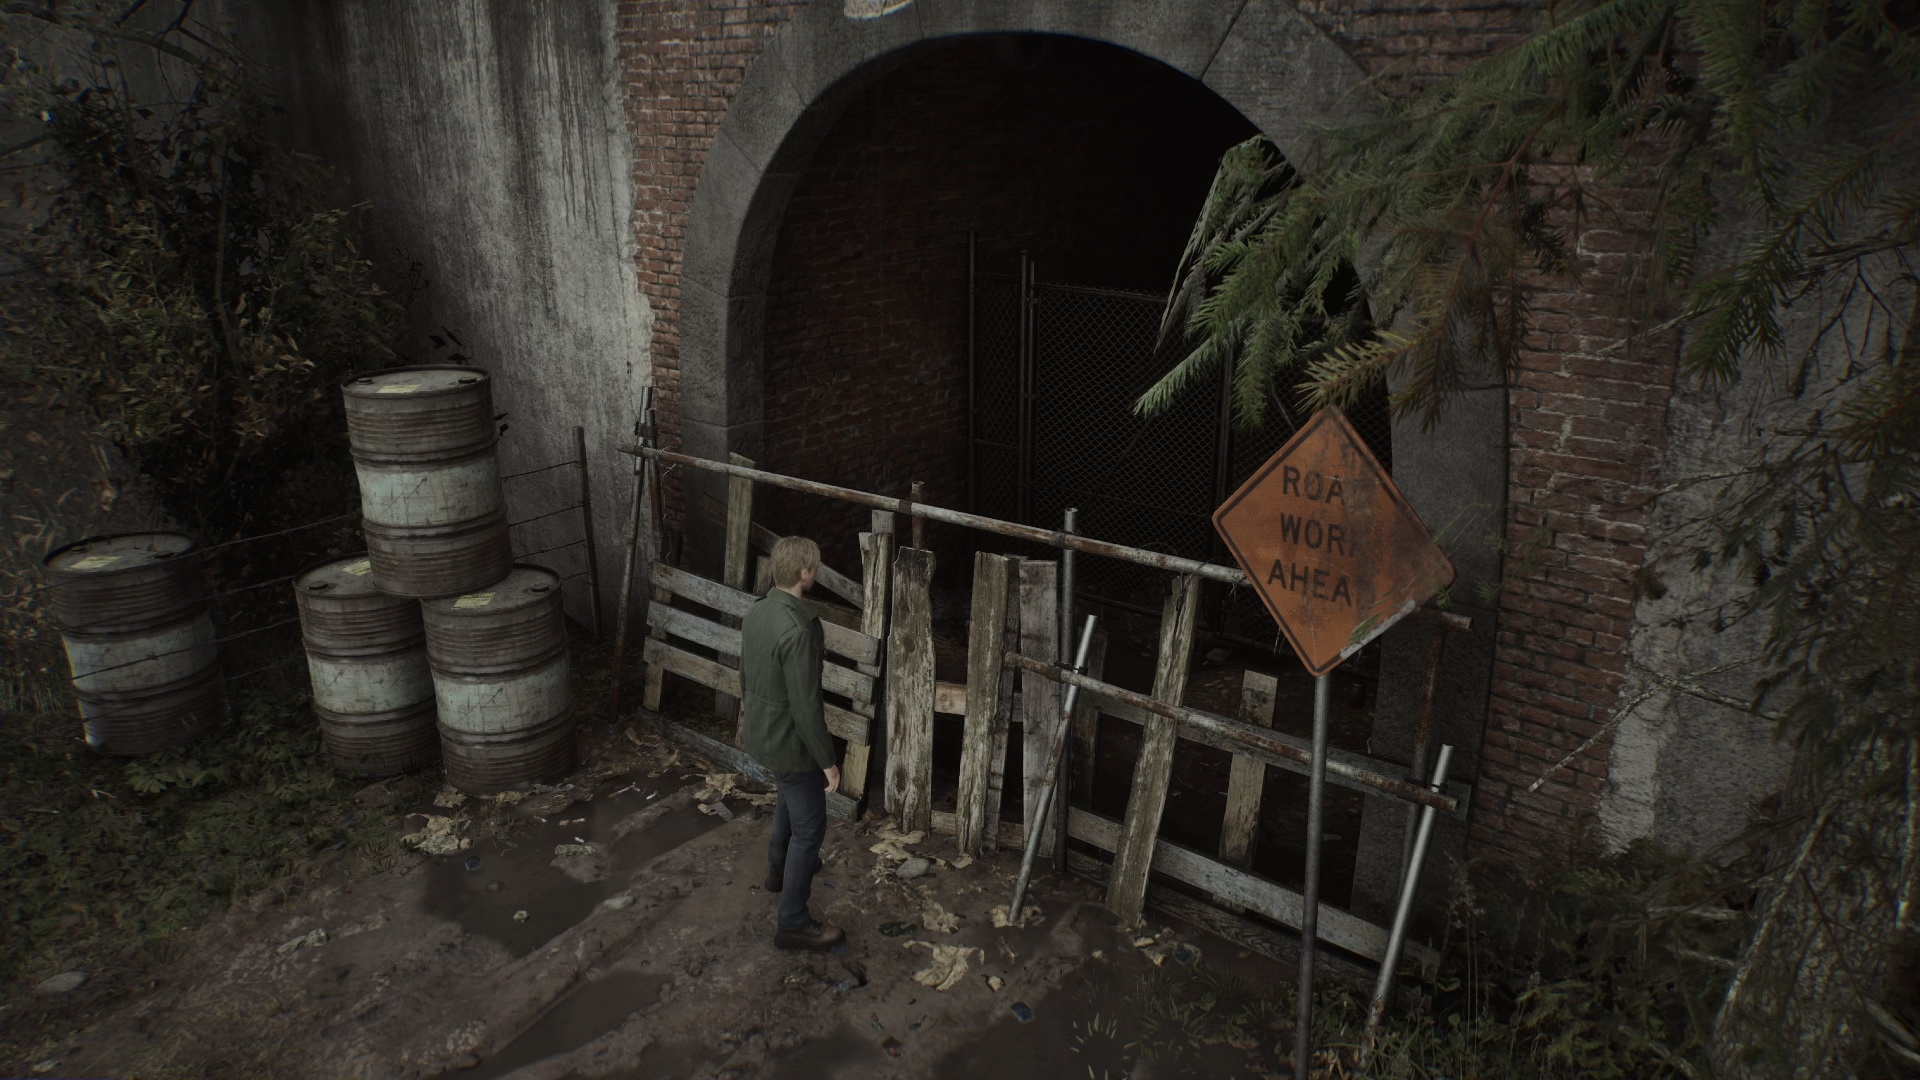
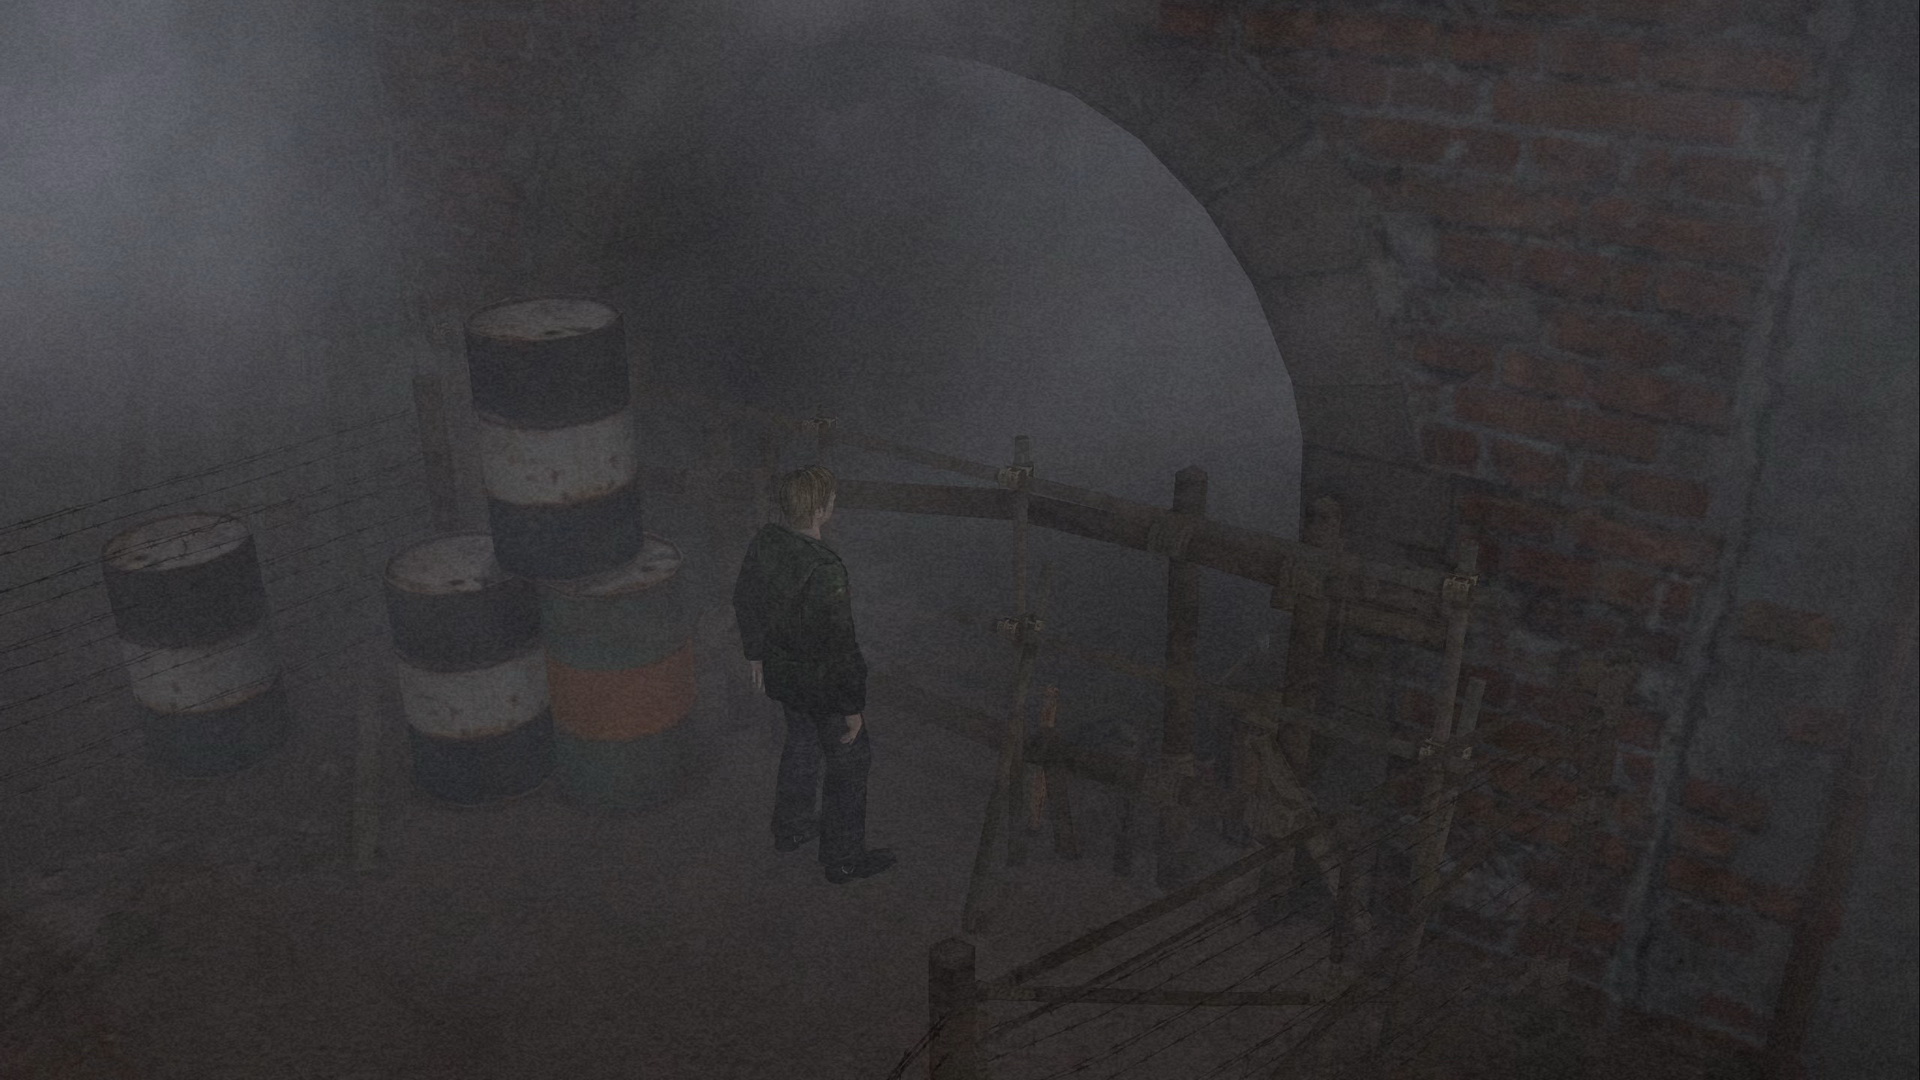
#1: Blocked Tunnel
Location: A barricaded tunnel under the road after leaving Silent Hill Ranch.
SH2 Reference: First monster encounter in the tunnel at the end of Vacchs Rd.
 |
 |
 |
|
 |
|
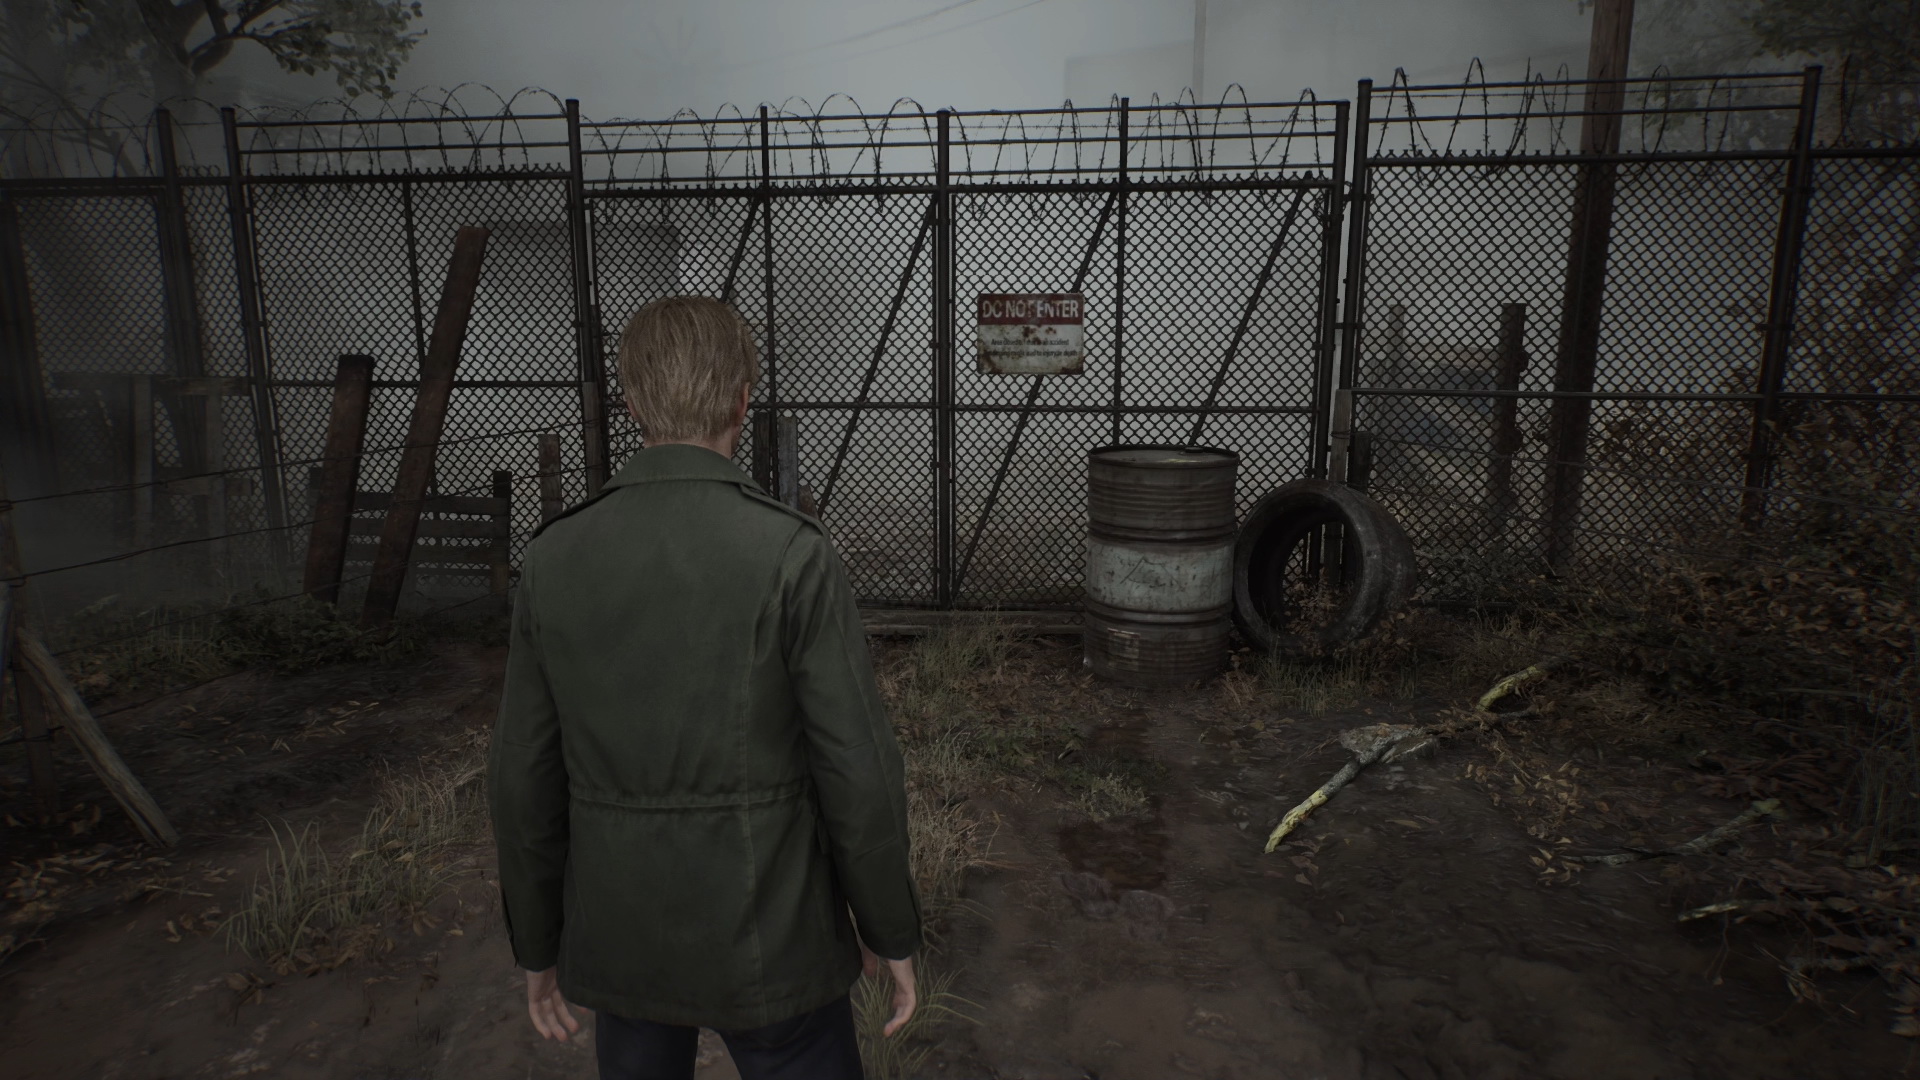
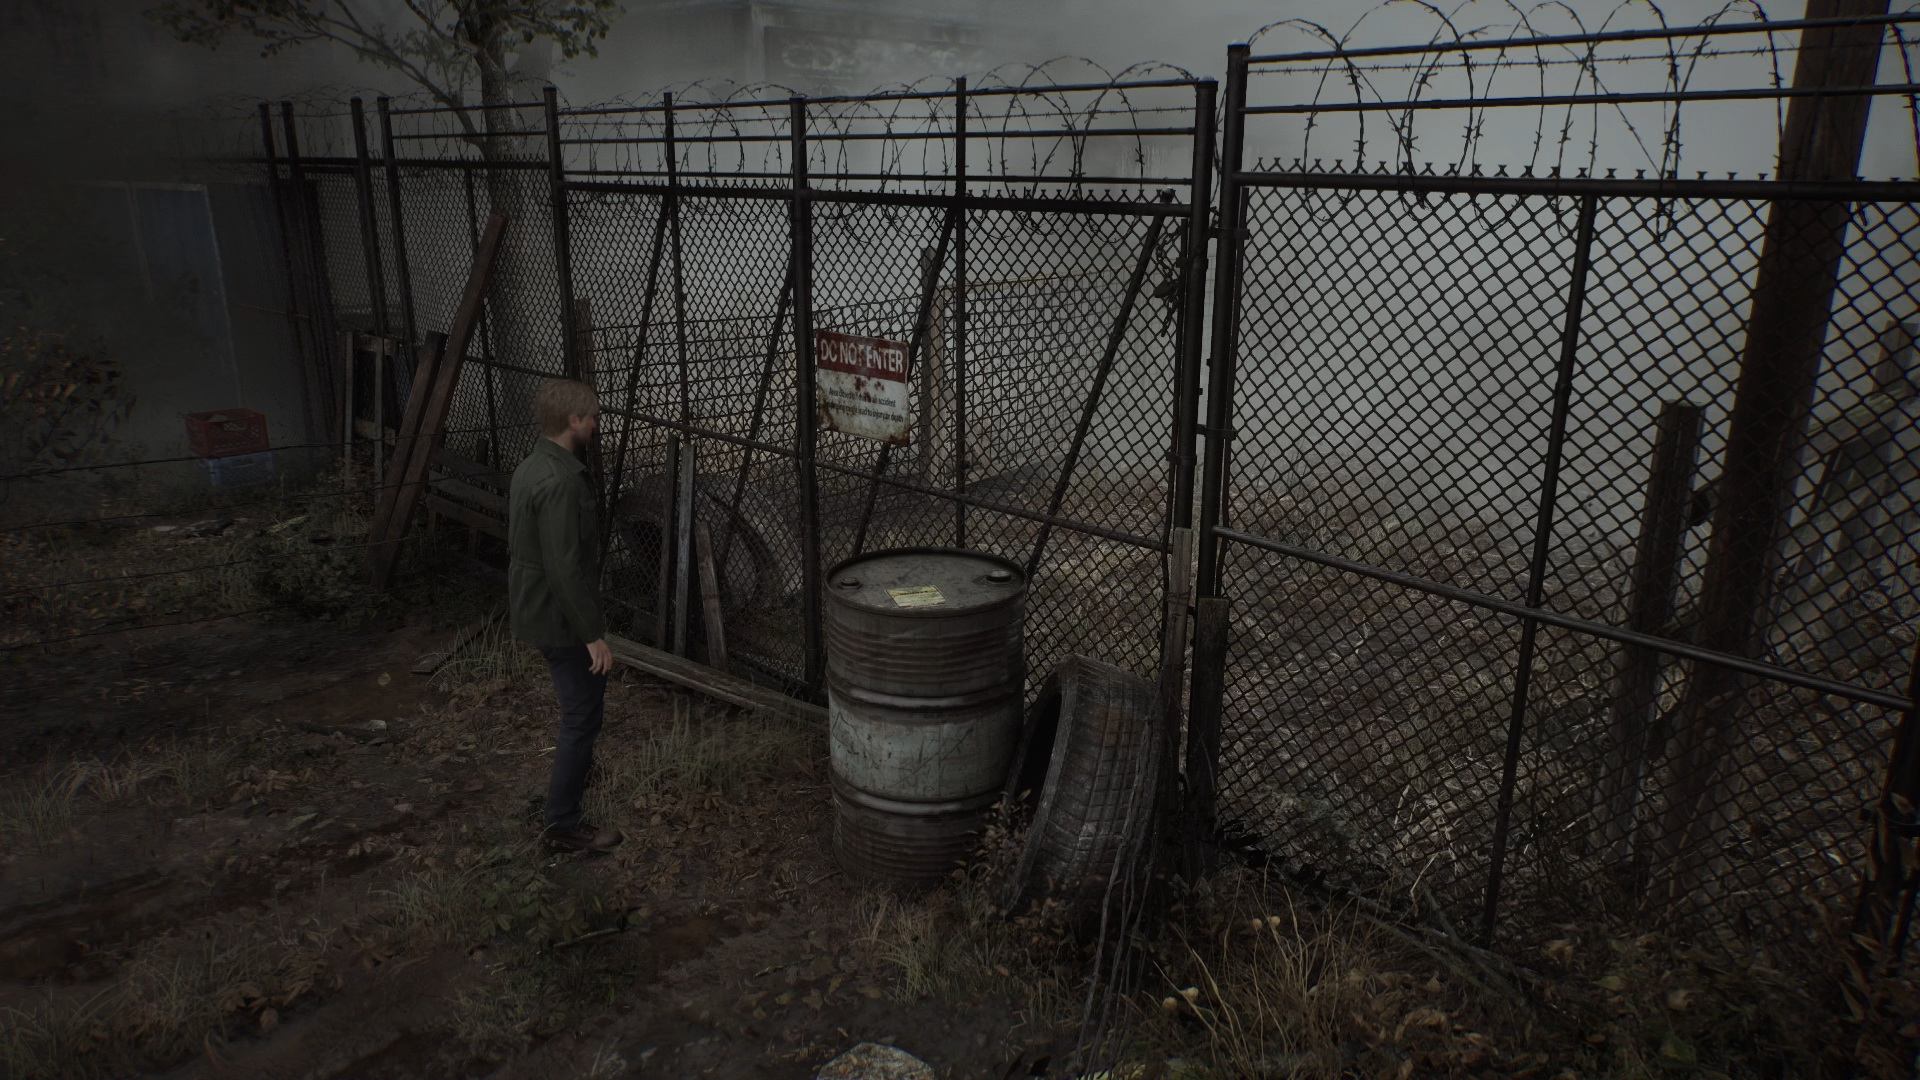
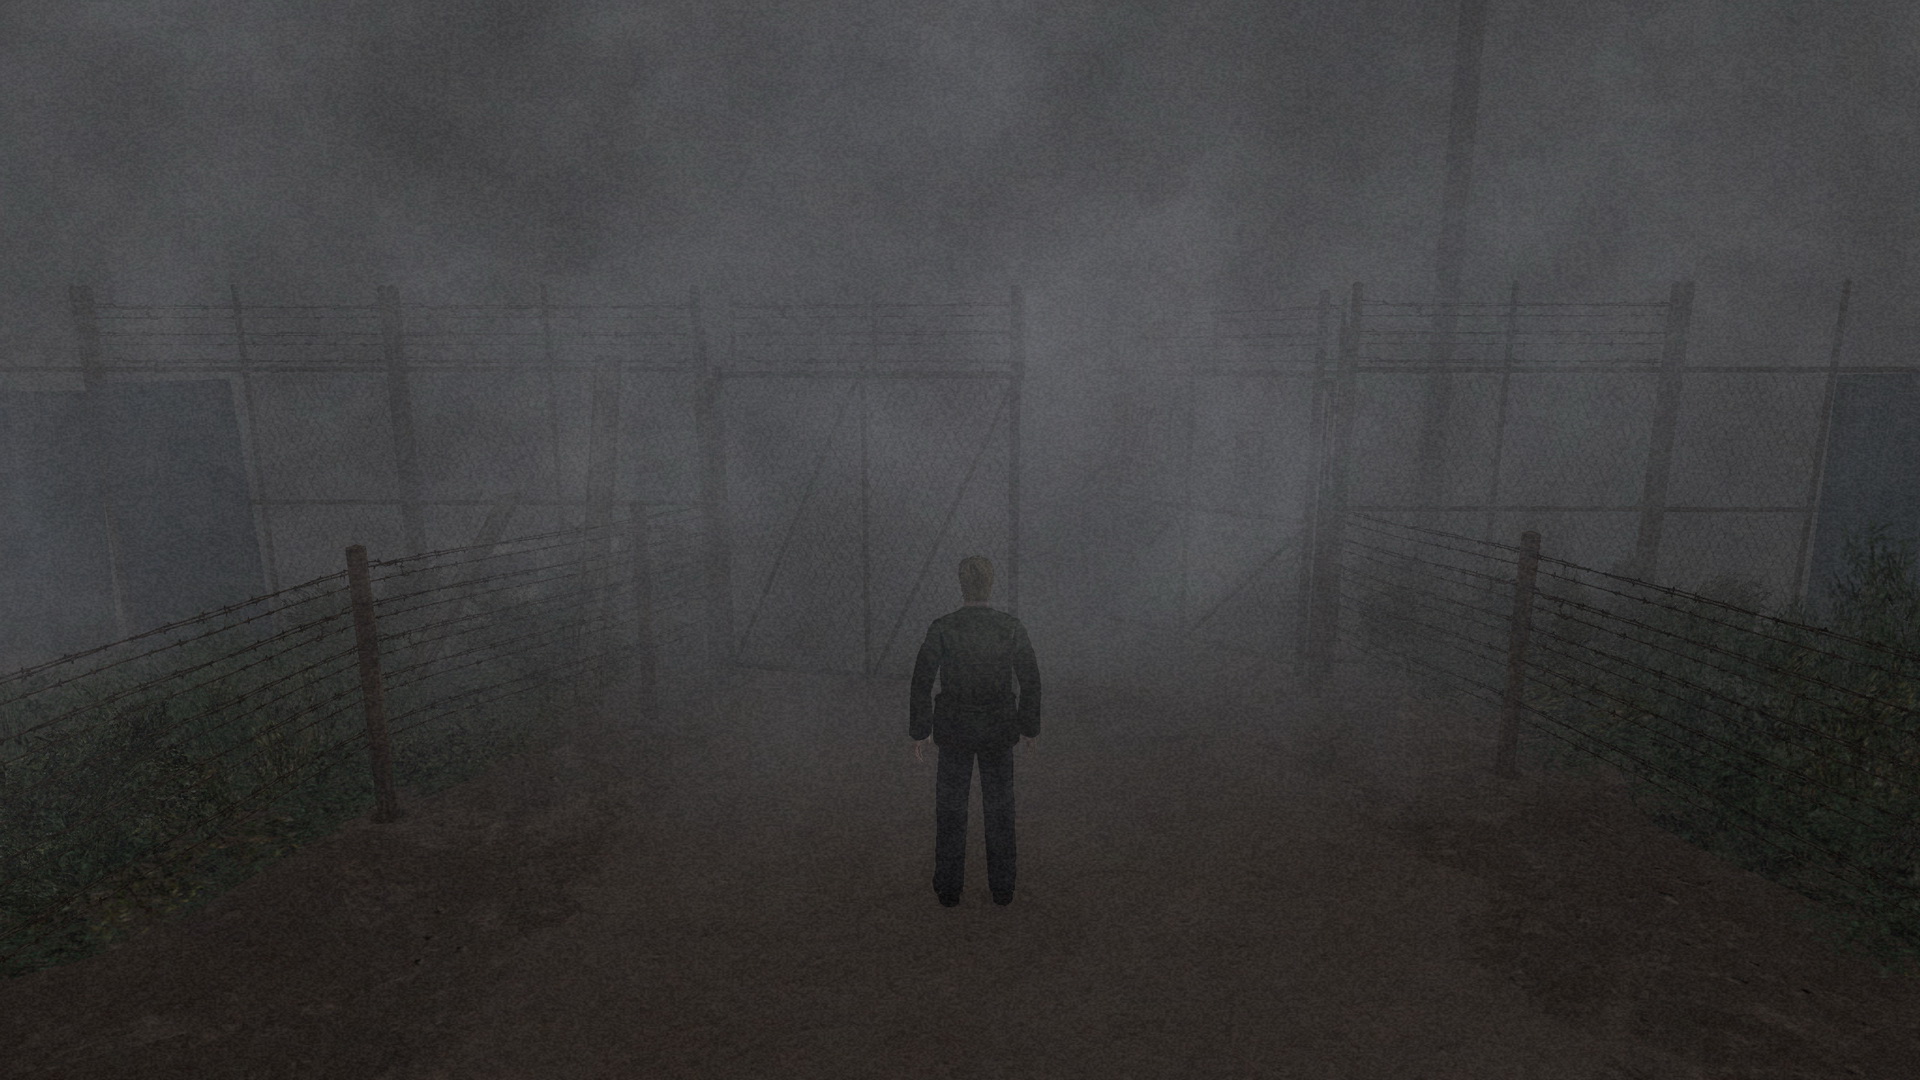
#2: Closed Gate
Location: A closed gate at Vacchs Rd.
SH2 Reference: The gate on the way to the tunnel at the end of Vacchs Rd.
 |
 |
 |
|
 |
|
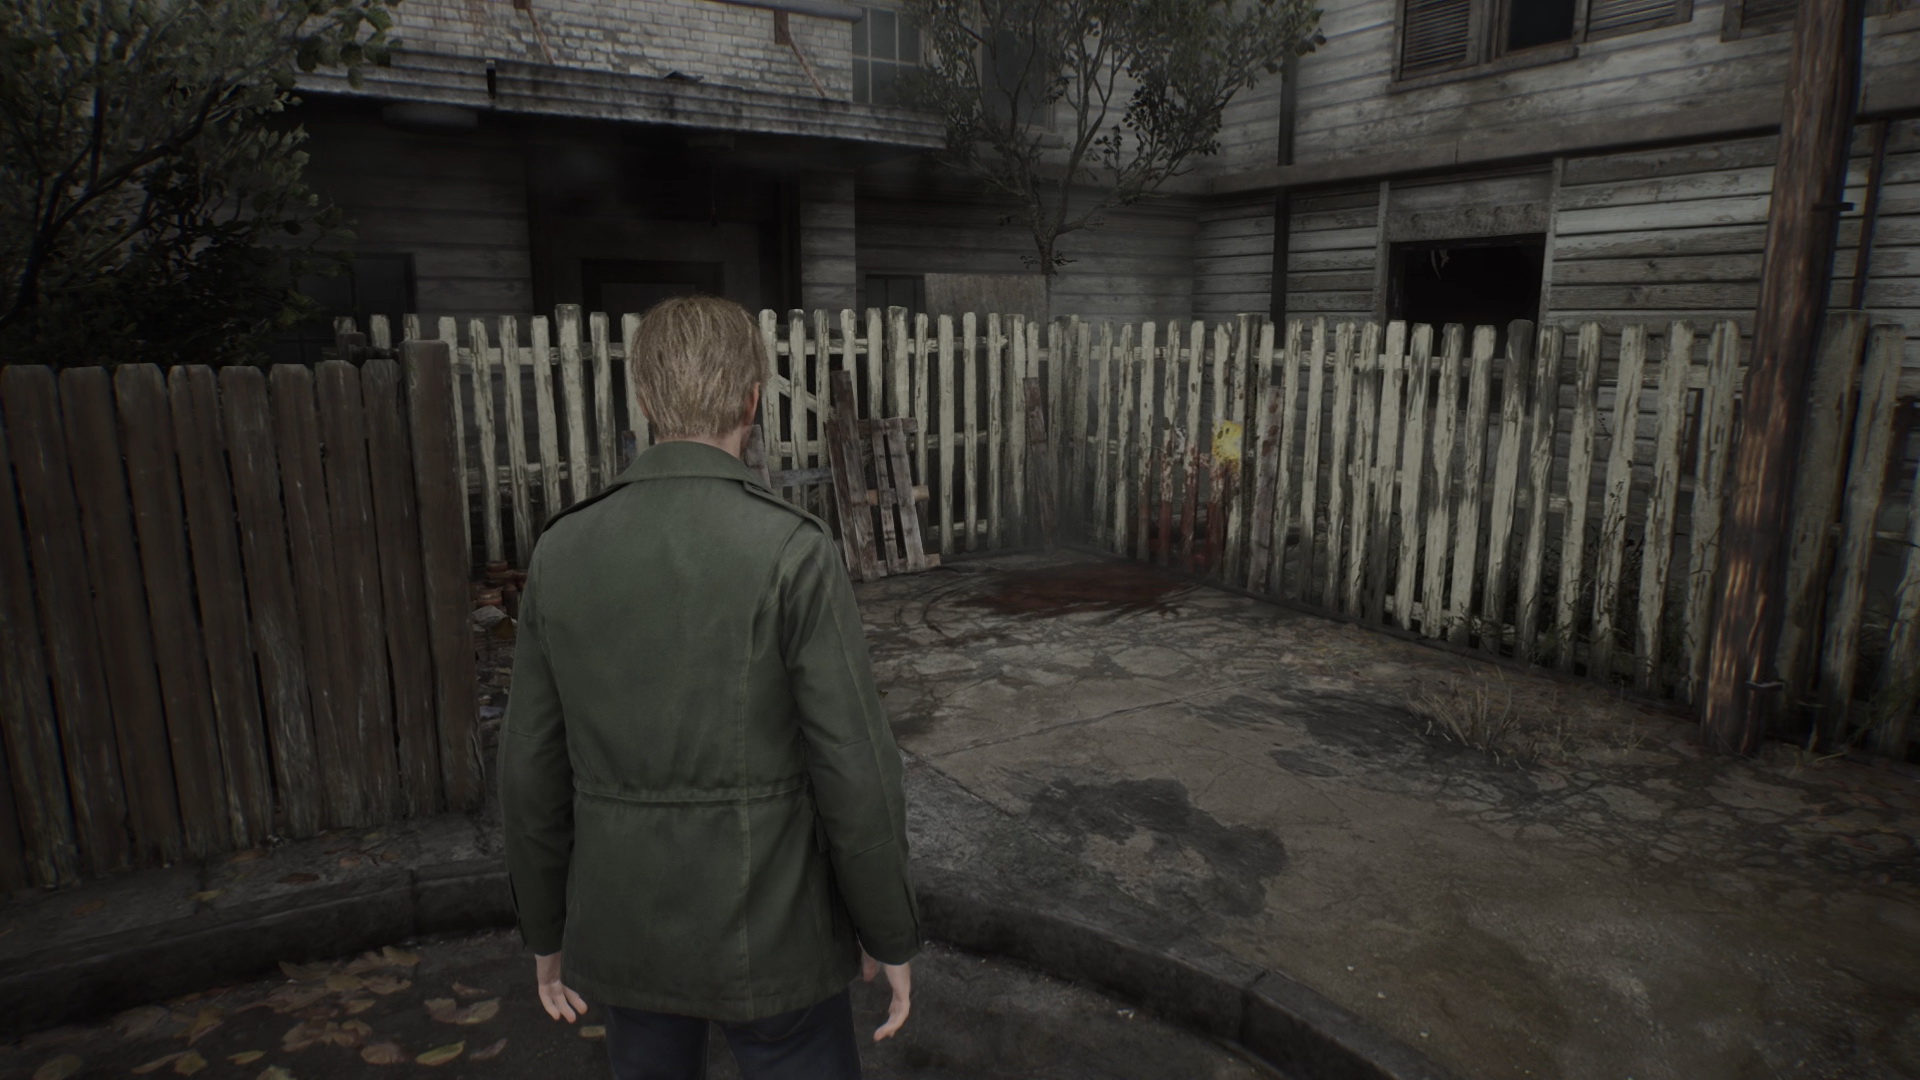
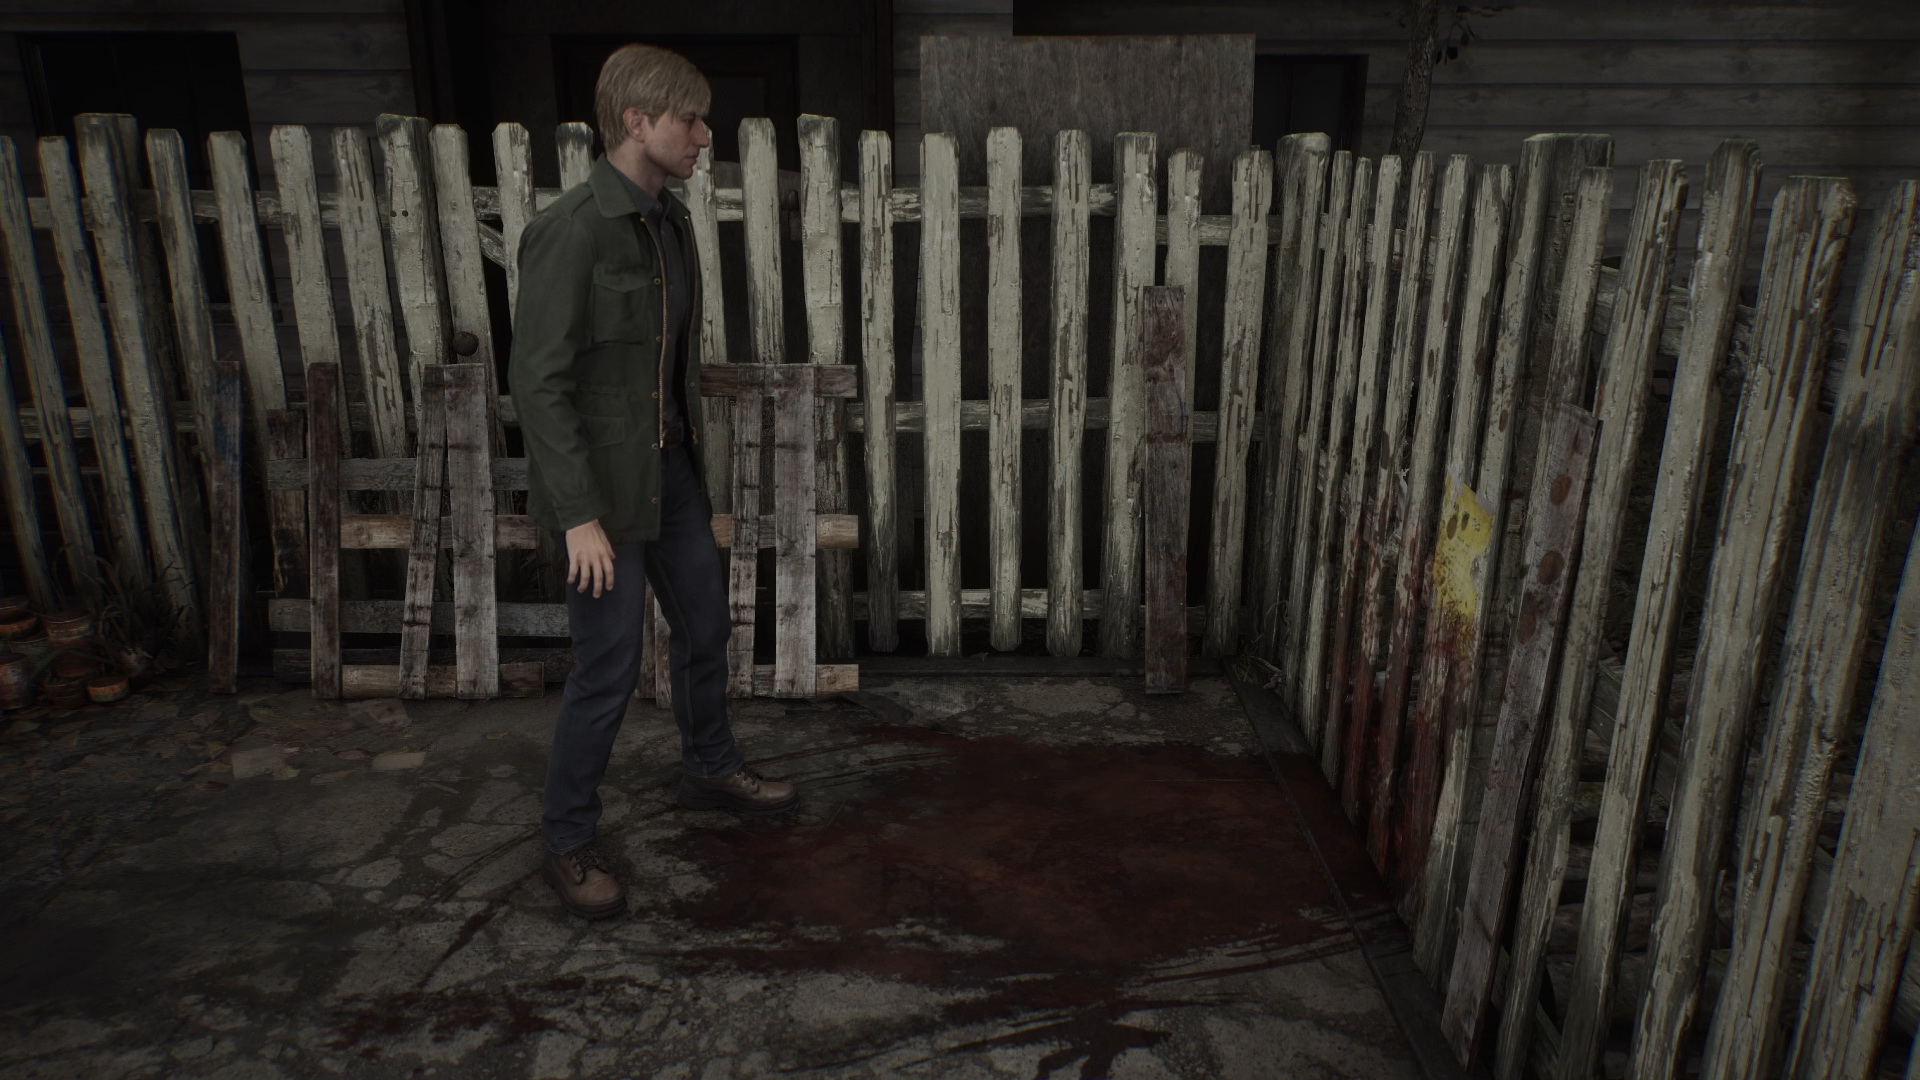
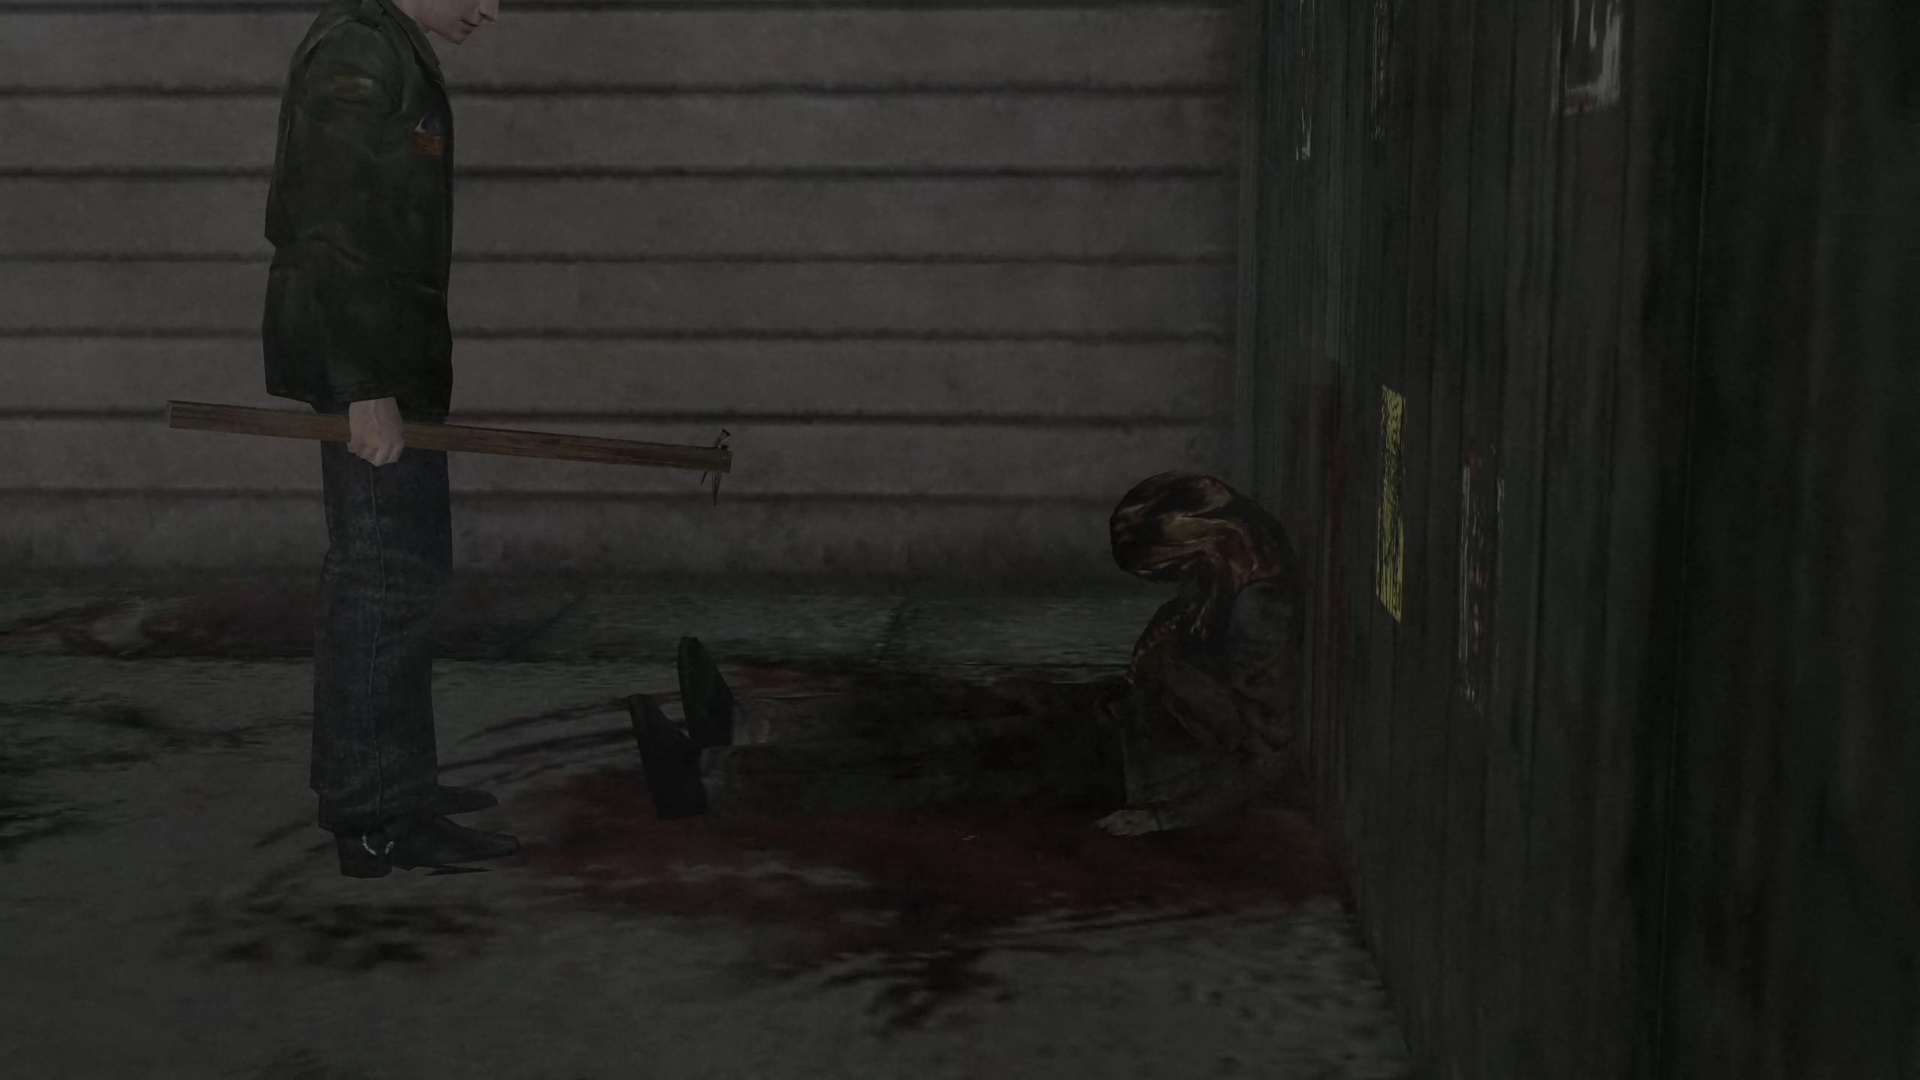
#3: Blood Spot
Location: A blood spot by the fence at the north end of Martin St.
SH2 Reference: Picking the apartment gate key from the dead body at the same spot.
 |
 |
 |
|
 |
|
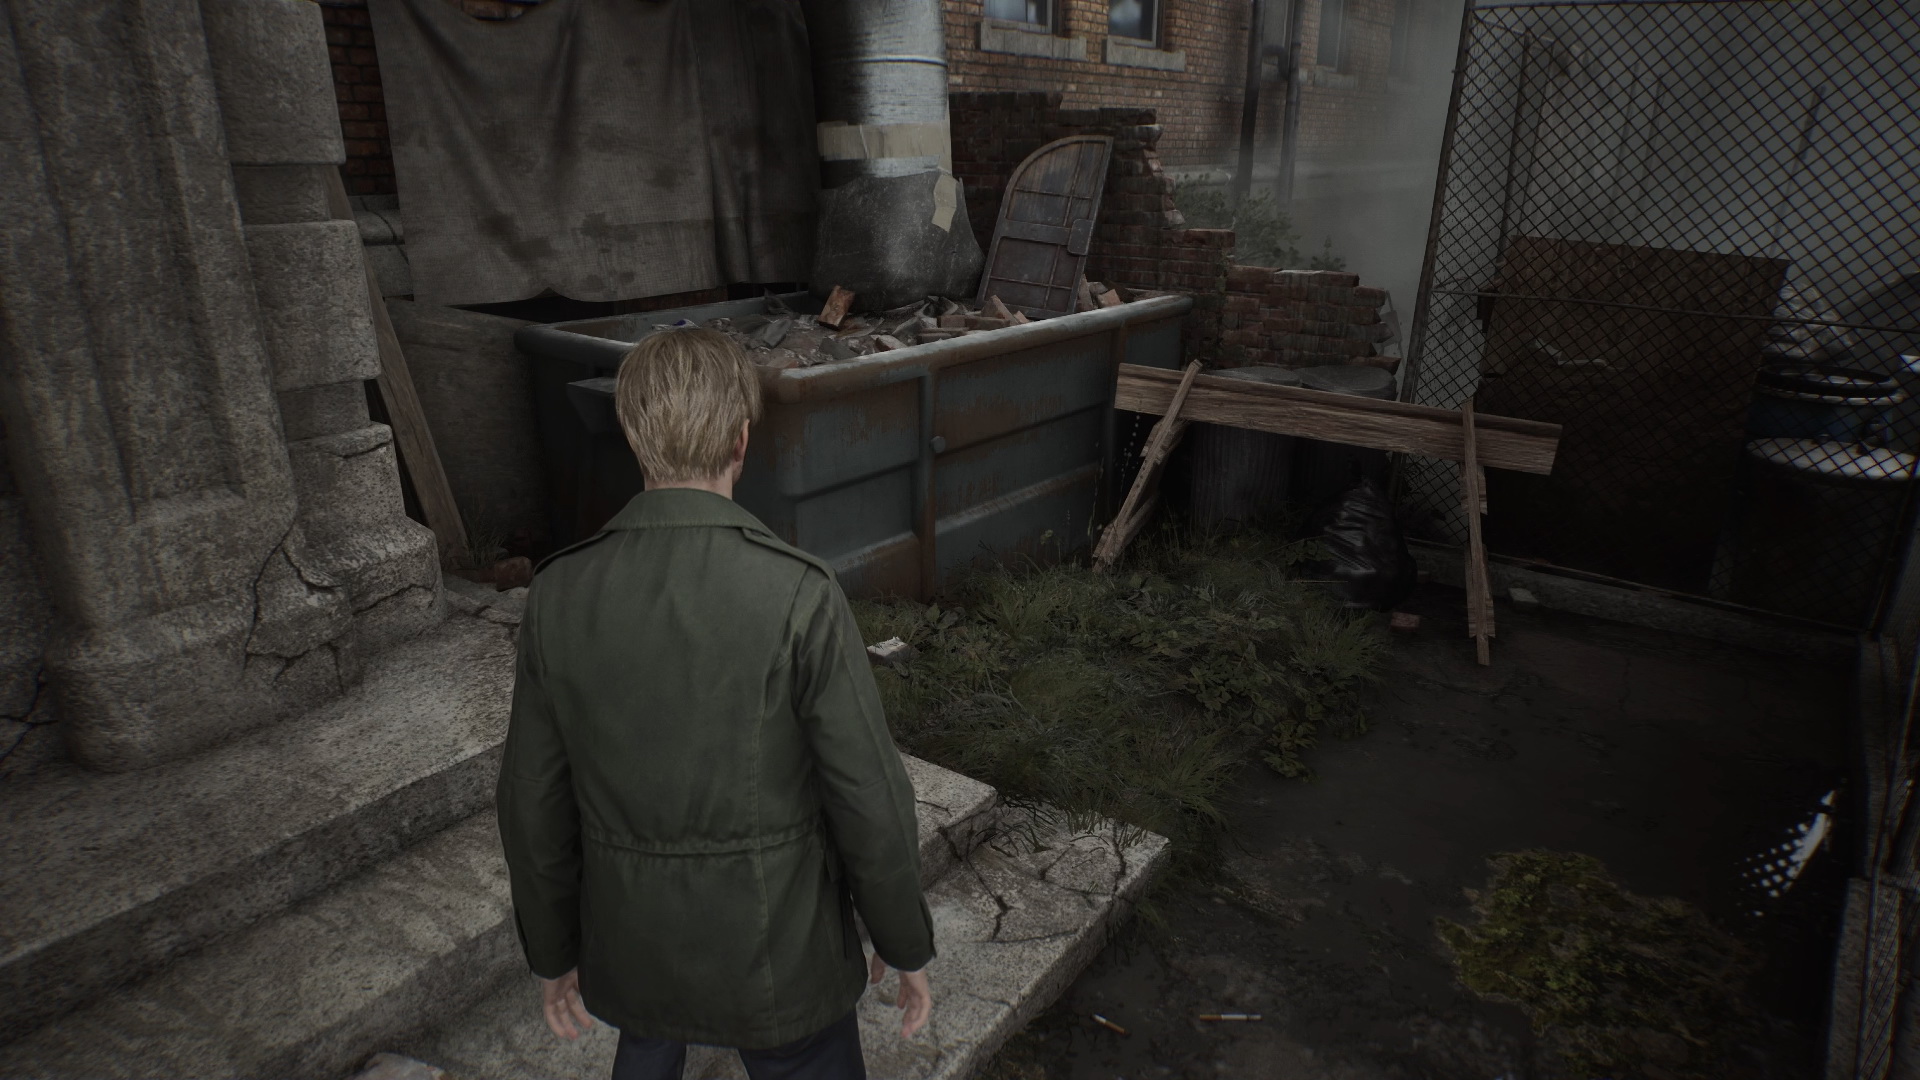
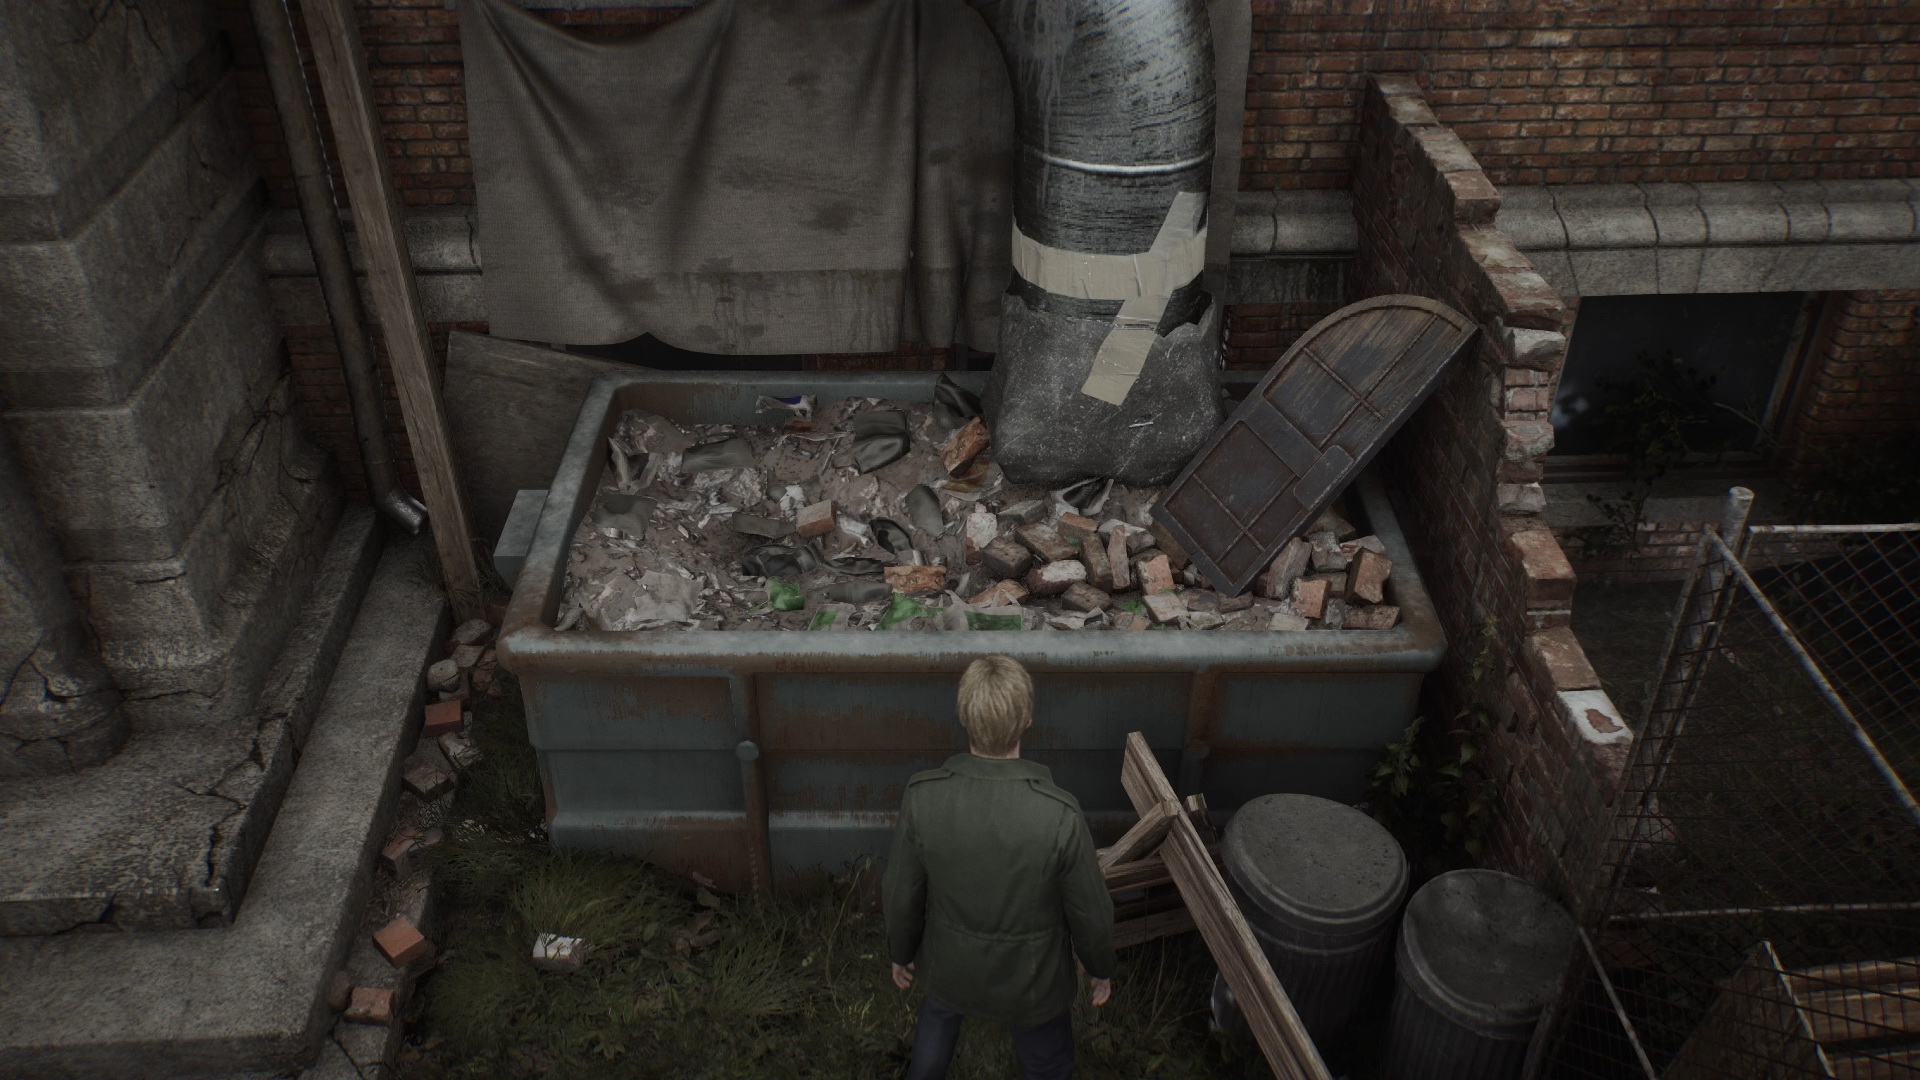
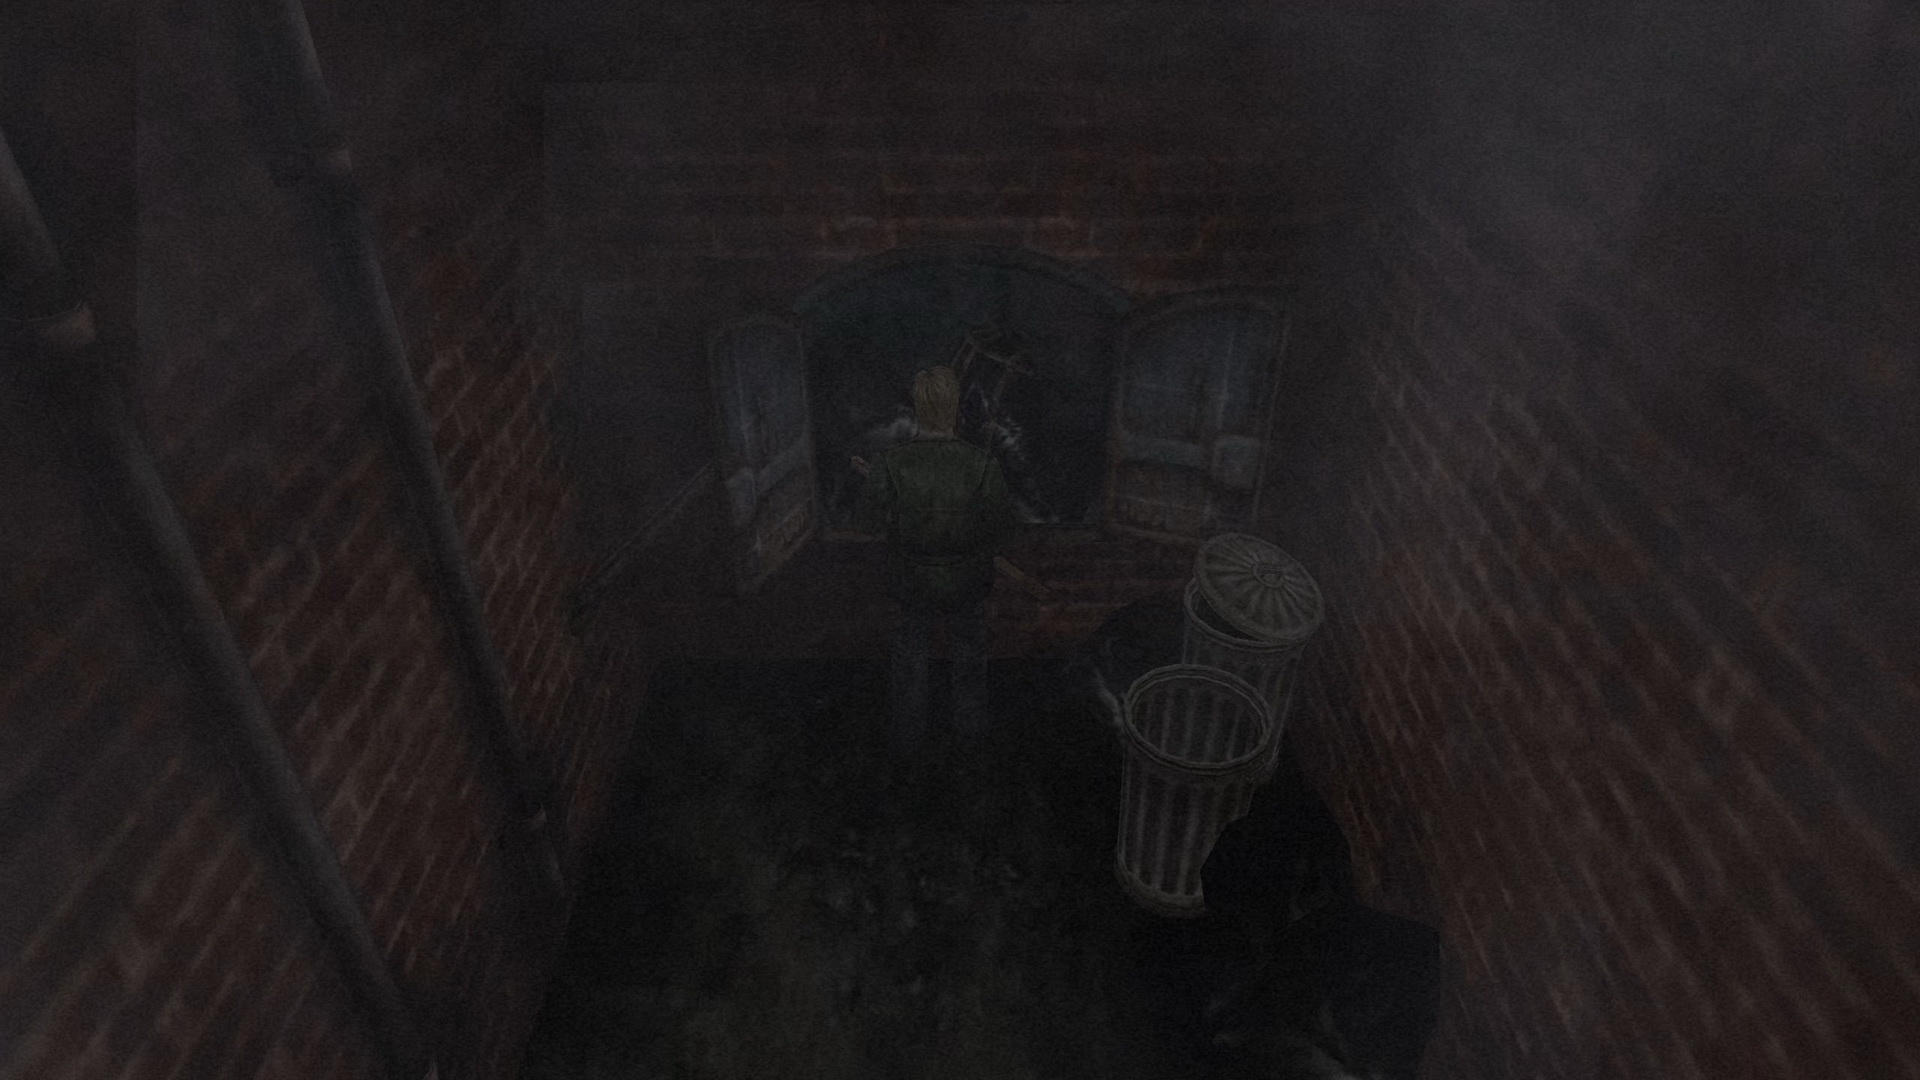
#4: Dumpster with a Blue Door
Location: A dumpster with a blue metal door to the right of the entrance to Wood Side Apartments.
SH2 Reference: A garbage container where you find the coin [Old Man] and the Murder Incident Article.
 |
 |
 |
|
 |
|
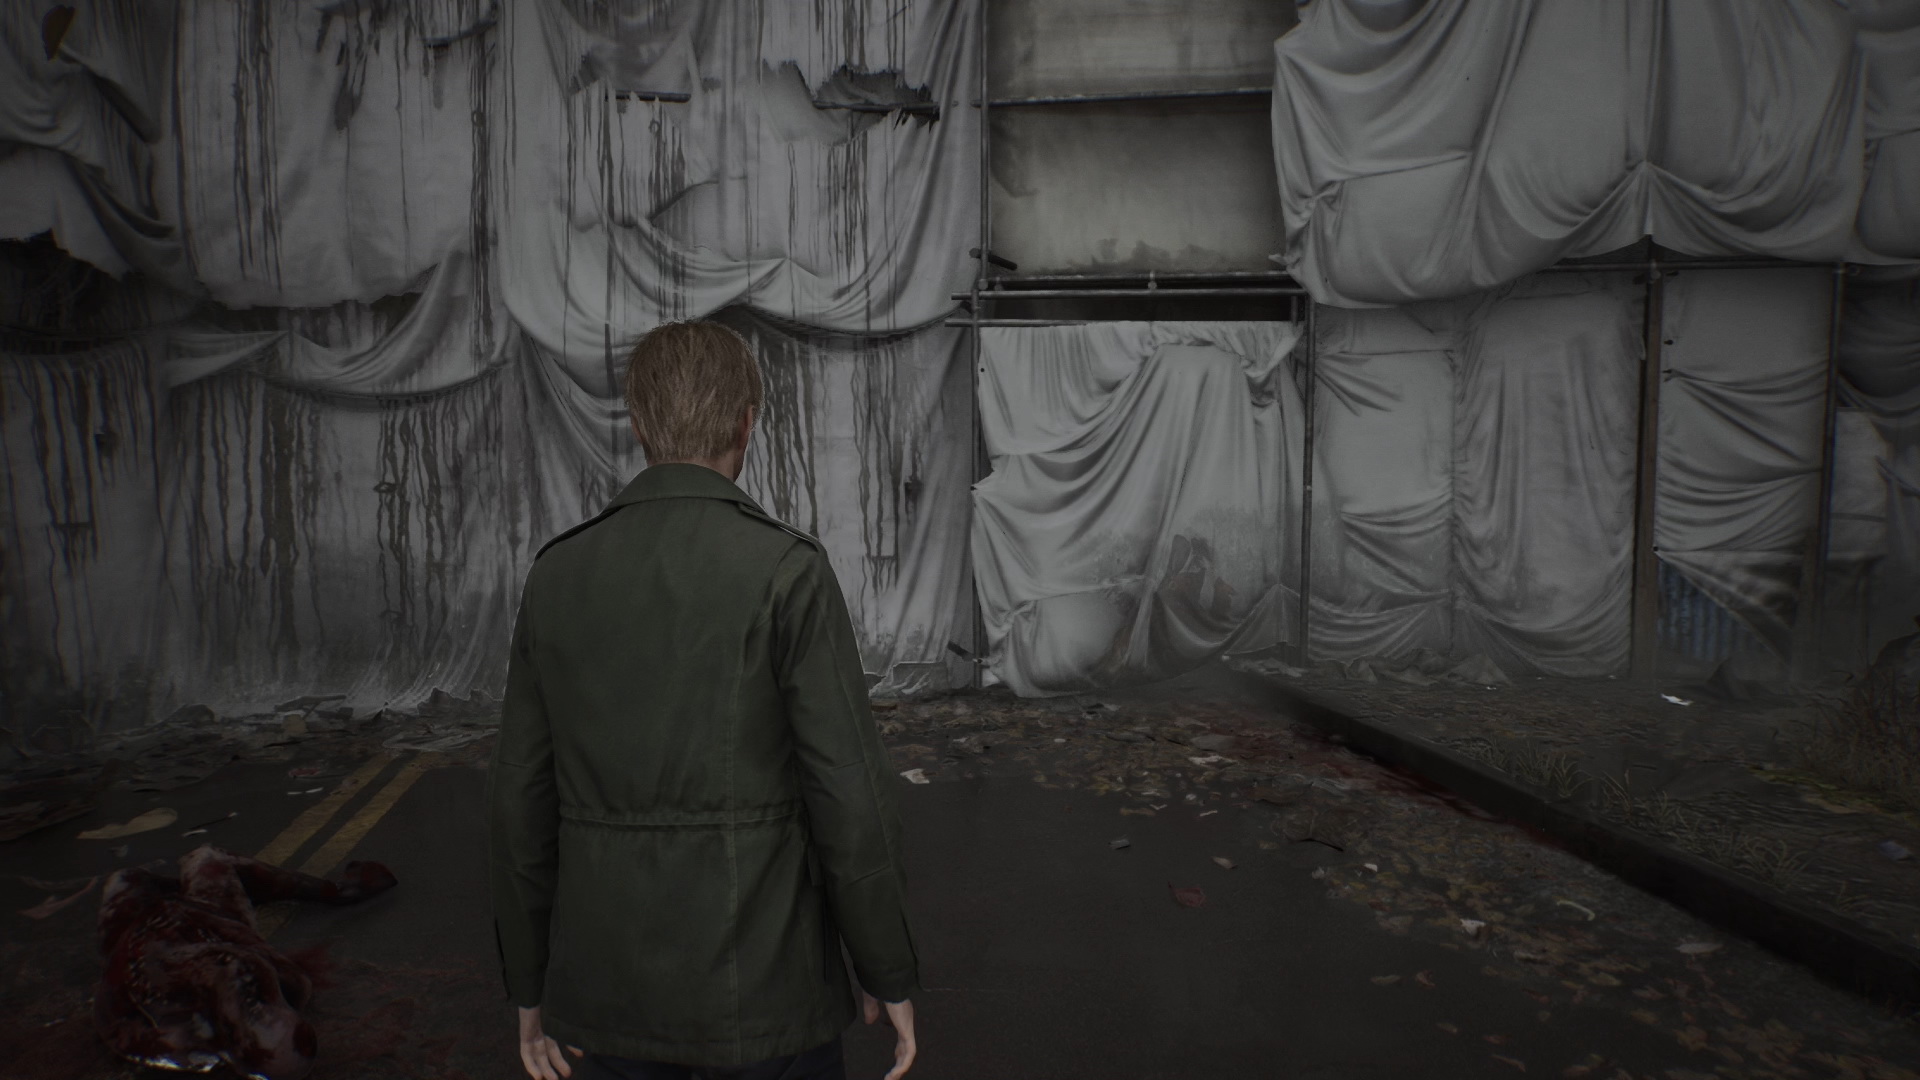
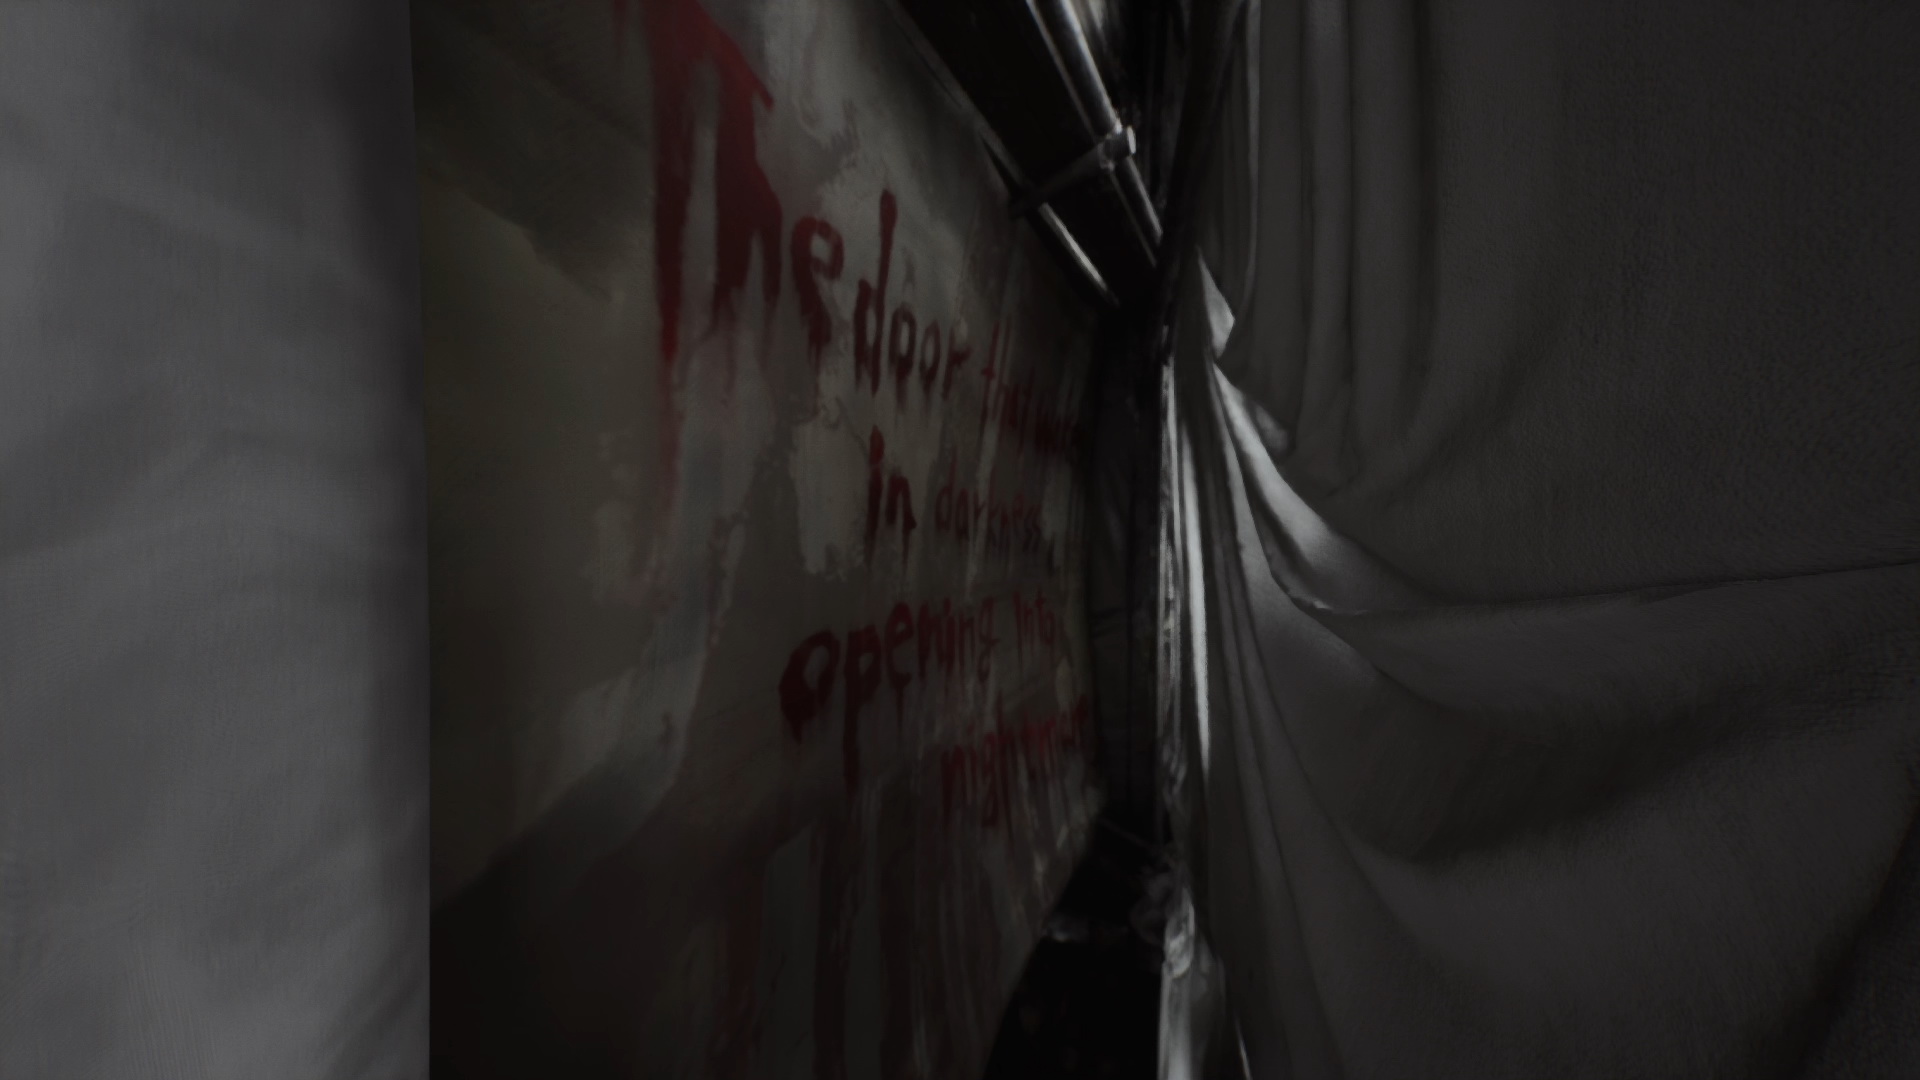
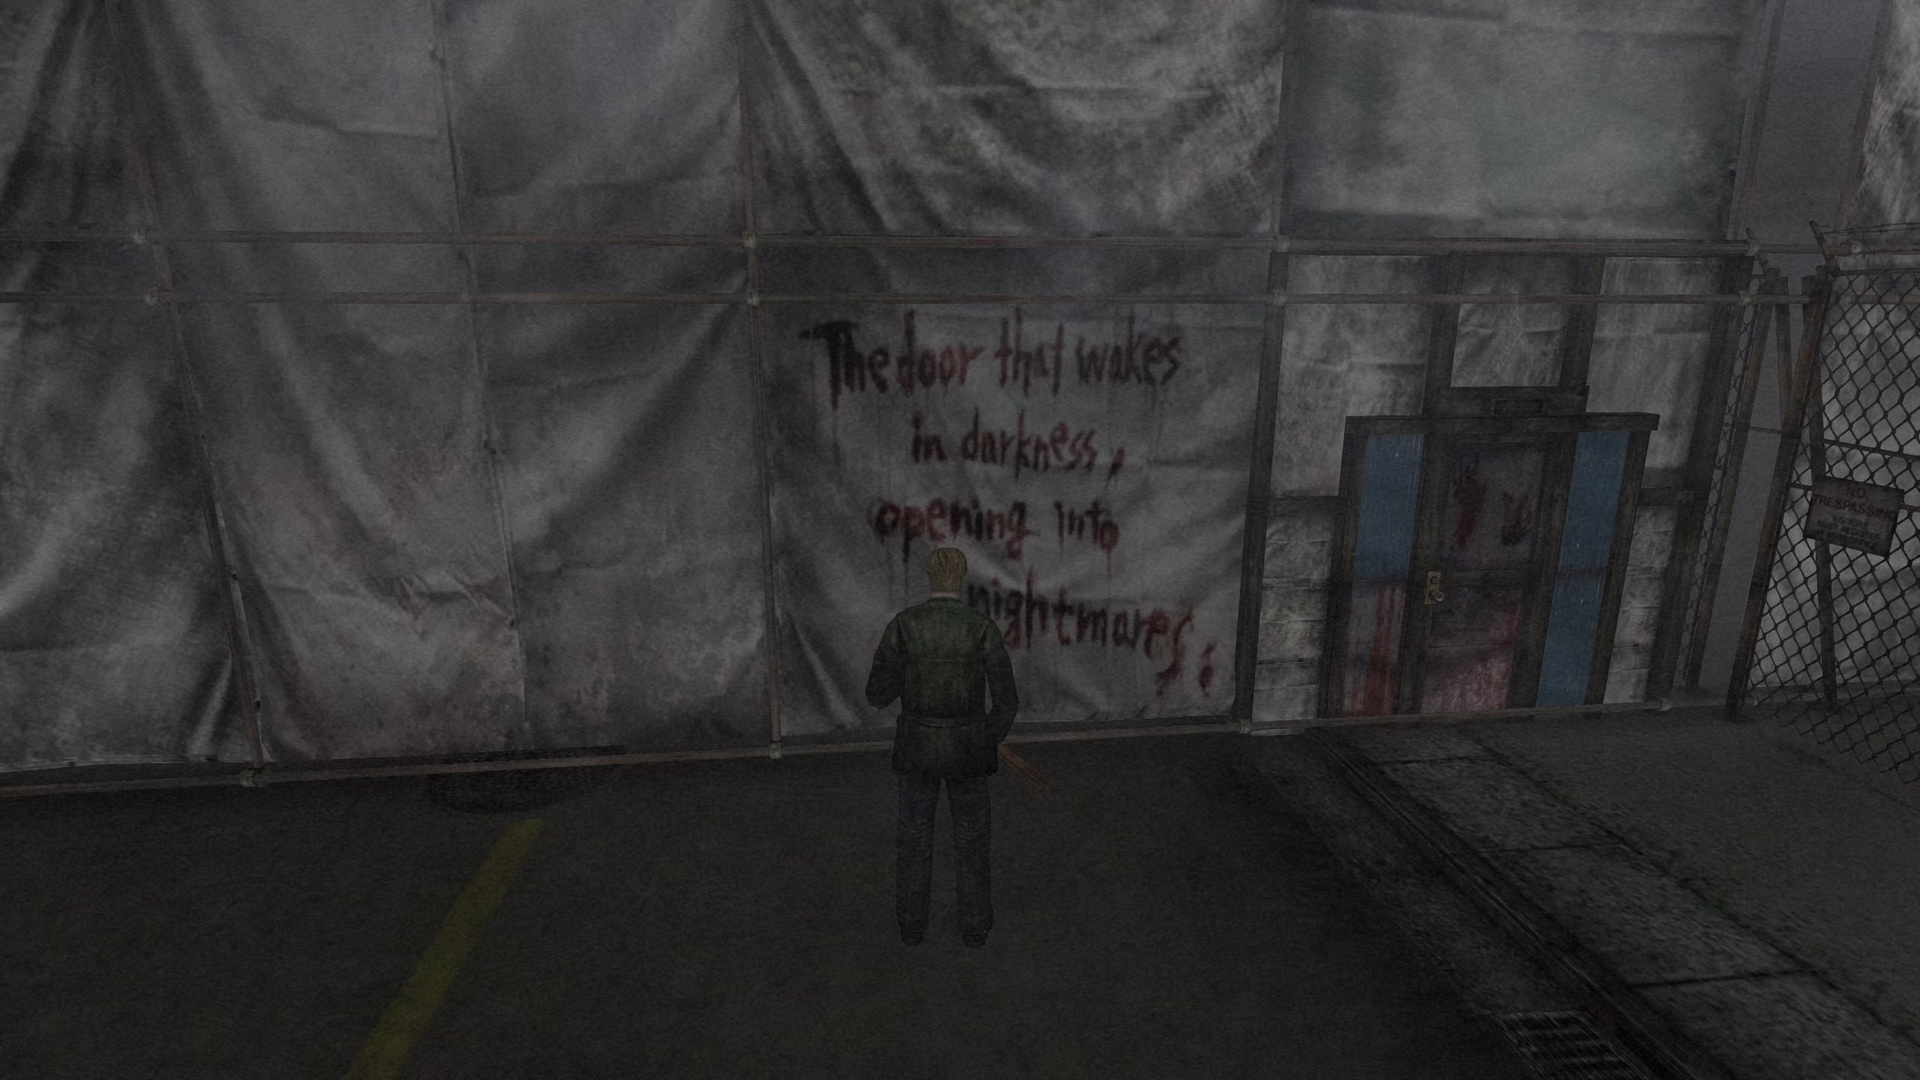
#5: Barricade Writing
Location: A barricade at the west end of Katz St.
SH2 Reference: A door next to the Wood Side Apartments that opens in the dark town.
 |
 |
 |
|
 |
|
Wood Side Apartments
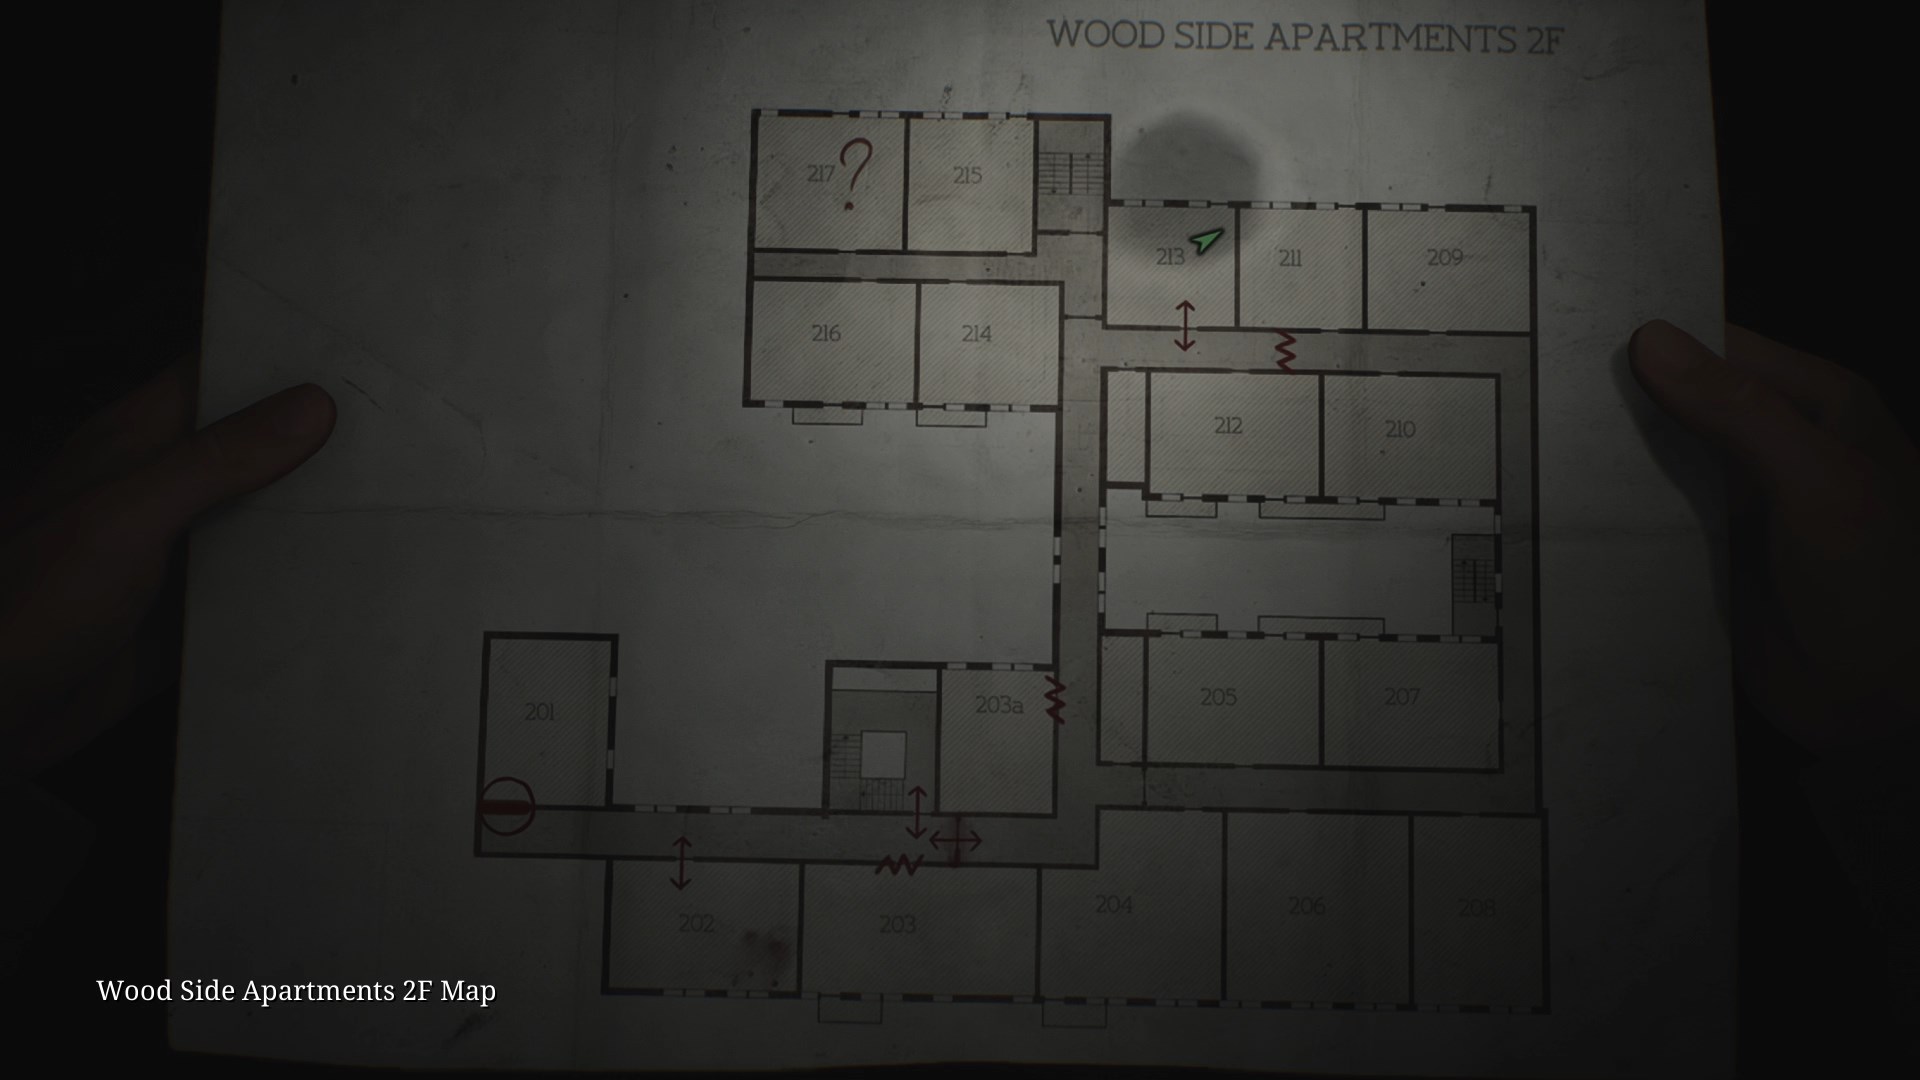
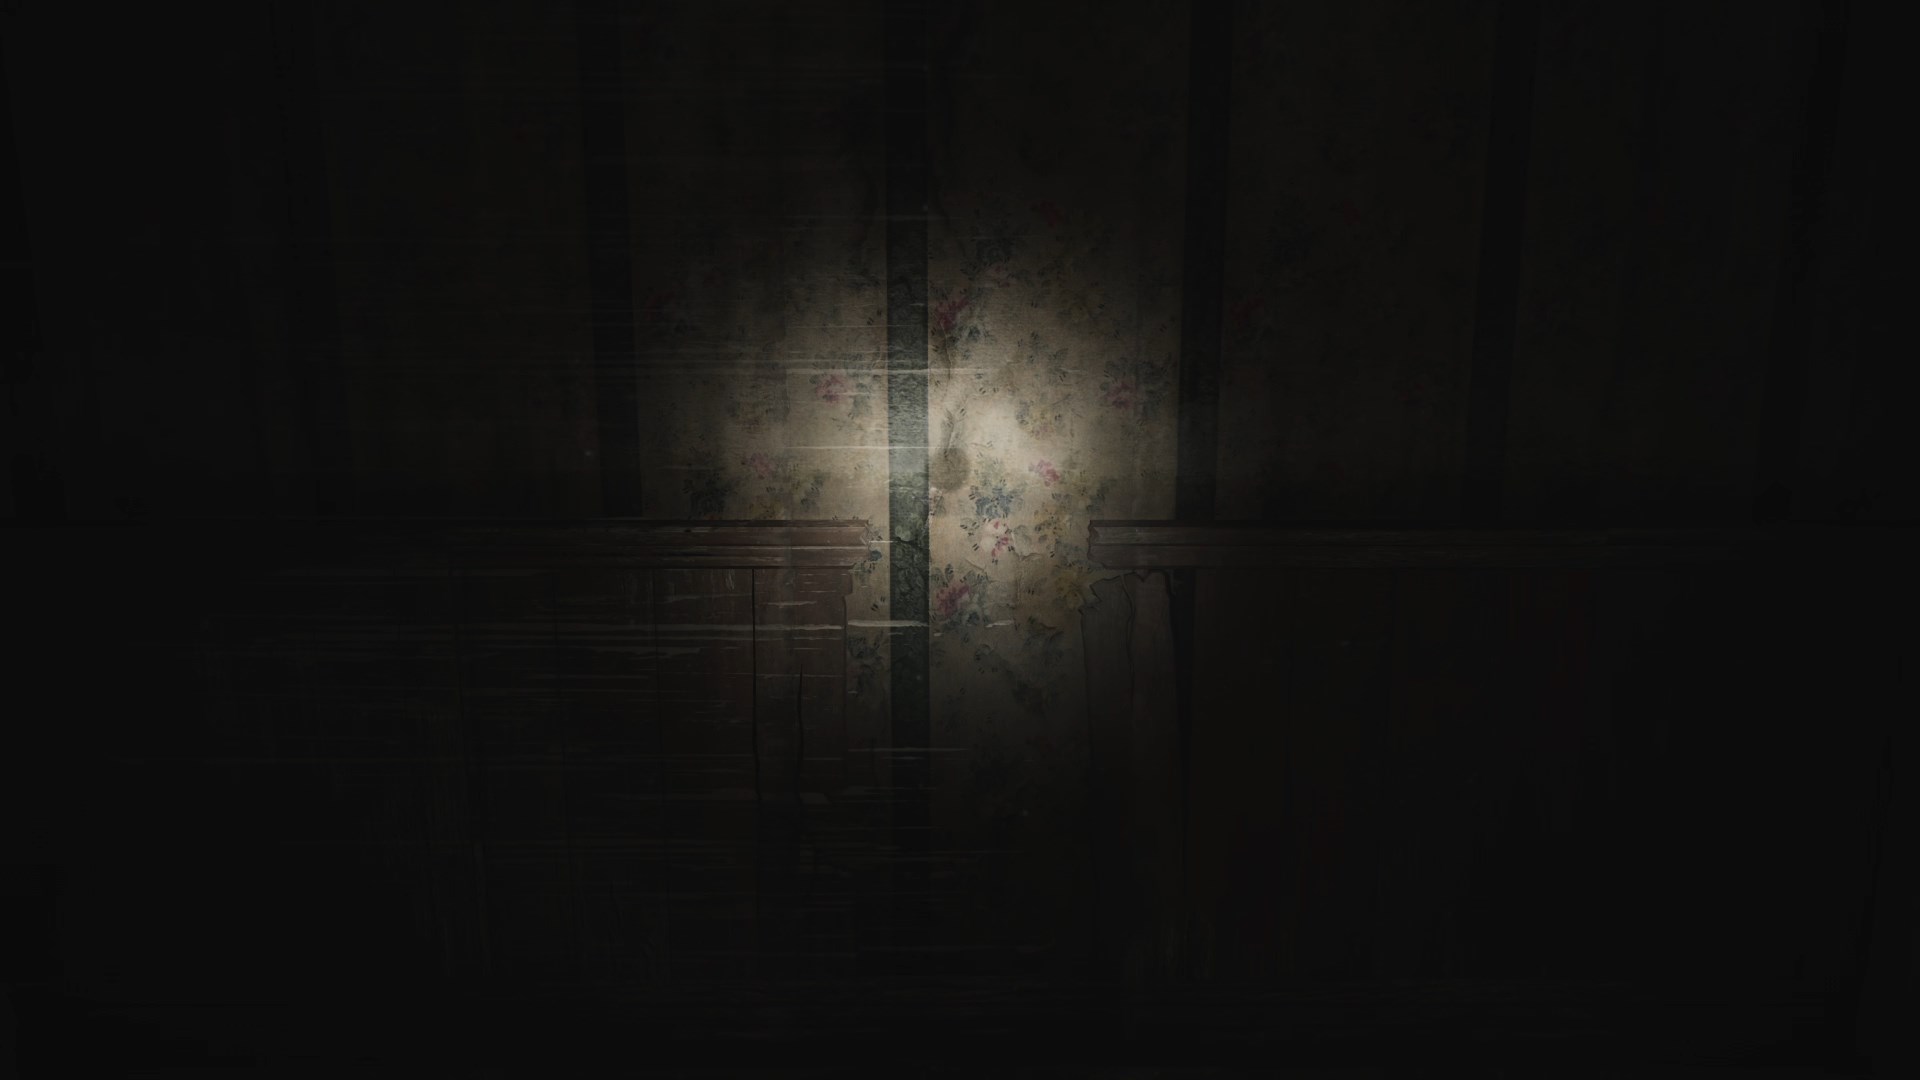
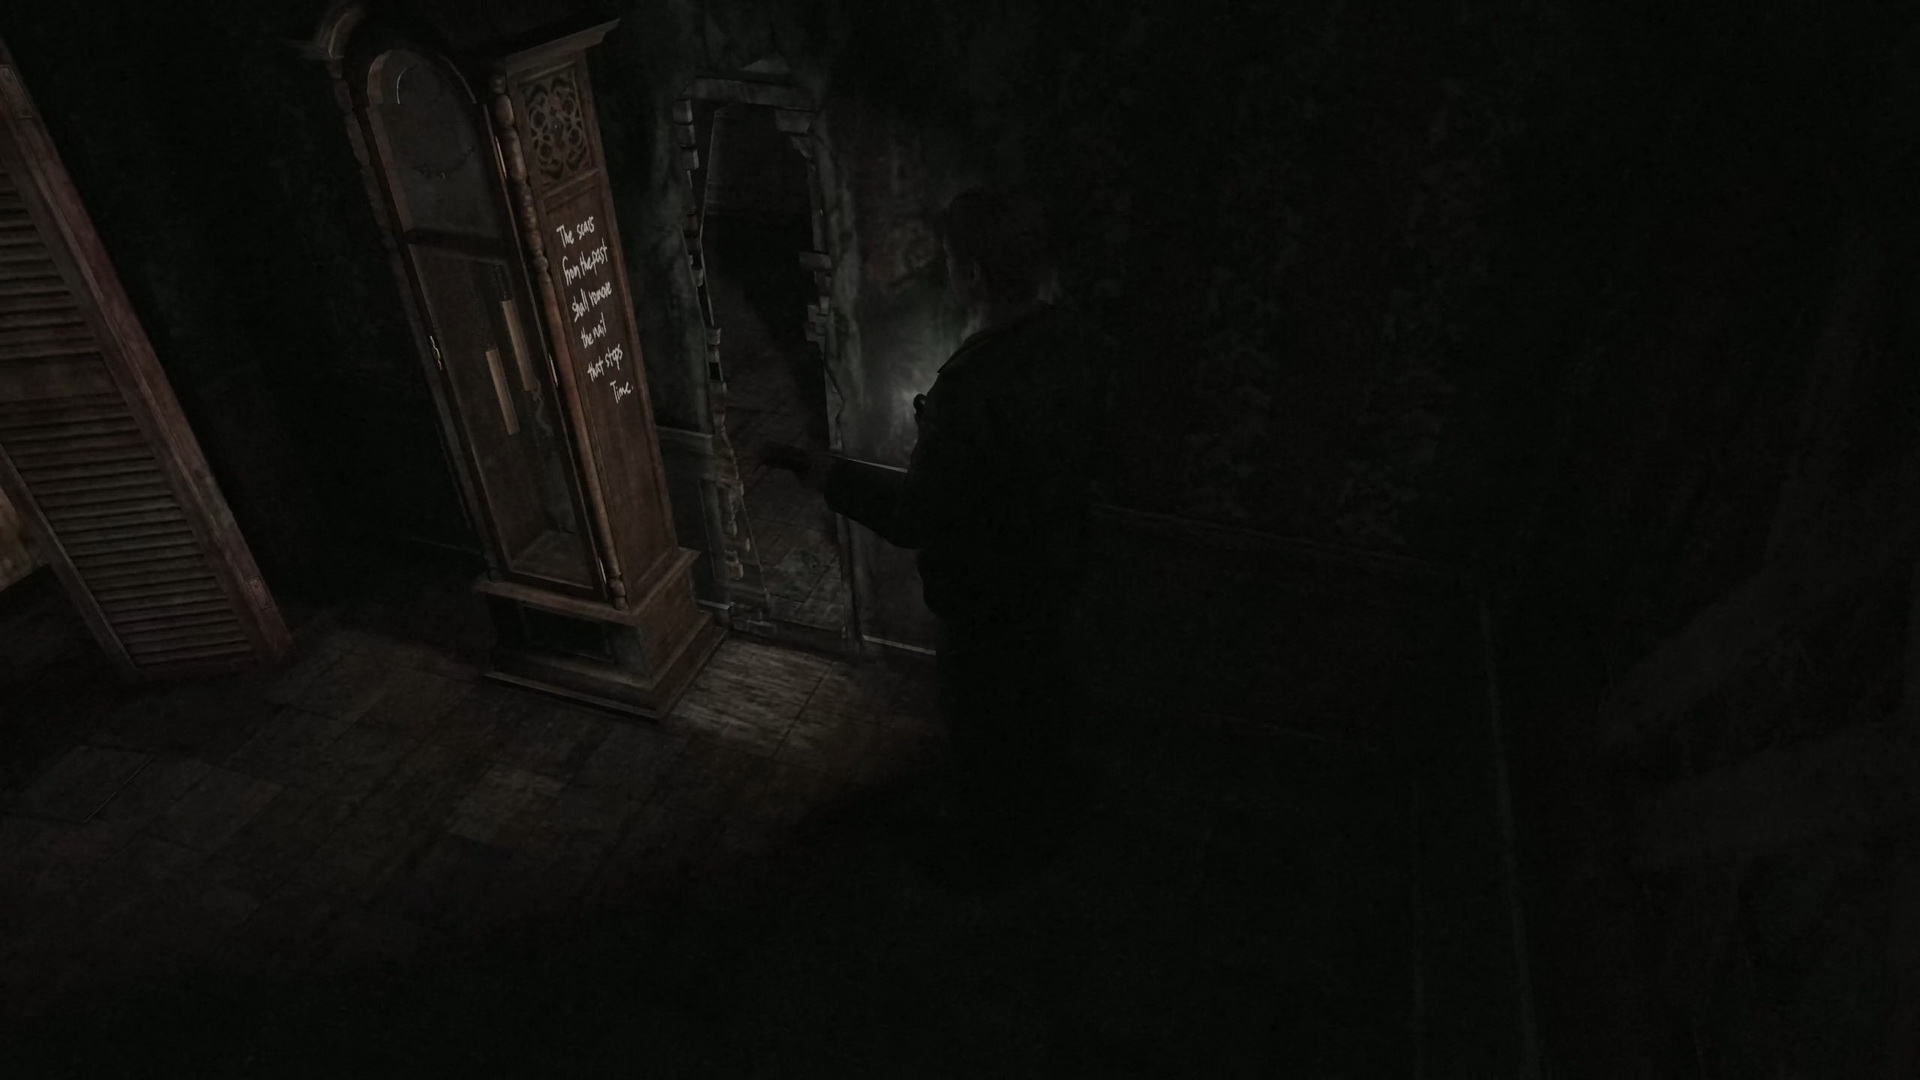
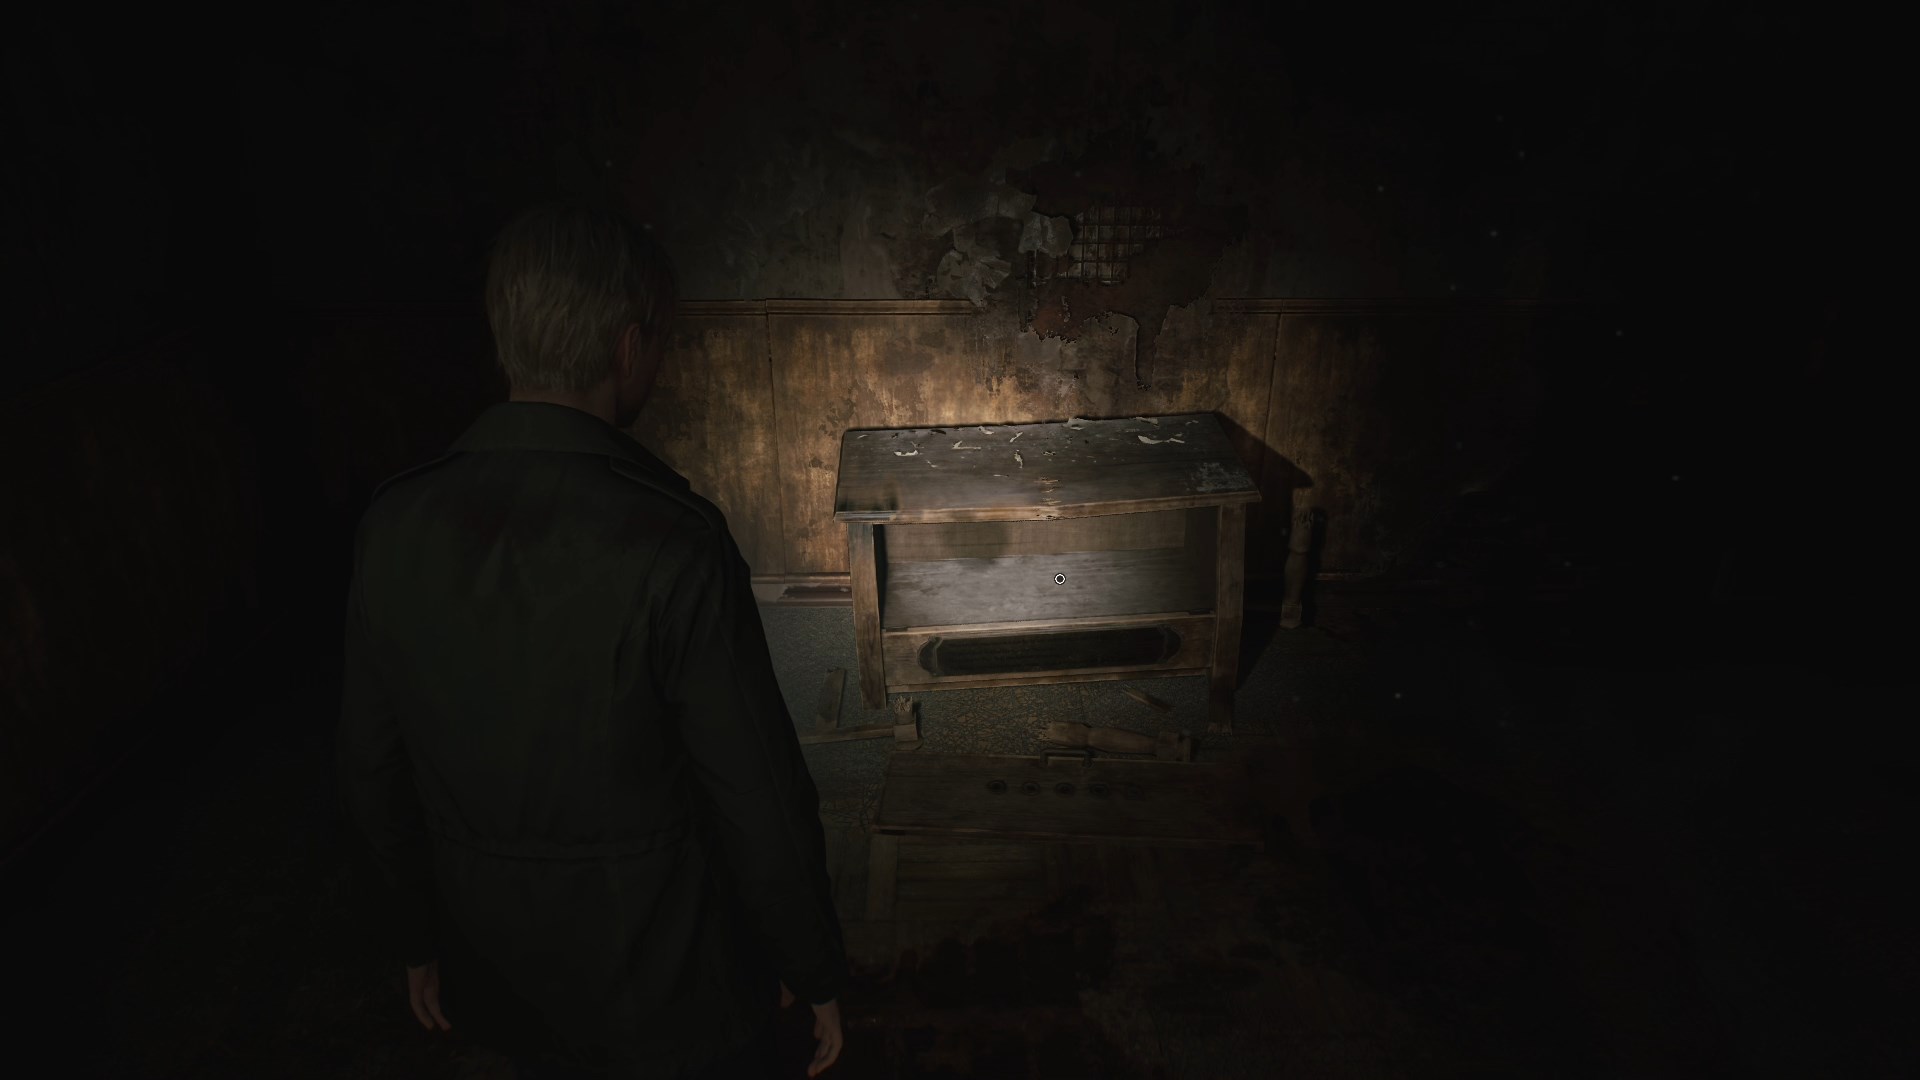
#6: Wall Scratches
Location: Apartment 213, a wall in the bedroom.
SH2 Reference: Original location of the clock puzzle
 |
 |
 |
|
 |
|
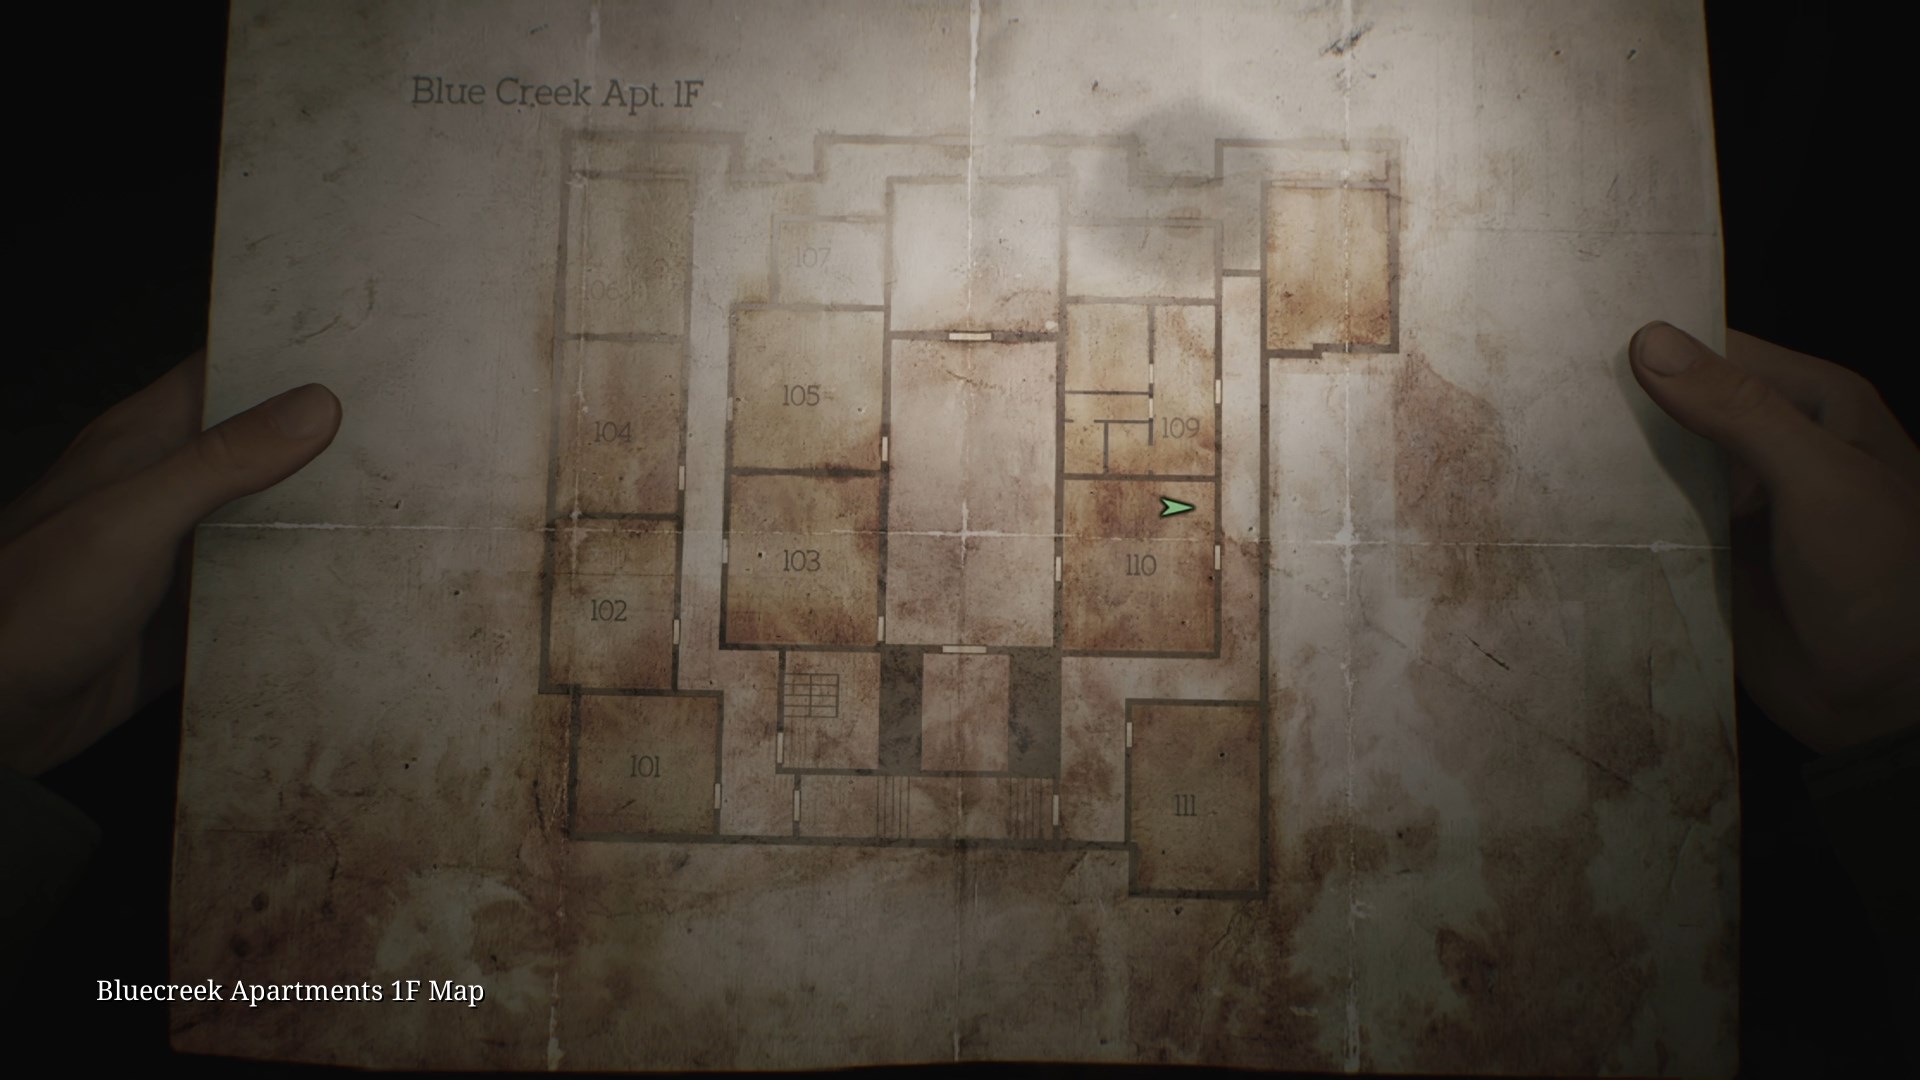
Blue Creek Apartments
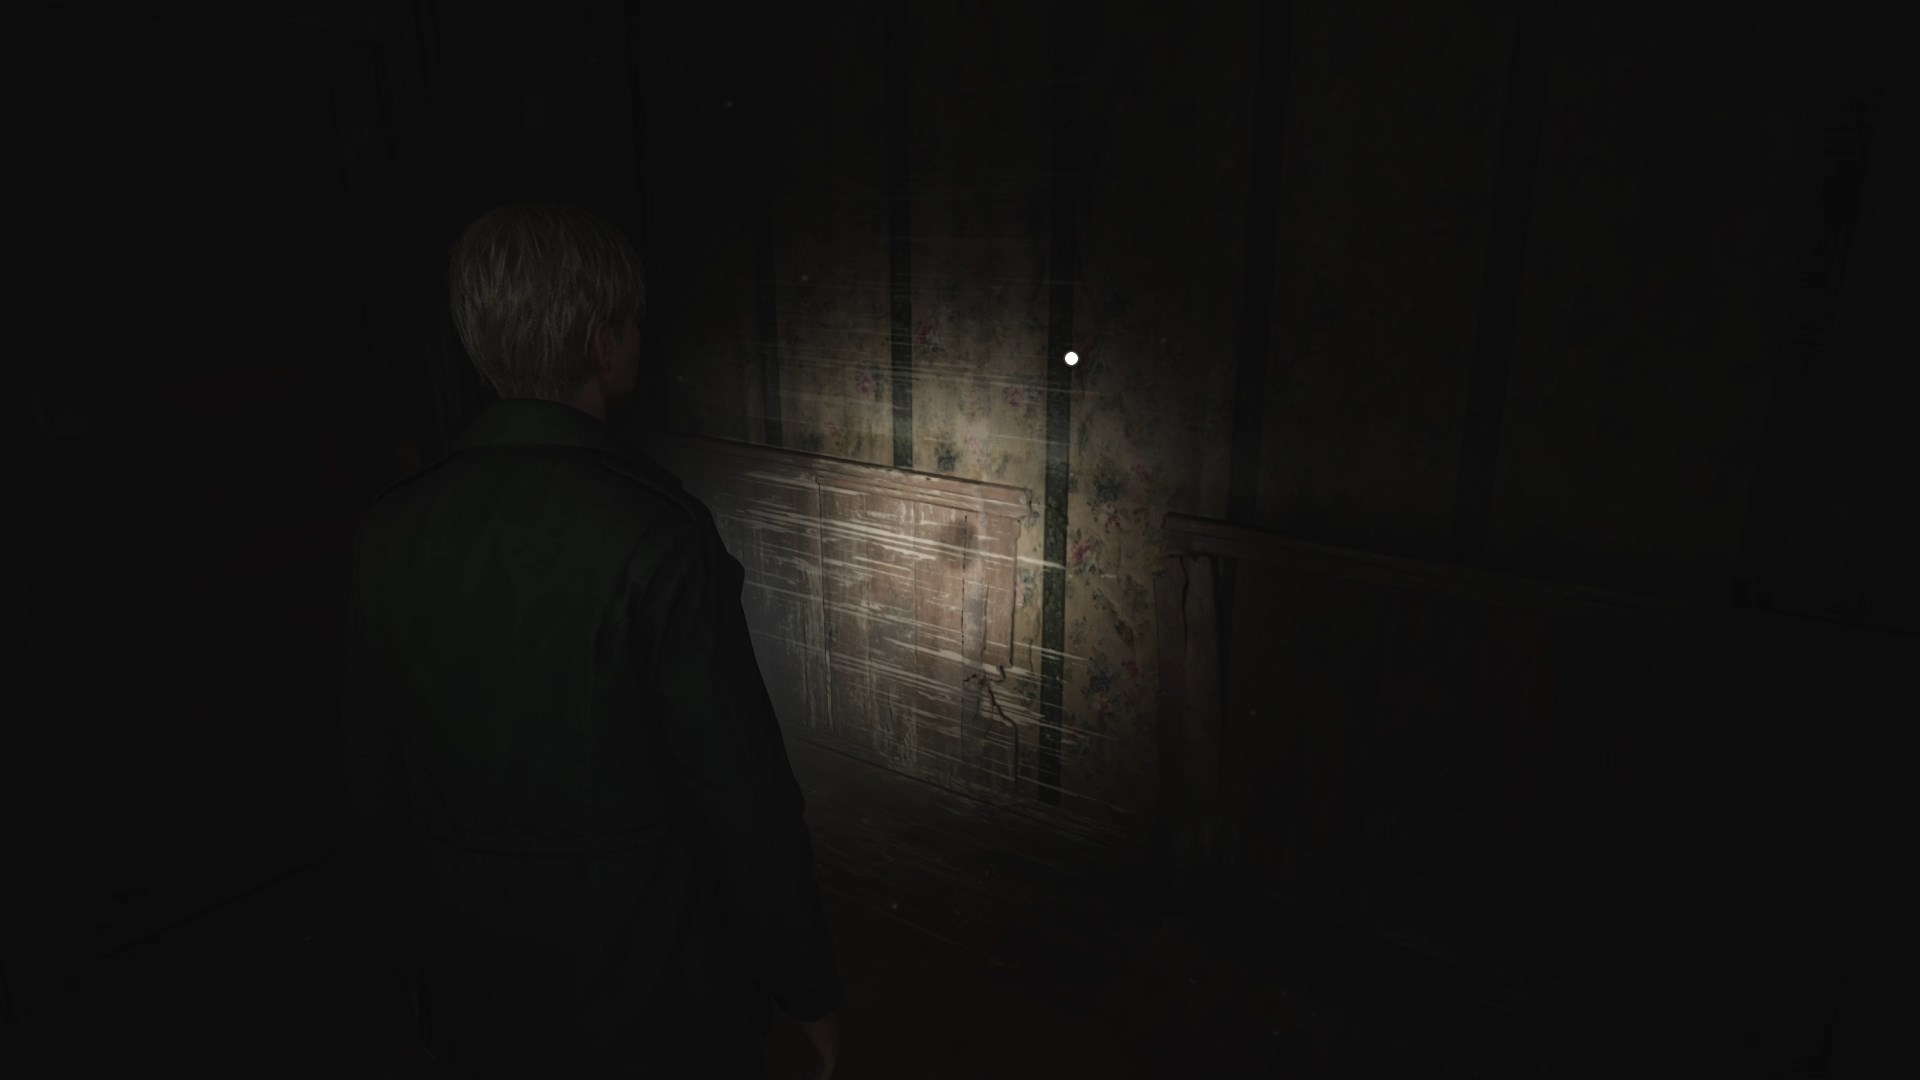
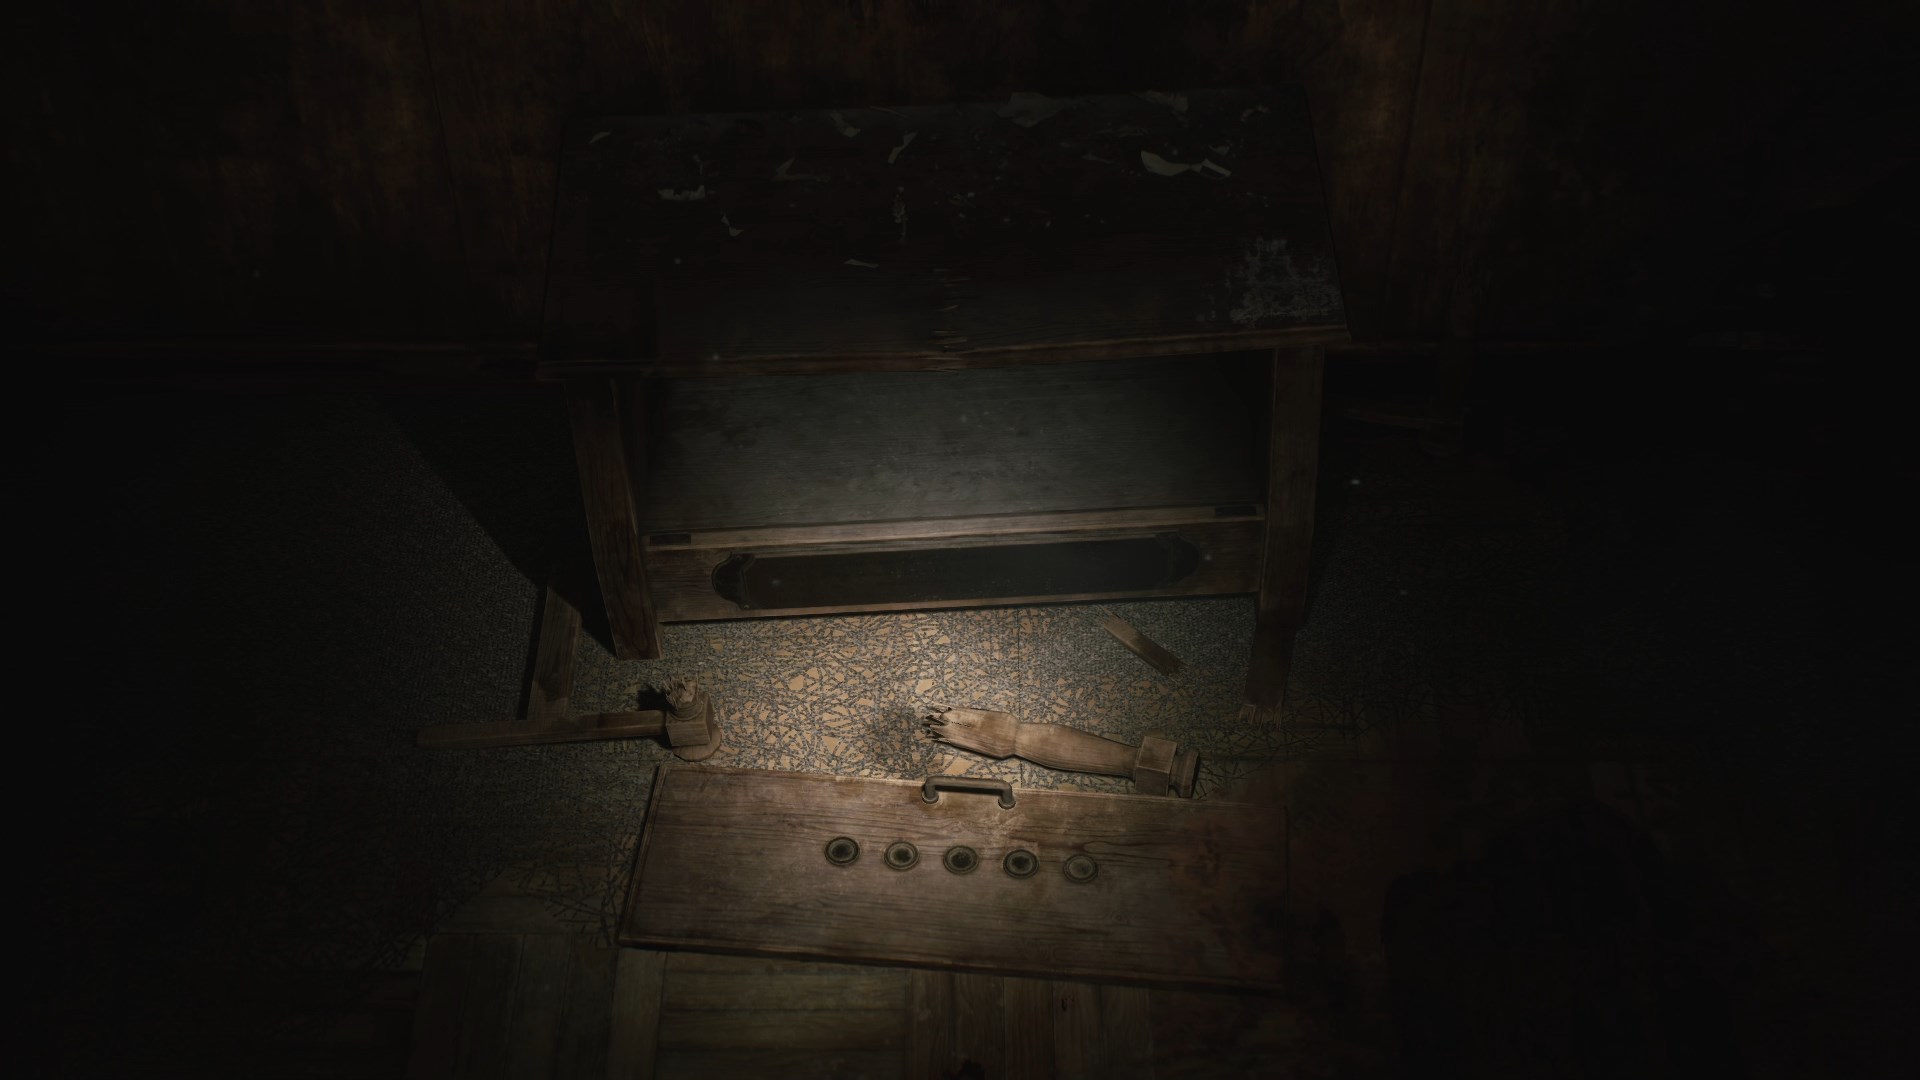
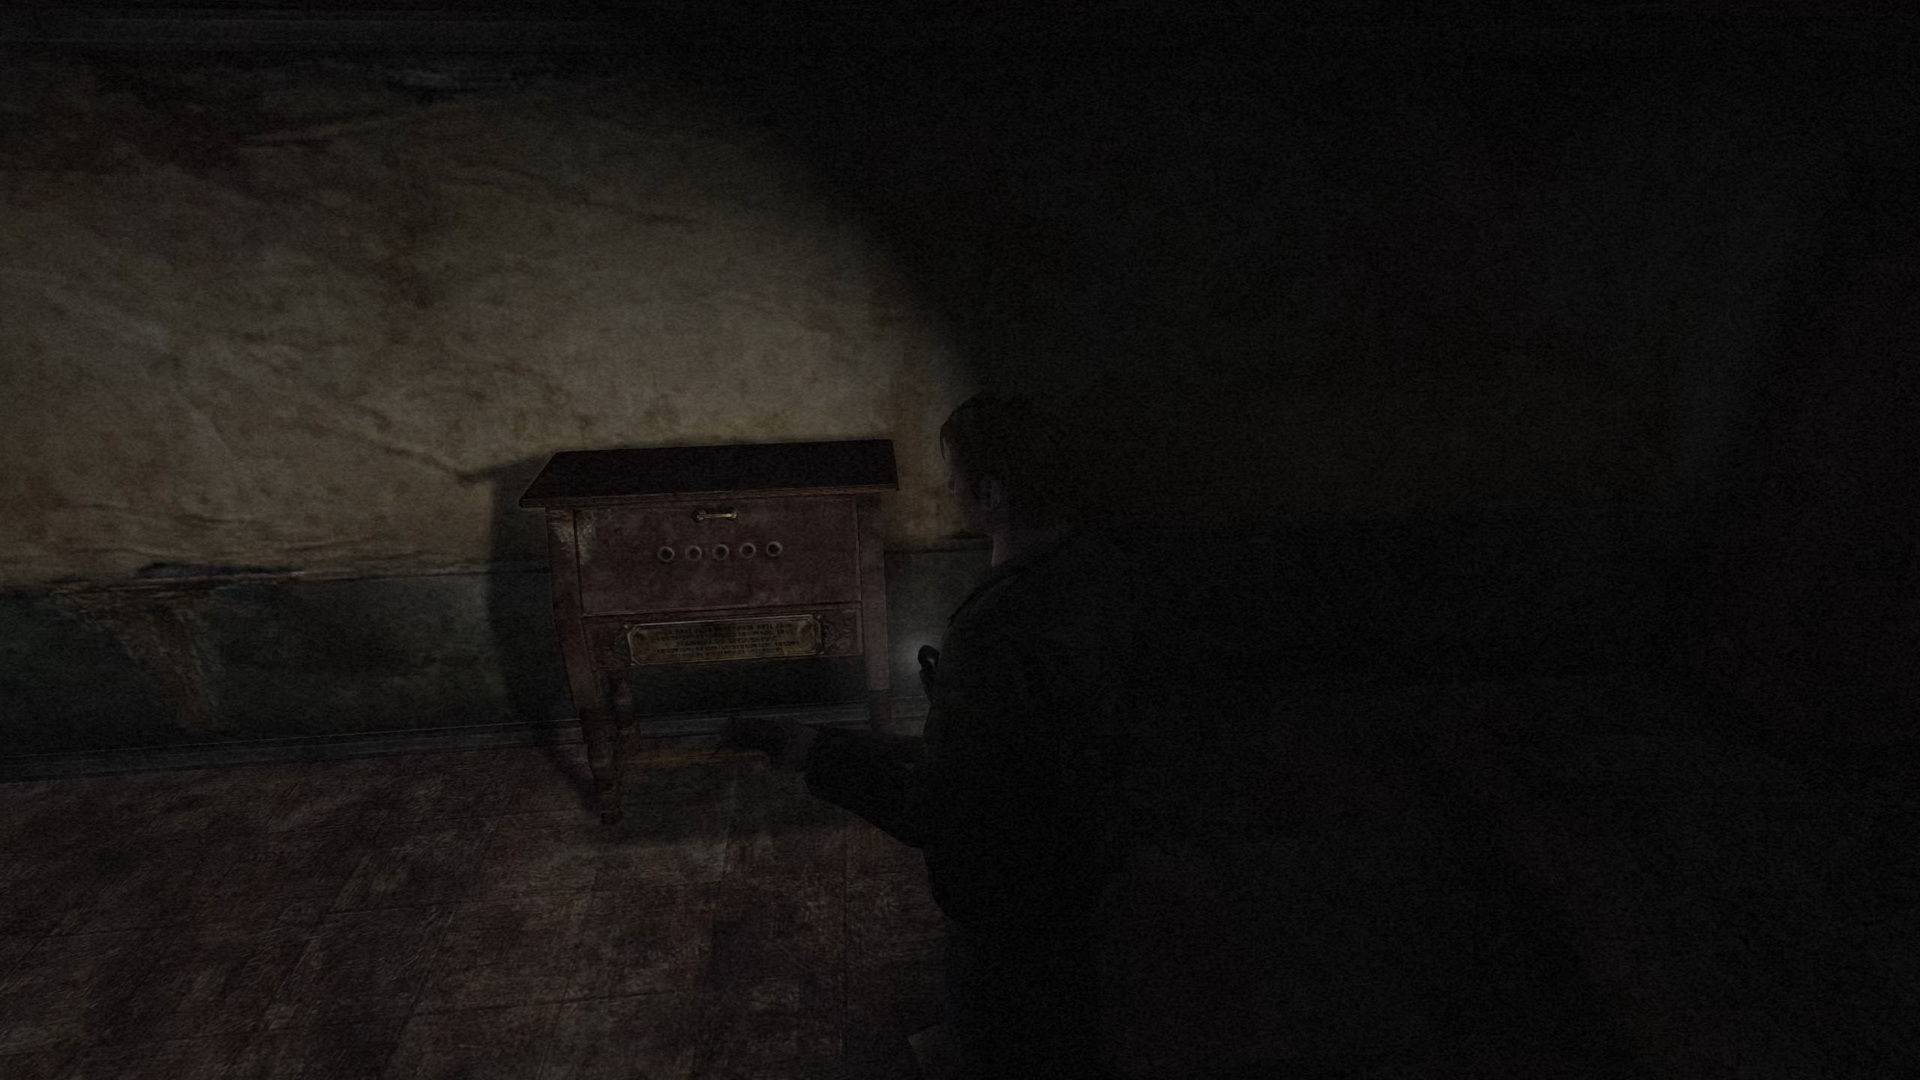
#7: Ruined Cabinet
Location: Apartment 110 after you jump in the hole from above.
SH2 Reference: Original coin puzzle cabinet from Room 105 of Blue Creek Apartments.
 |
 |
 |
|
 |
|
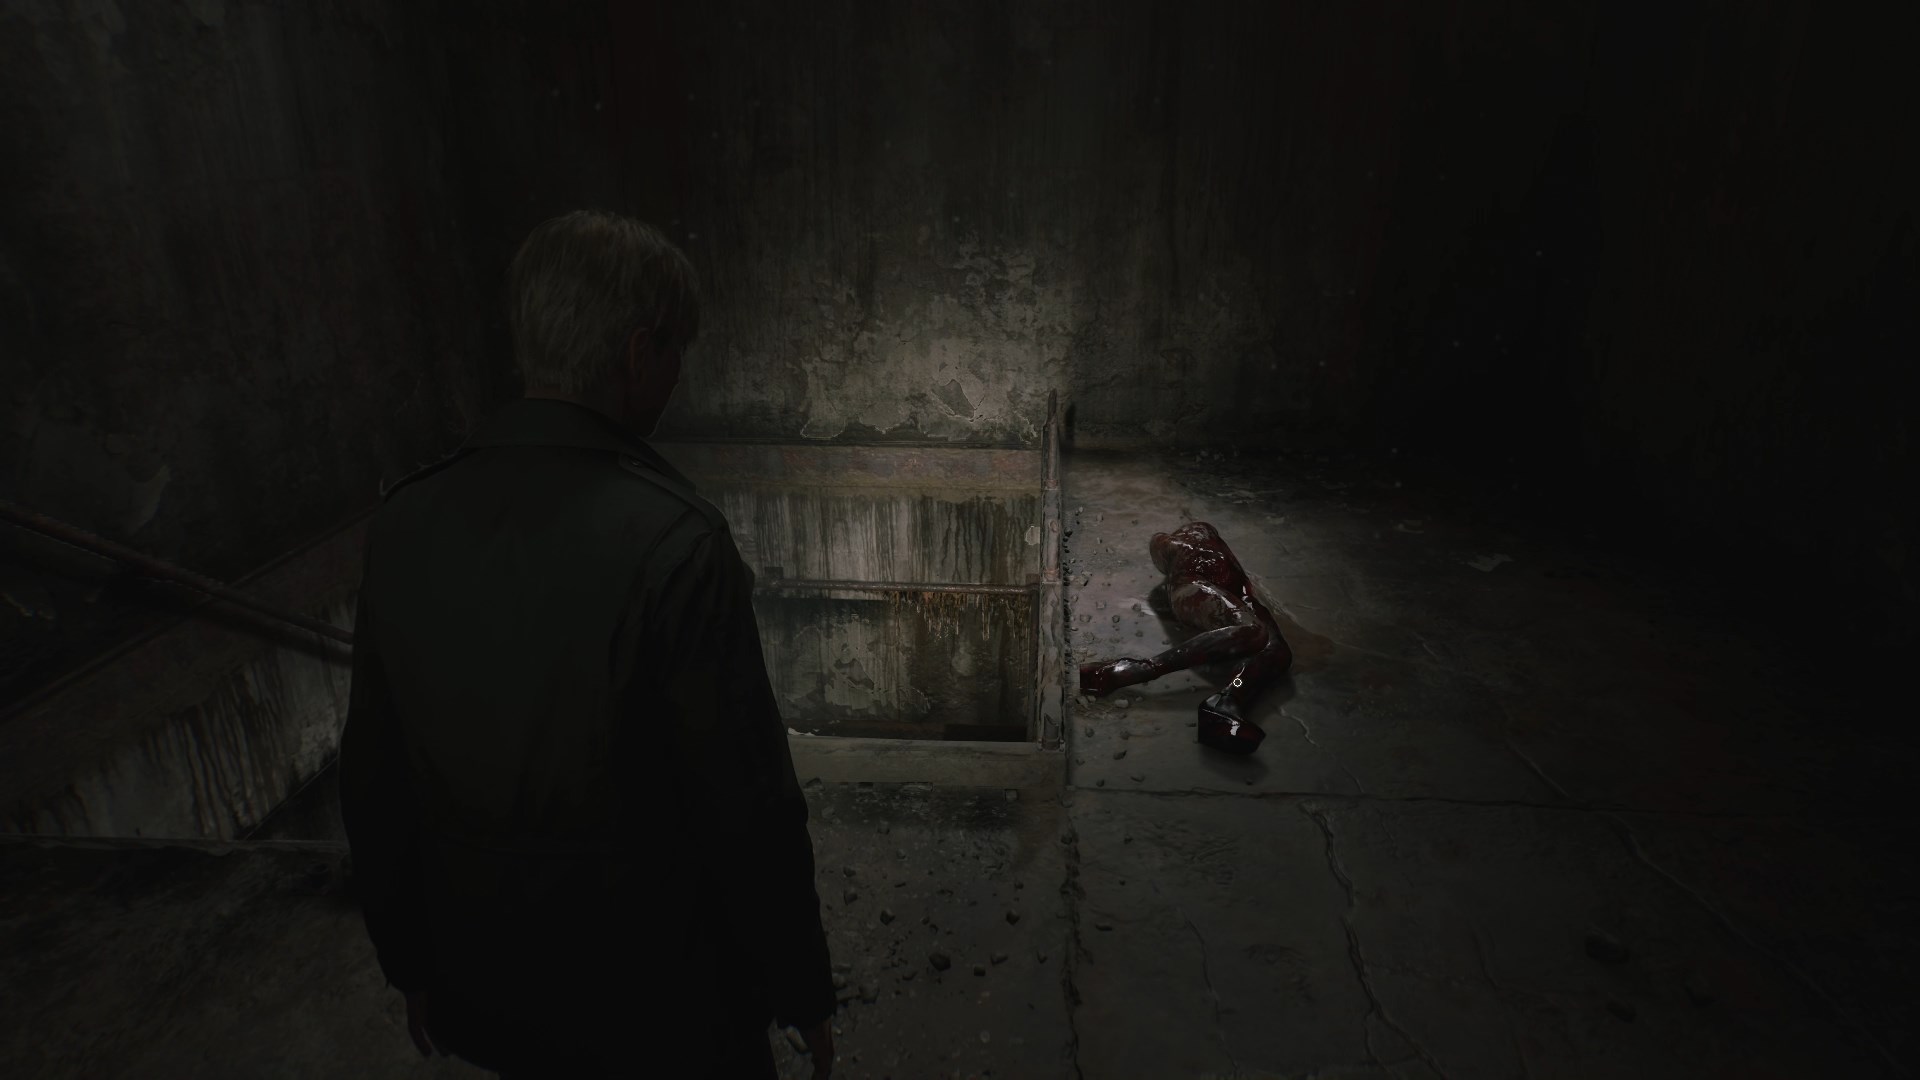
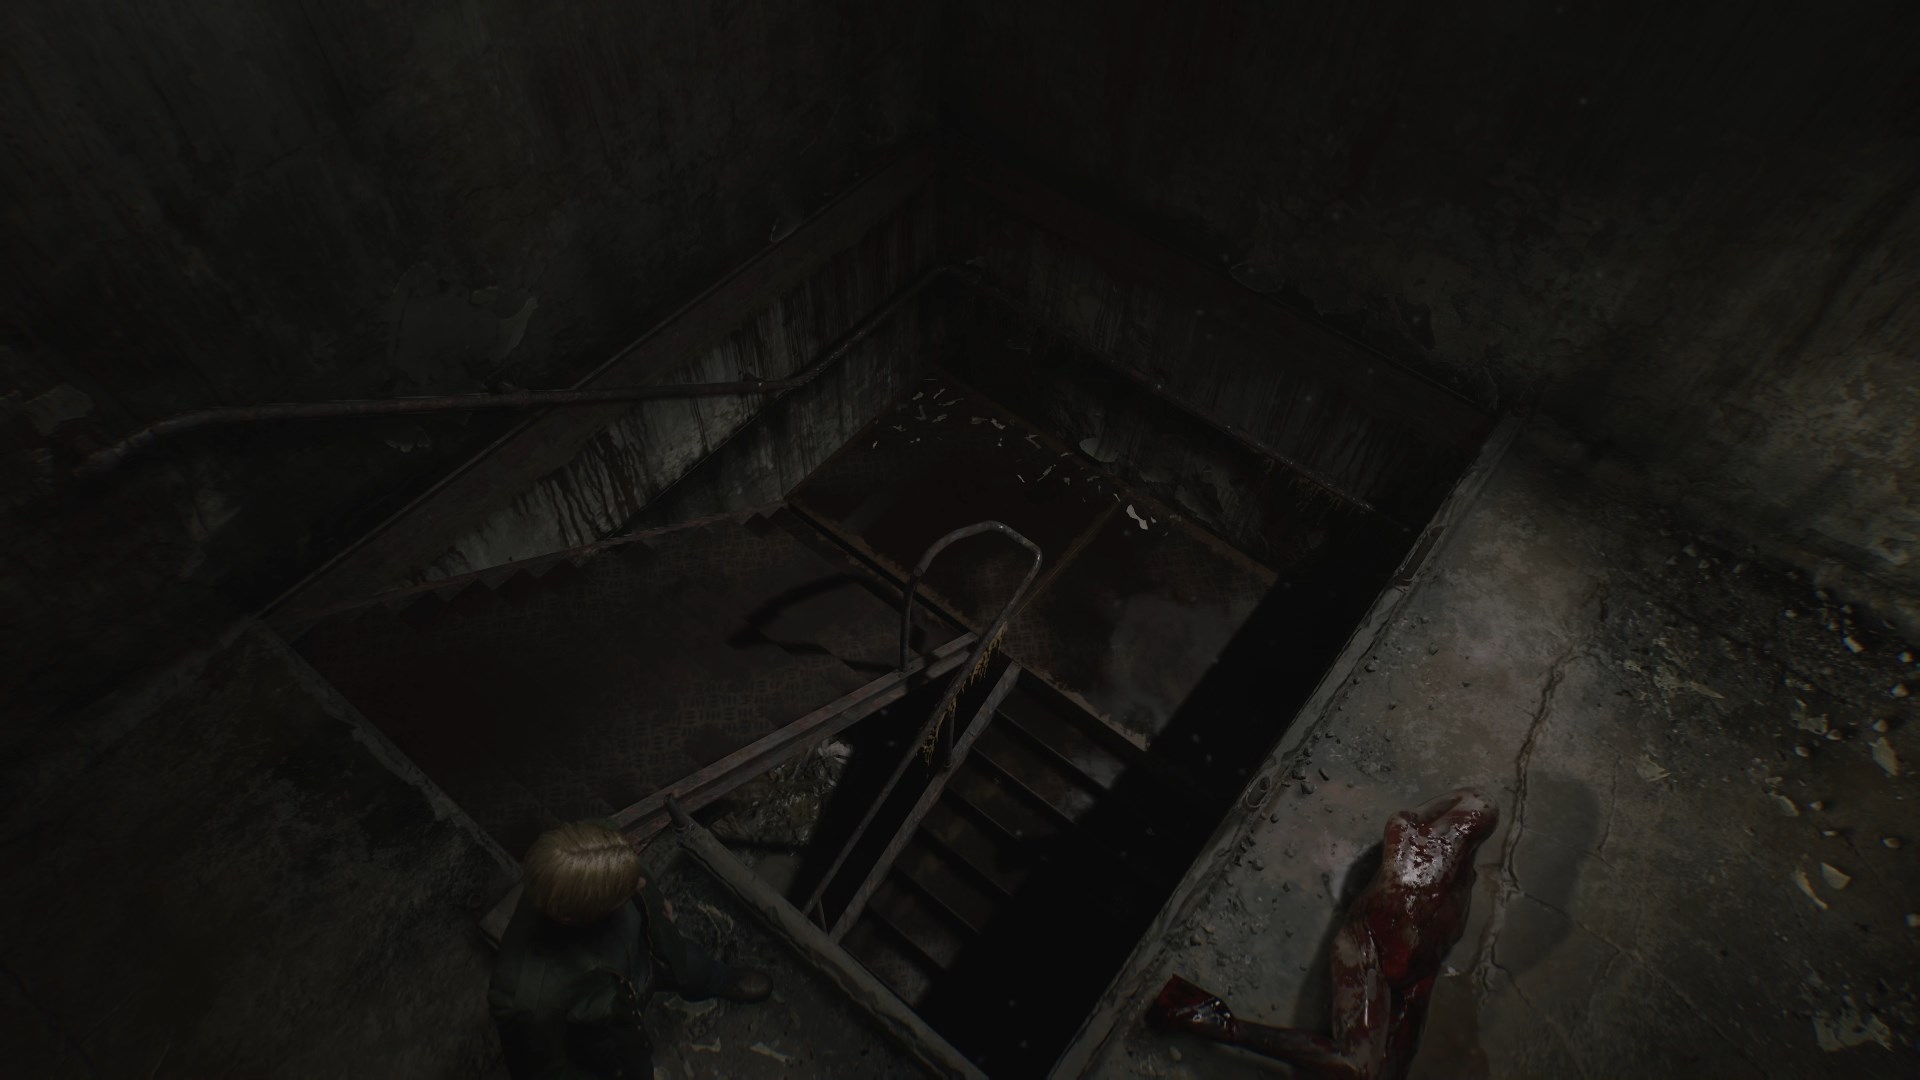
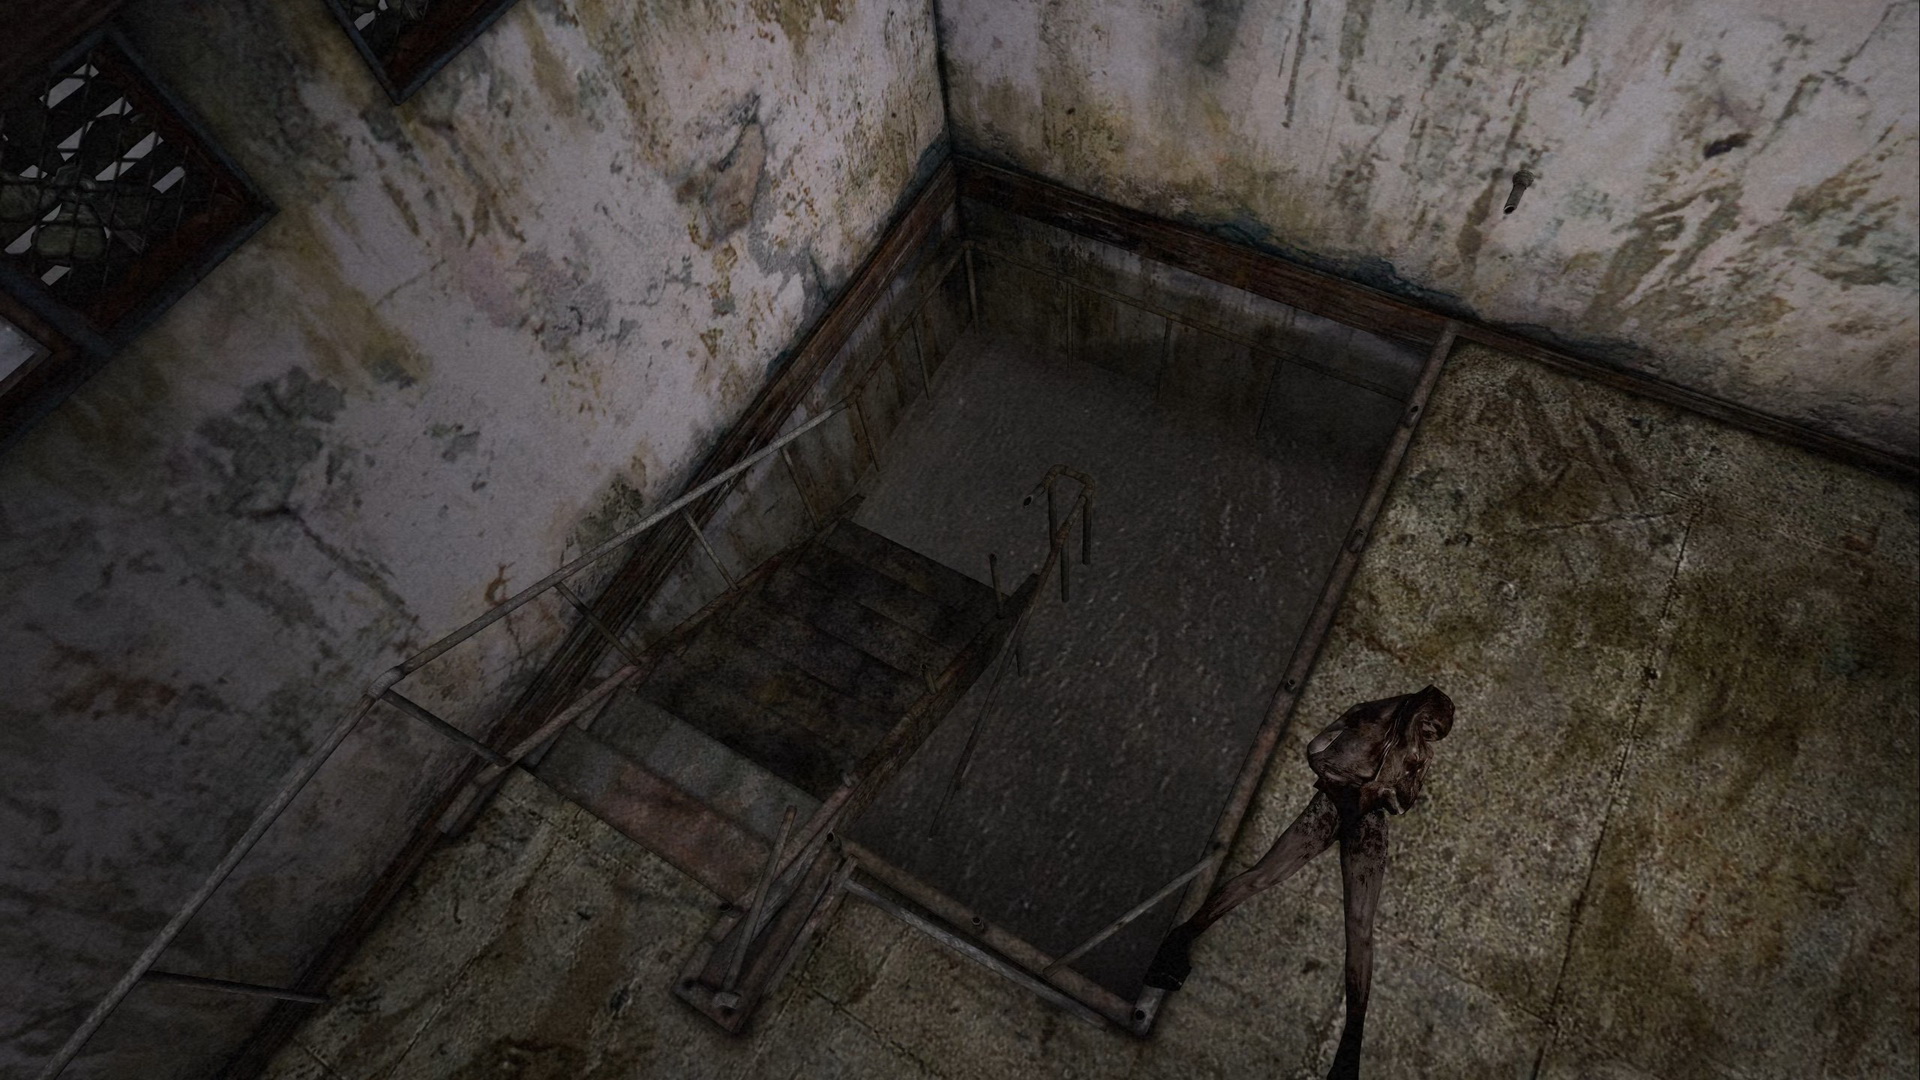
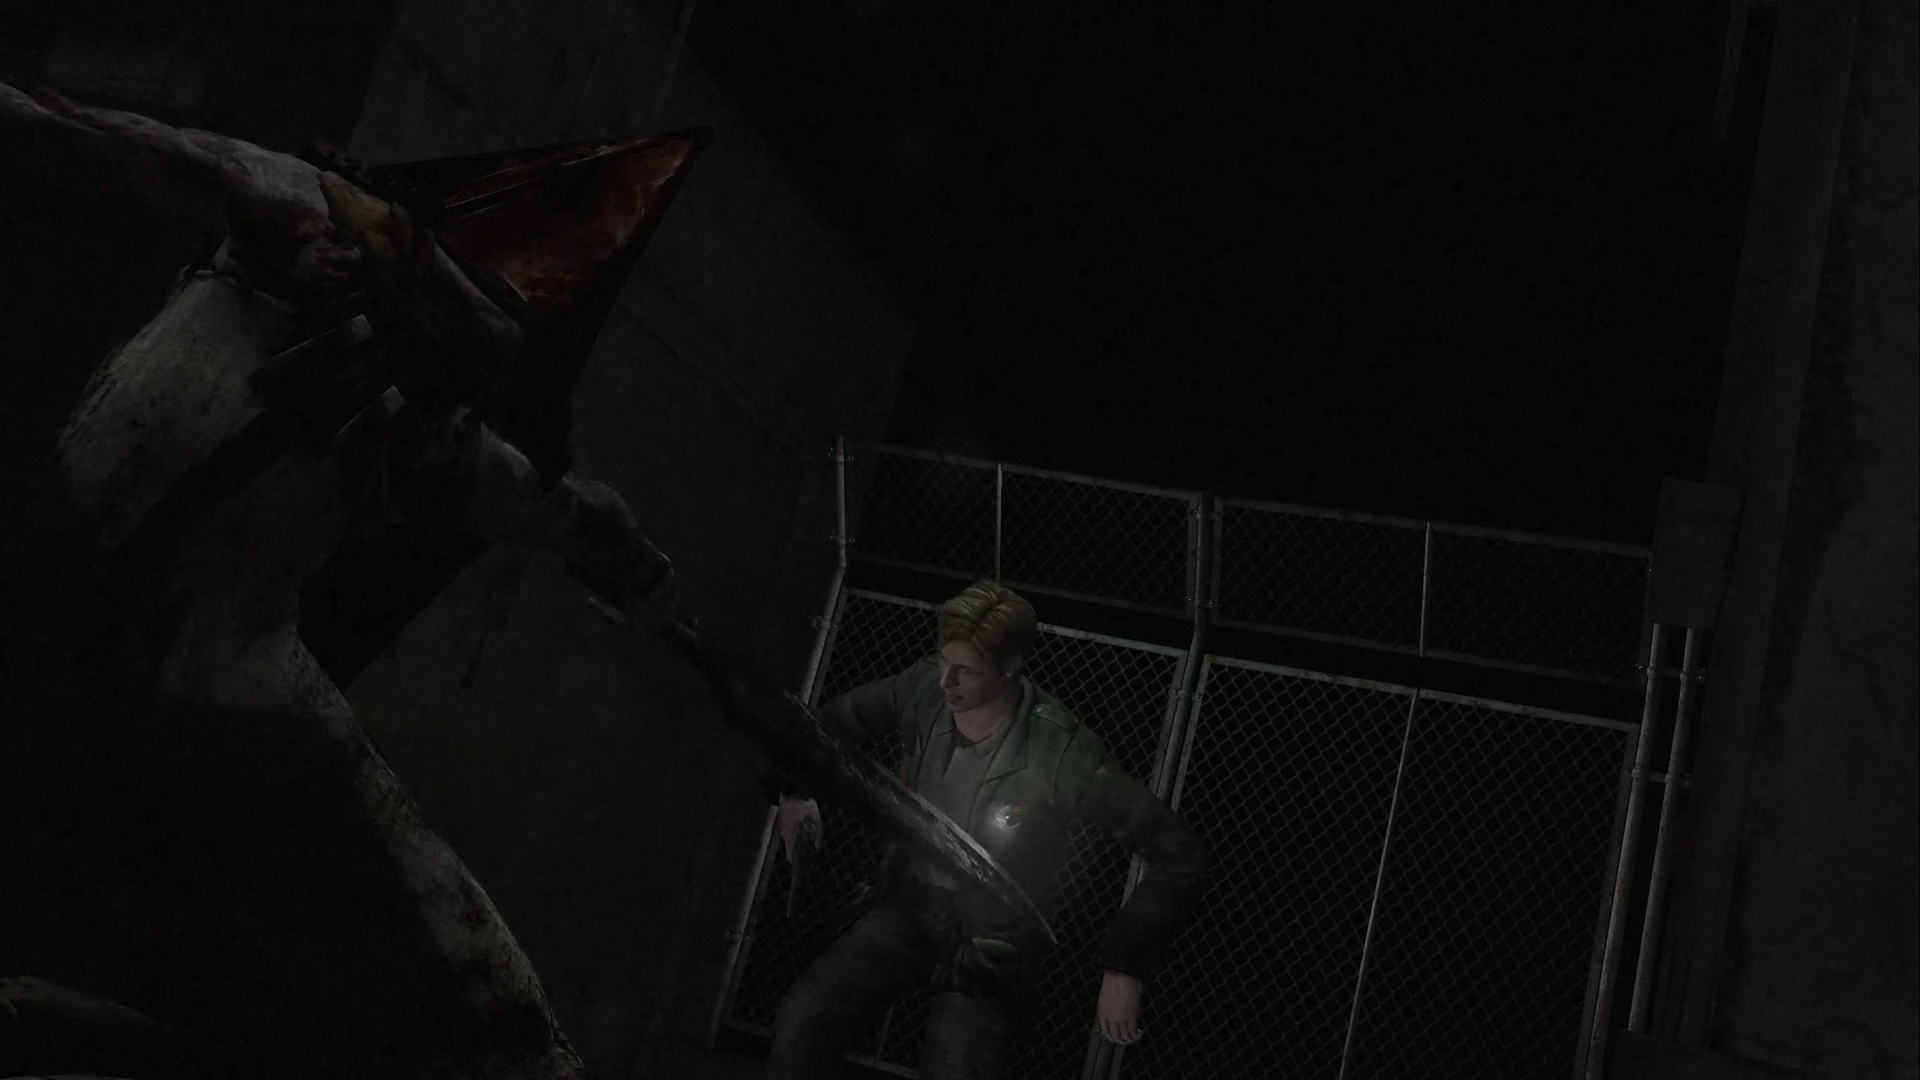
#8: Monster in the Staircase
Location: A monster body in the 2F stairwell landing after you fully solve the clock puzzle.
SH2 Reference: The aftermath of the first Pyramid Head battle where he leaves a tormented Lying Figure.
 |
 |
 |
|
 |
|
Western South Vale
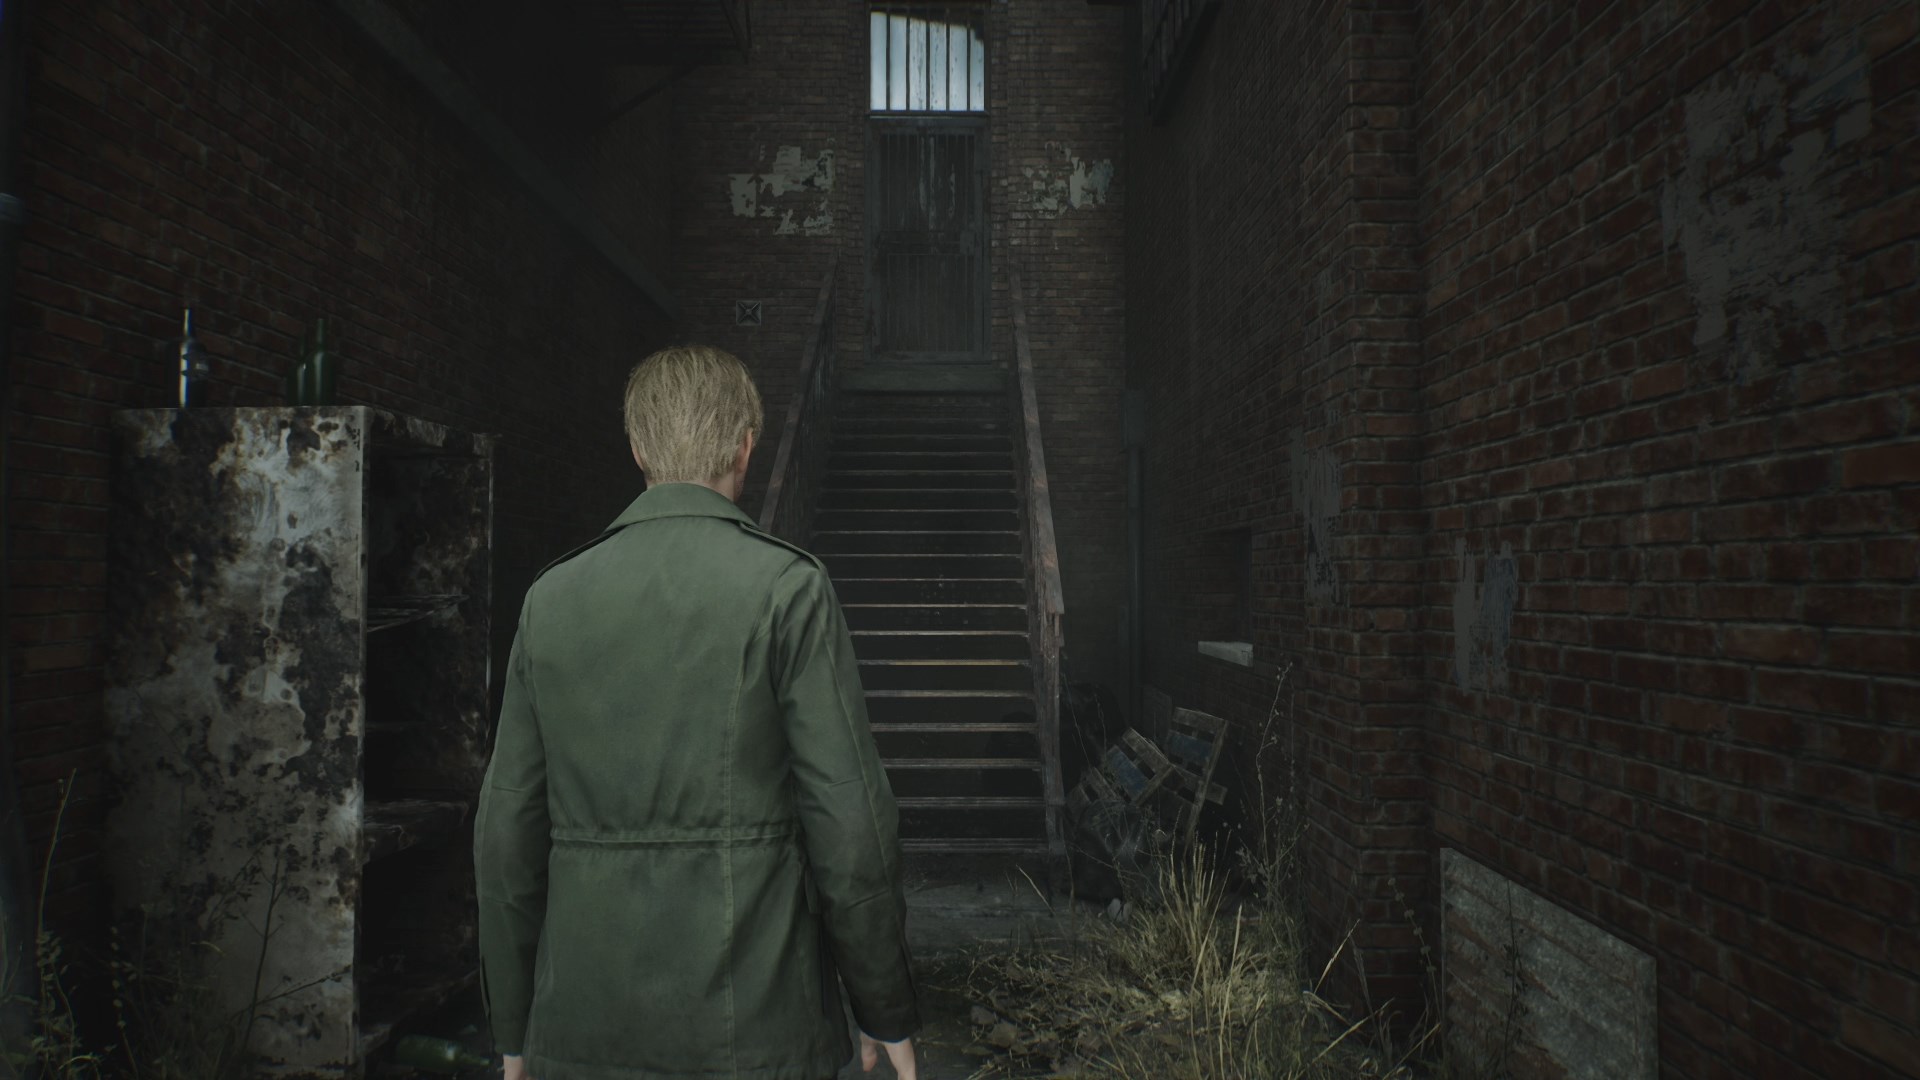
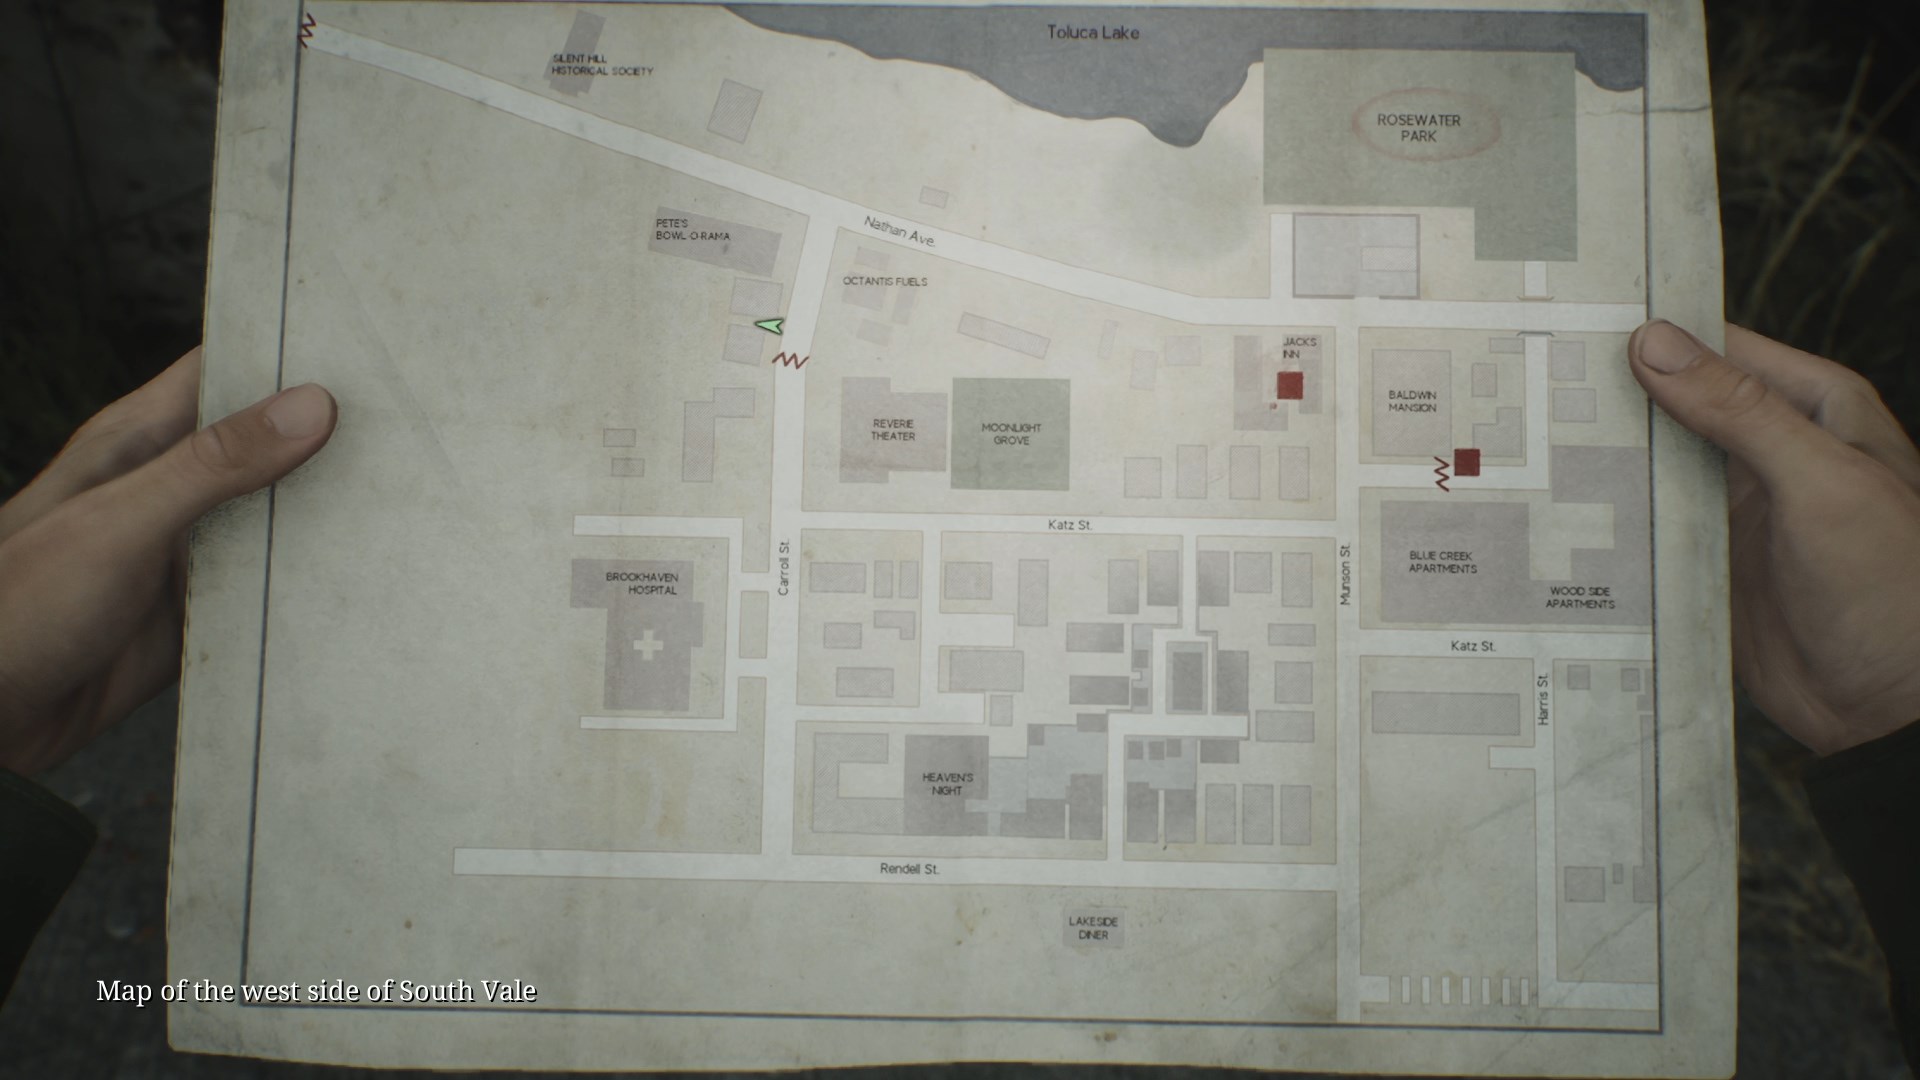
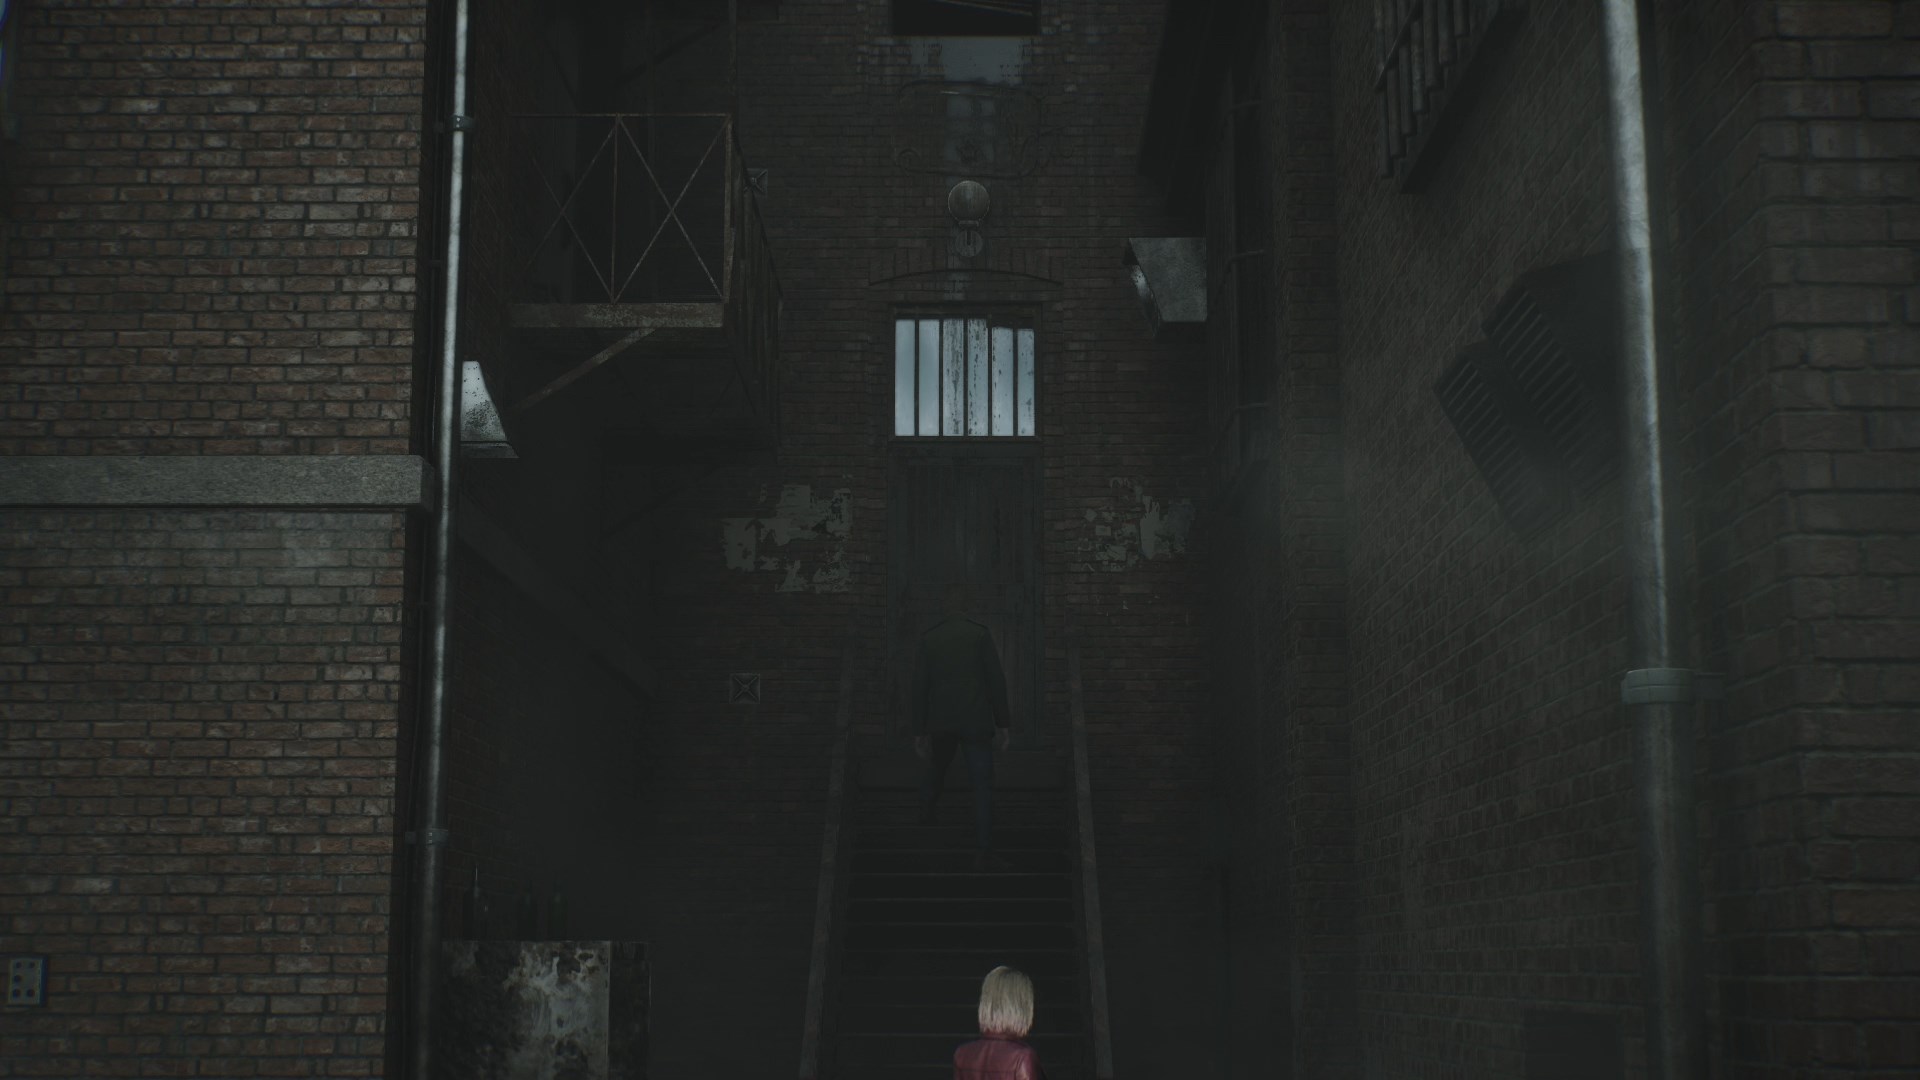
#9: Door Between Houses
Location: A barred door at the end of the long stairs between the houses at Carroll St.
SH2 Reference: Original location of Heaven's Night's main entrance.
 |
 |
 |
|
 |
|
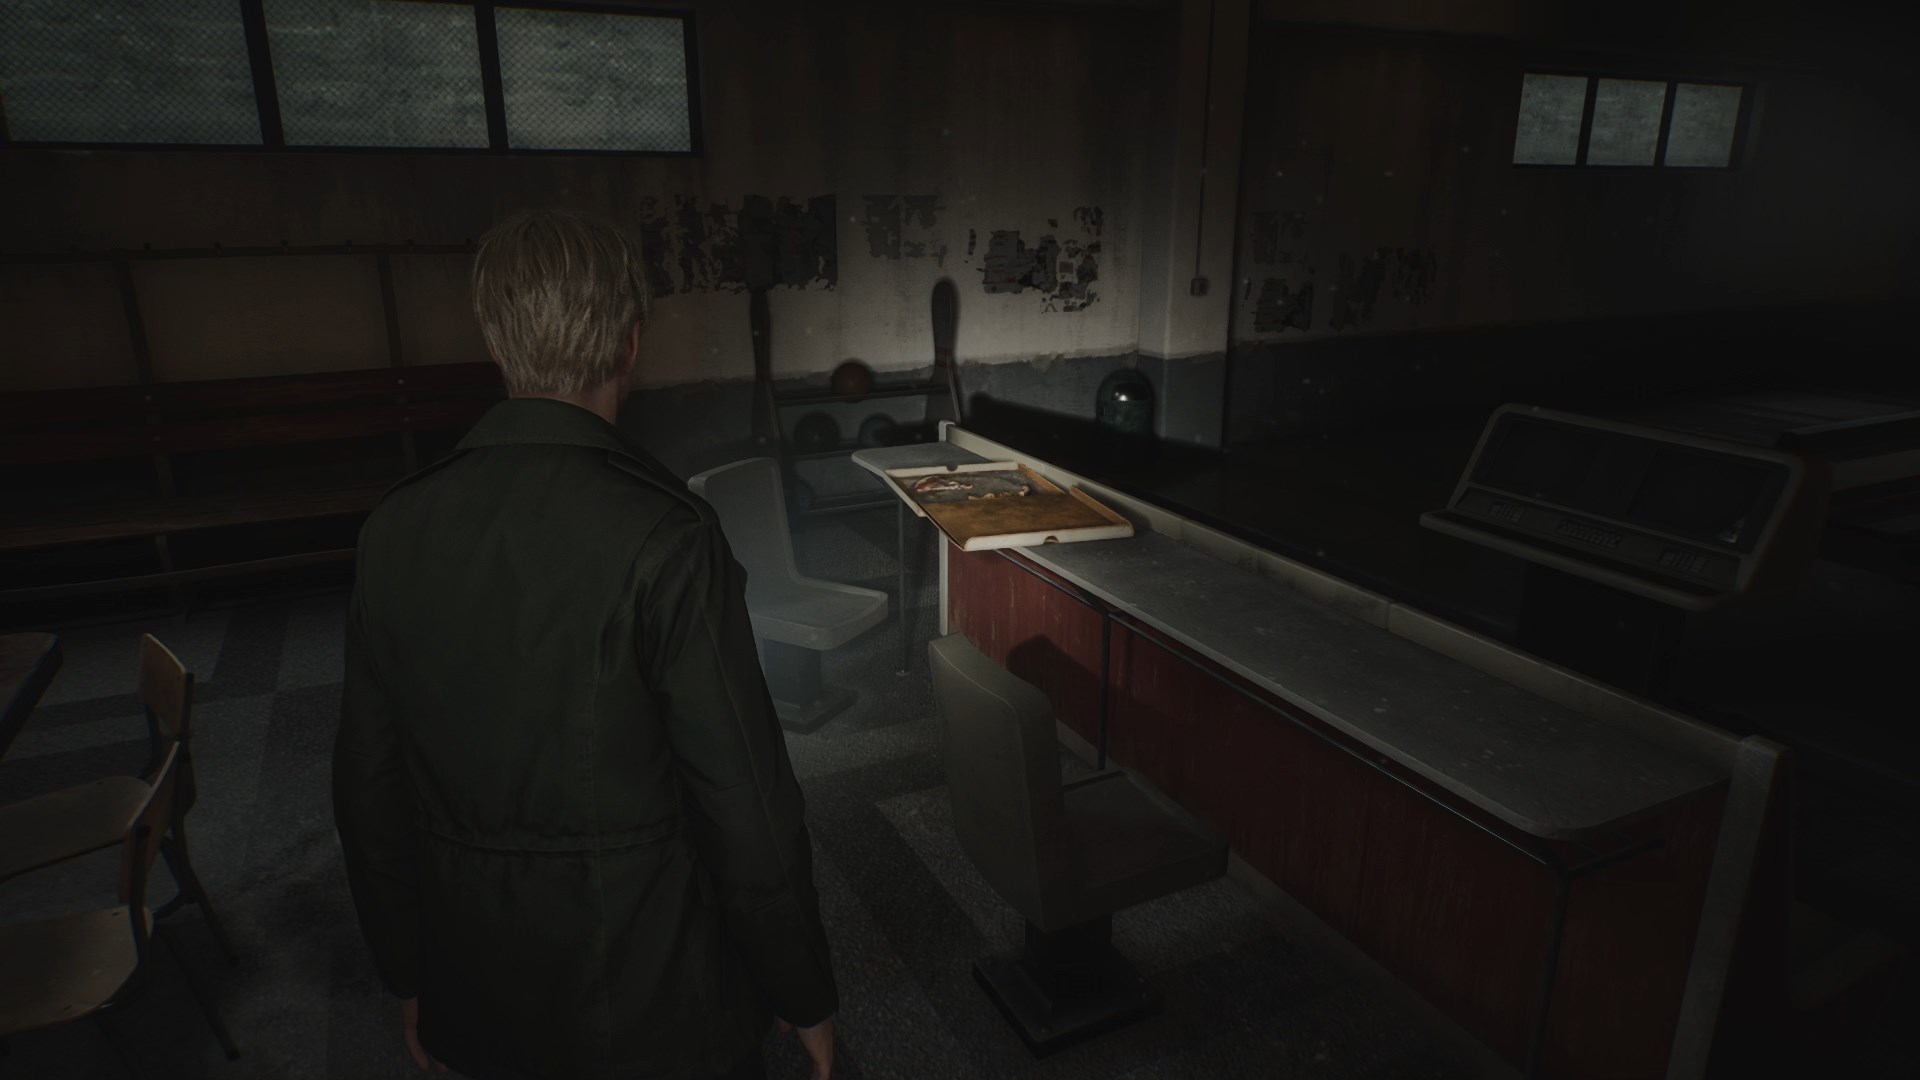
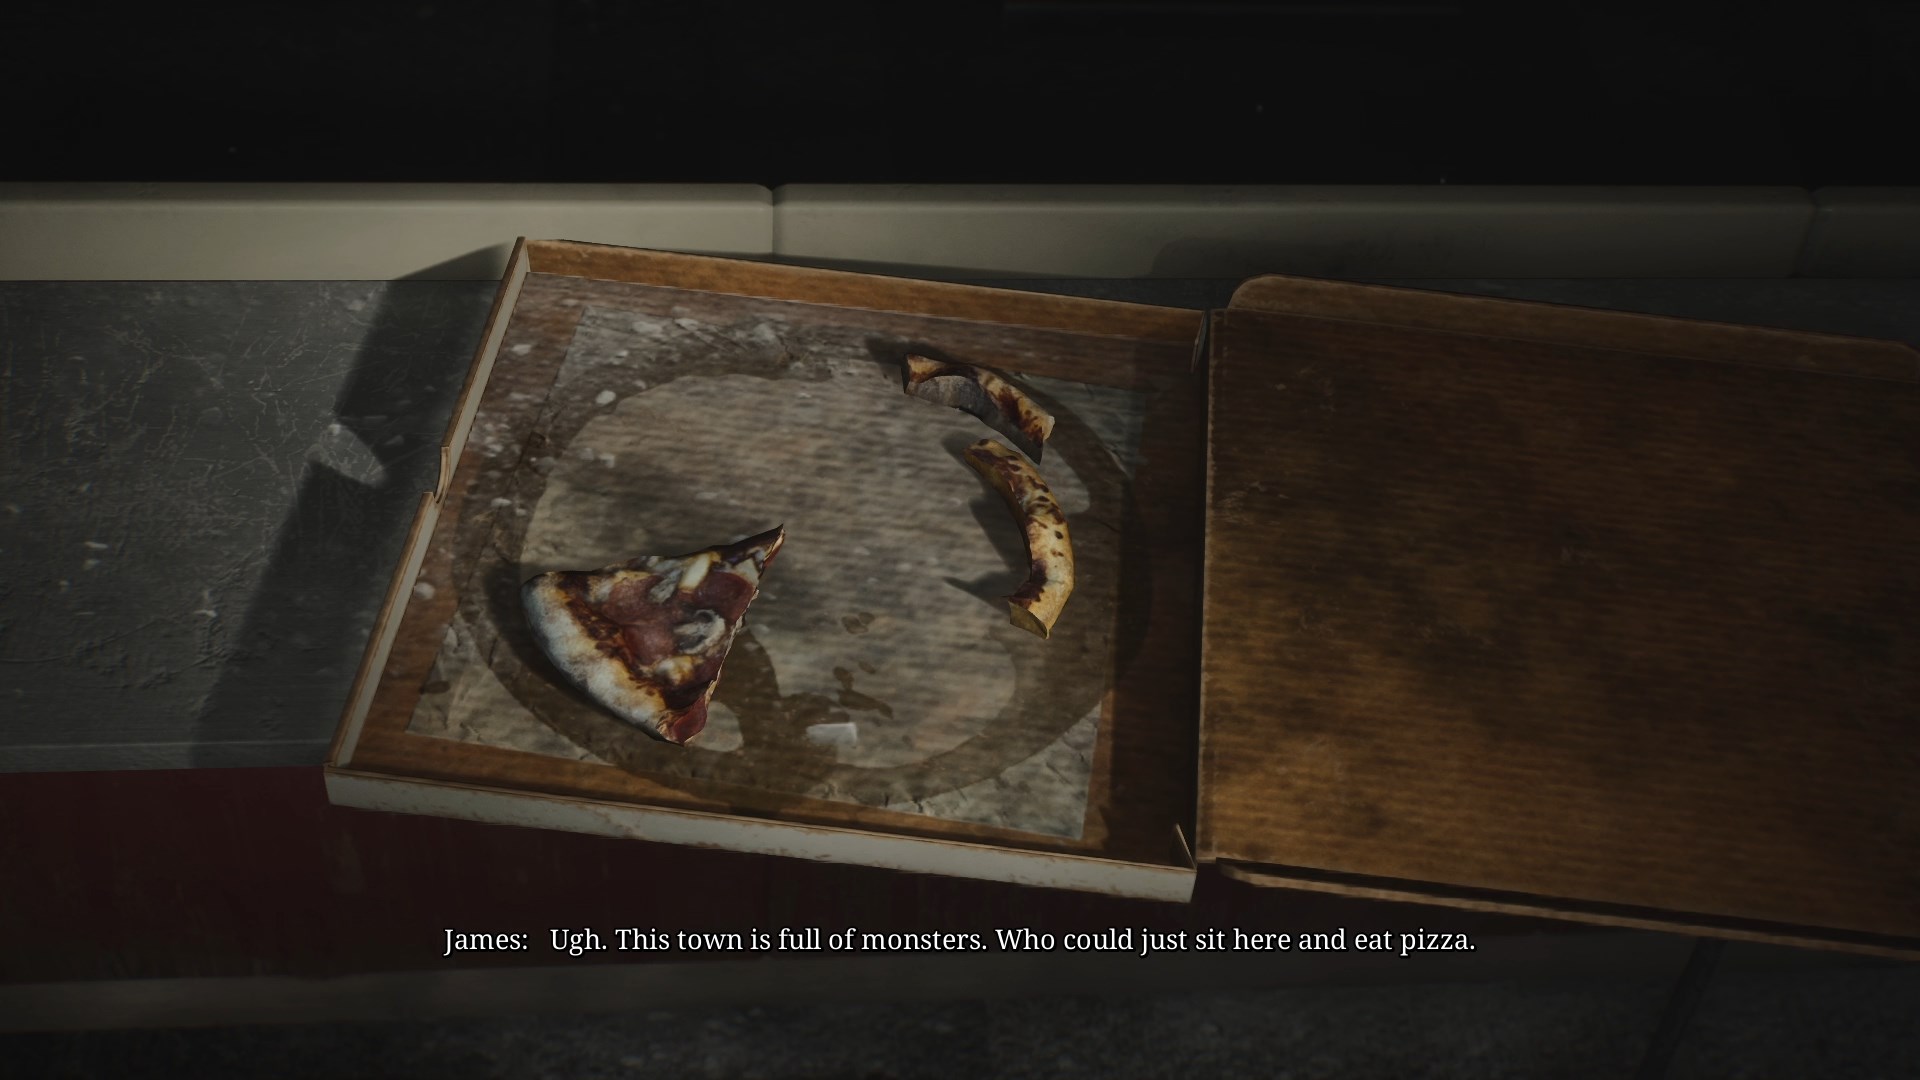
#10: Pizza Box
Location: Pete's Bowl-O-Rama, a box with pizza leftovers on the bowling alley countertop.
Note: This will also get you the Leftovers trophy / achievement.
SH2 Reference: James meeting Eddie at Pete's Bowl-O-Rama.
 |
 |
 |
|
 |
|
Brookhaven Hospital
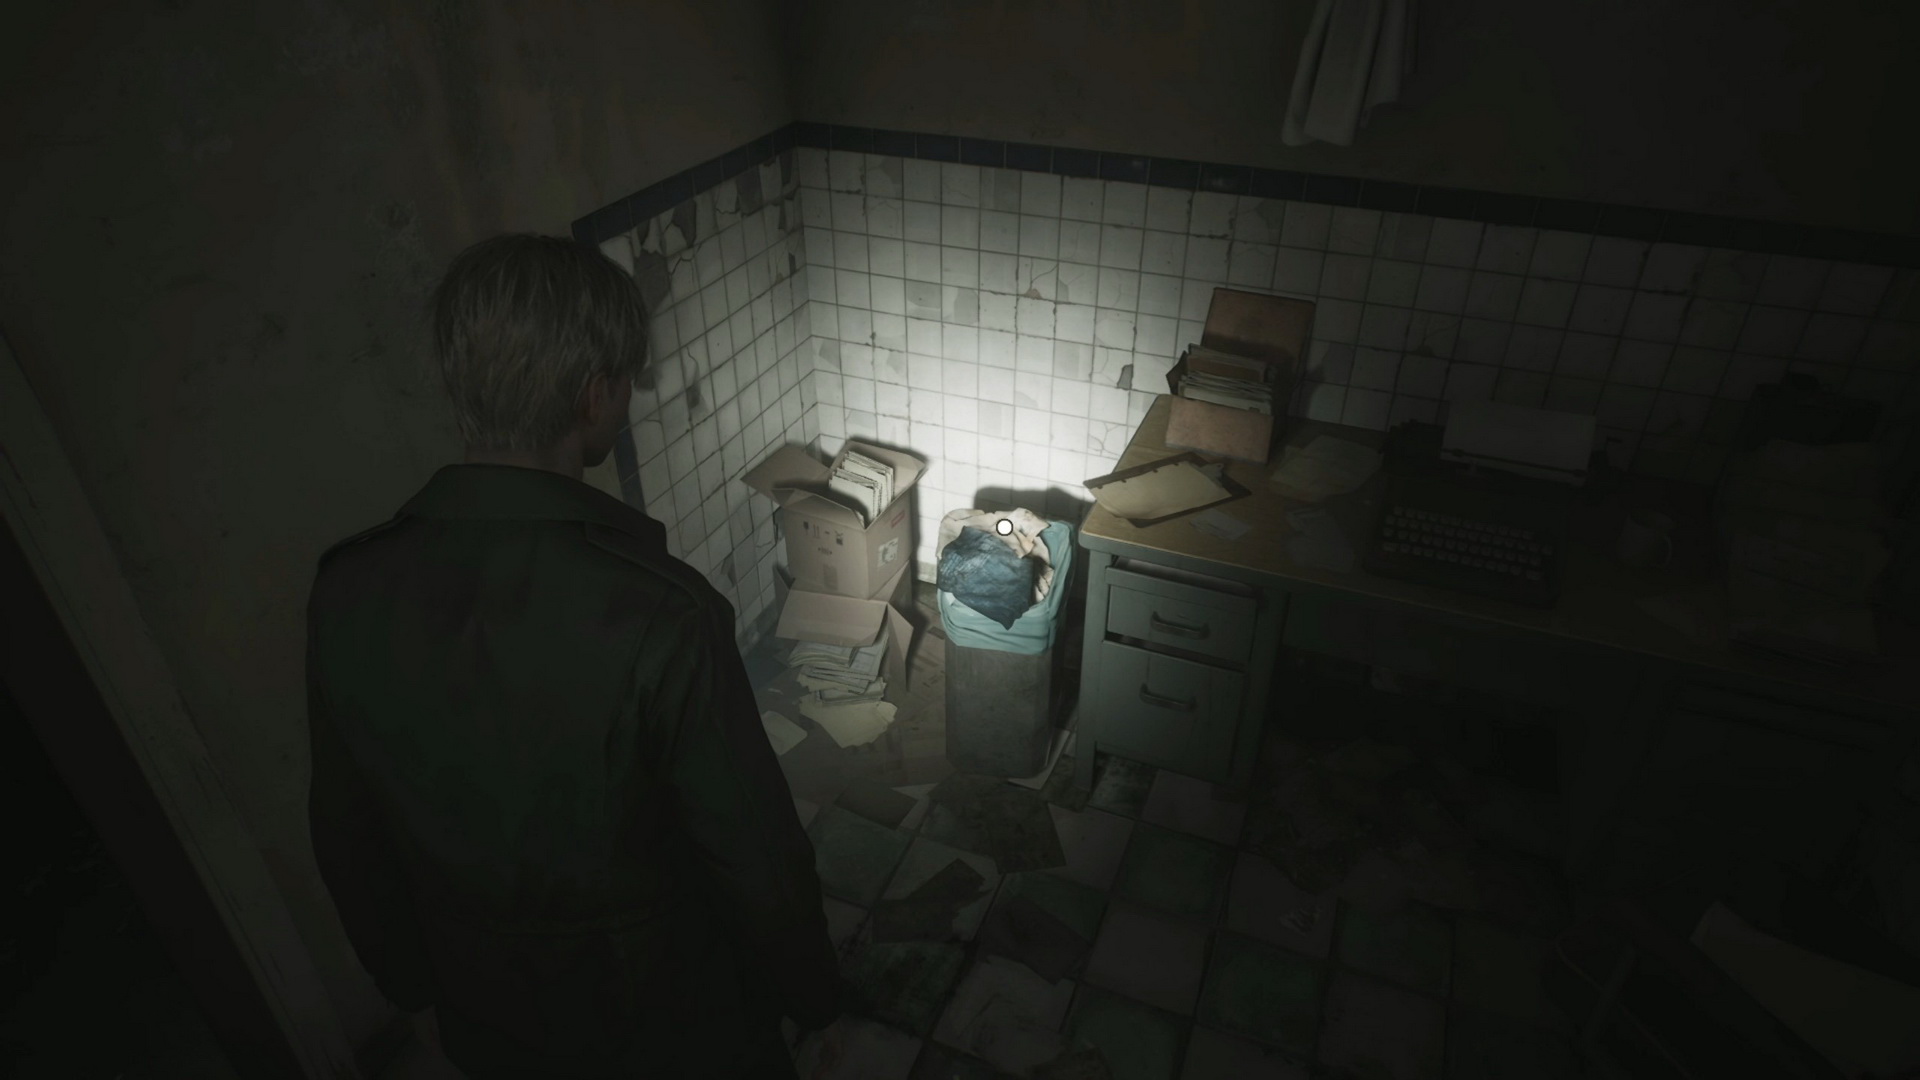
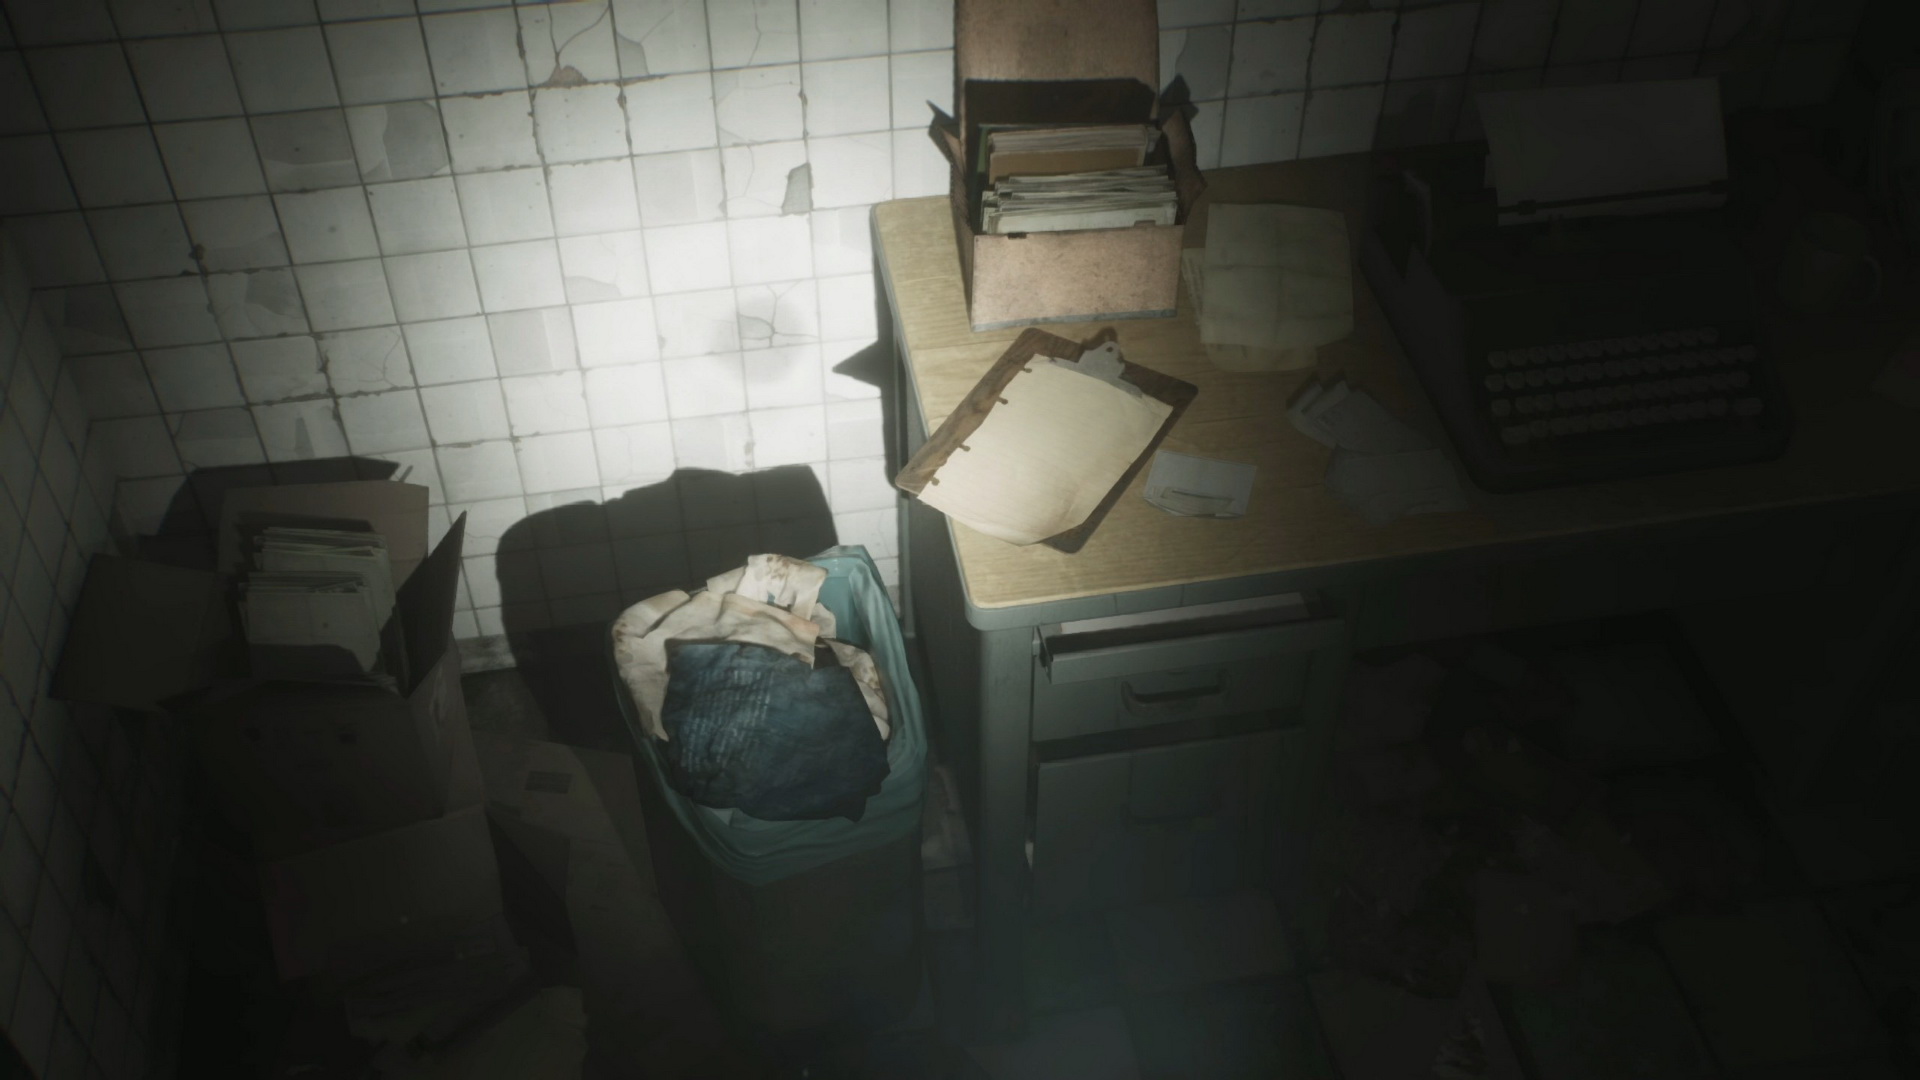
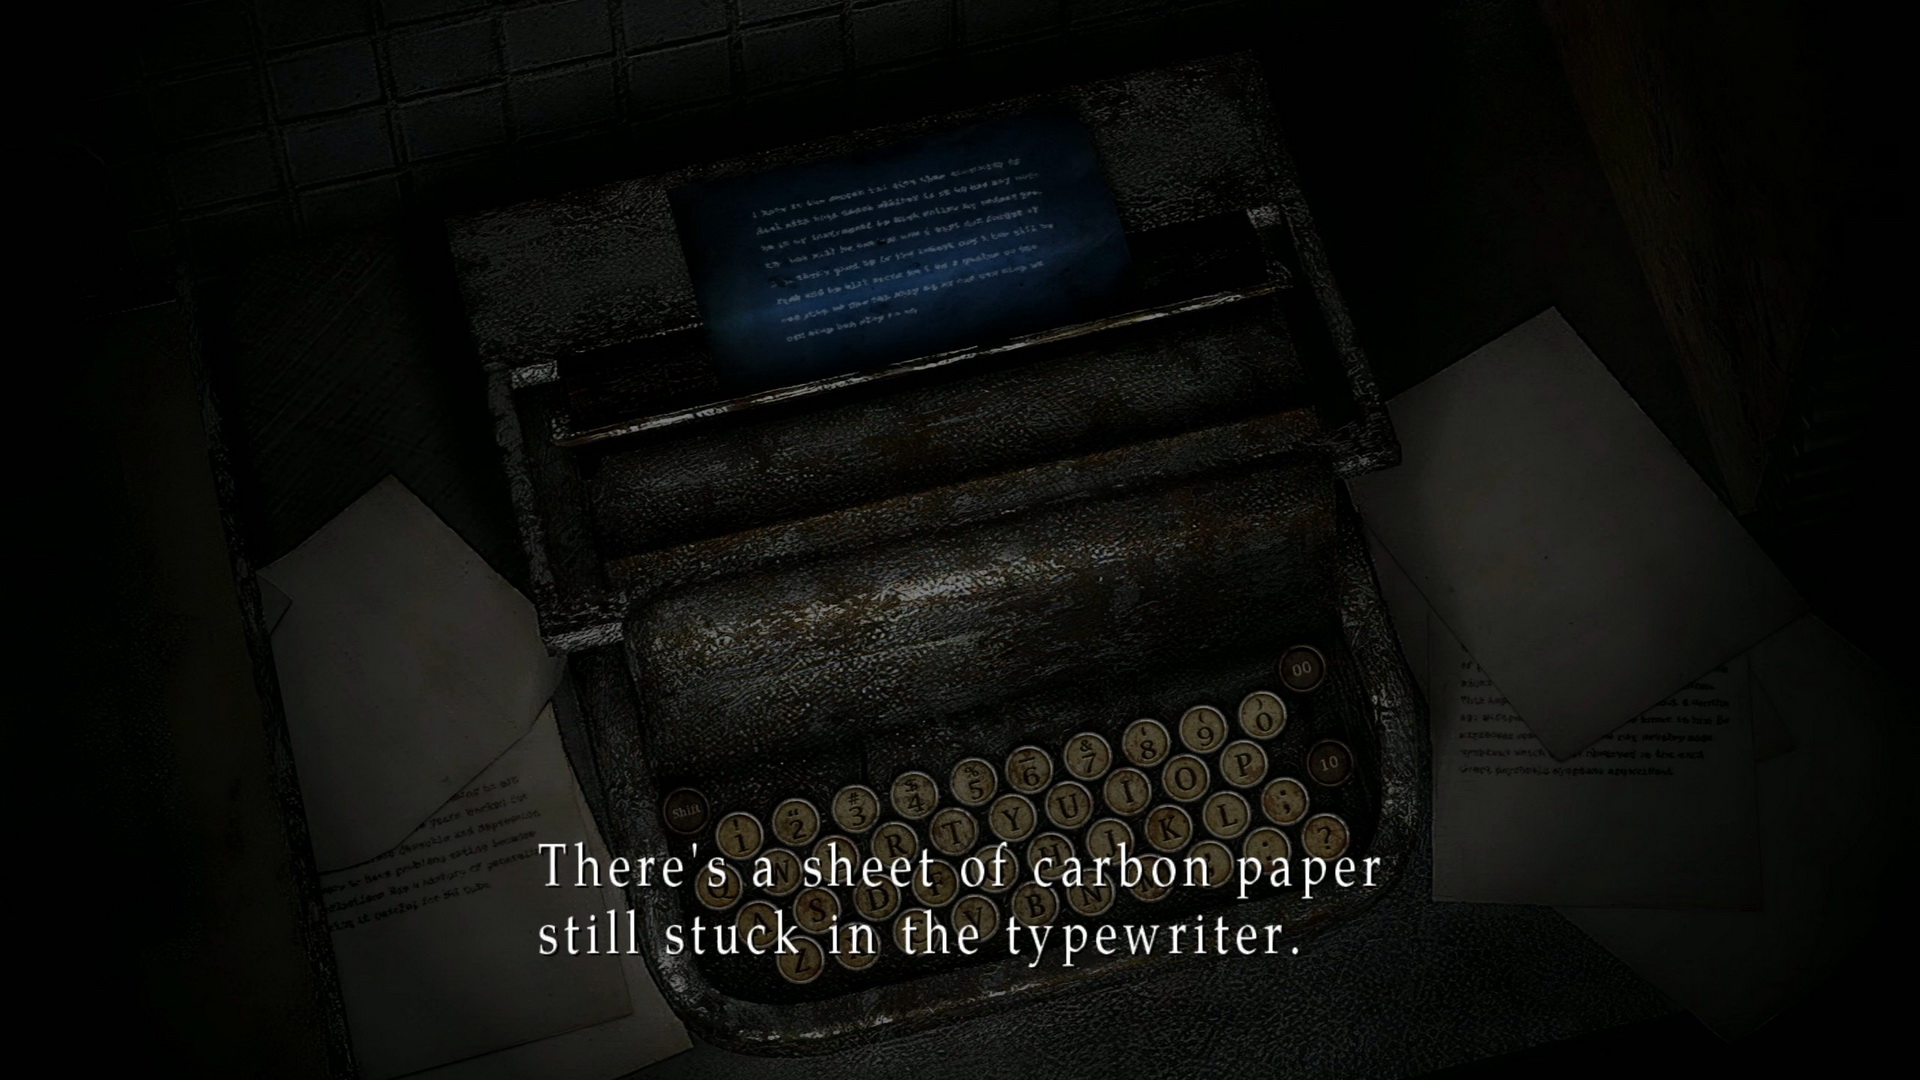
#11: Disposed Carbon Paper
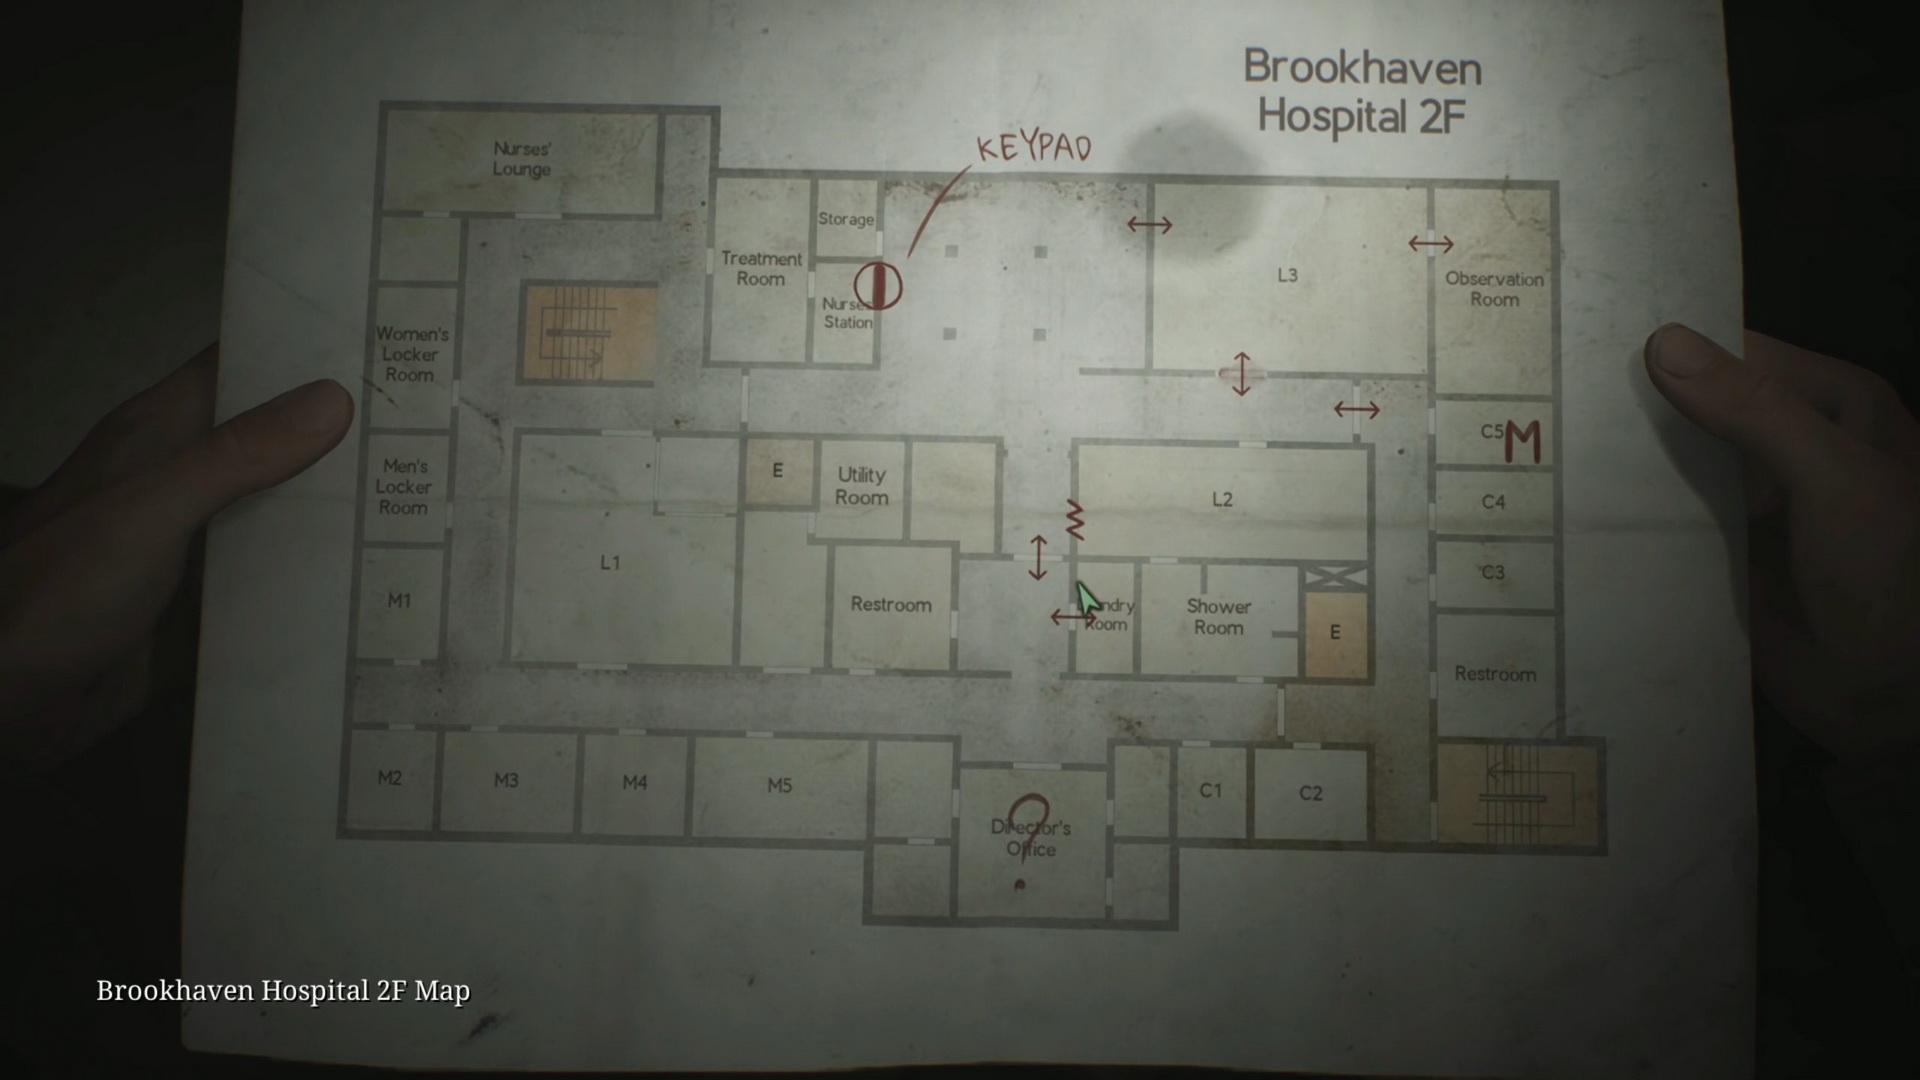
Location: 2F Laundry Room, a blue carbon paper thrown in the garbage bin.
SH2 Reference: One of the original codes for the chained box puzzle.
 |
 |
 |
|
 |
|
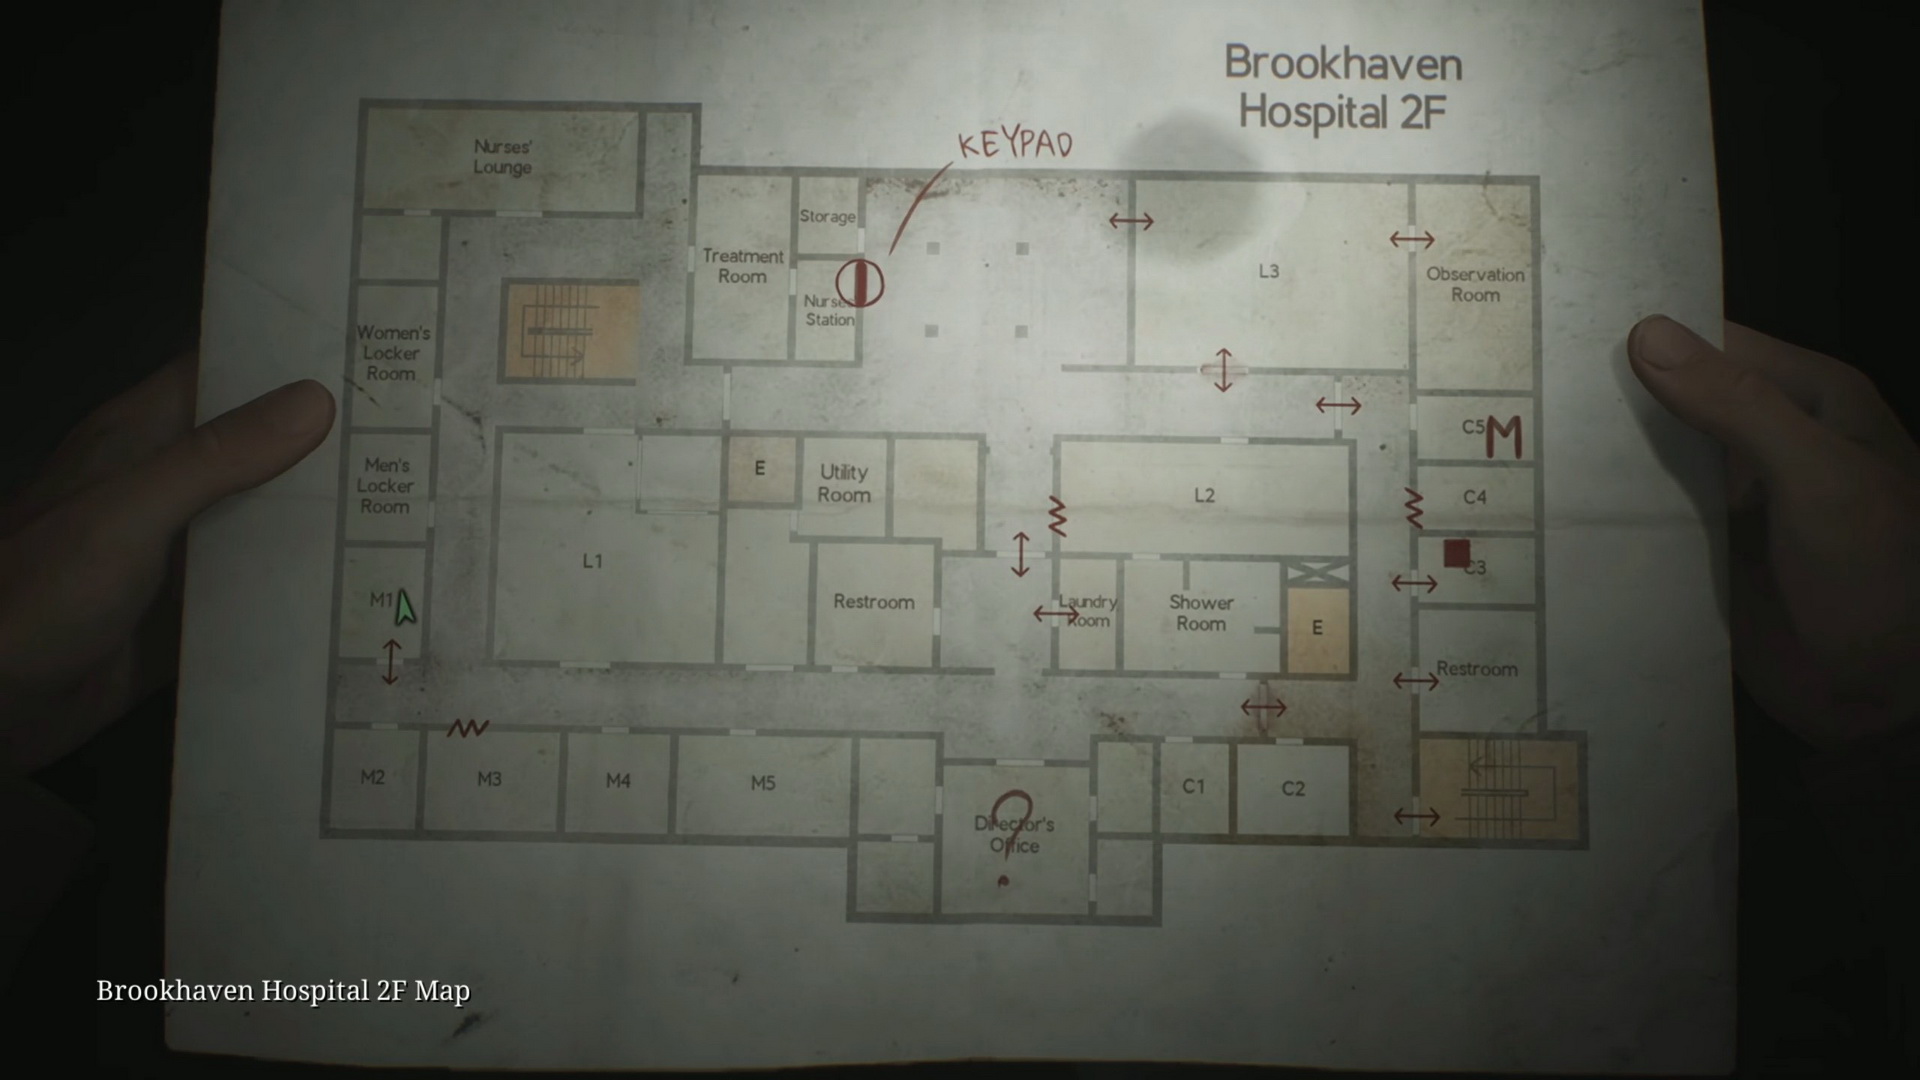
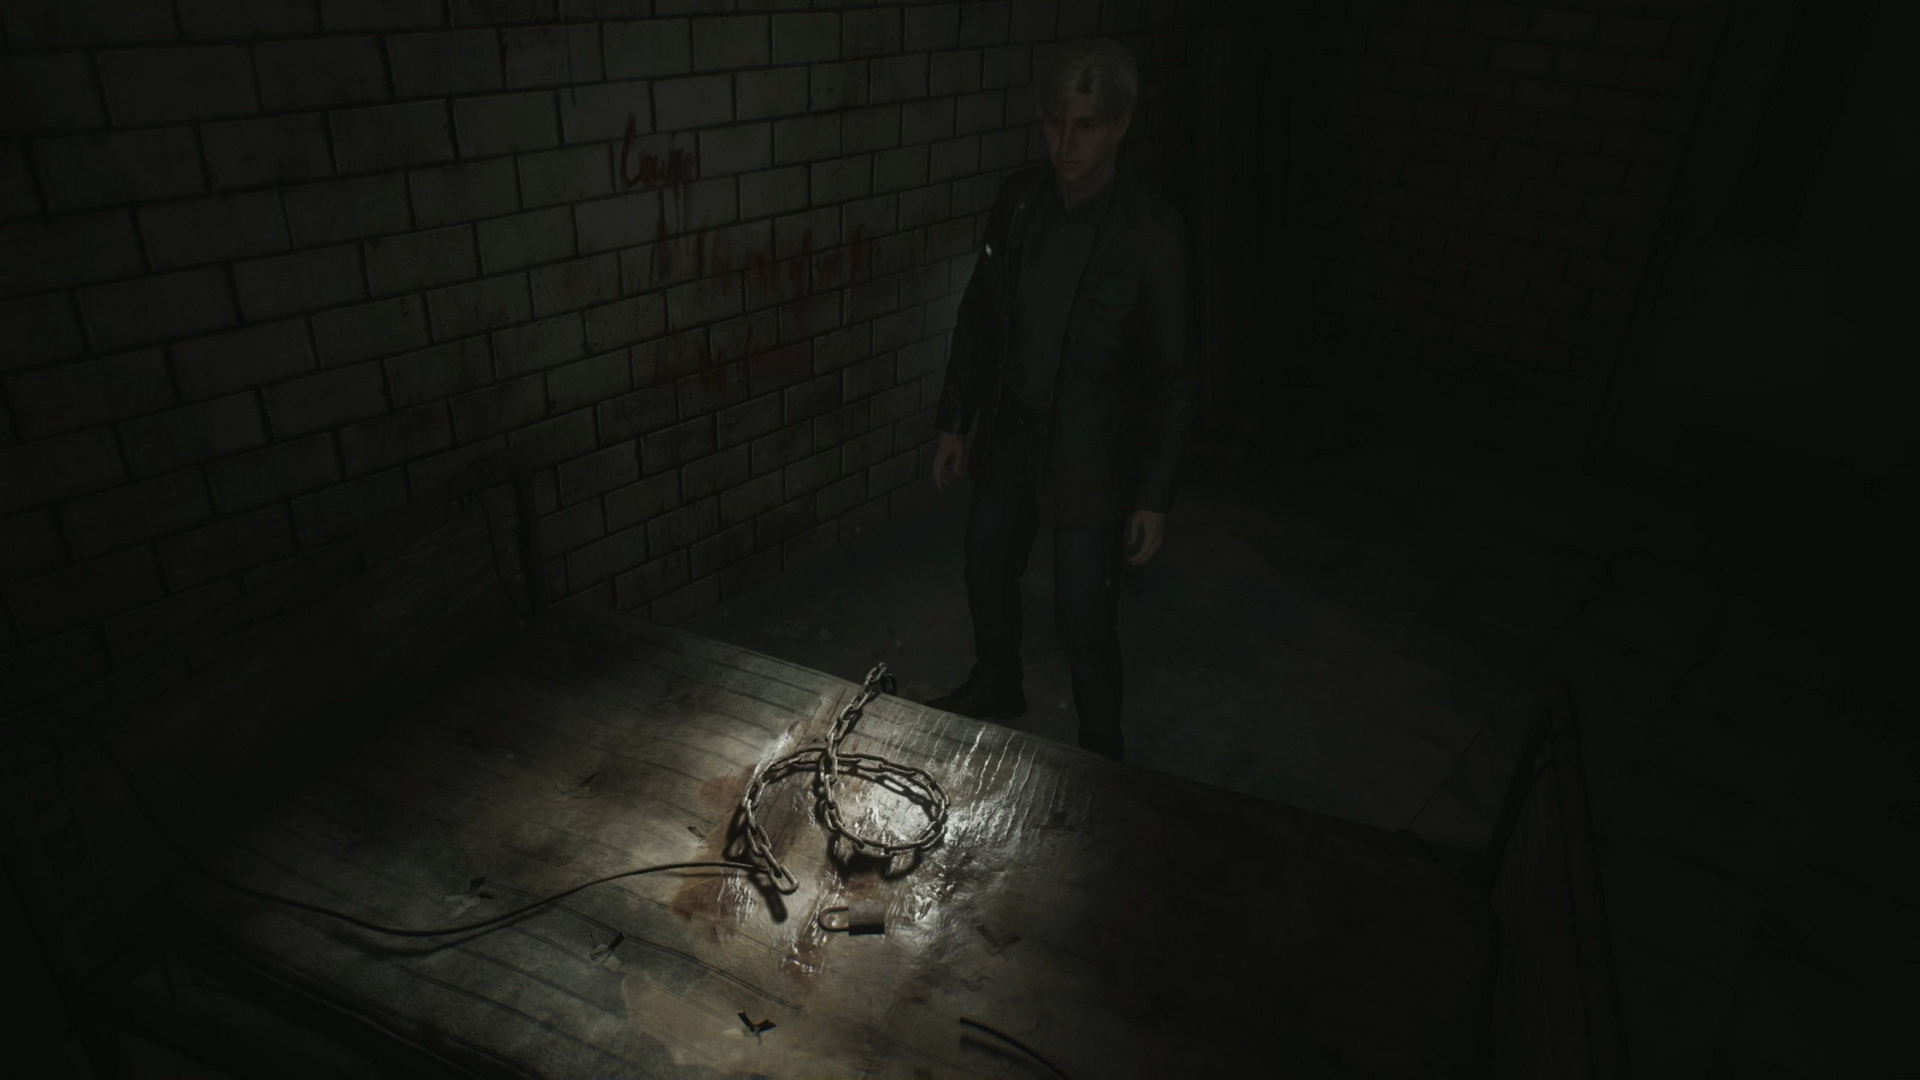
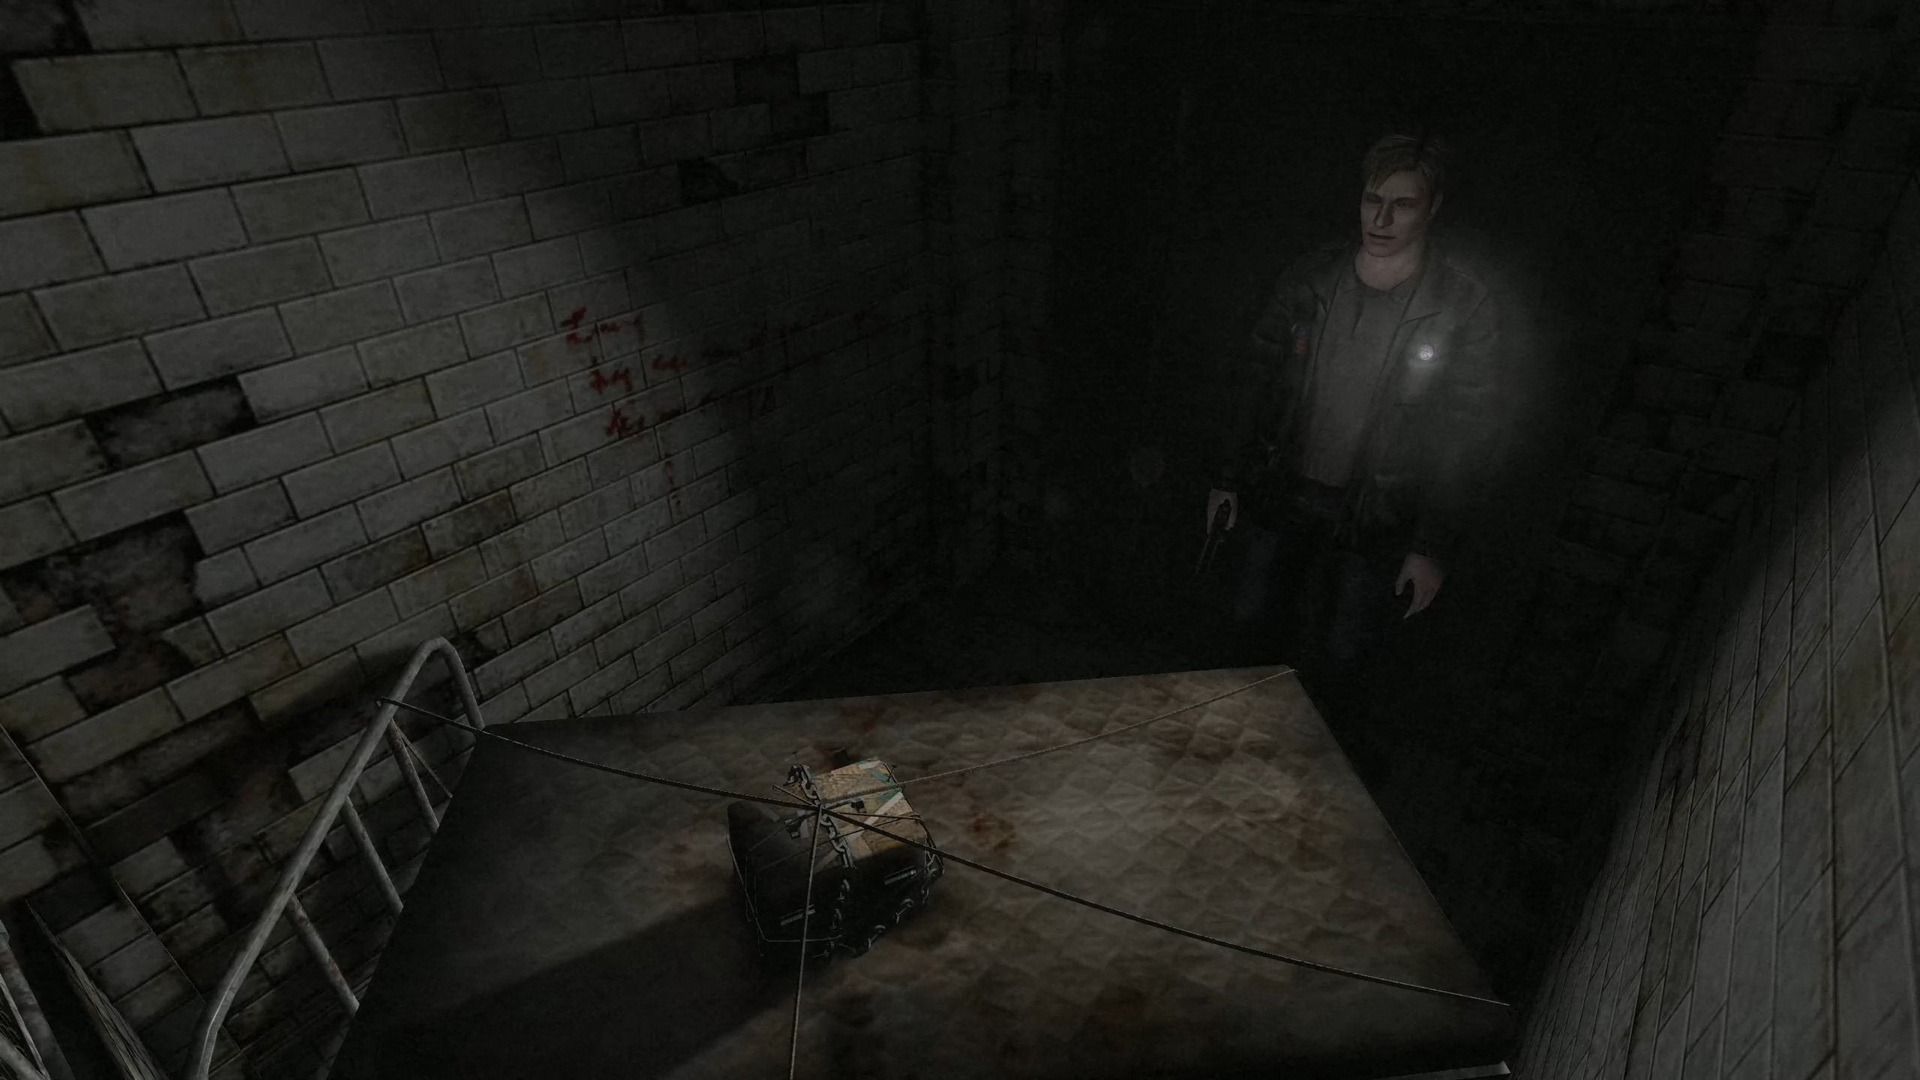
#12: Chains on the Bed
Location: Room M1 2F, chains on the bed.
SH2 Reference: Original location of the "Louise" chained box puzzle in Room S14 3F.
 |
 |
 |
|
 |
|
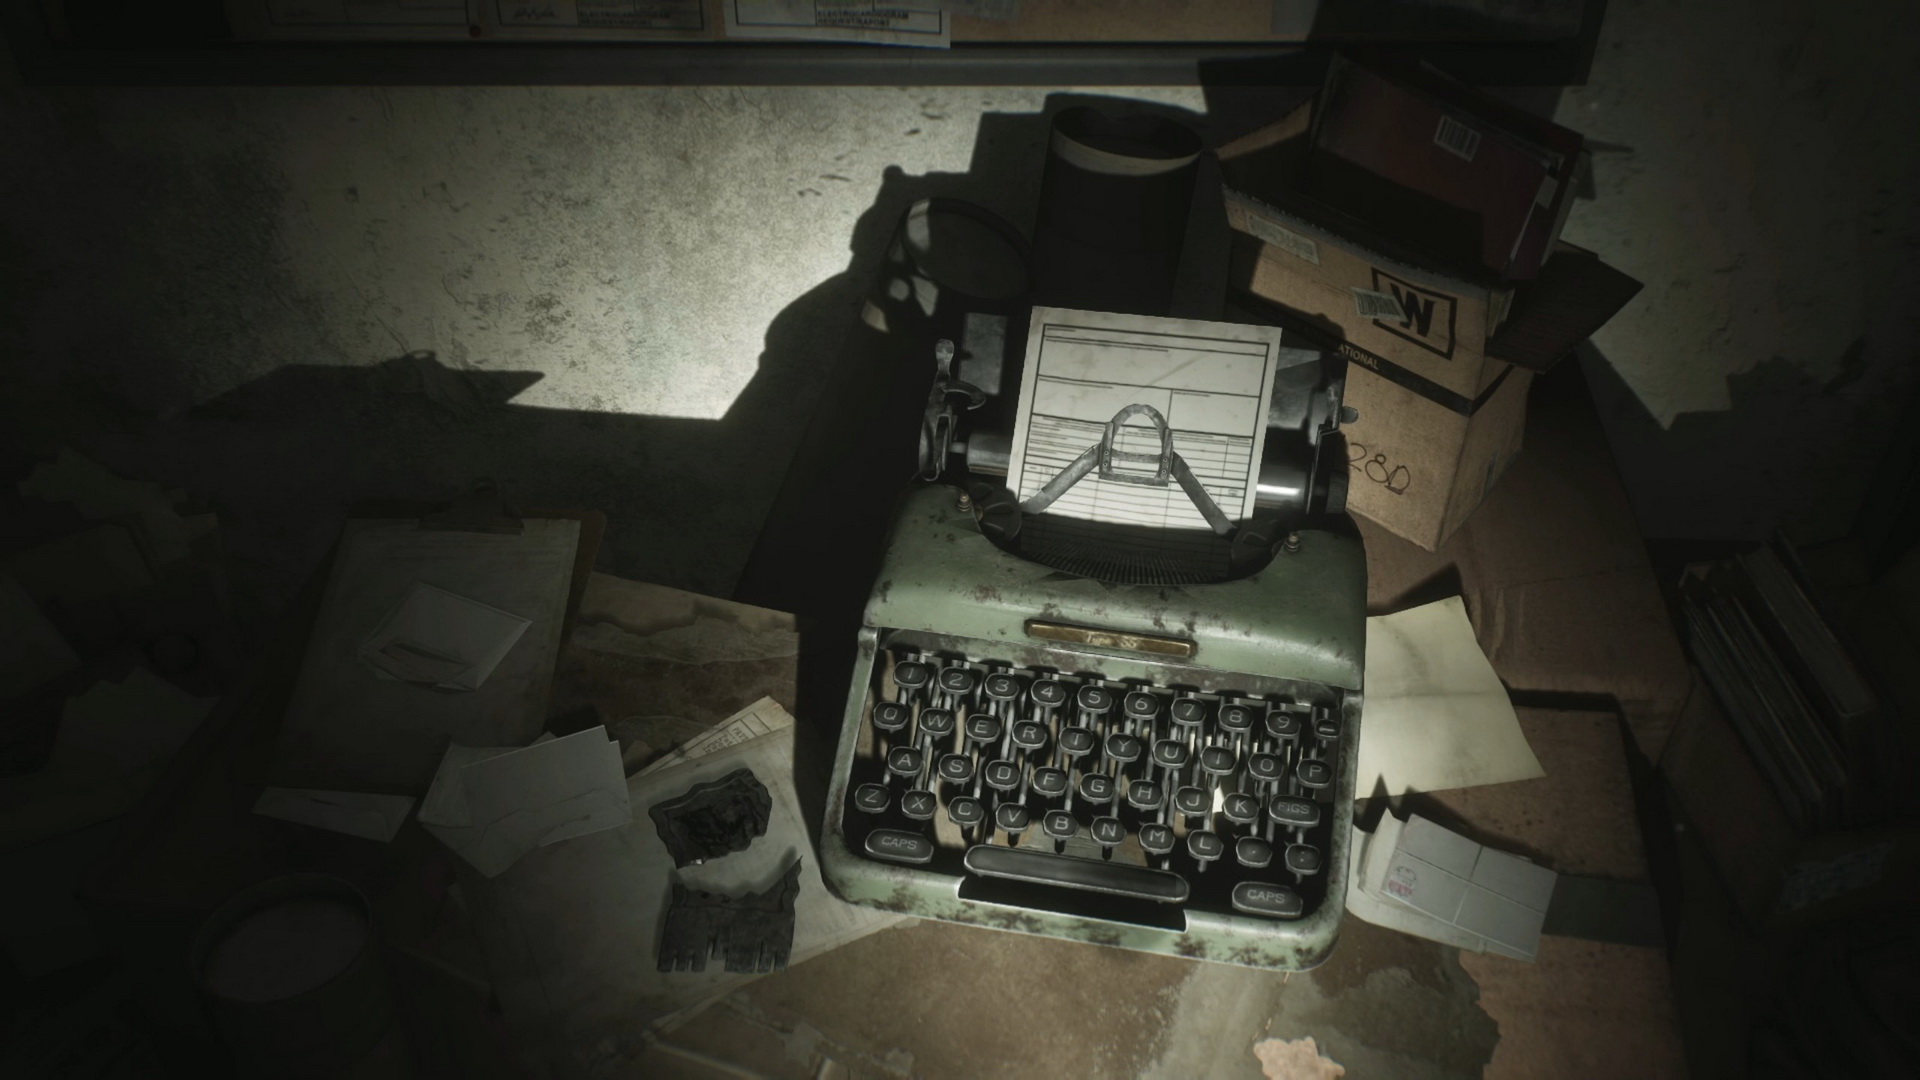
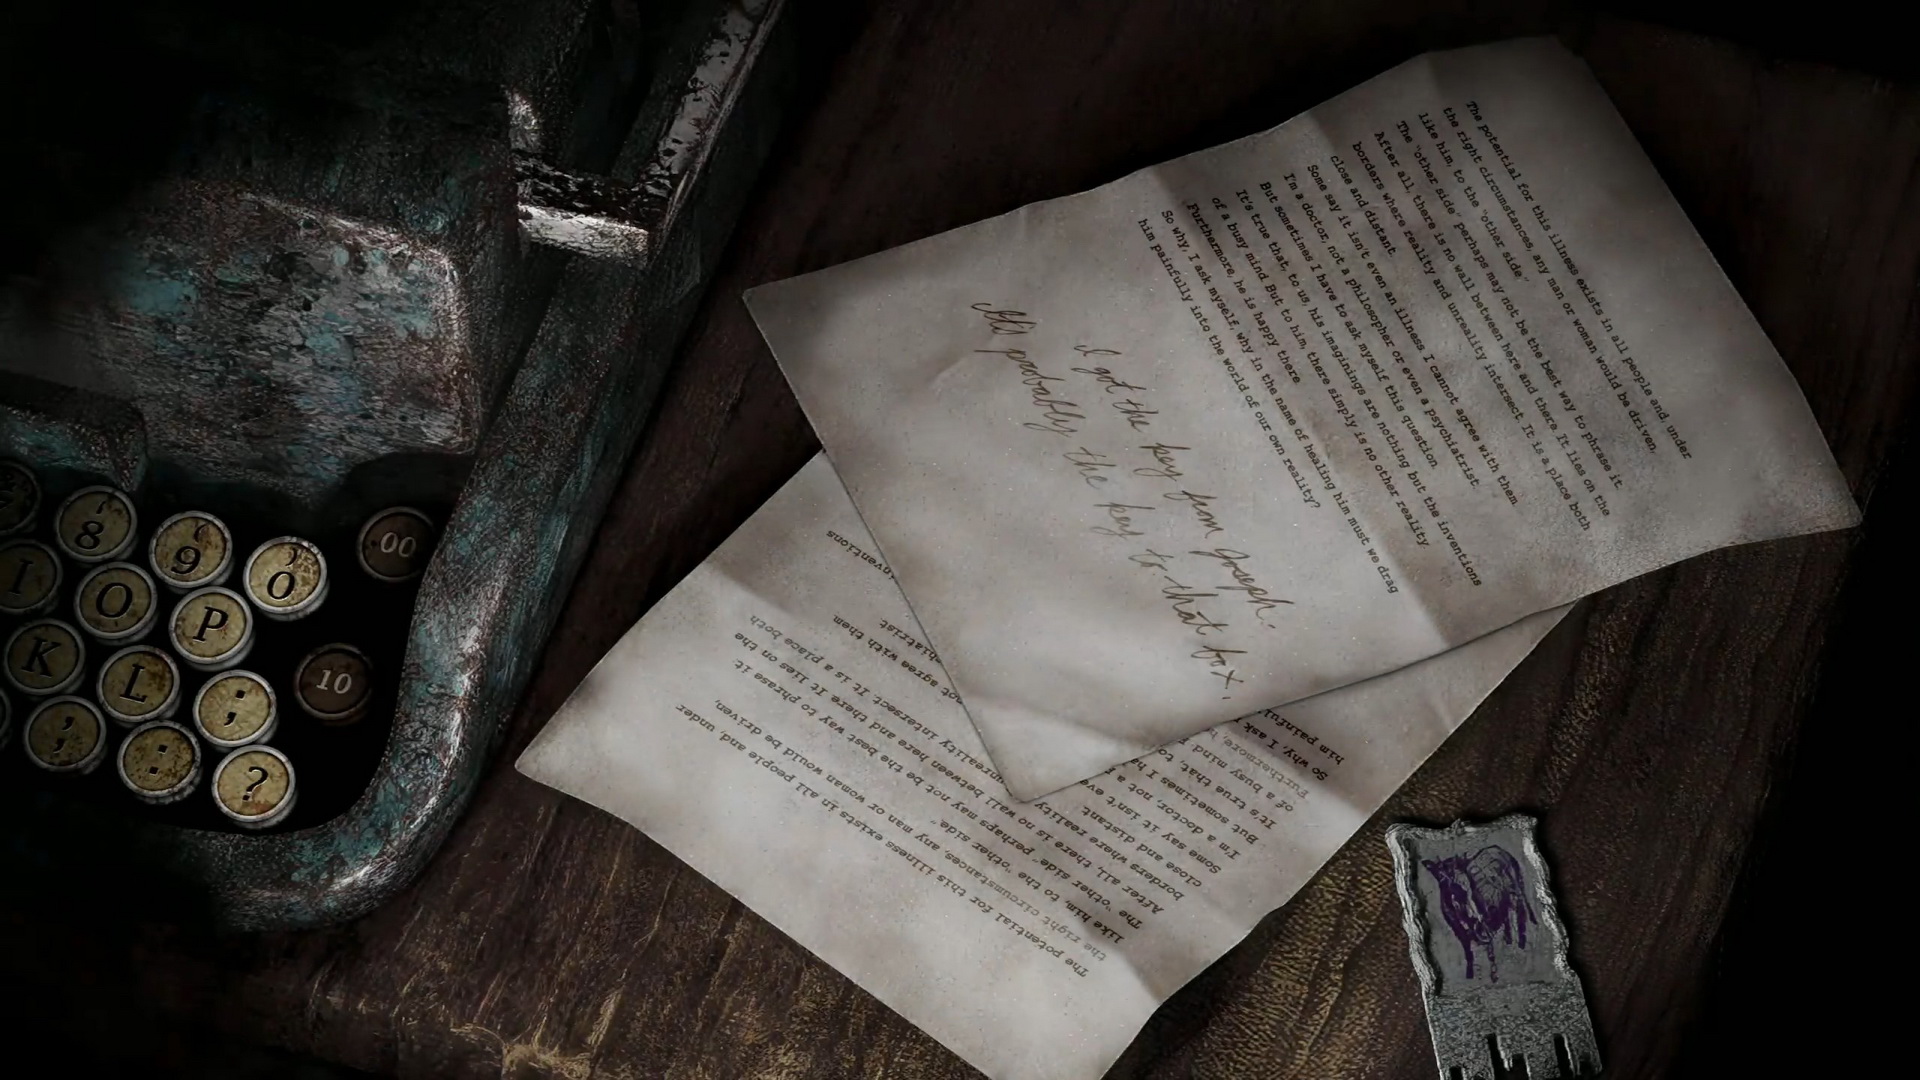
#13: Typewriter with the Key
Location: 1F Medical Records room, a typewriter on the desk.
SH2 Reference: "Purple bull" key for the chained box puzzle.
 |
 |
 |
|
 |
|
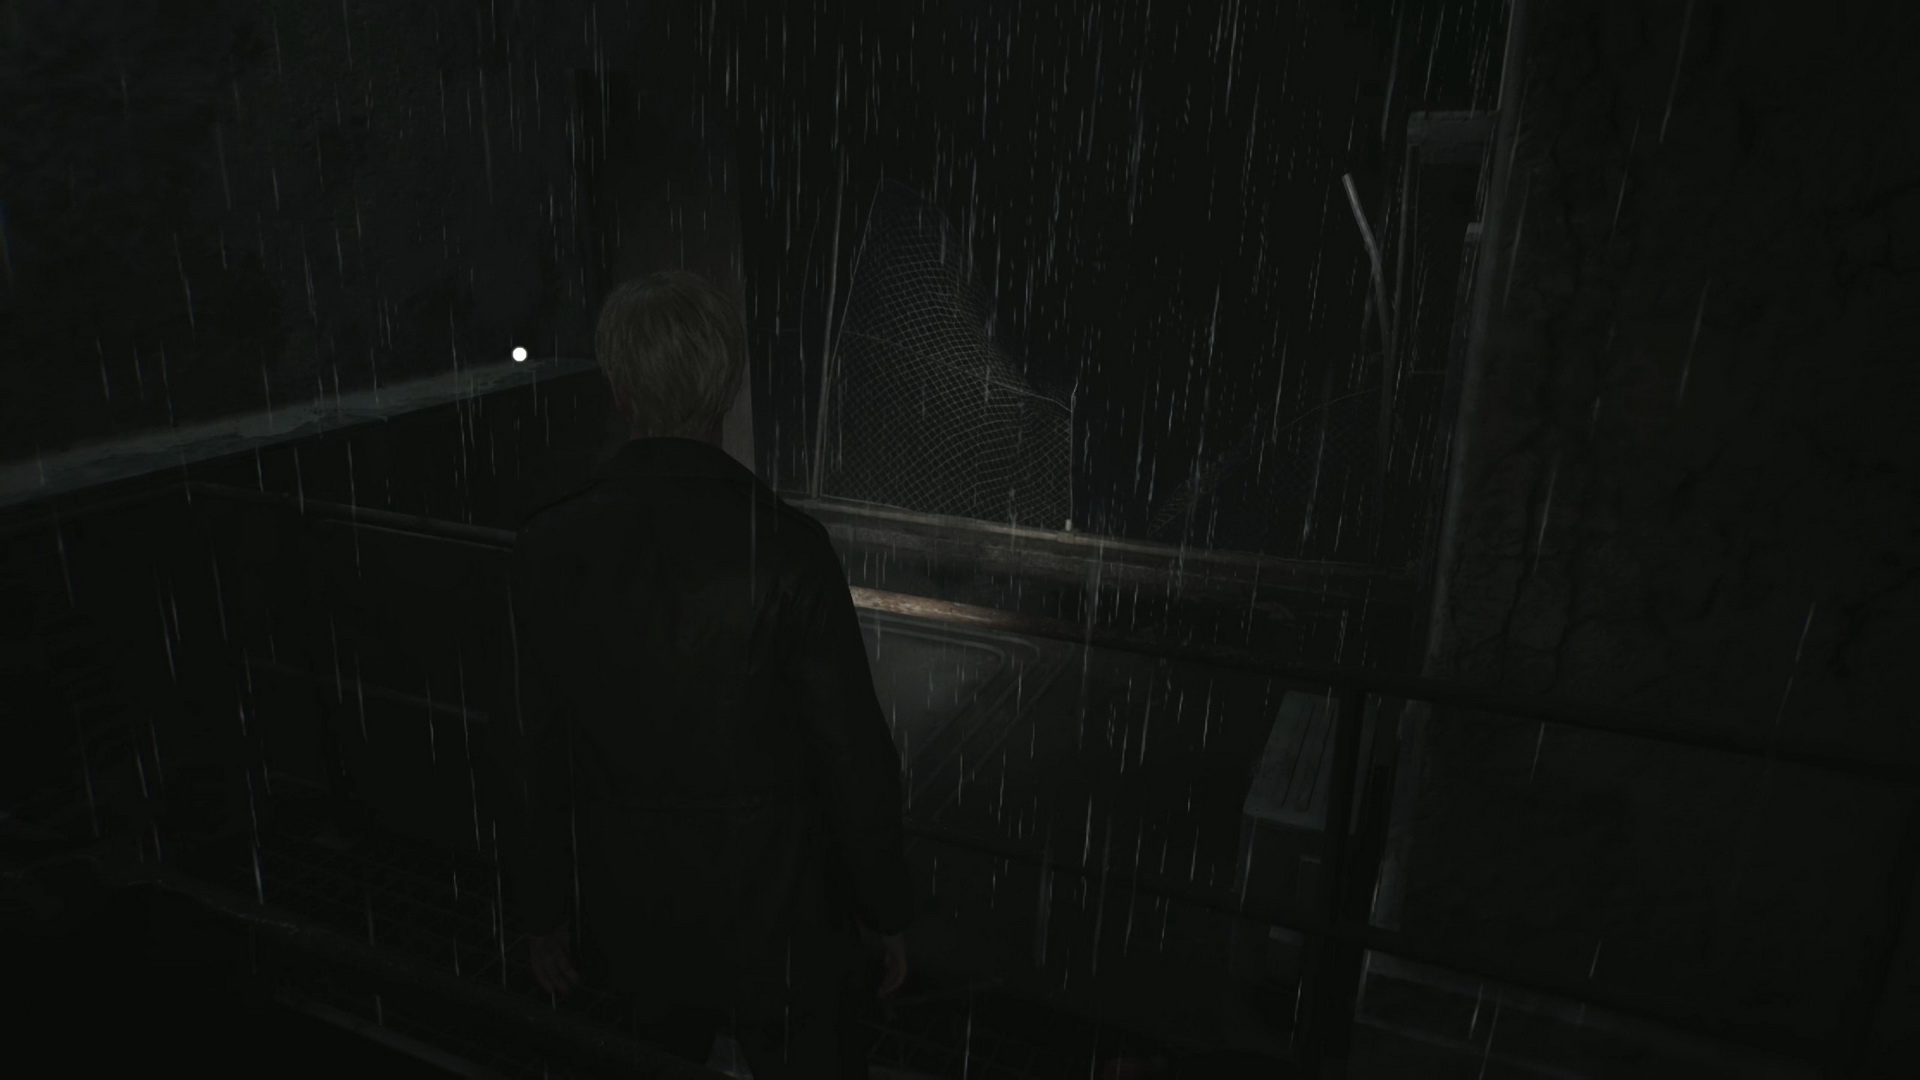
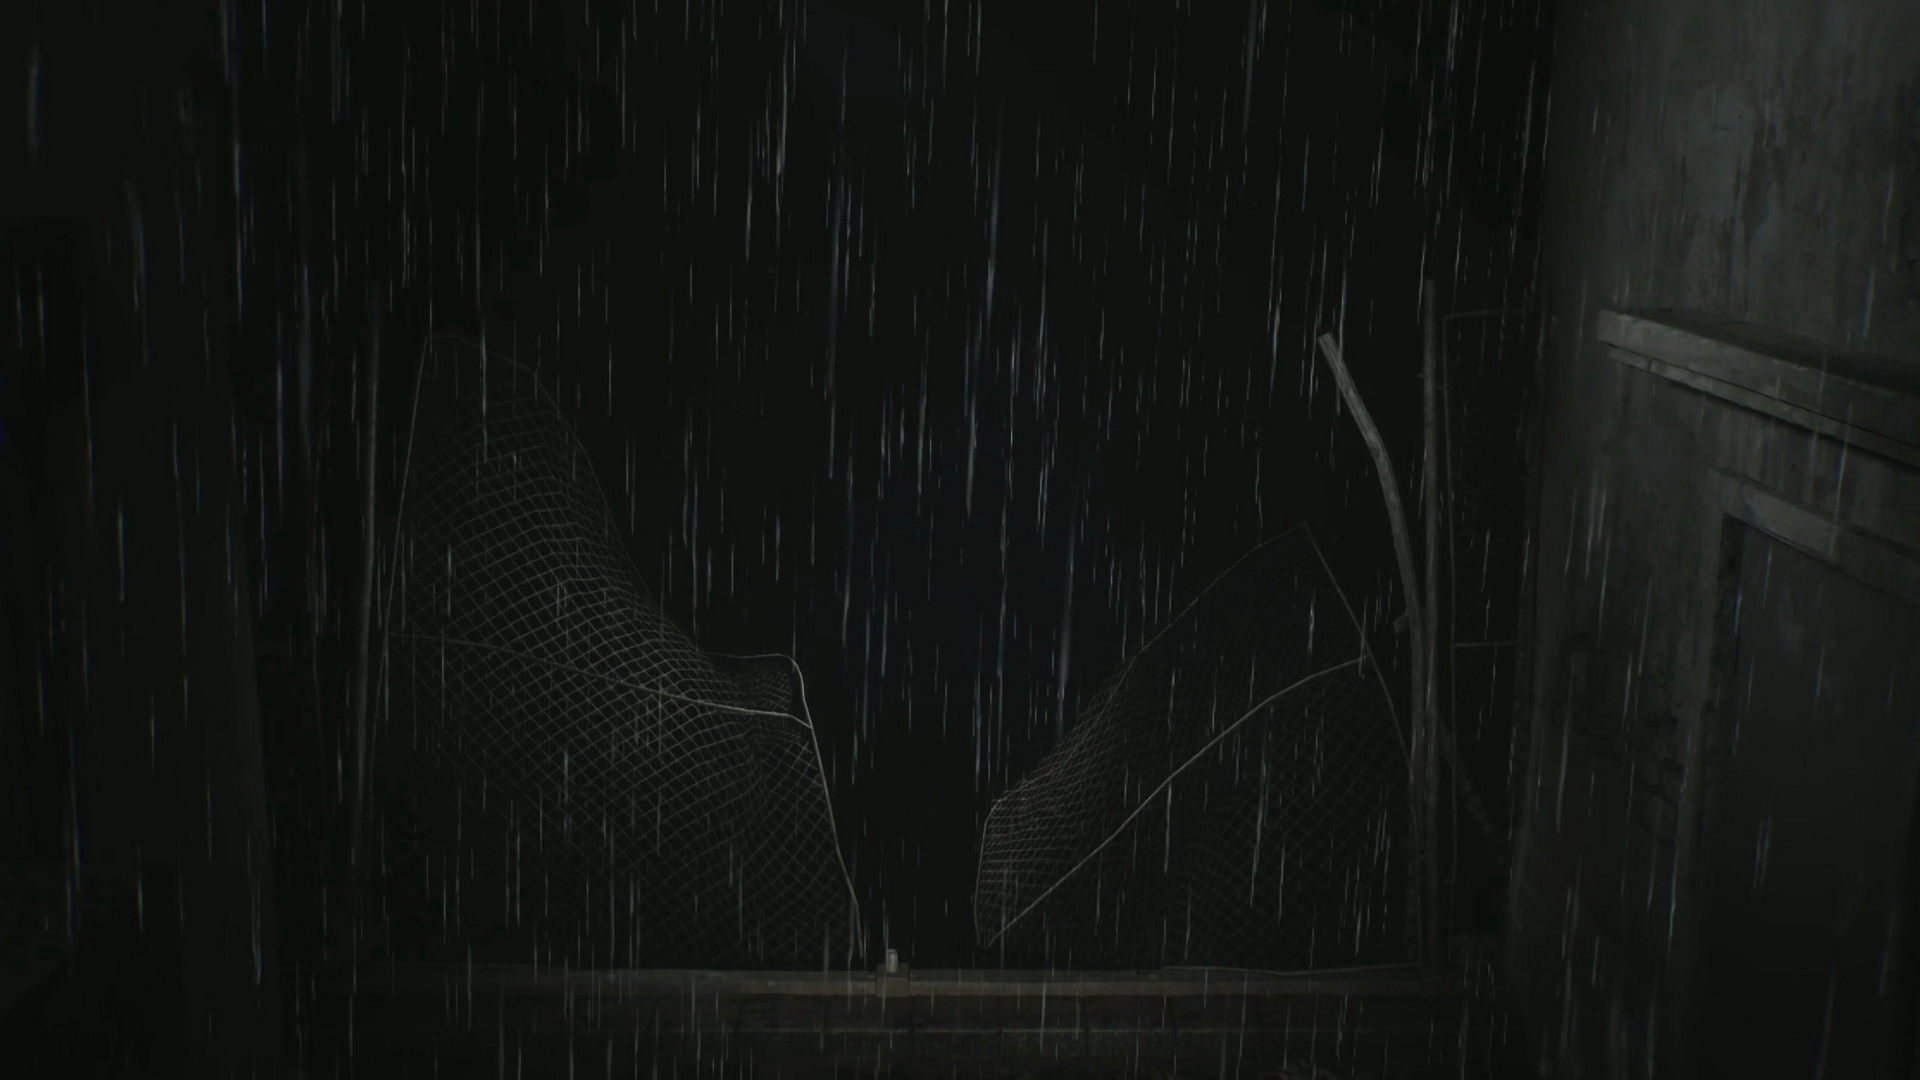
#14: Roof Fence
Location: Rooftop, a broken fence visible from the end of the catwalk.
SH2 Reference: Pyramid Head ambushing James on the hospital's roof.
 |
|
 |
|
 |
|
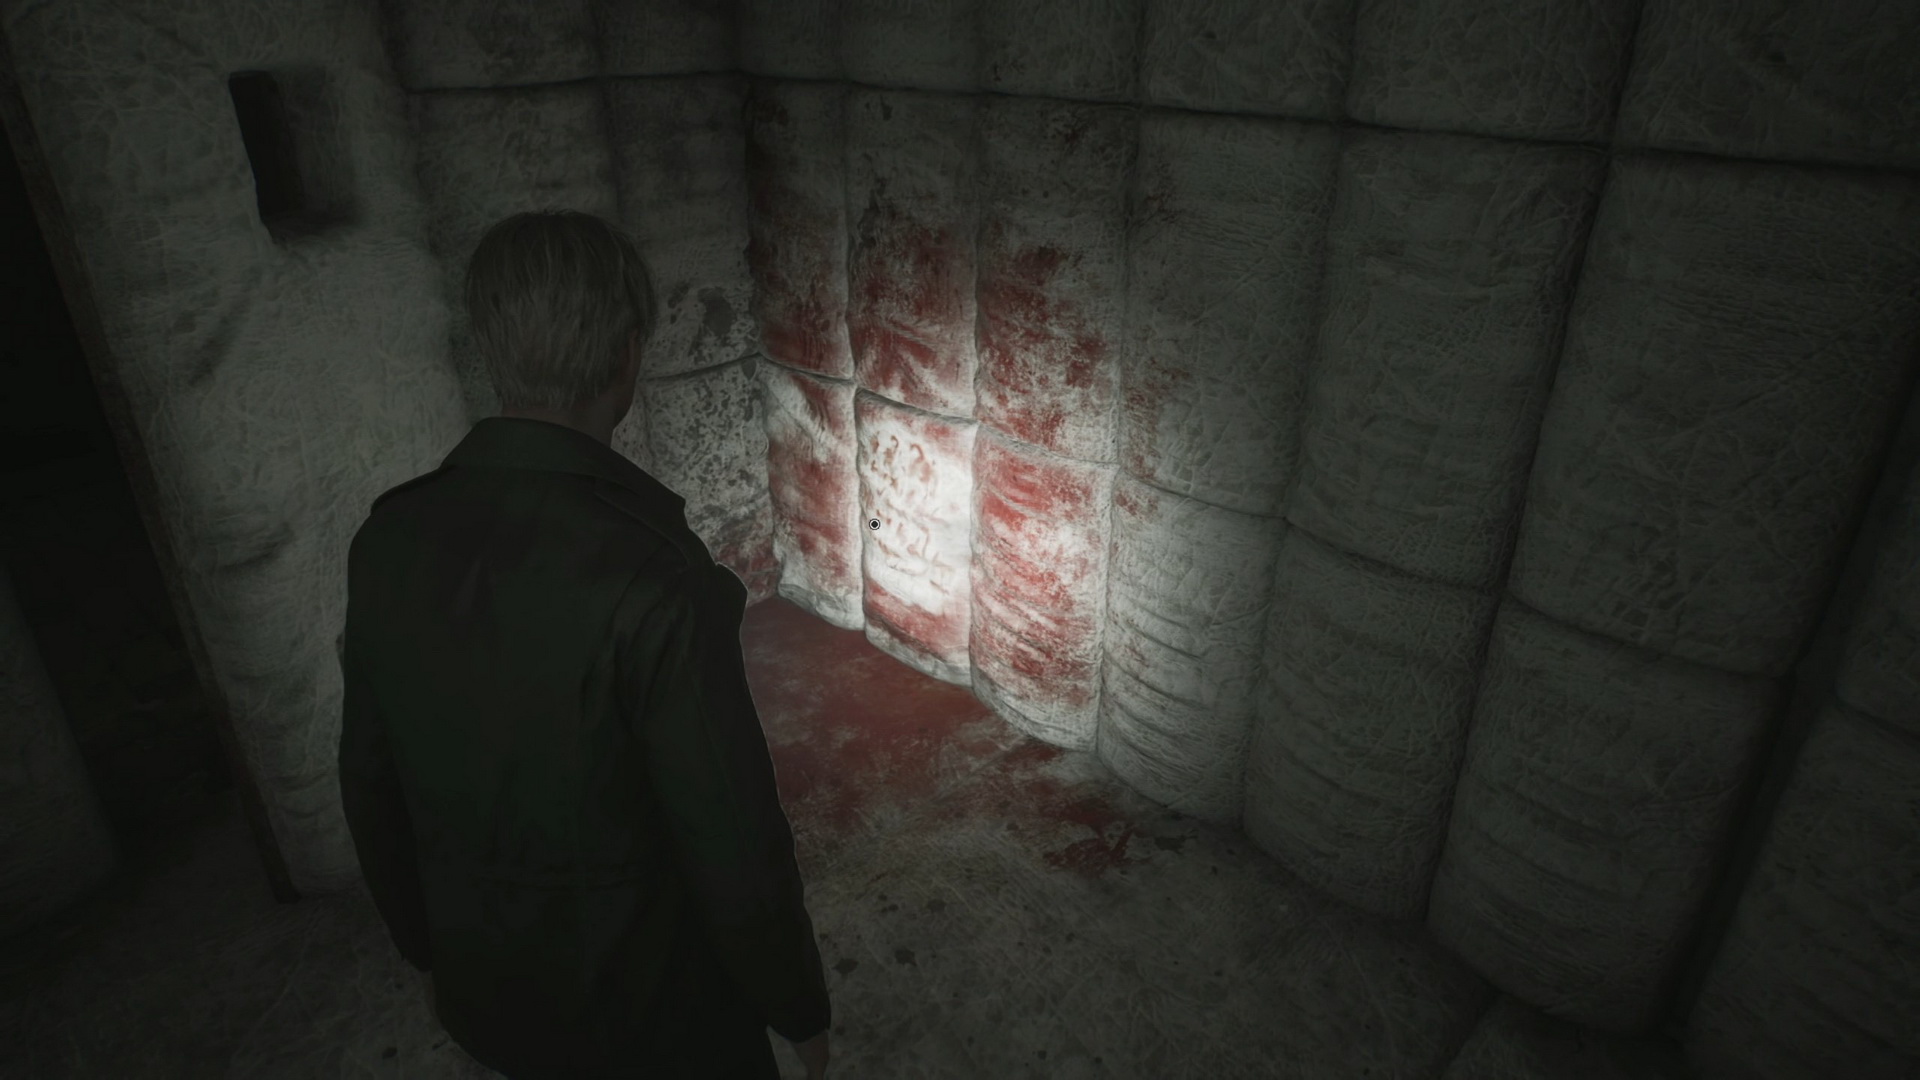
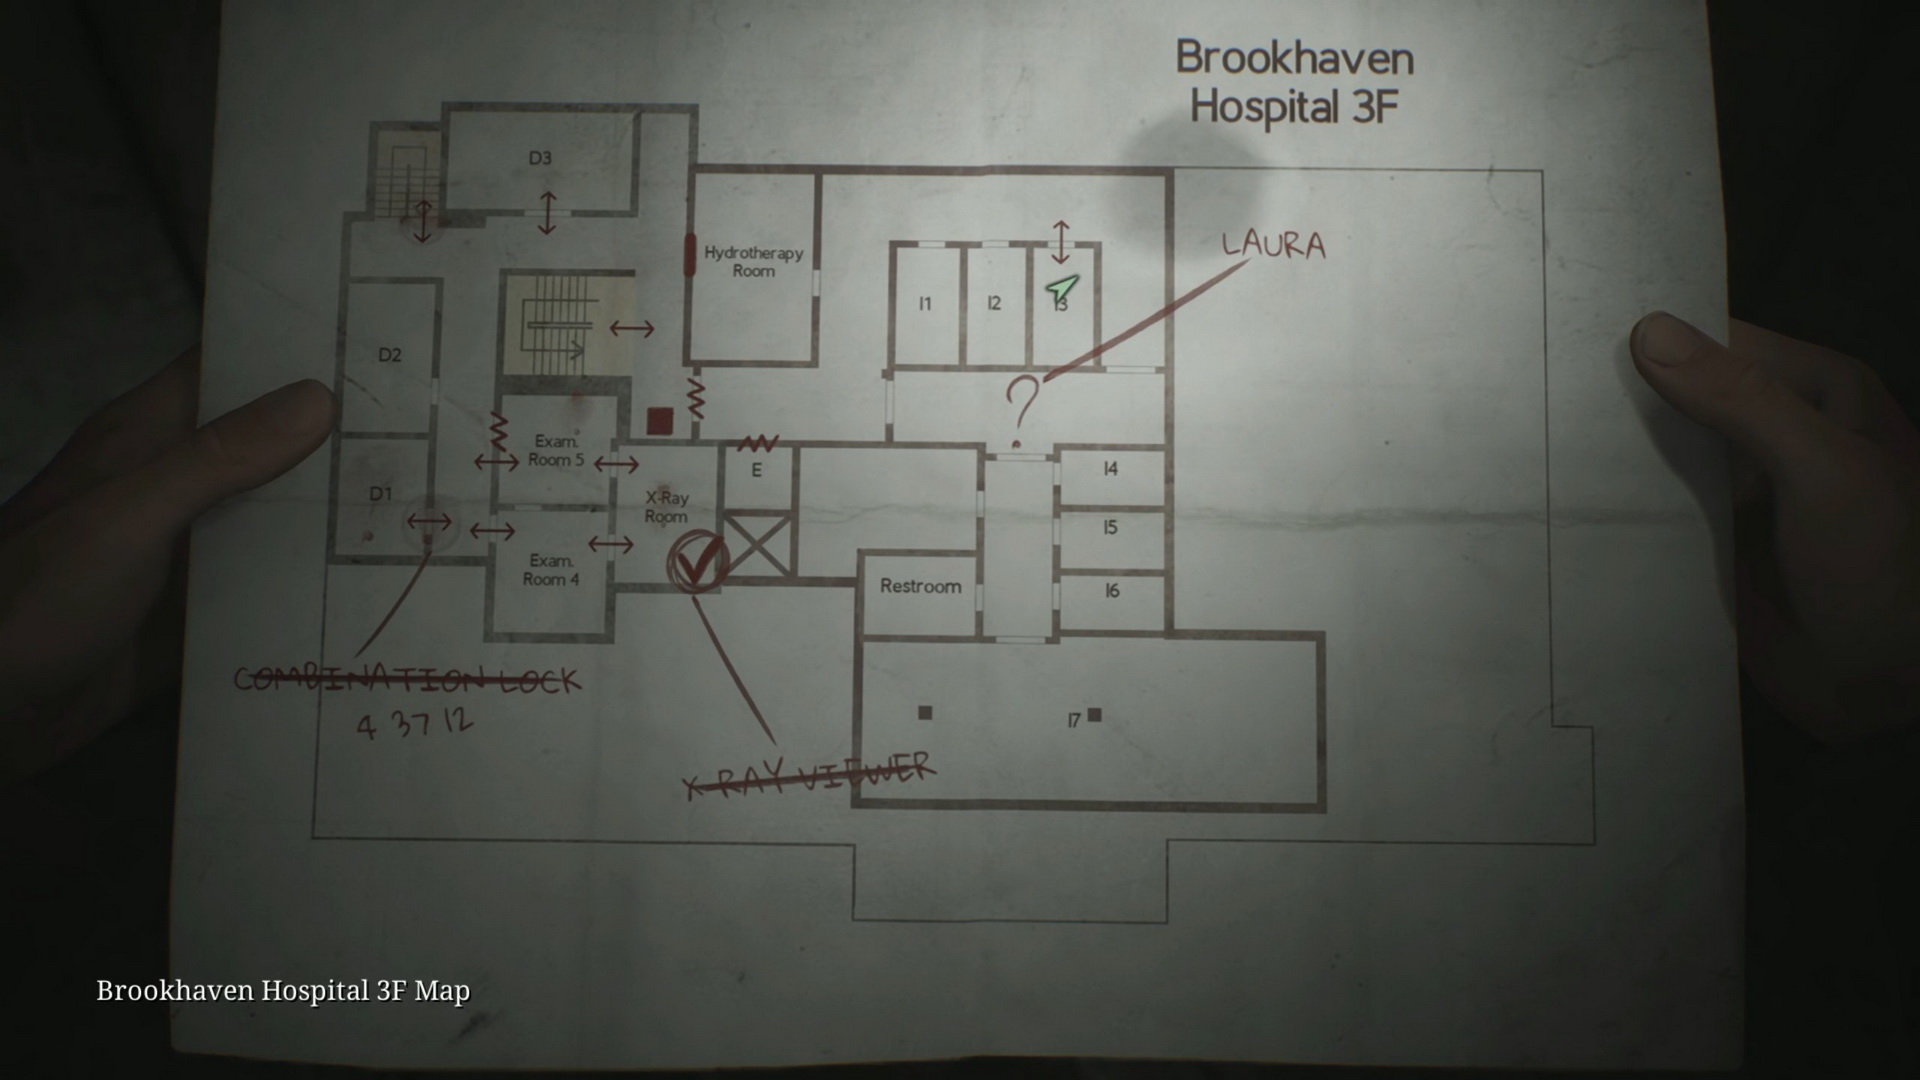
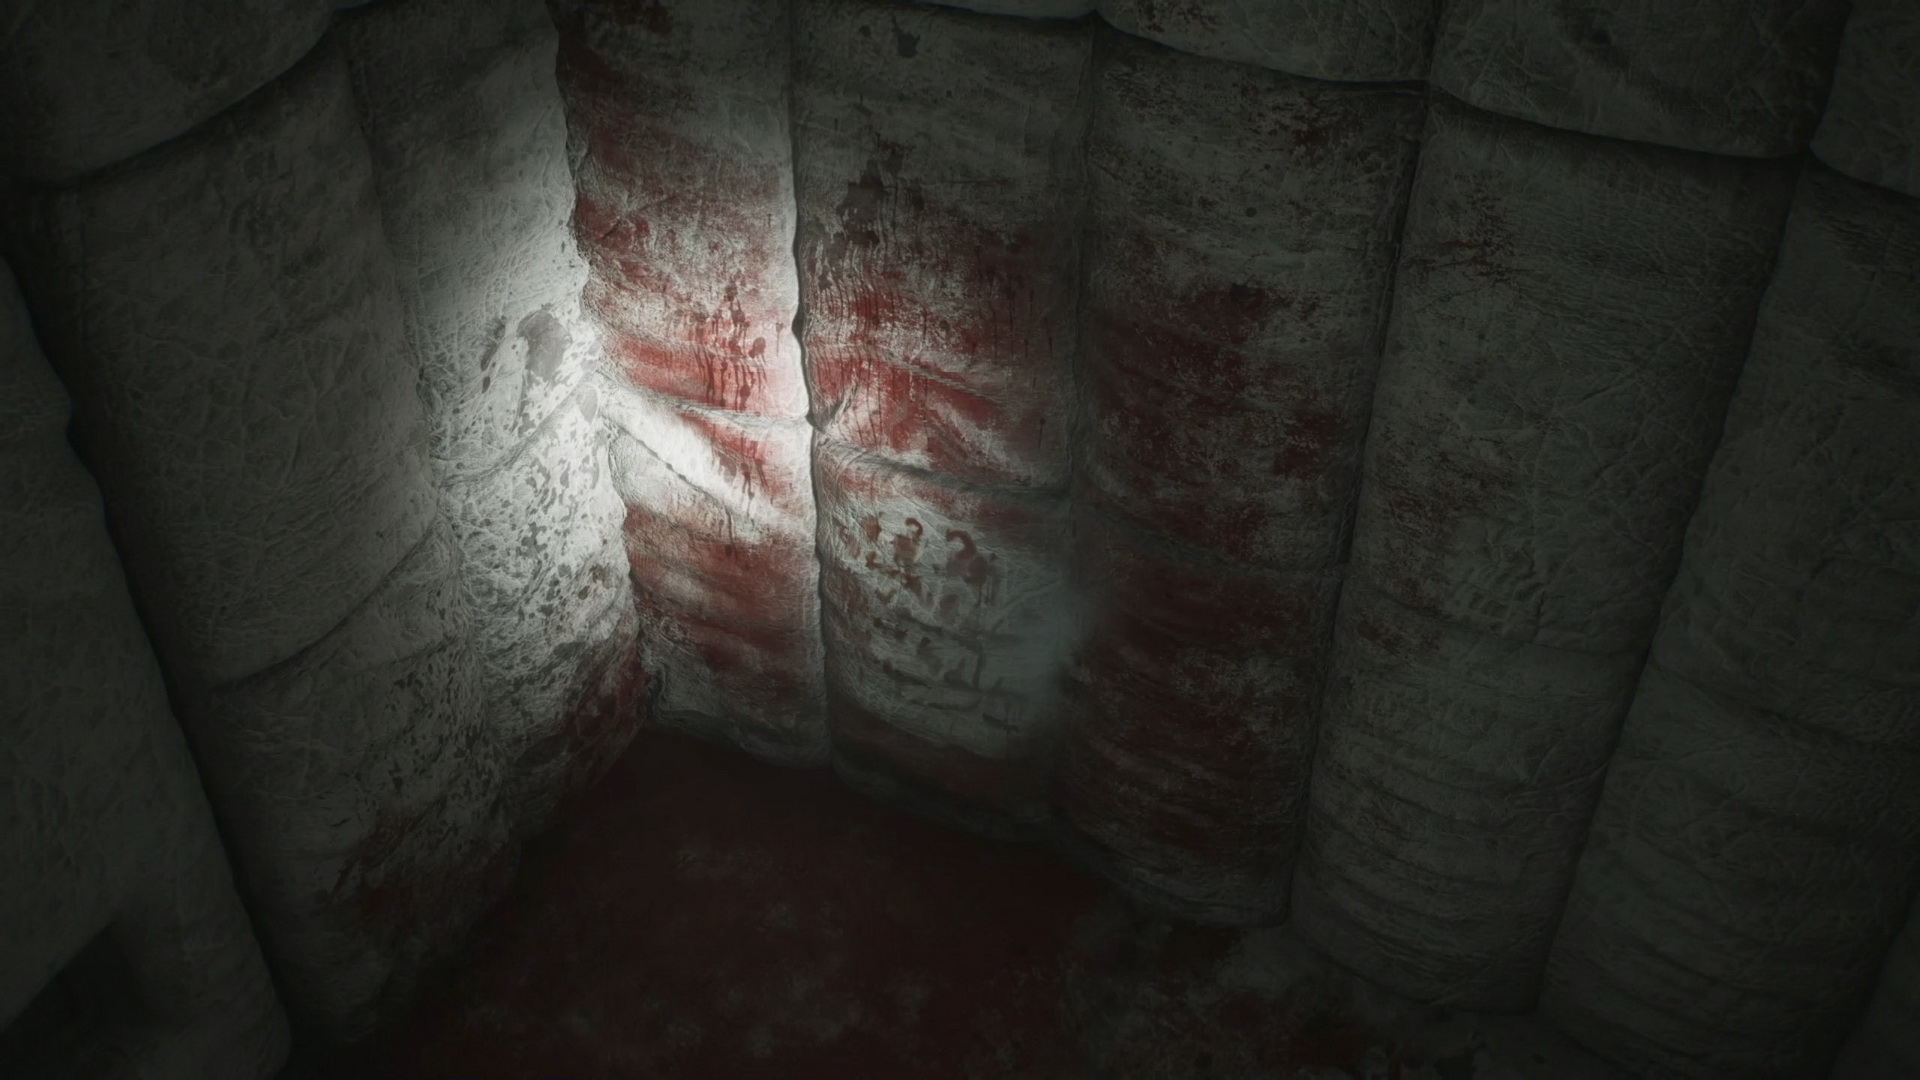
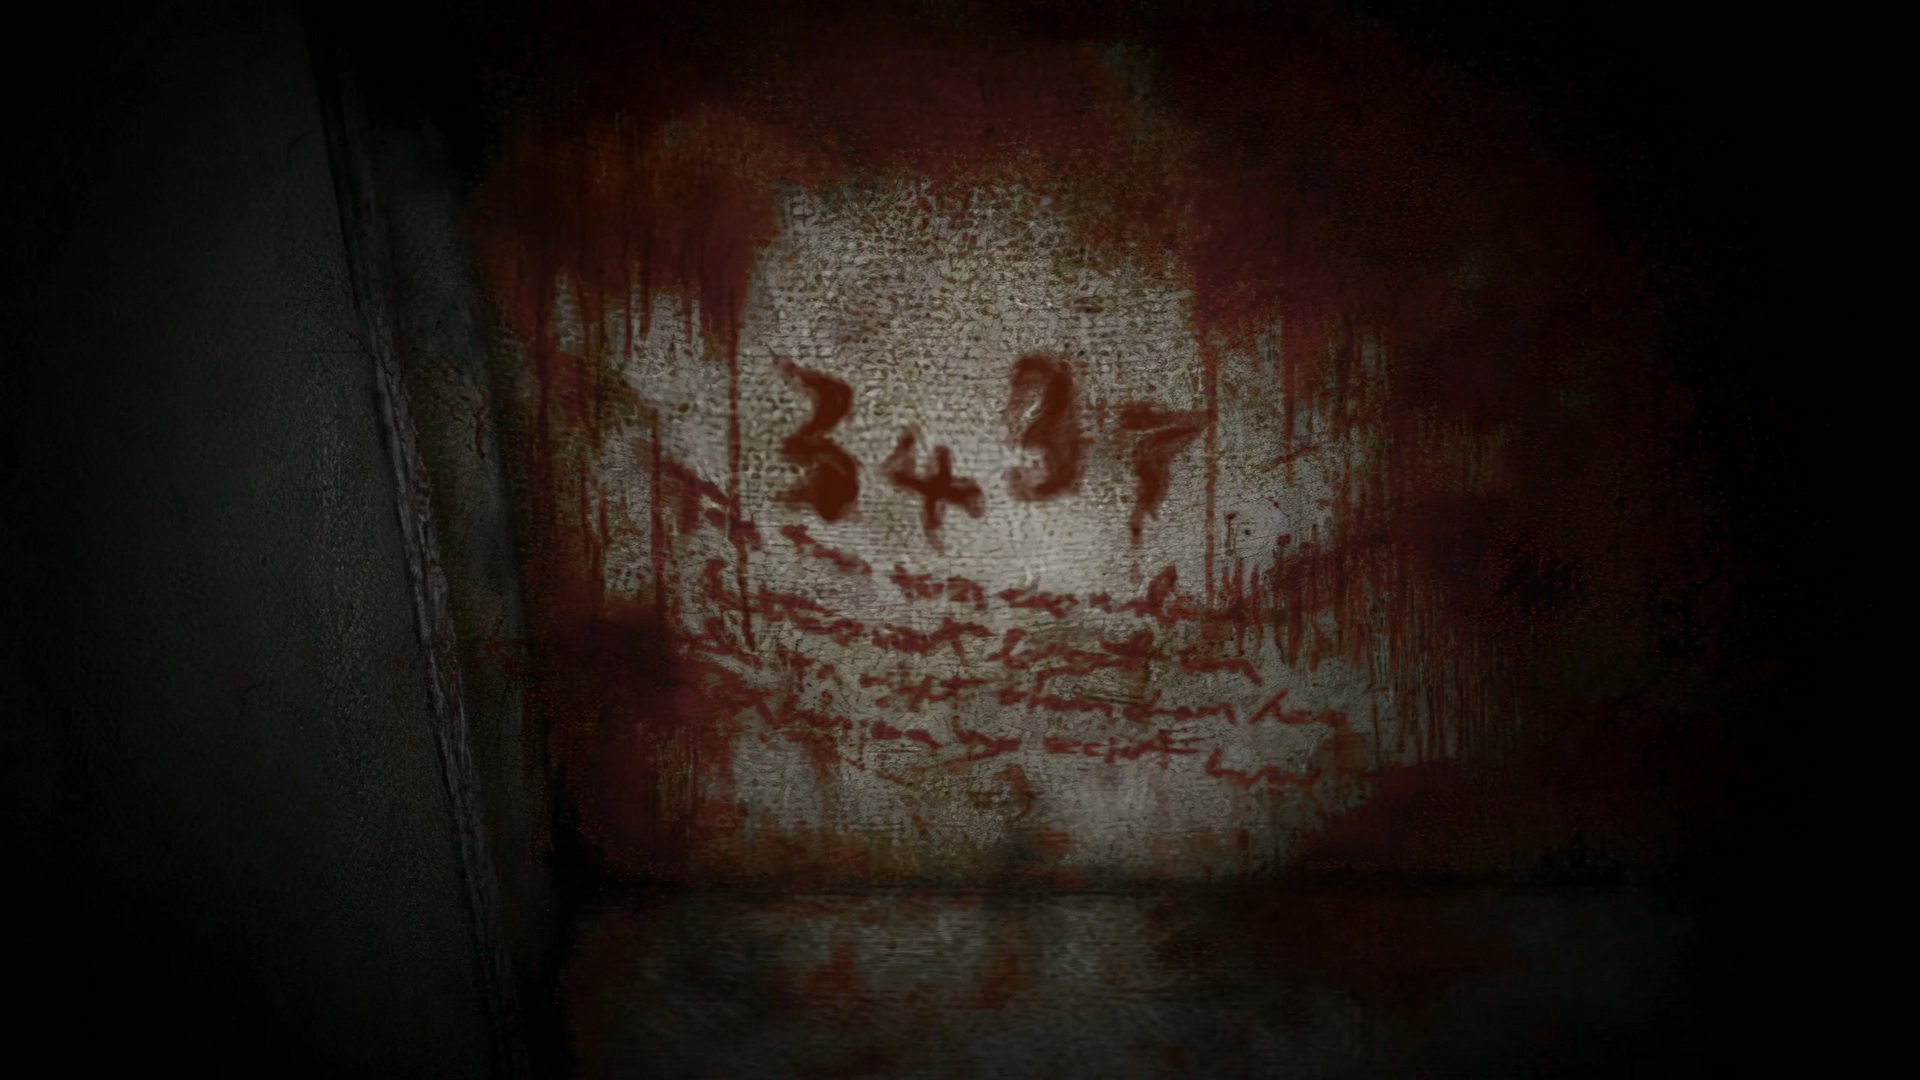
#15: Bloody Numbers
Location: Room I3 3F, a blood-stained wall behind the door.
SH2 Reference: One of the original codes for the chained box puzzle found in the 3F Special Treatment Room padded cell.
 |
 |
 |
|
 |
|
Otherworld Hospital
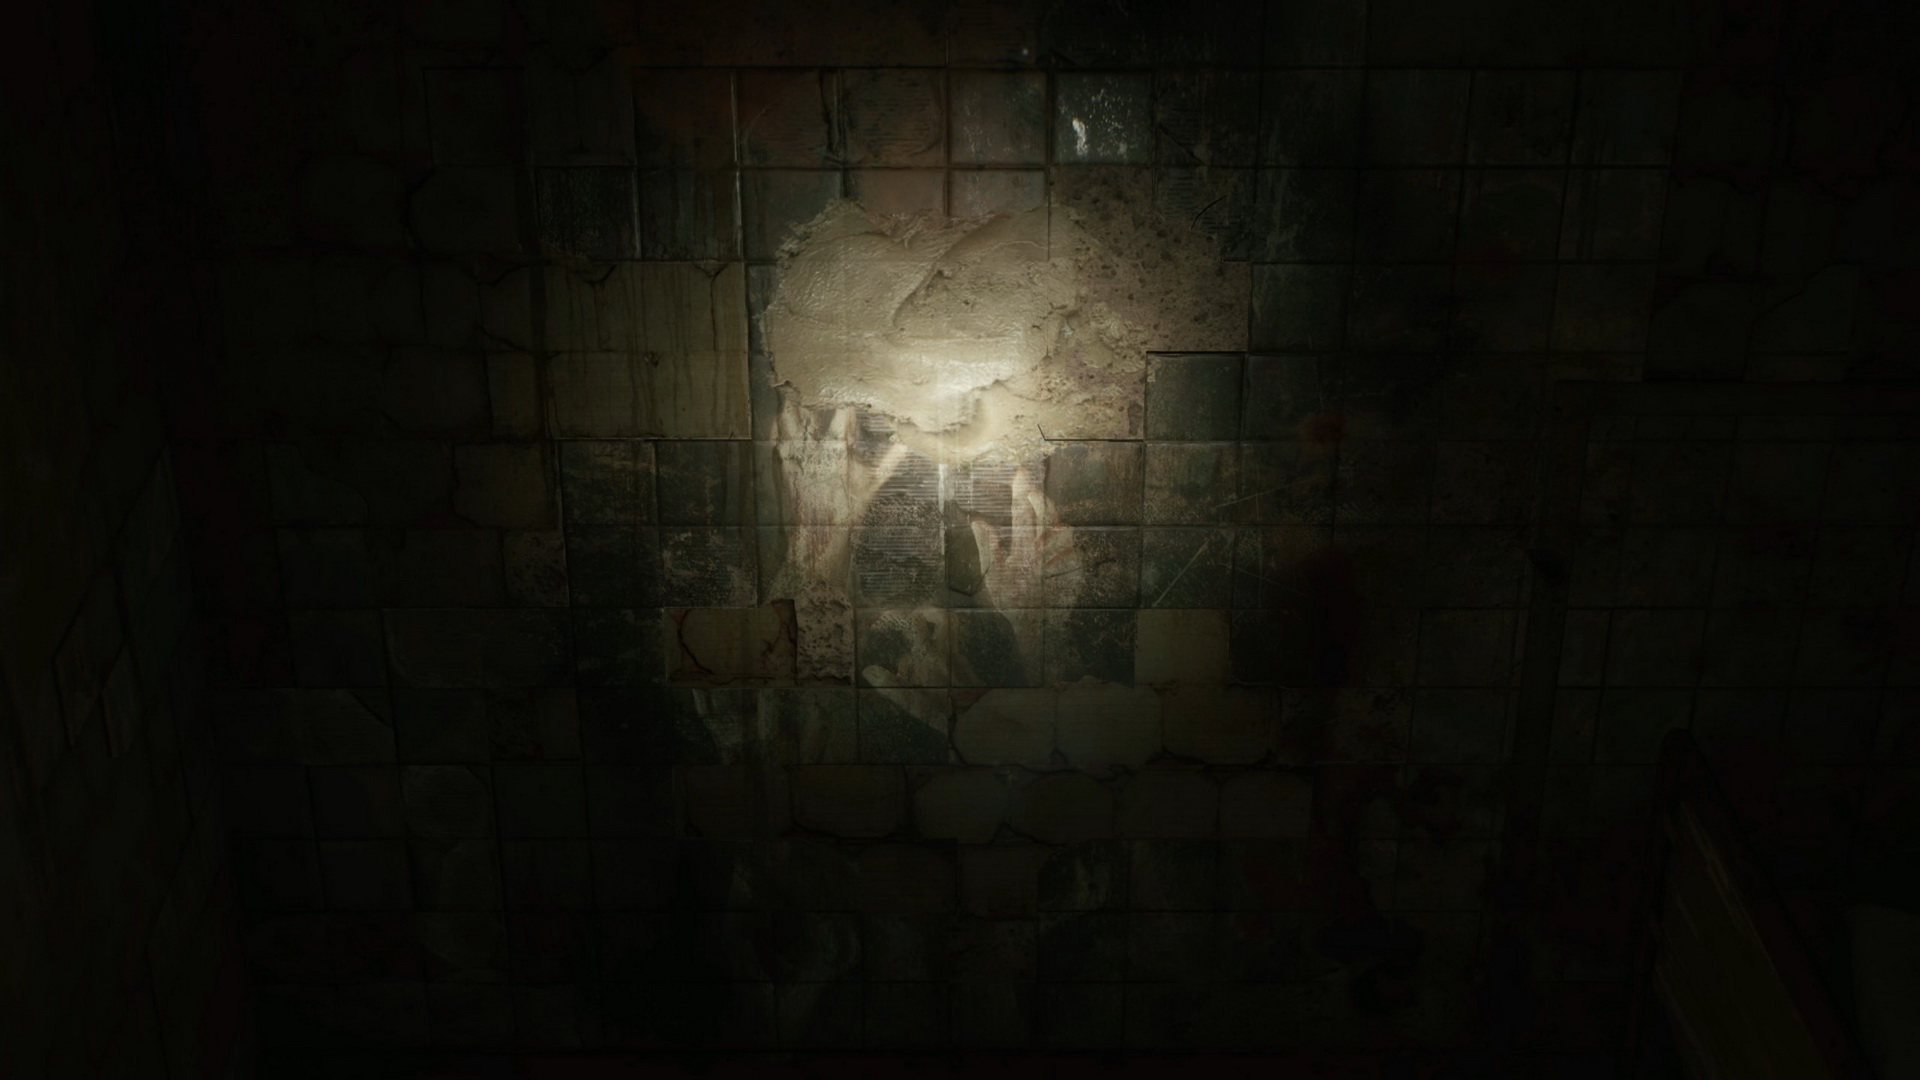
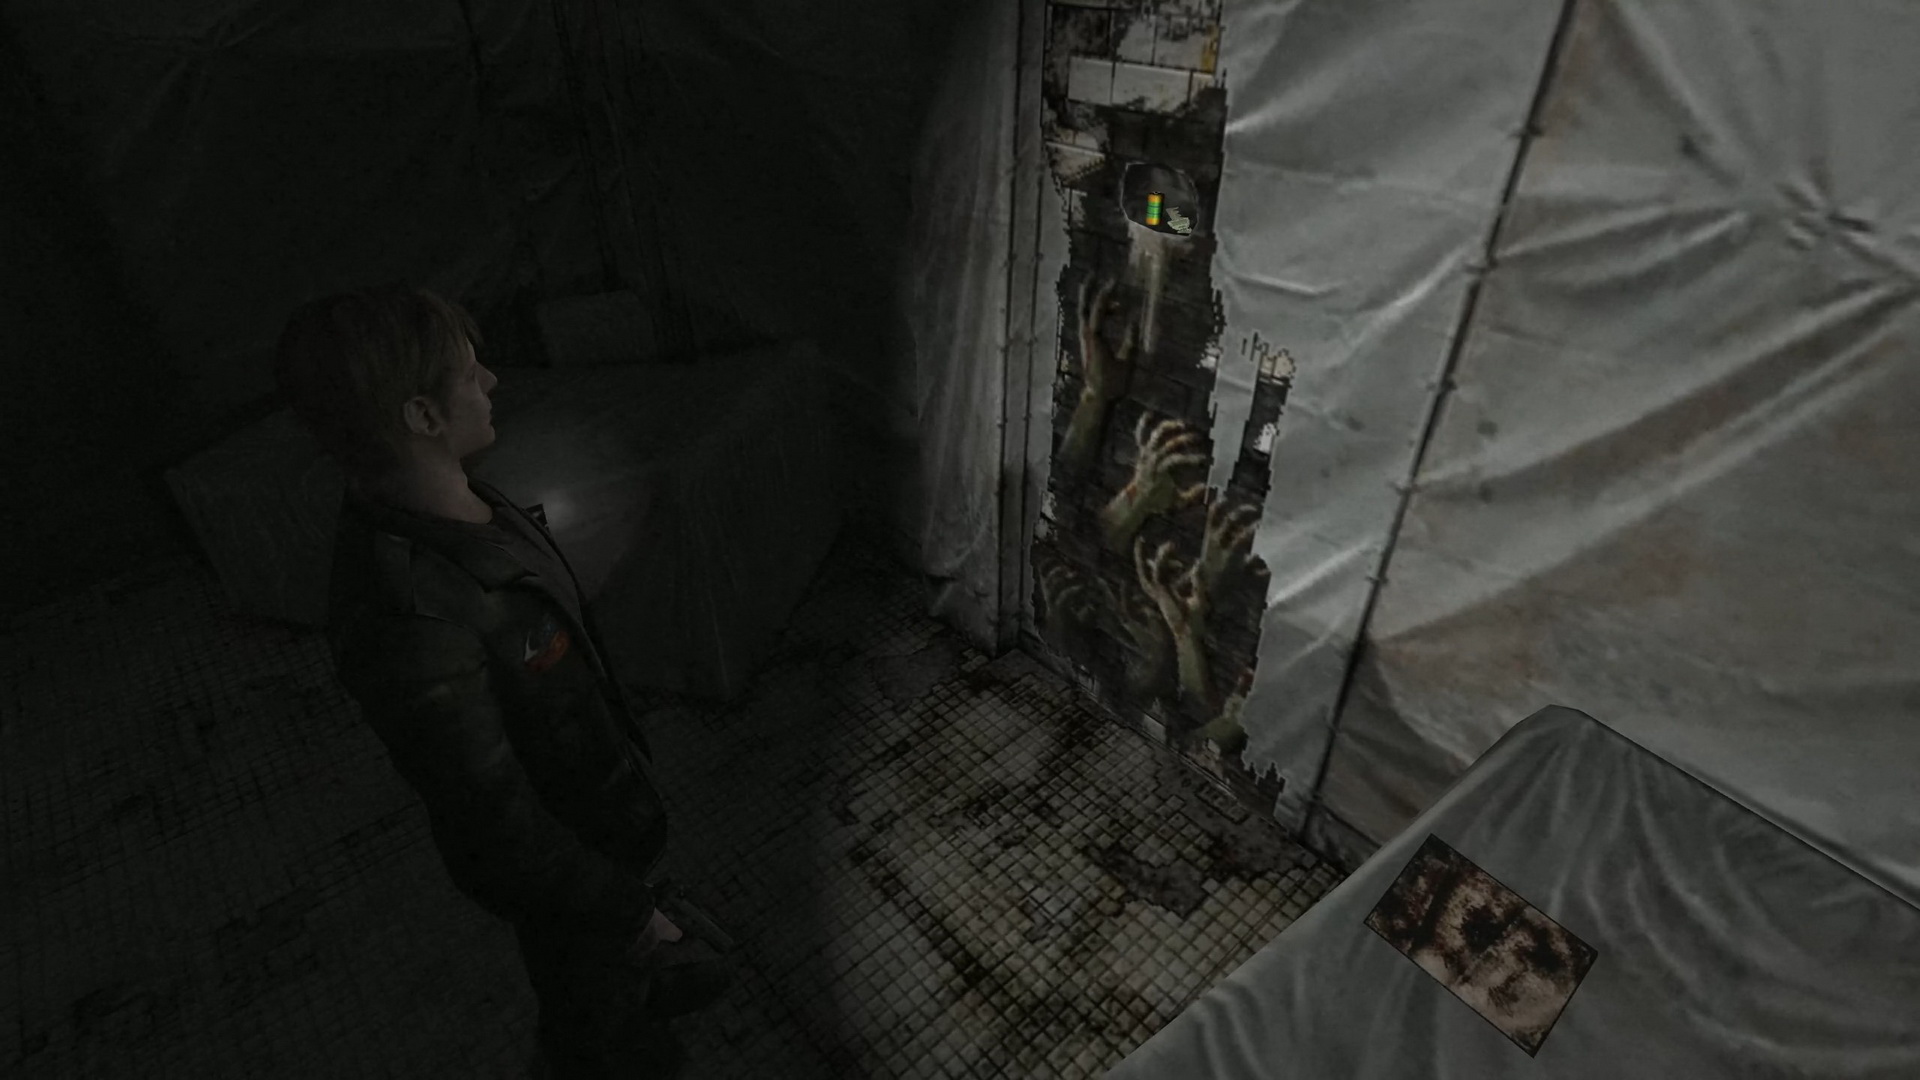
#16: Hands' Drawing
Location: Room M5 2F, a drawing on the wall.
SH2 Reference: Original location of the basement storeroom key needed to find Maria in the alternate hospital.
 |
 |
 |
|
 |
|
Otherworld South Vale
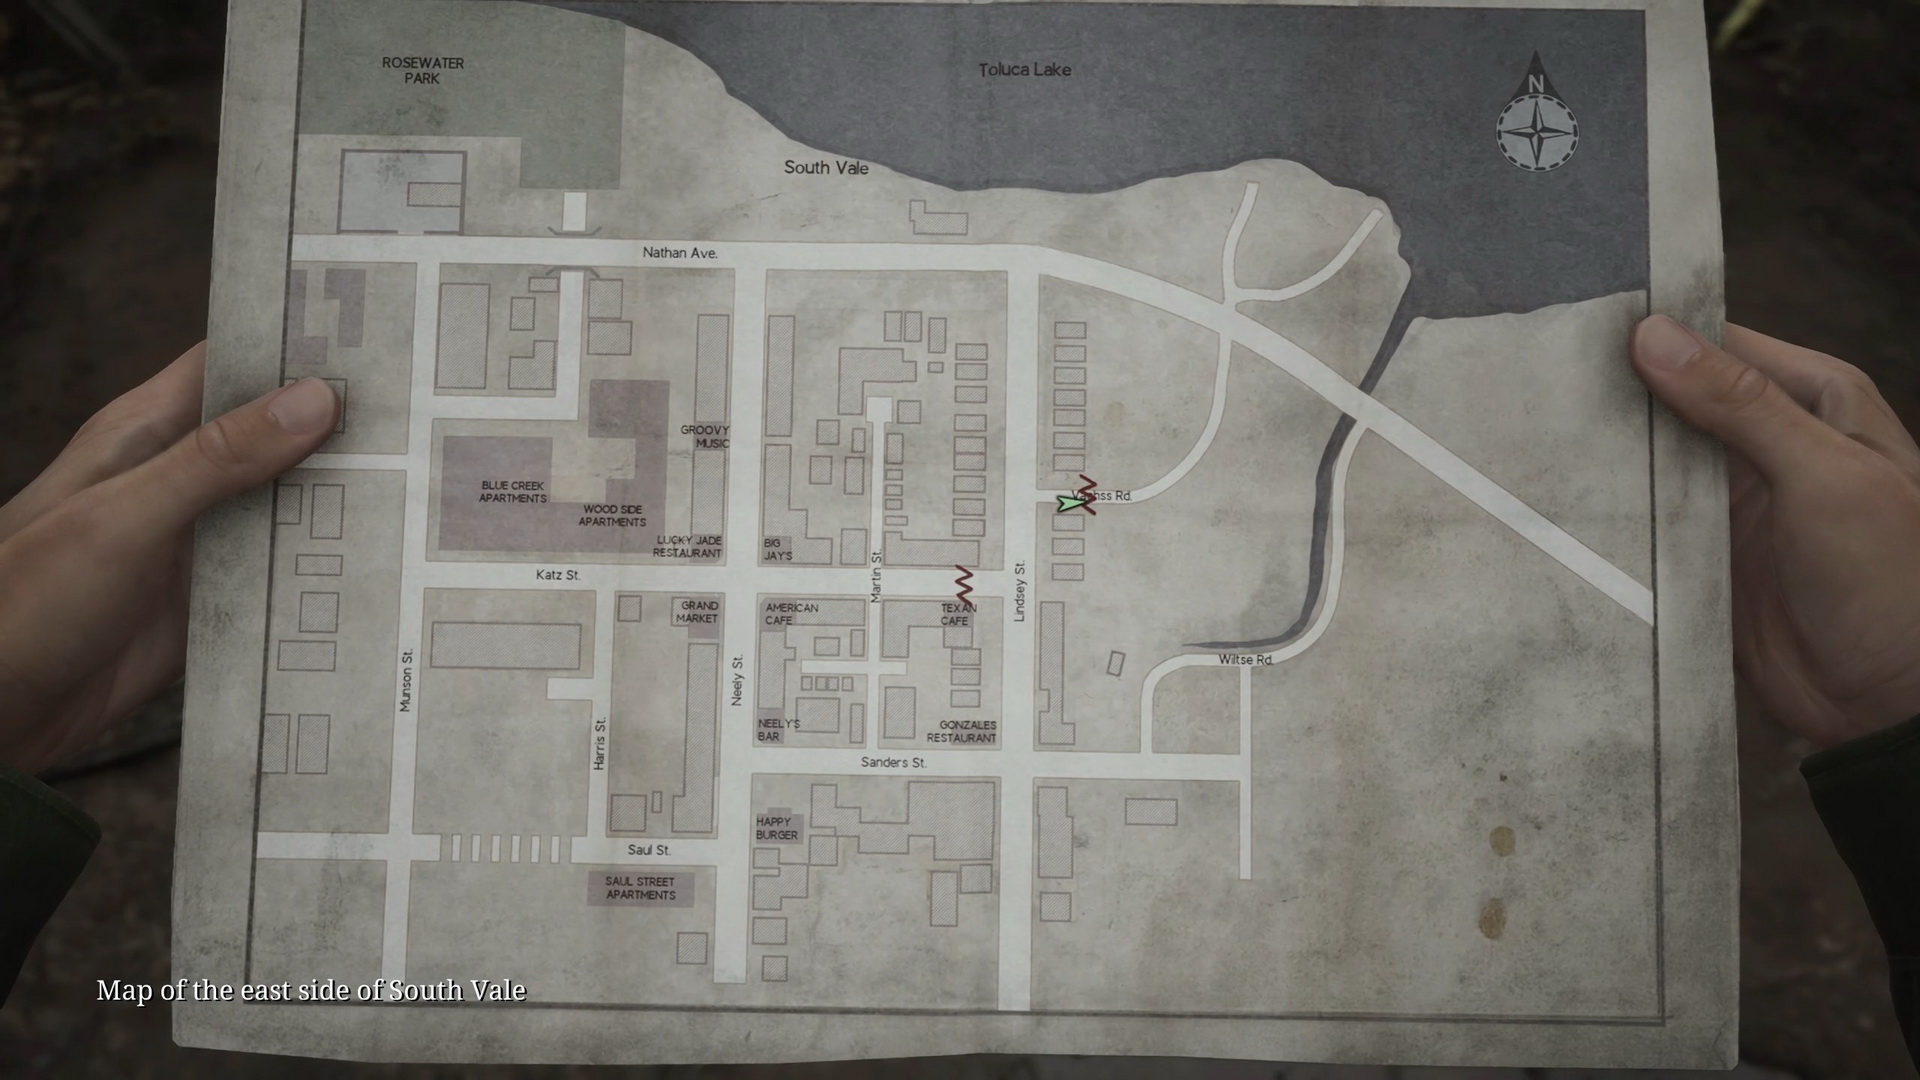
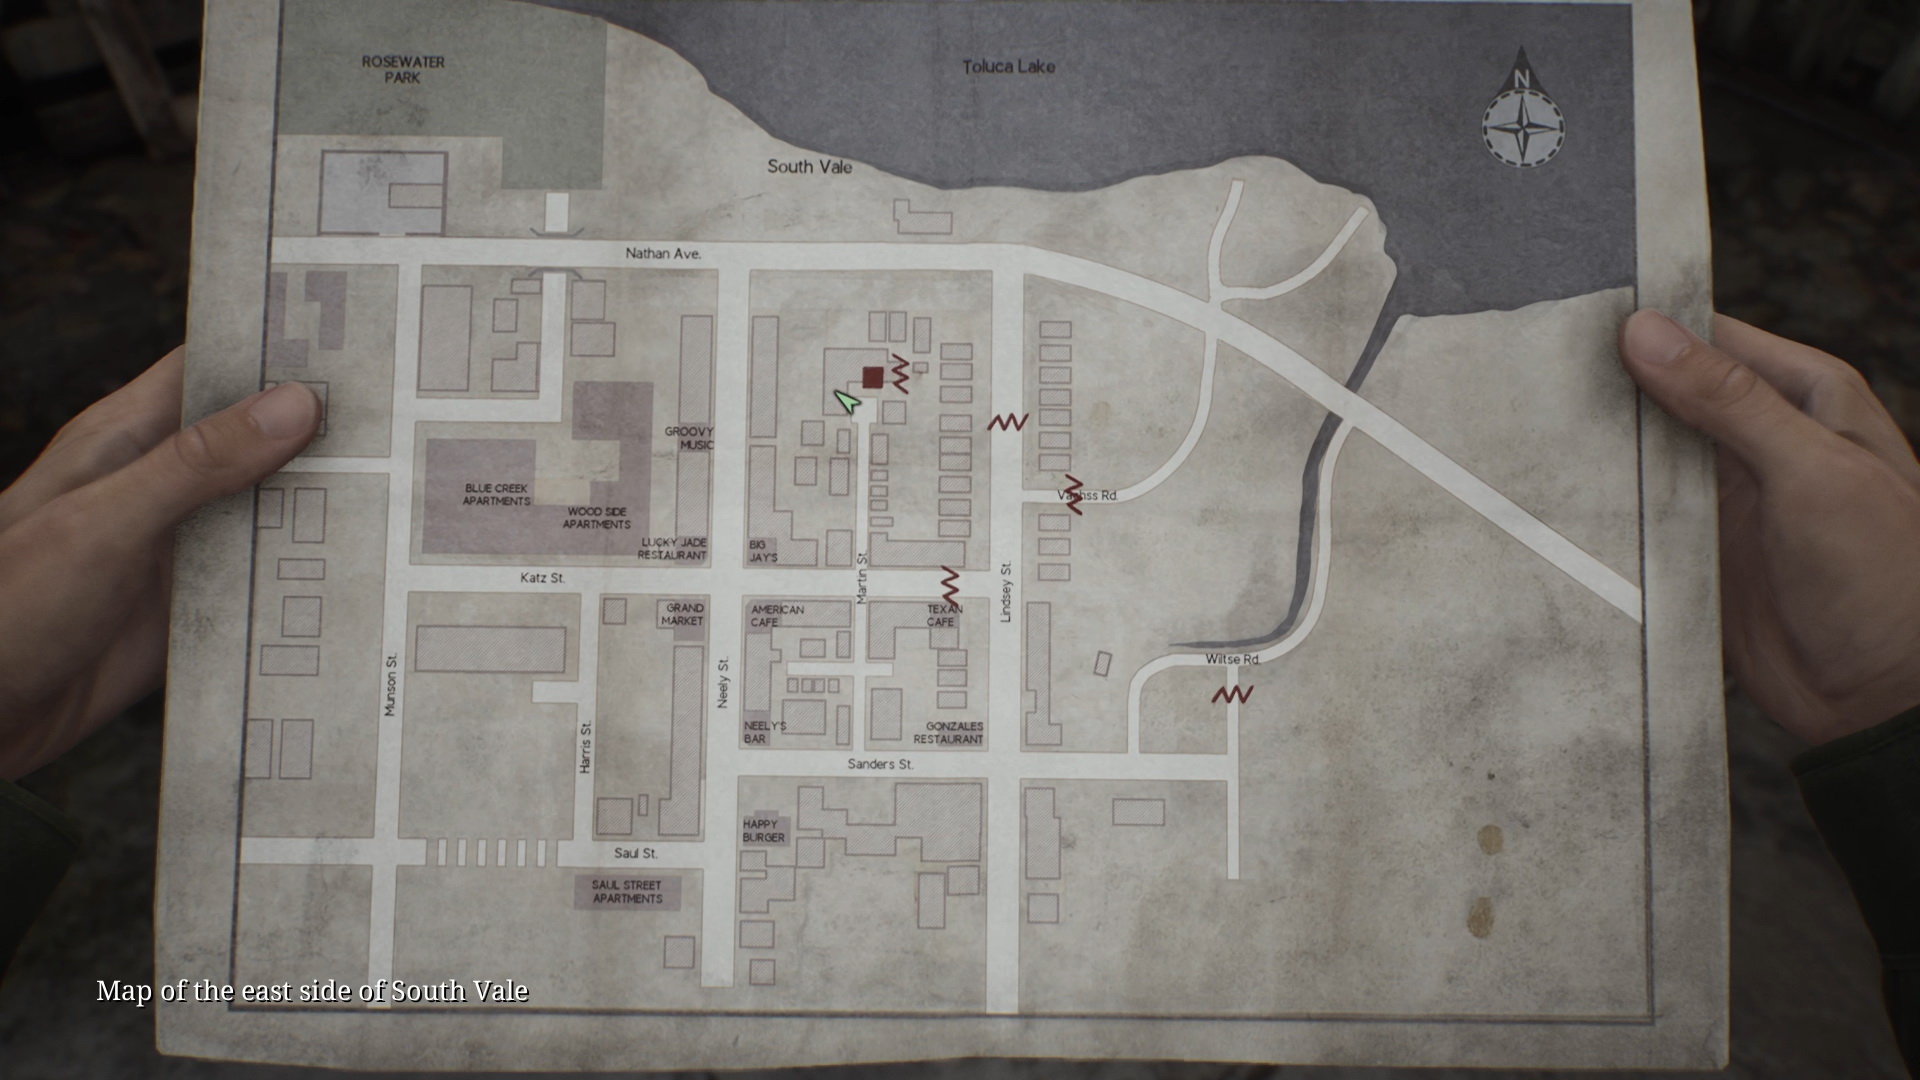
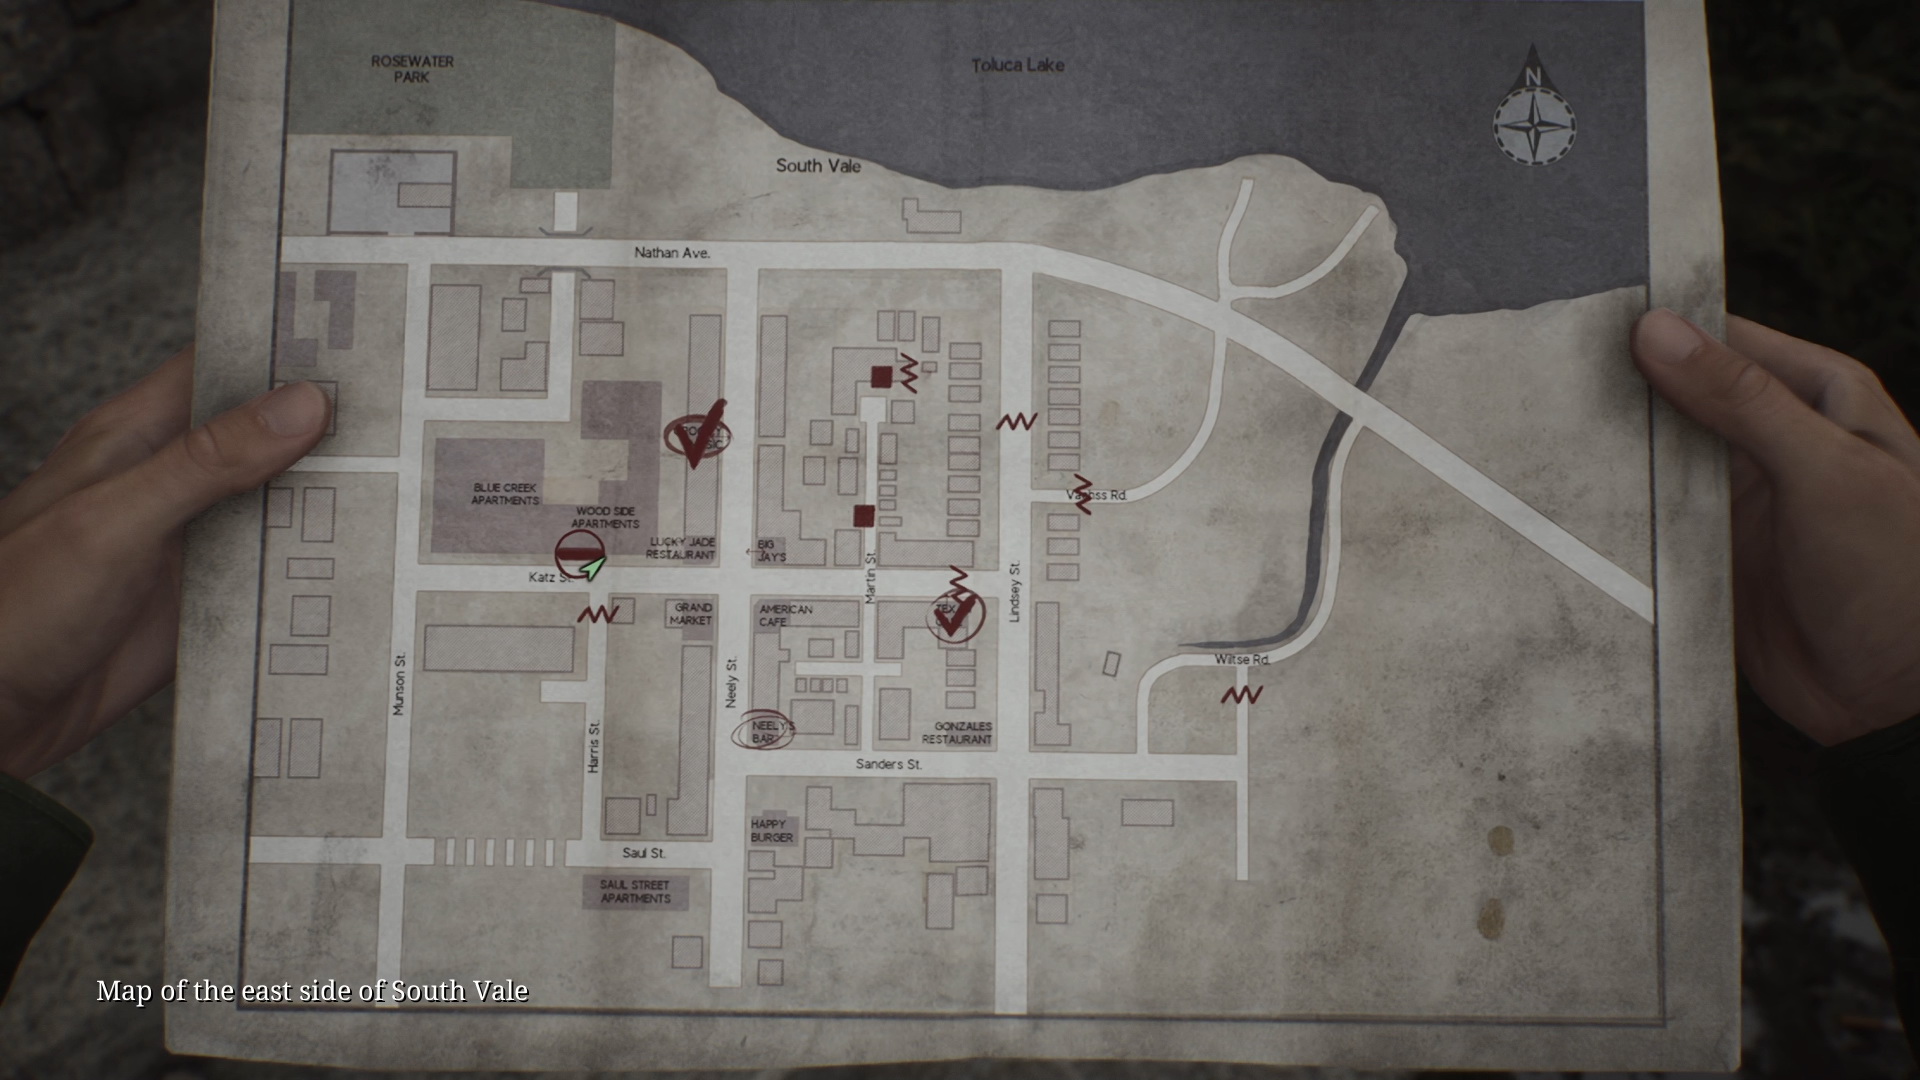
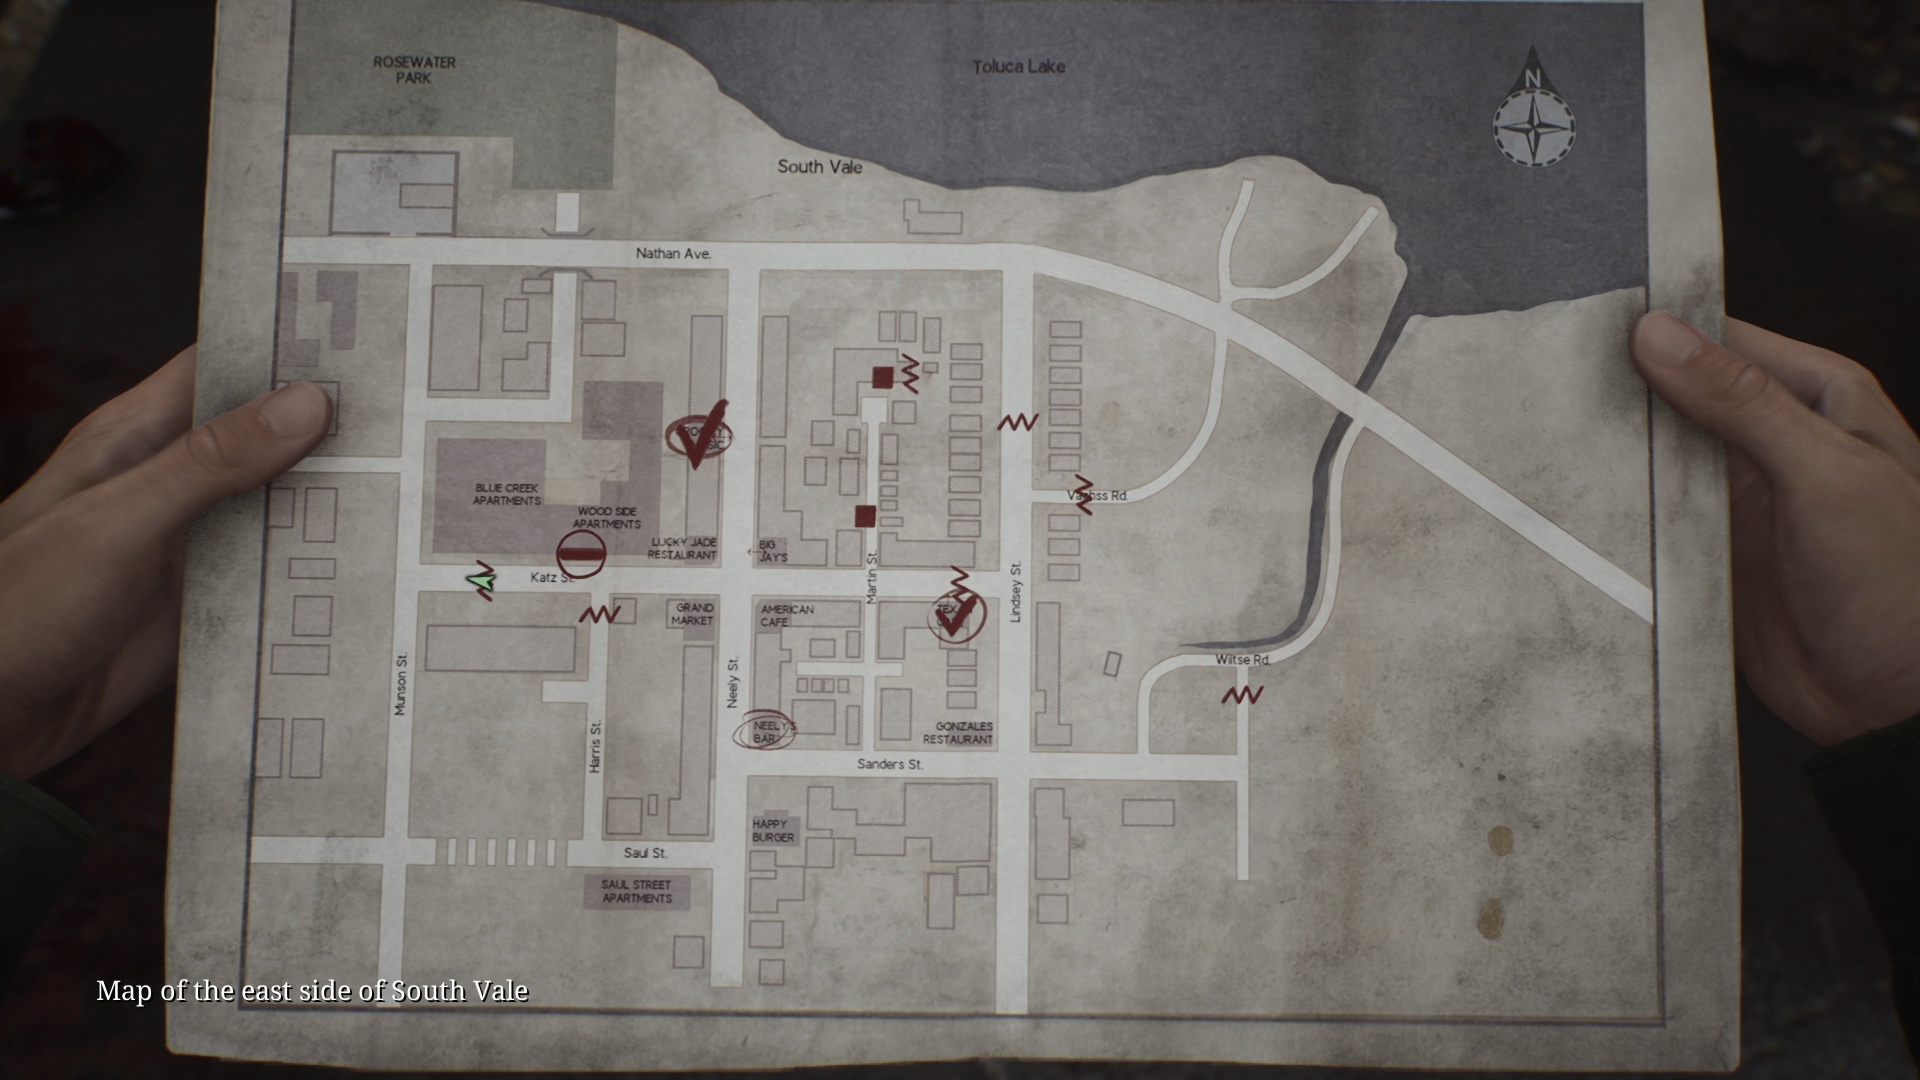
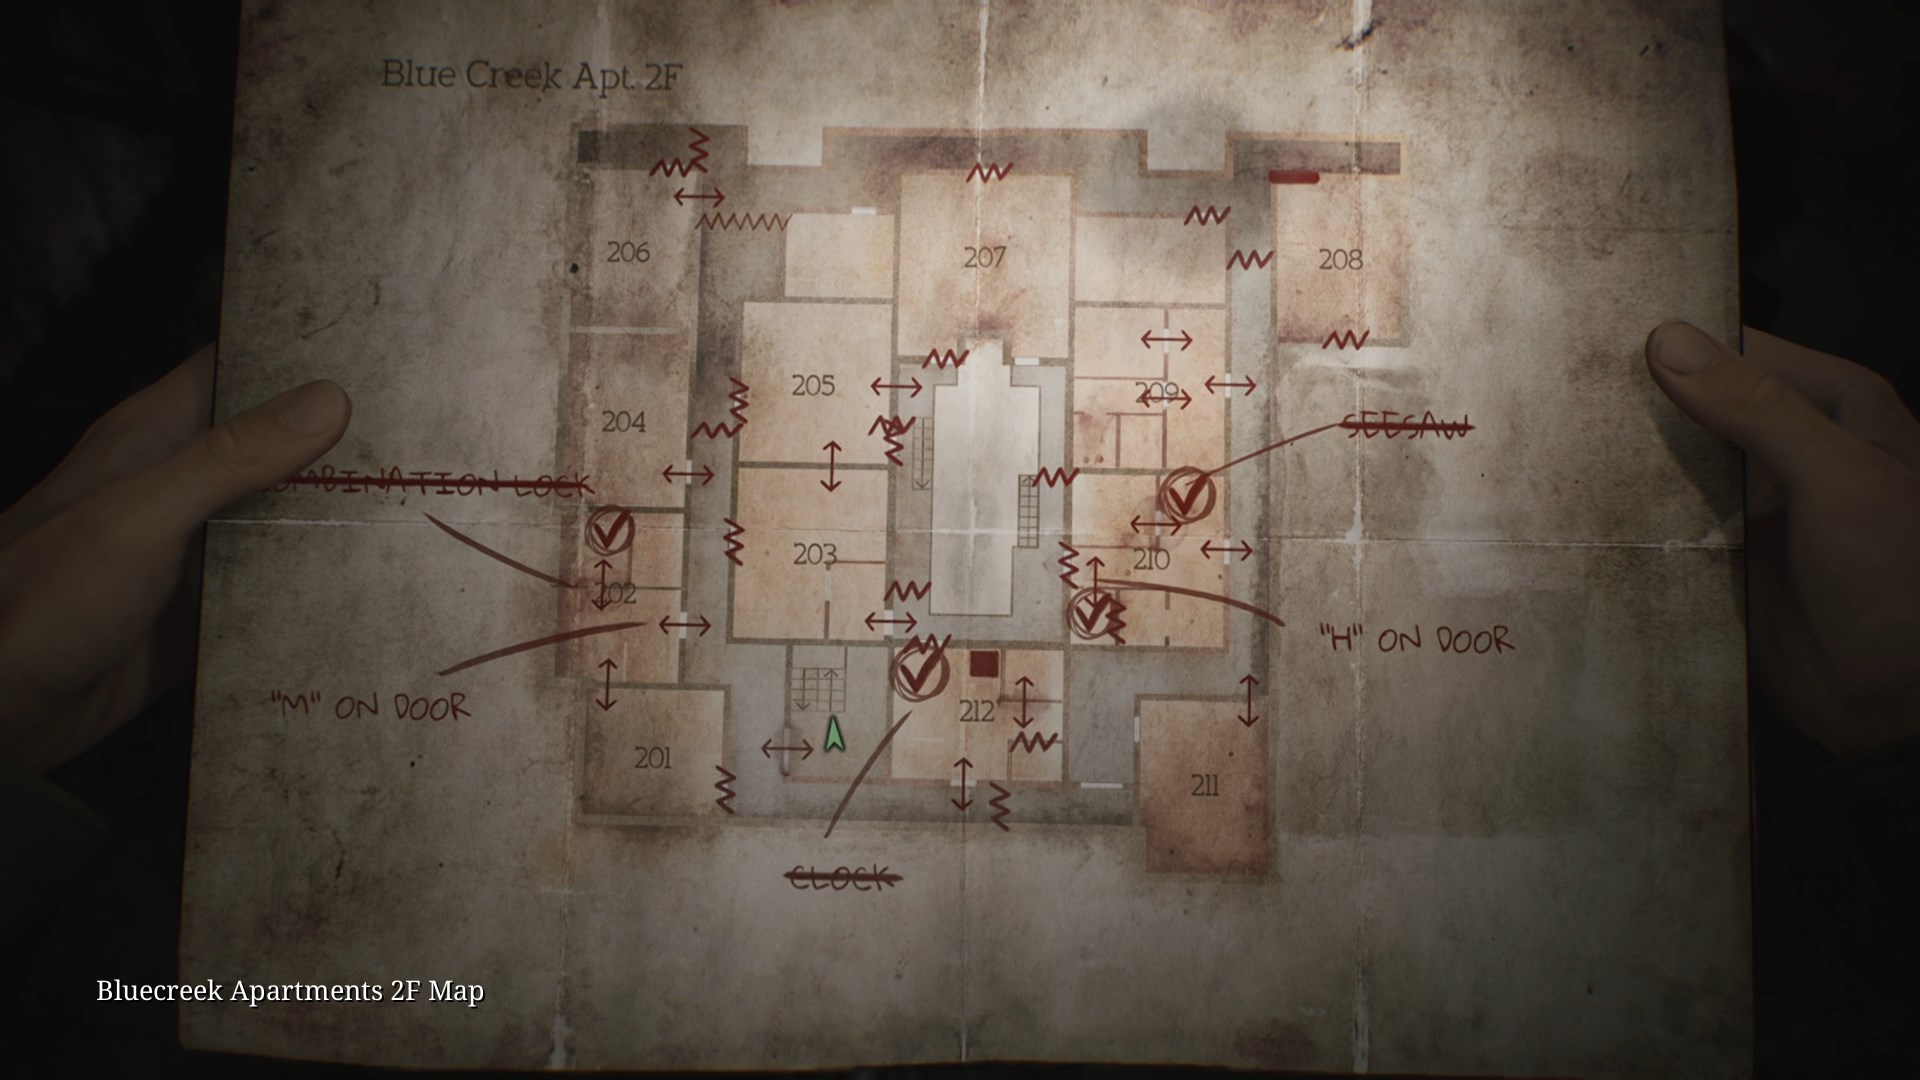
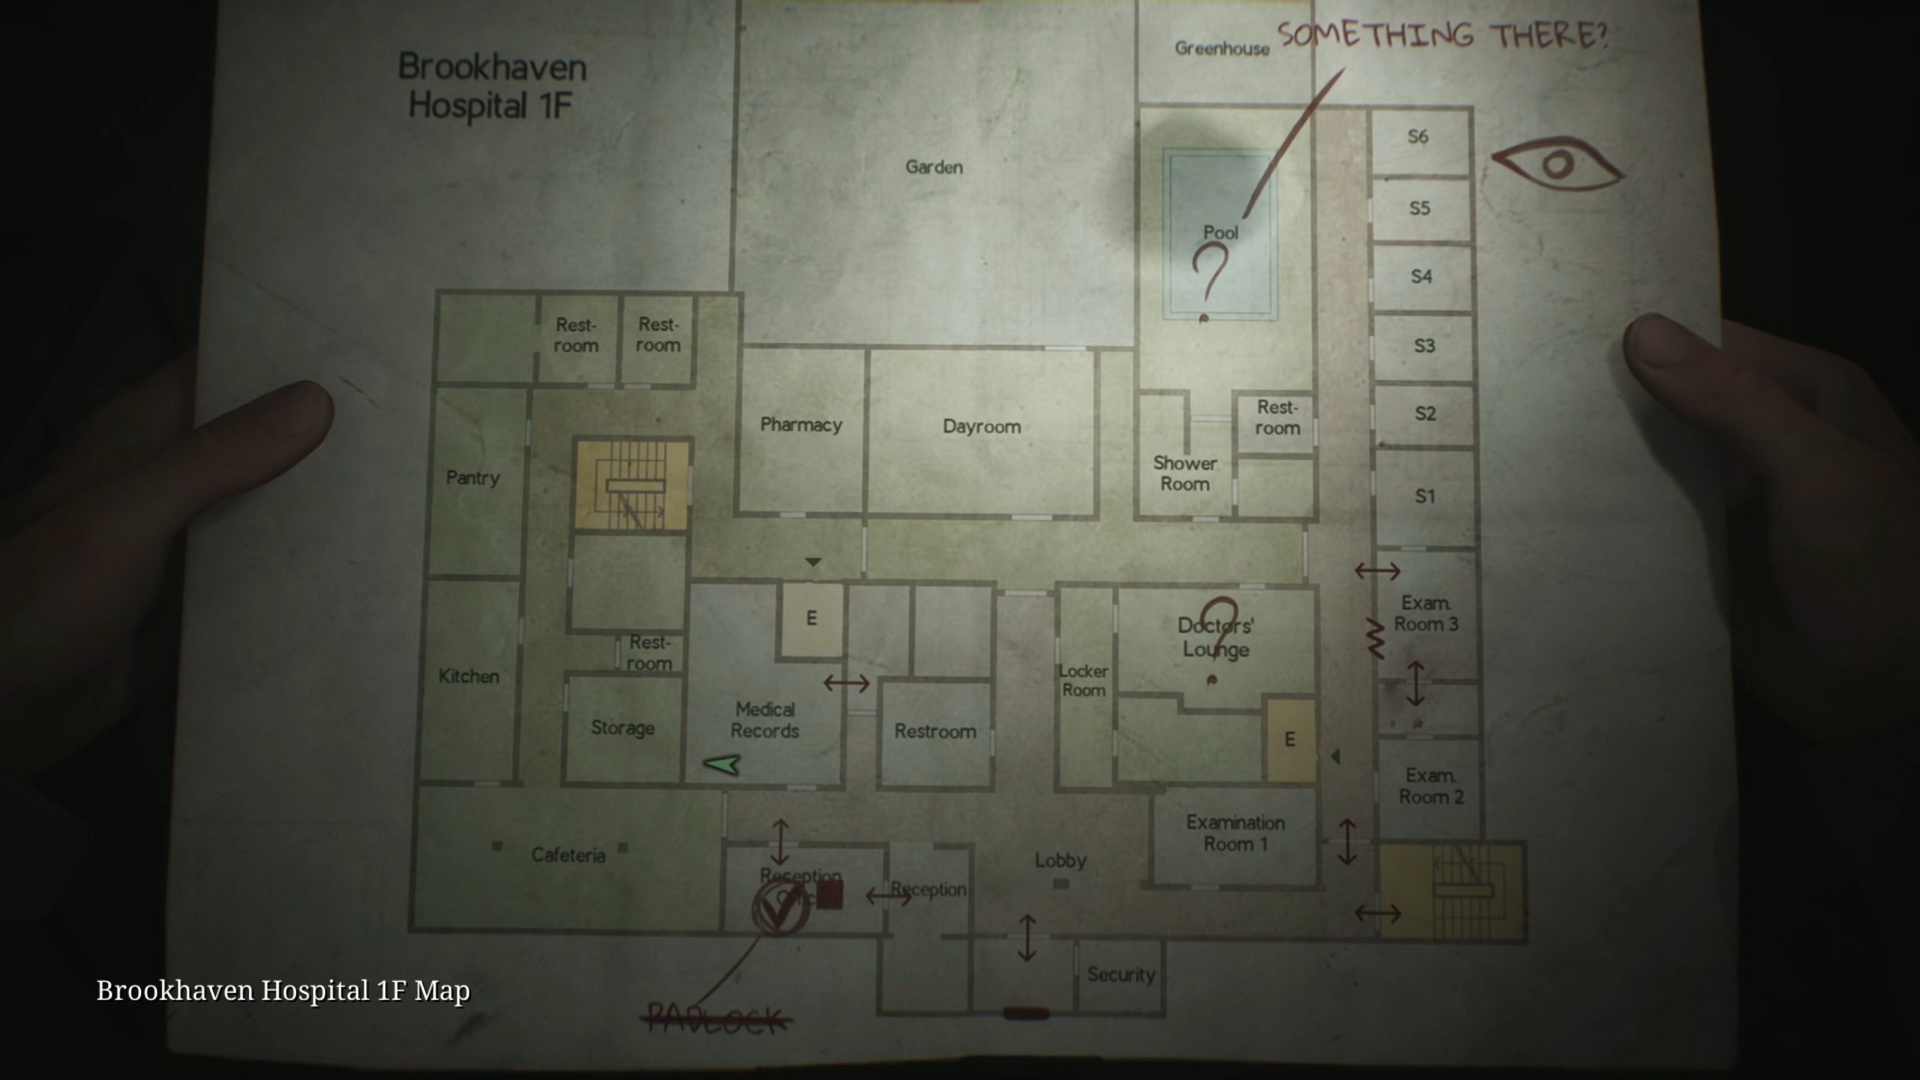
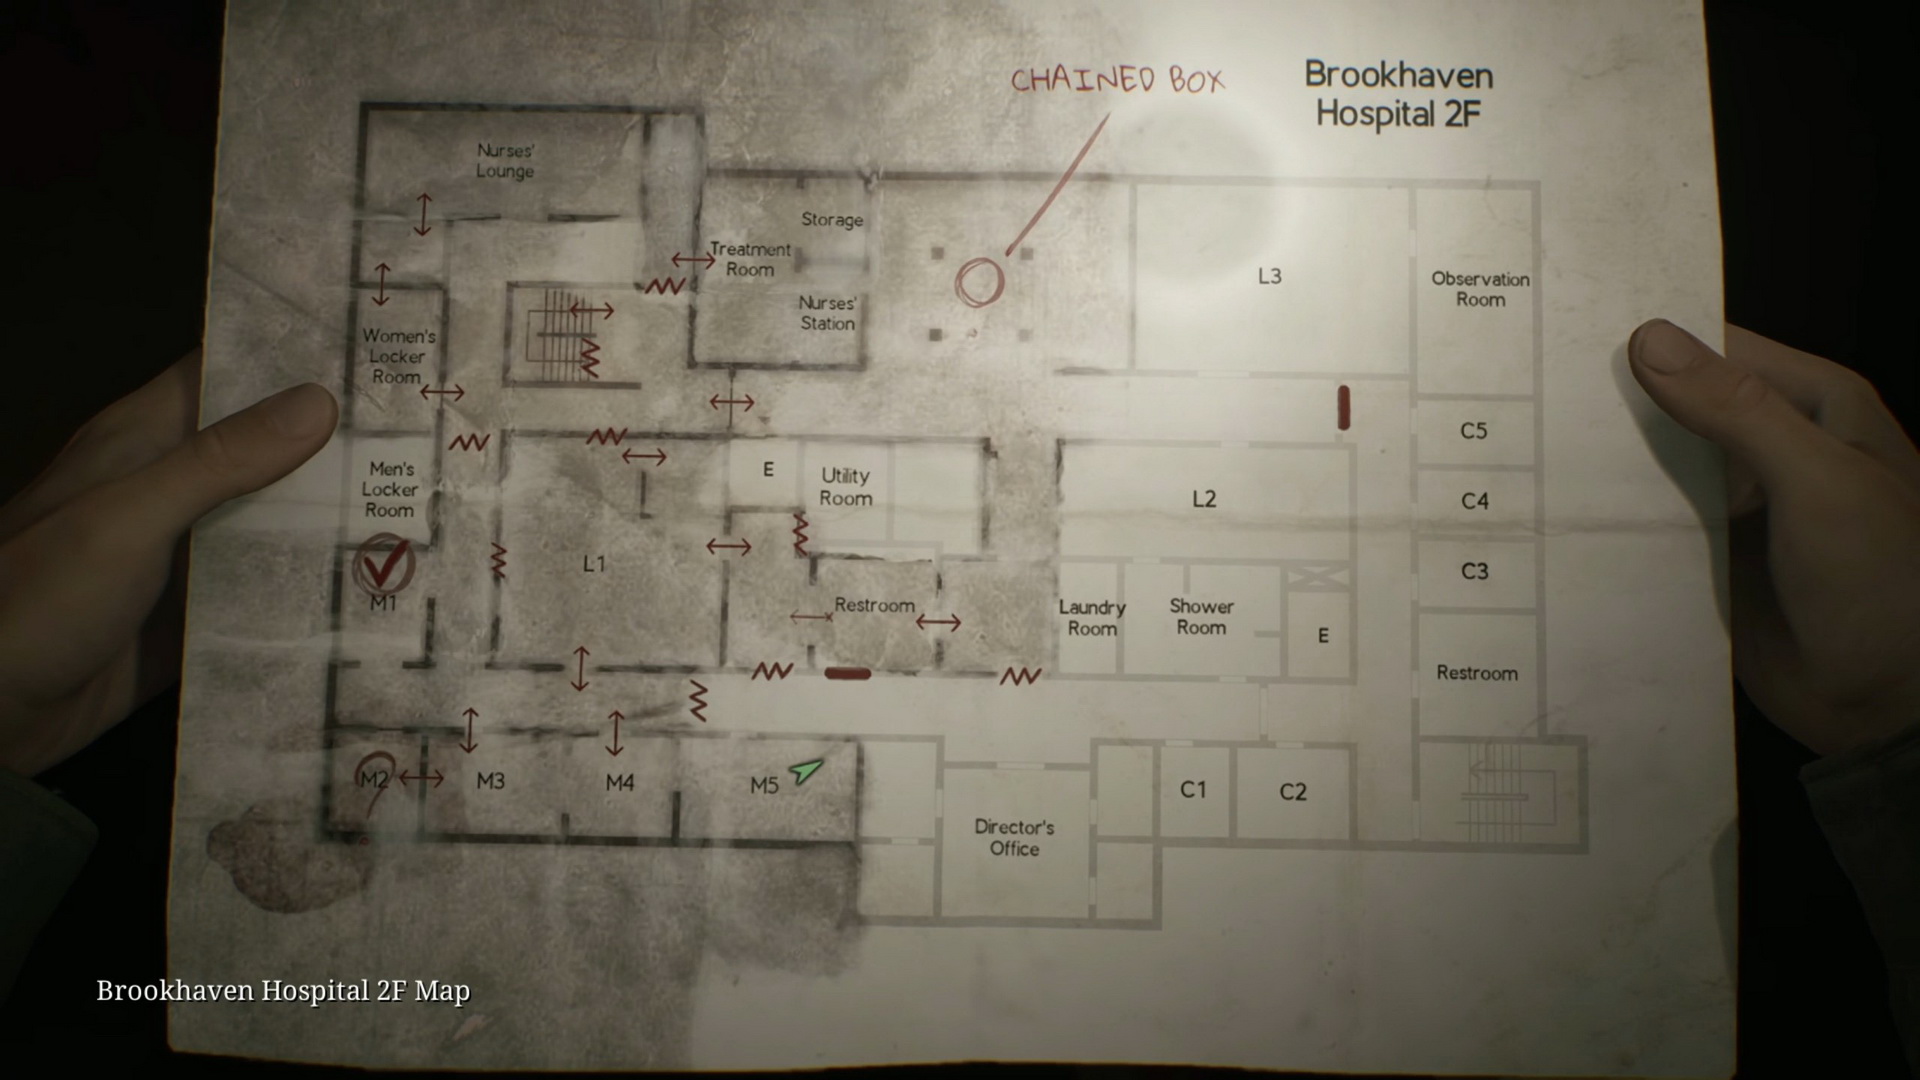
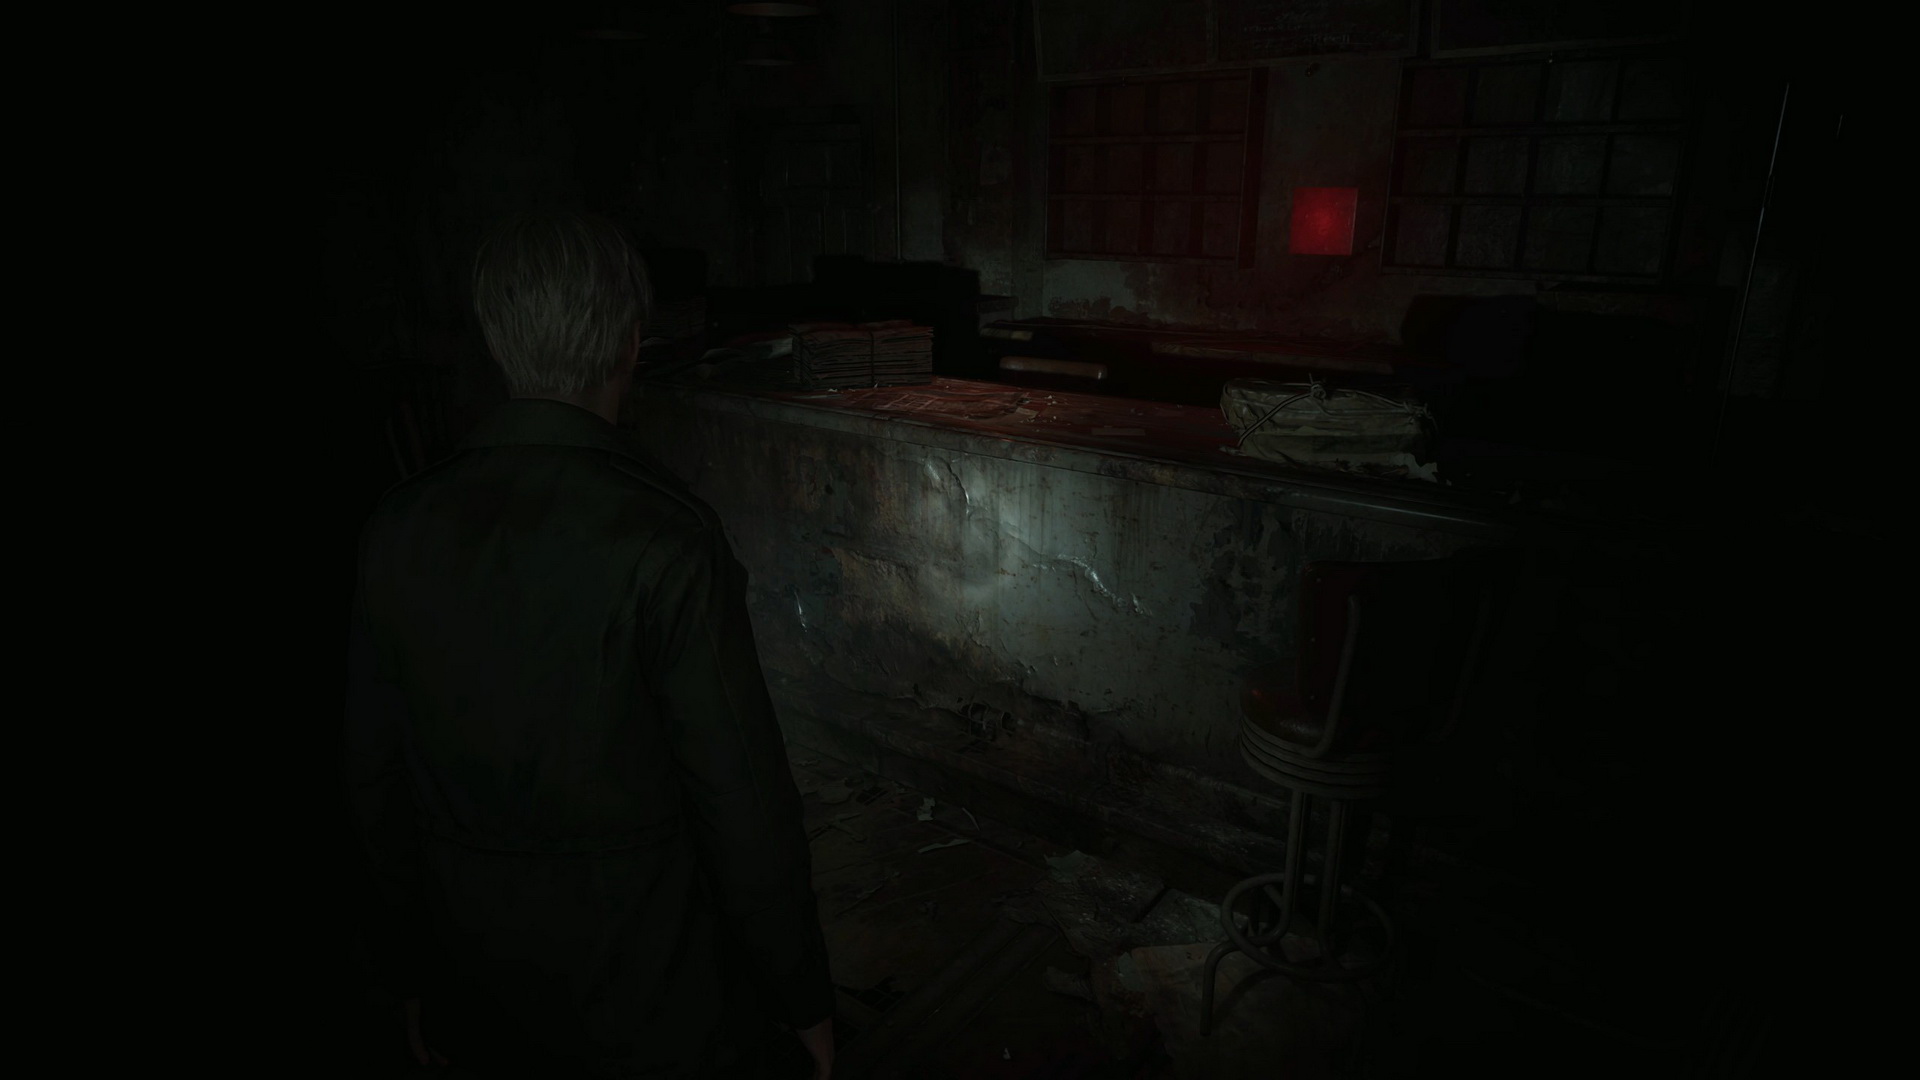
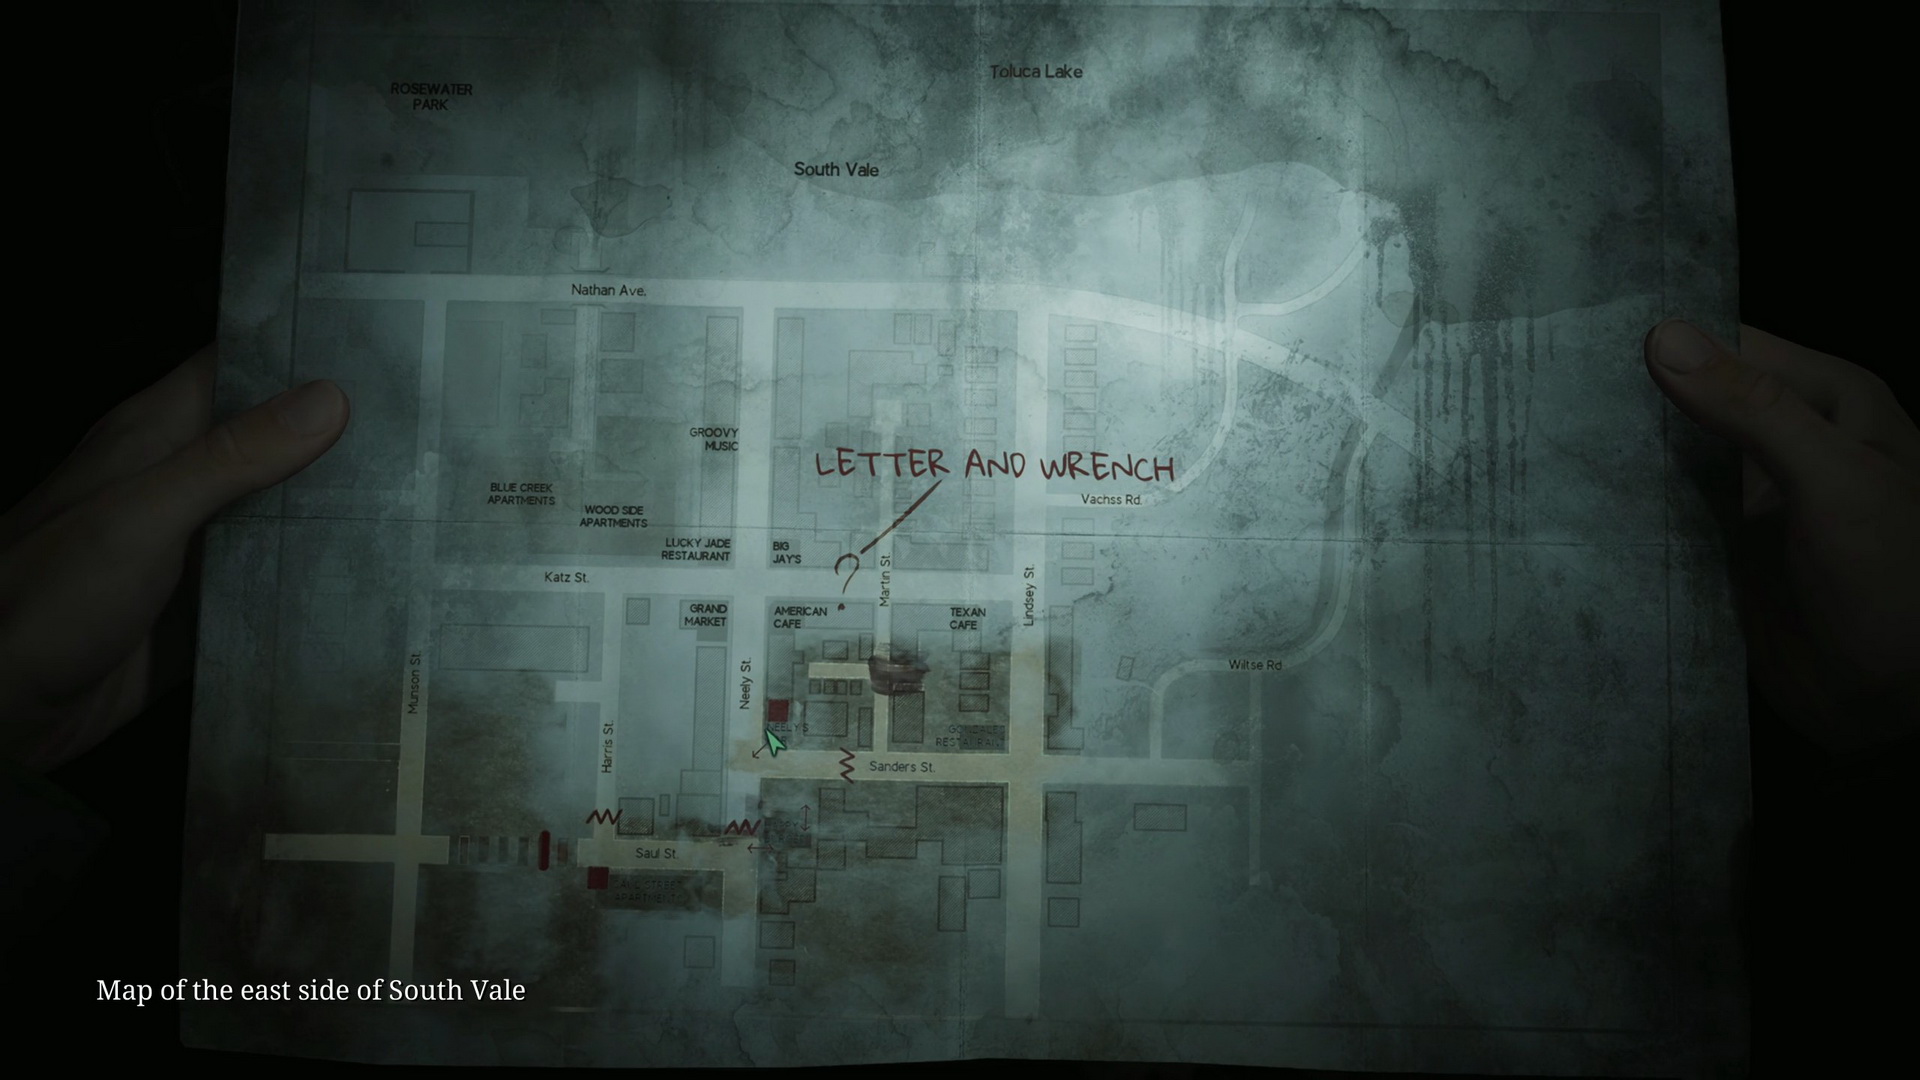
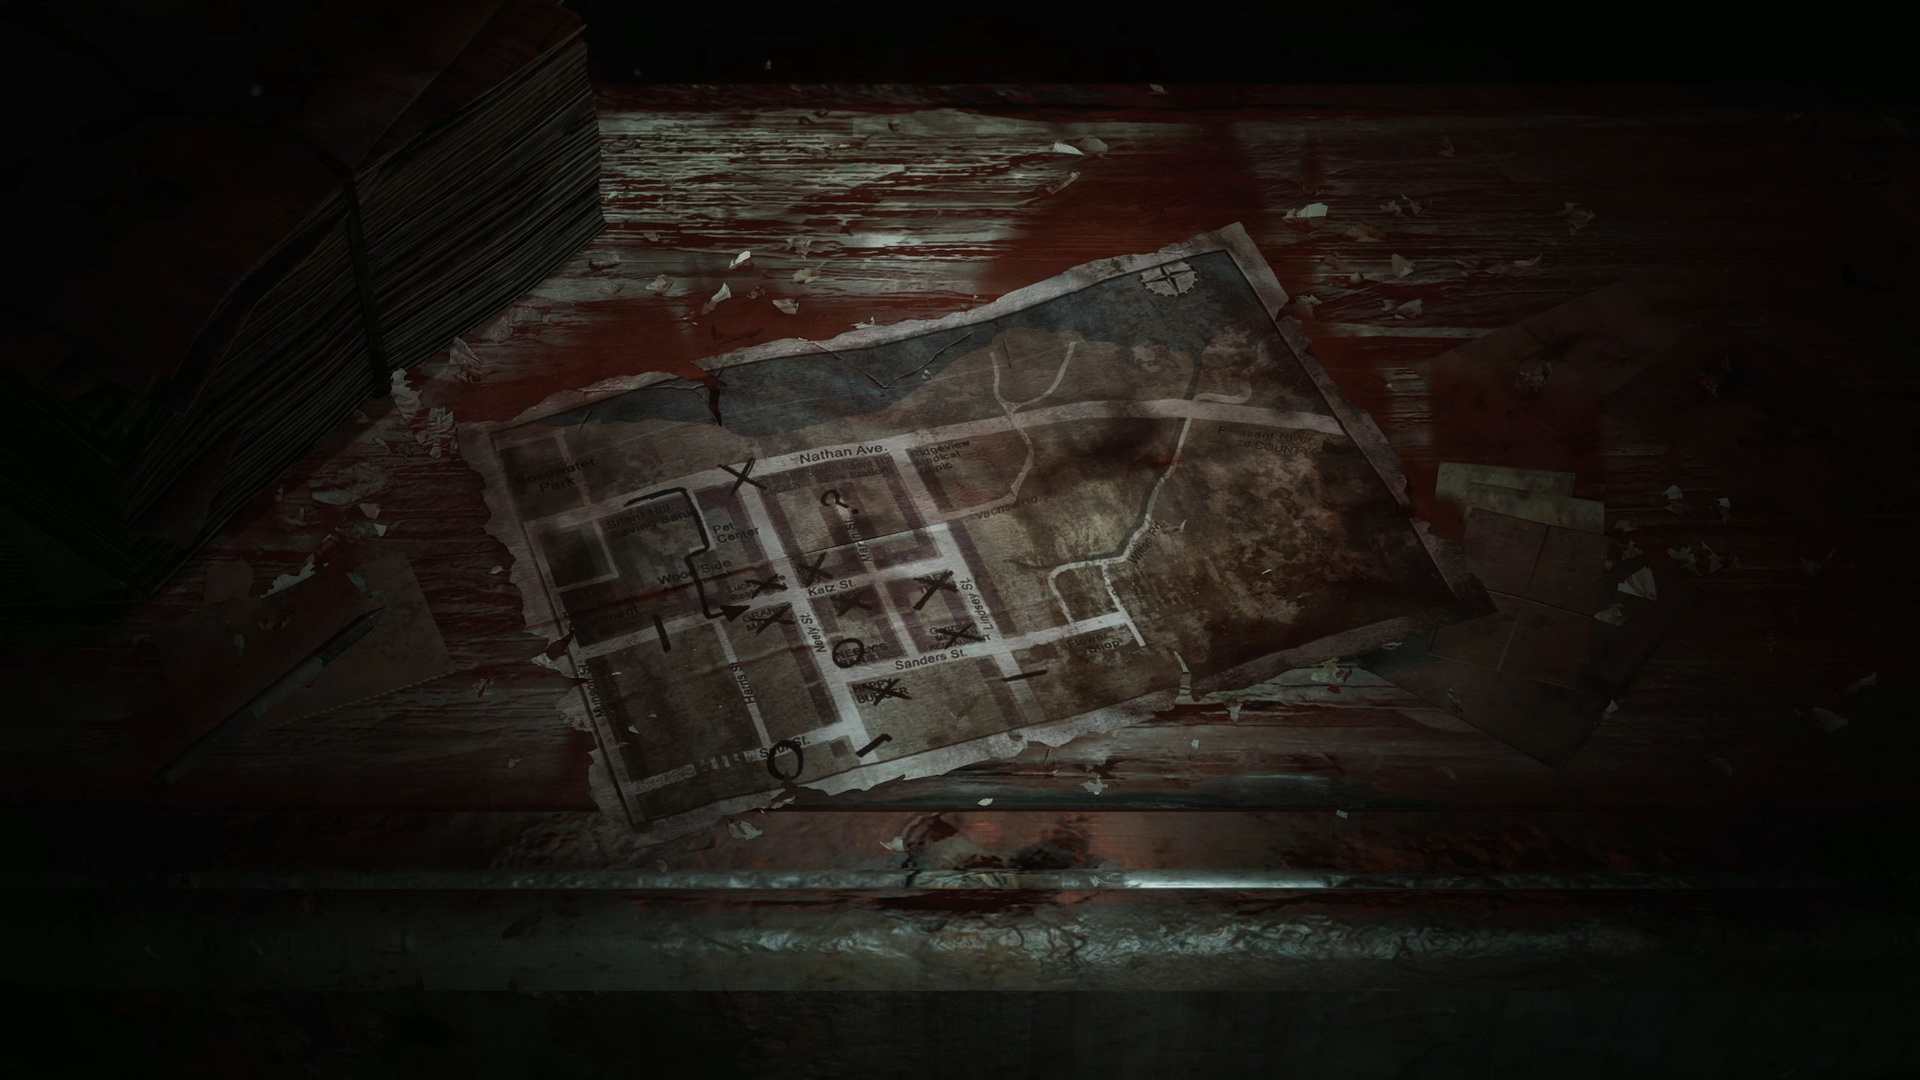
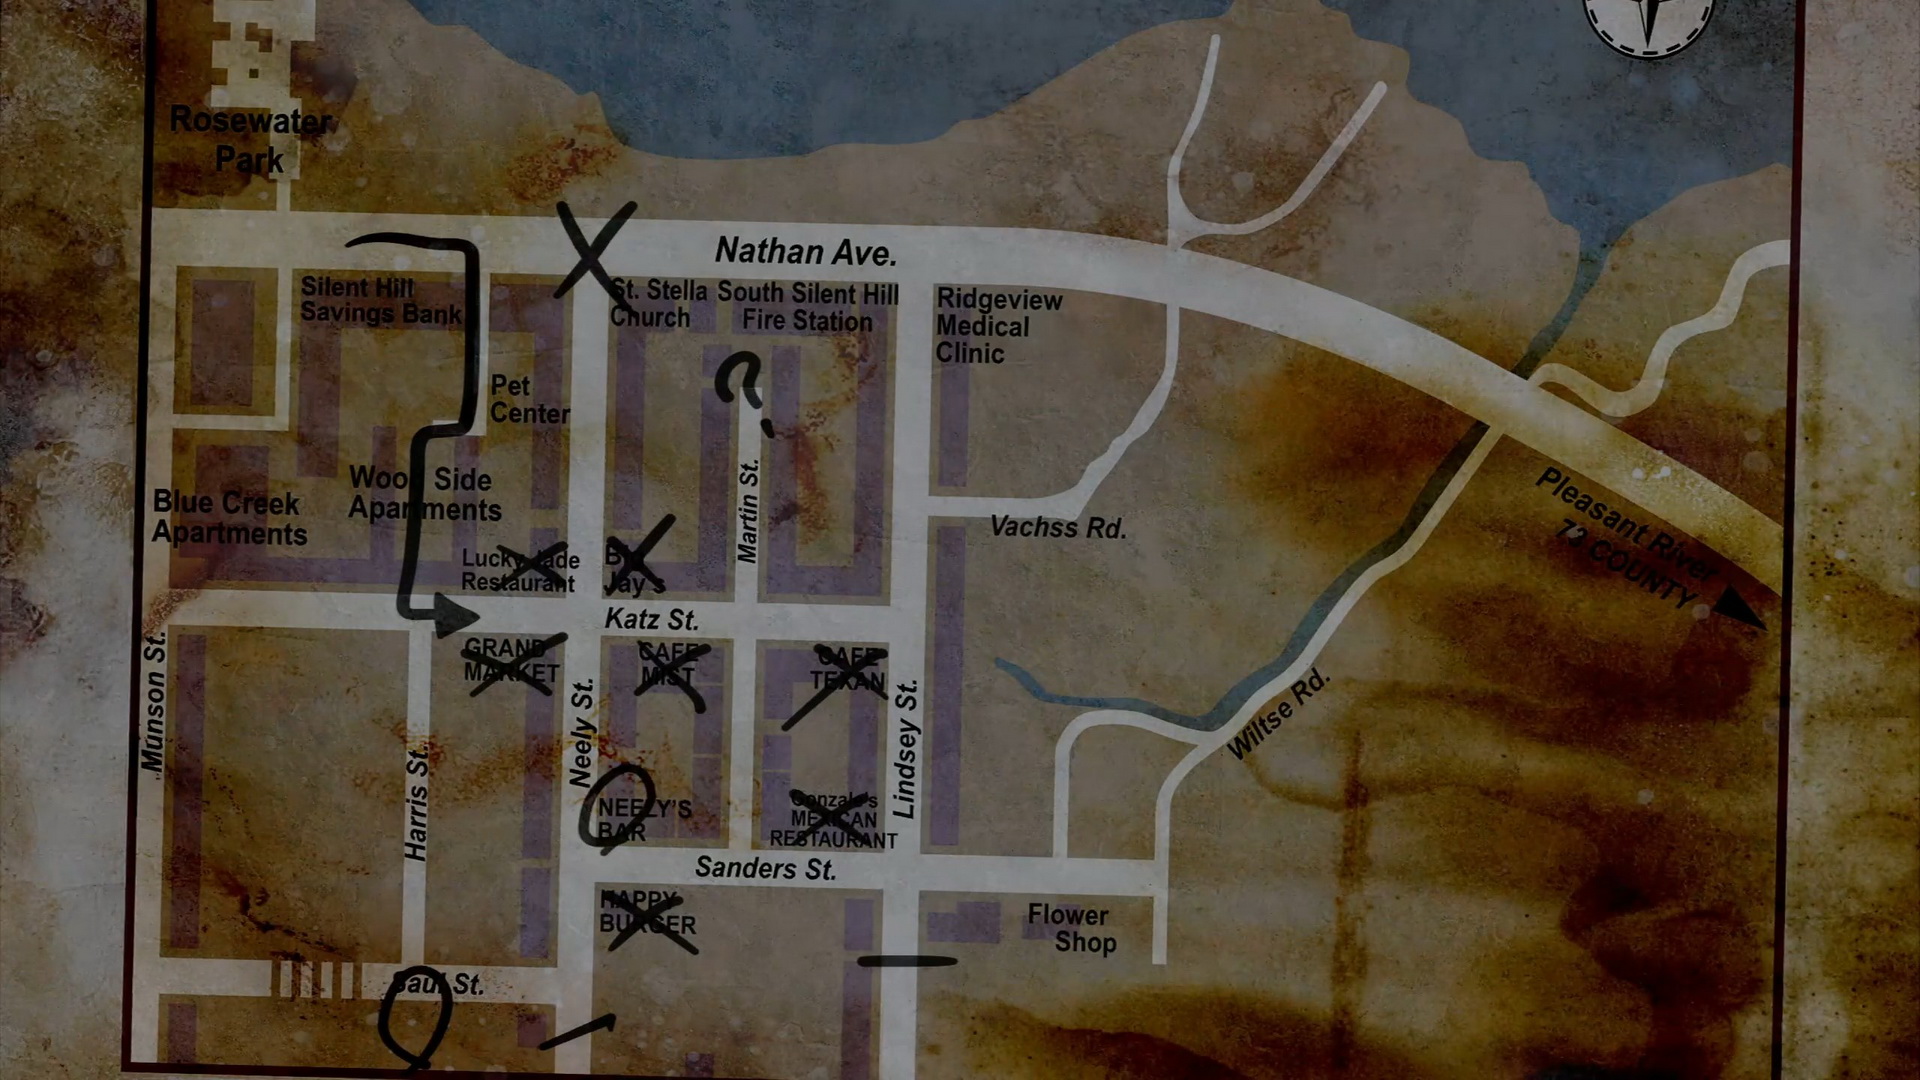
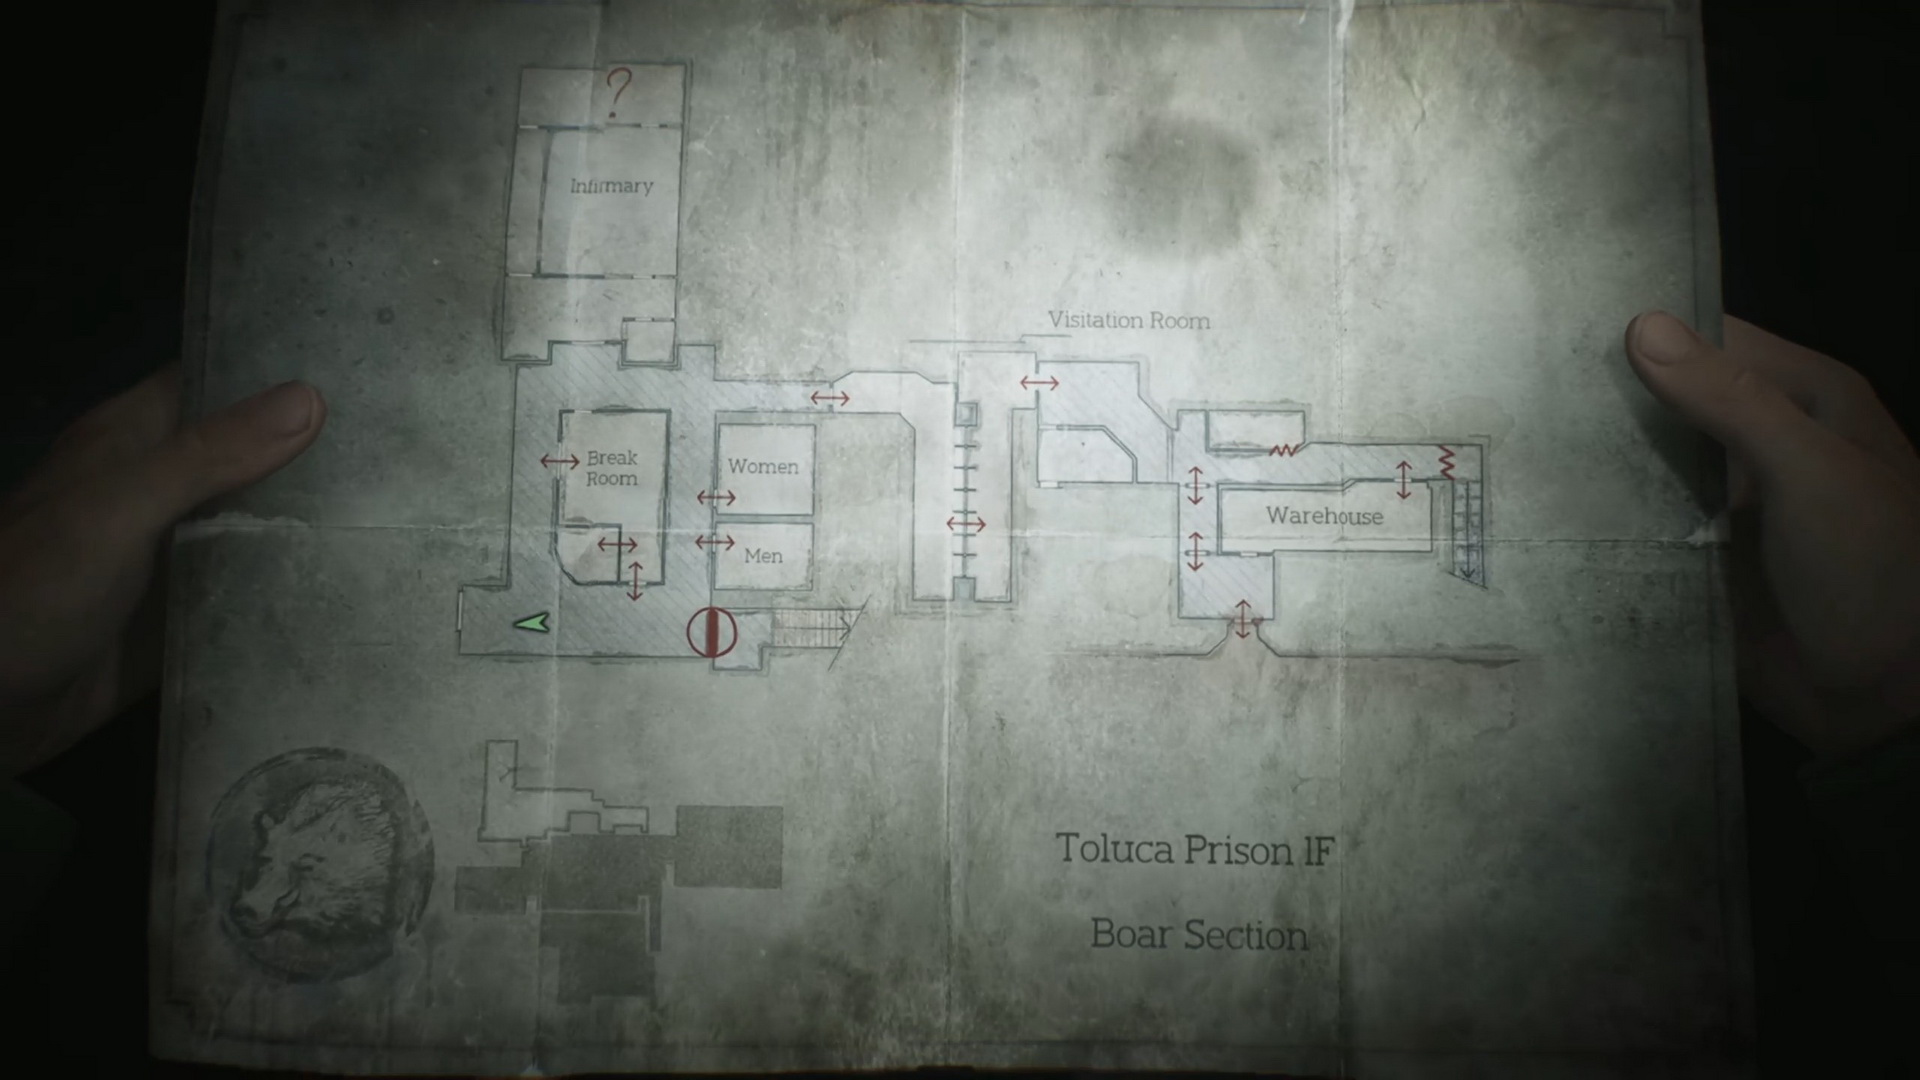
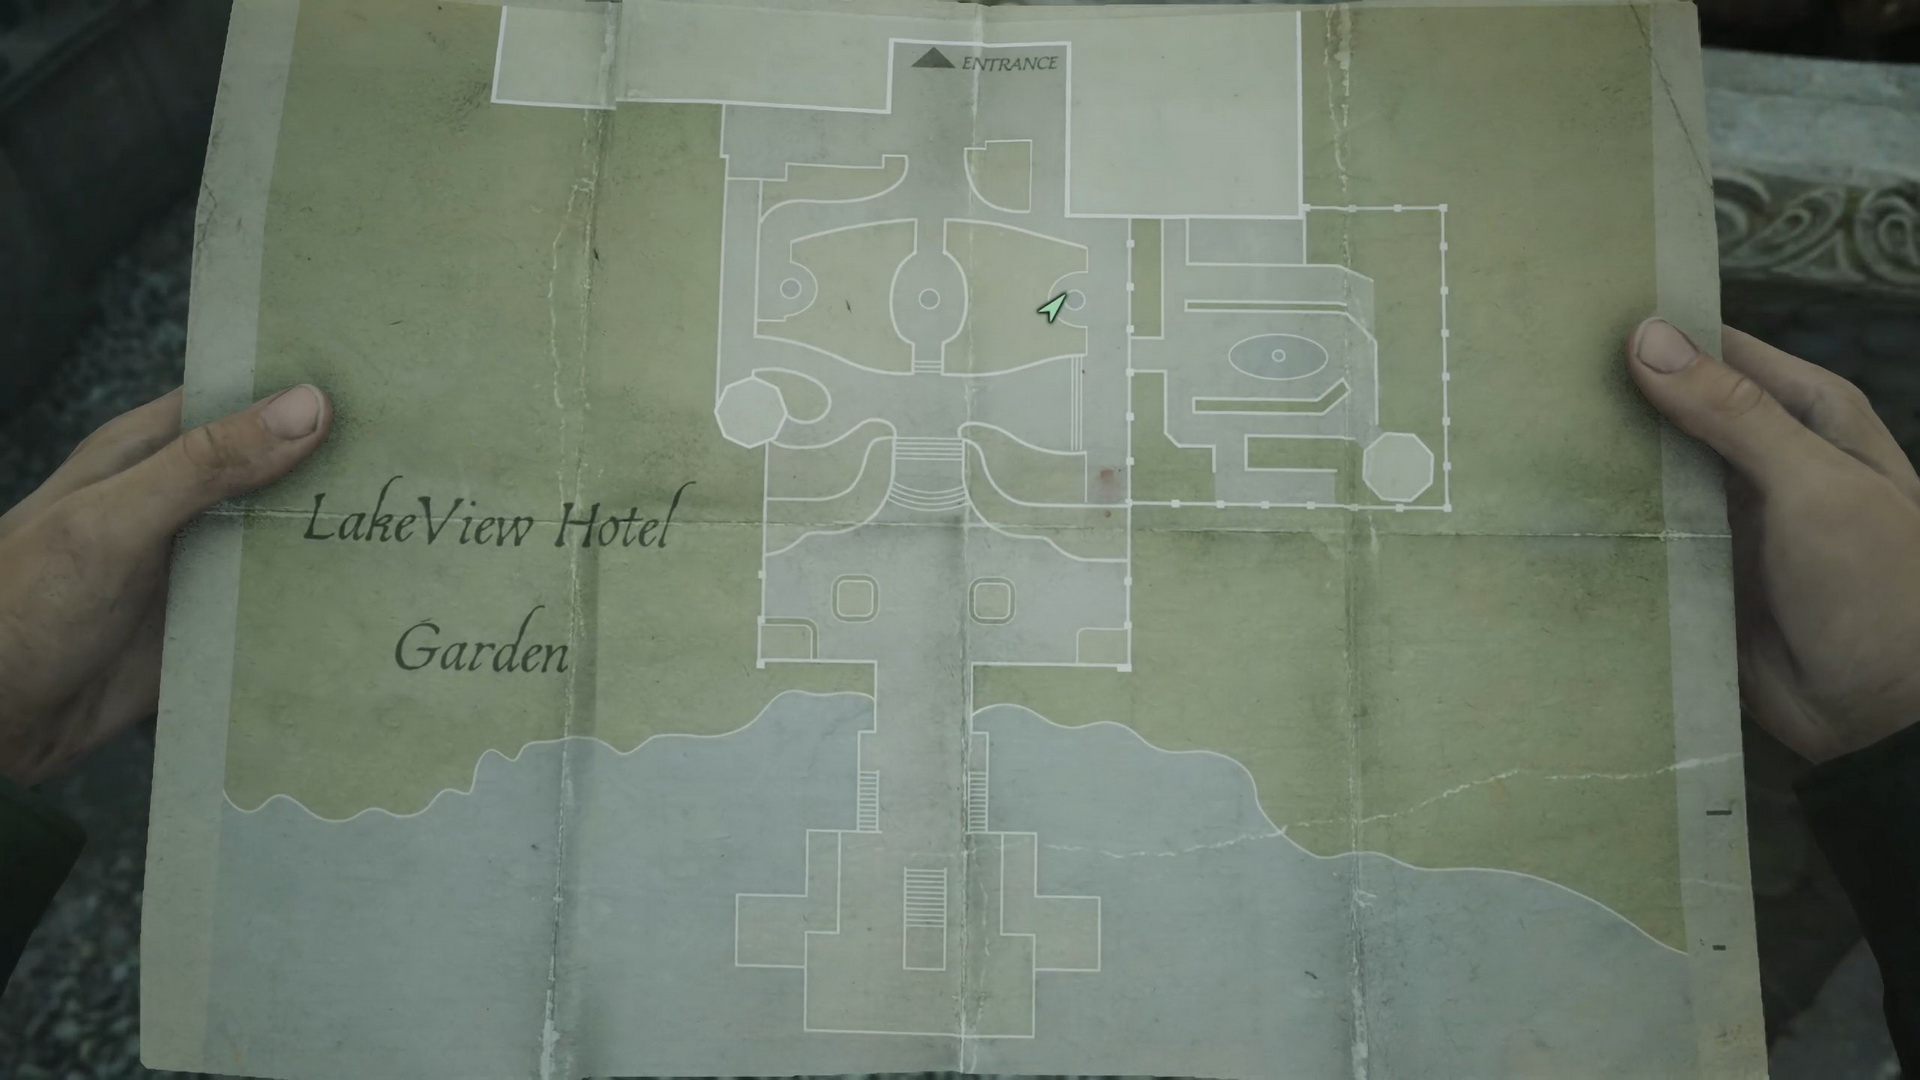
#17: Old Map
Location: Inside Neely’s Bar, a map on the bar countertop.
SH2 Reference: A town map with the markings found at the same place and locating next points of investigation.
 |
 |
 |
|
 |
|
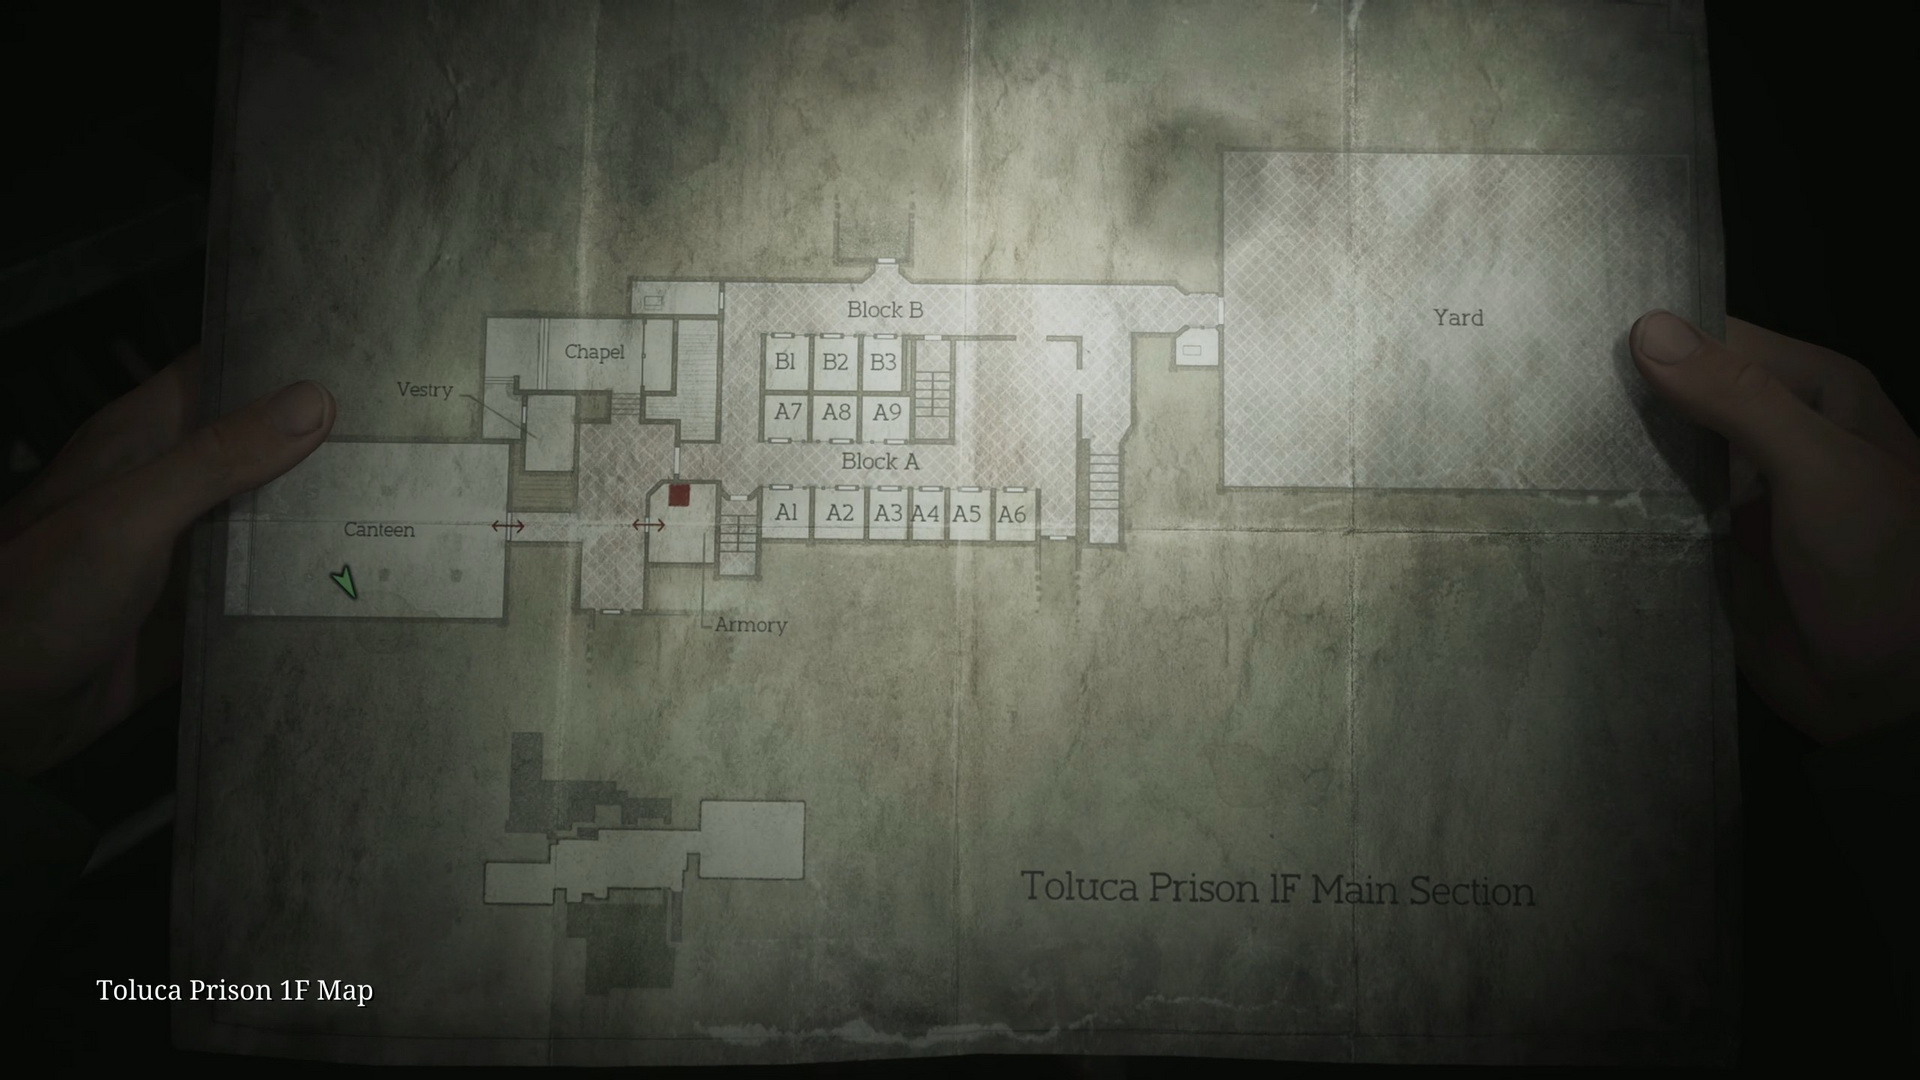
Toluca Prison
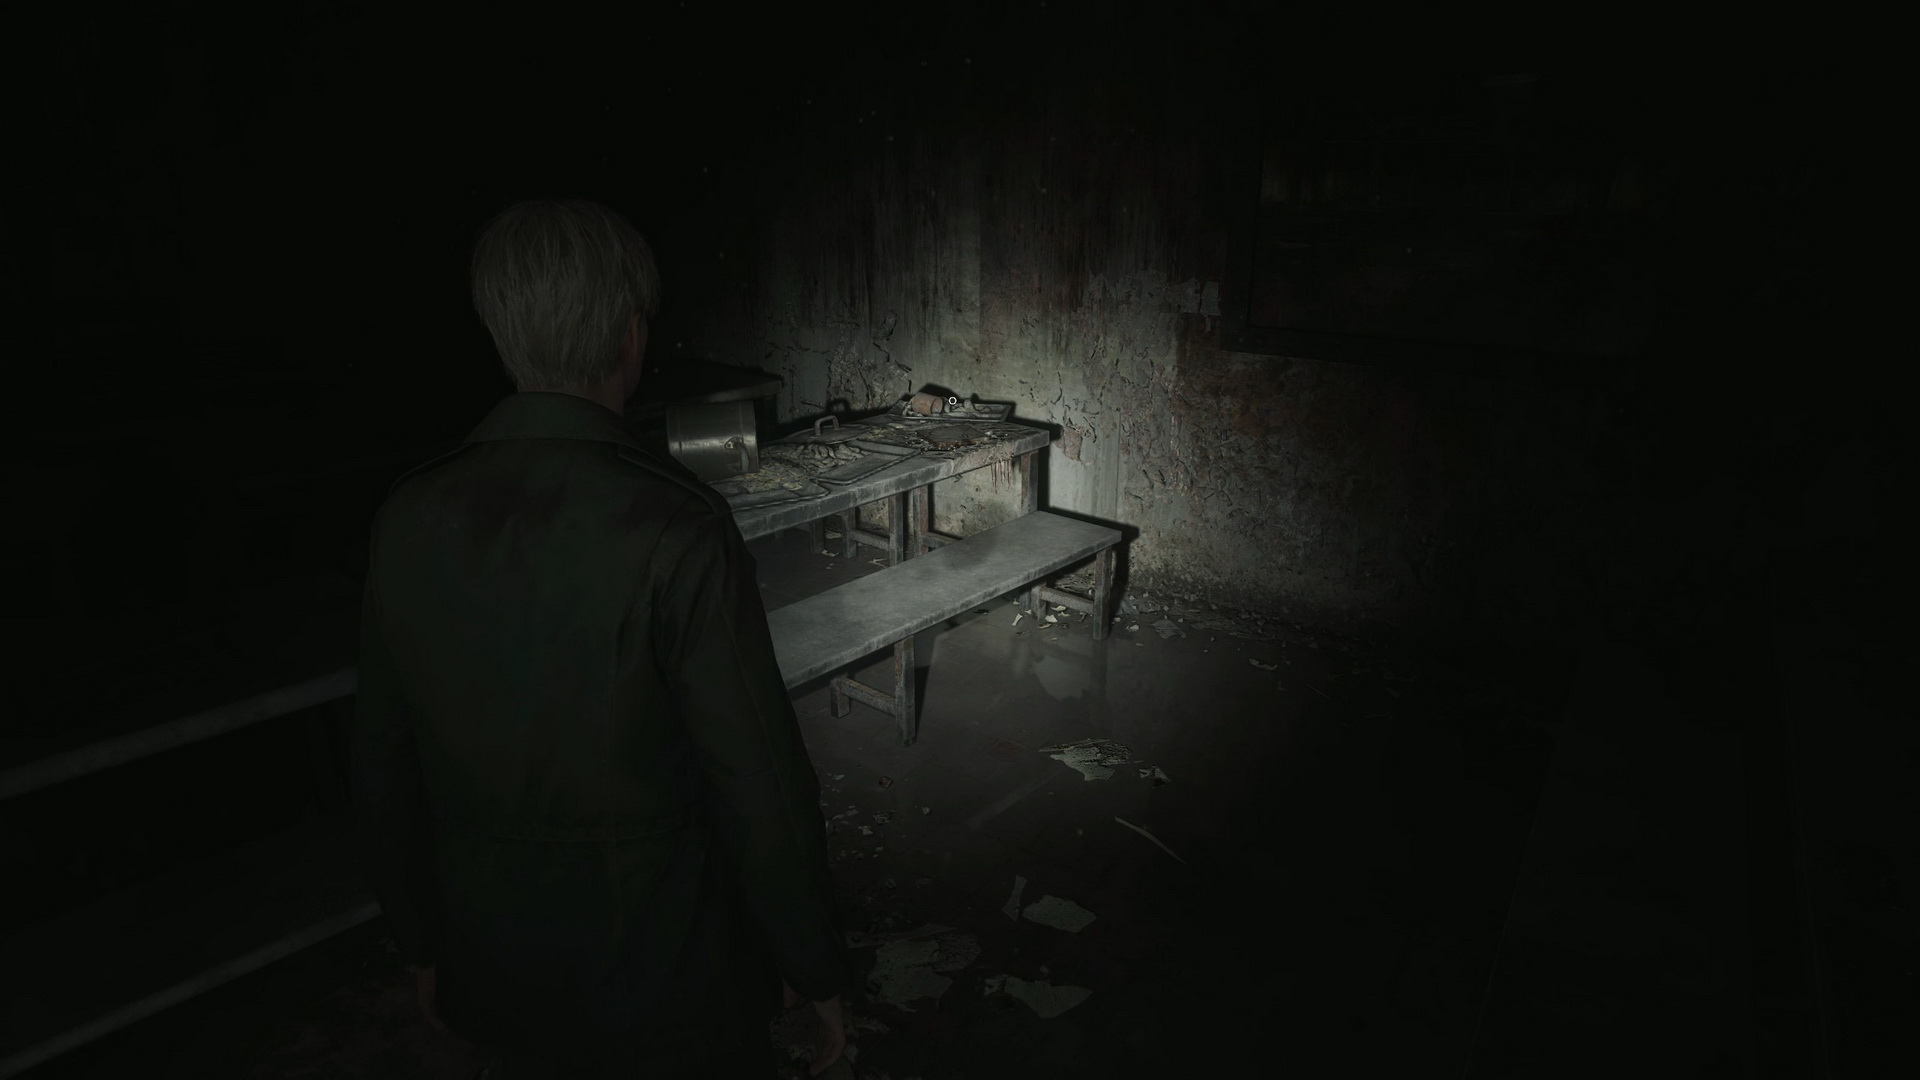
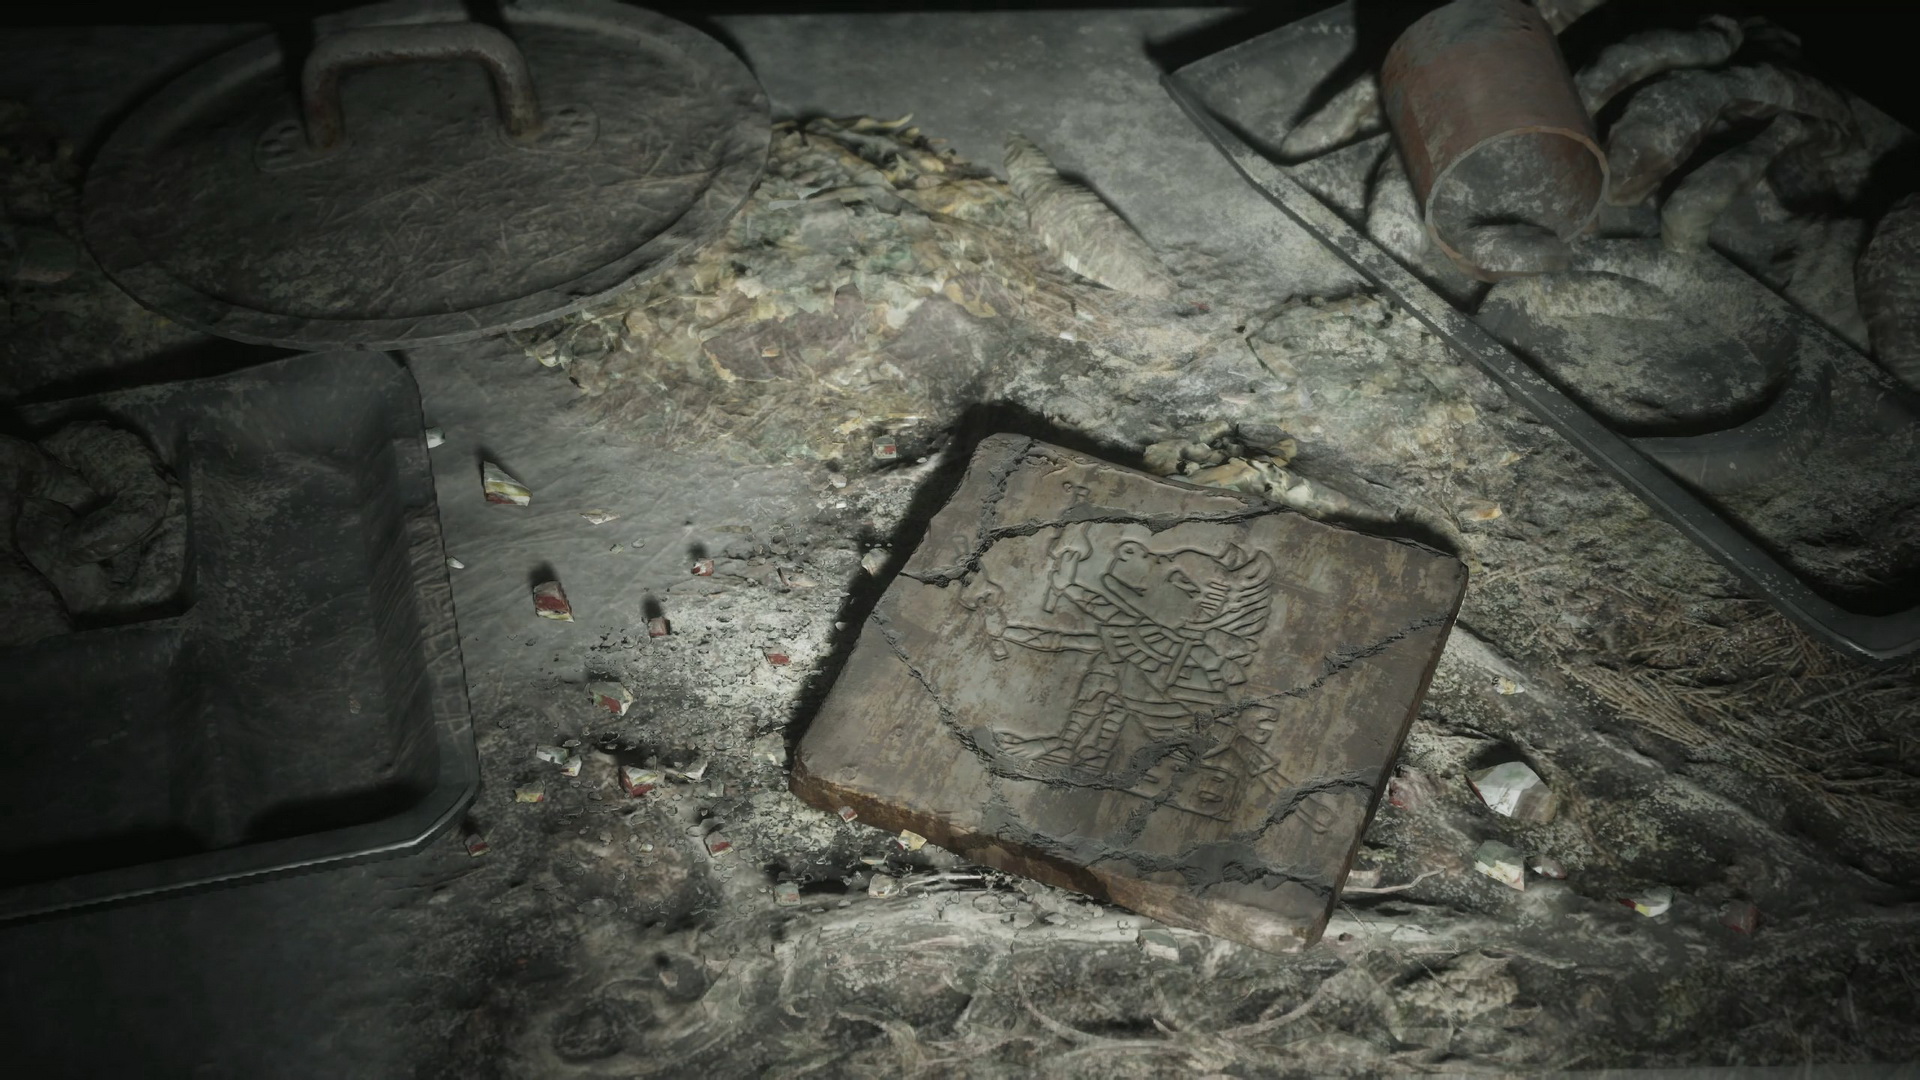
#18: Tablet in the Canteen
Location: Canteen as soon as you land in the prison, to the right on the dining table.
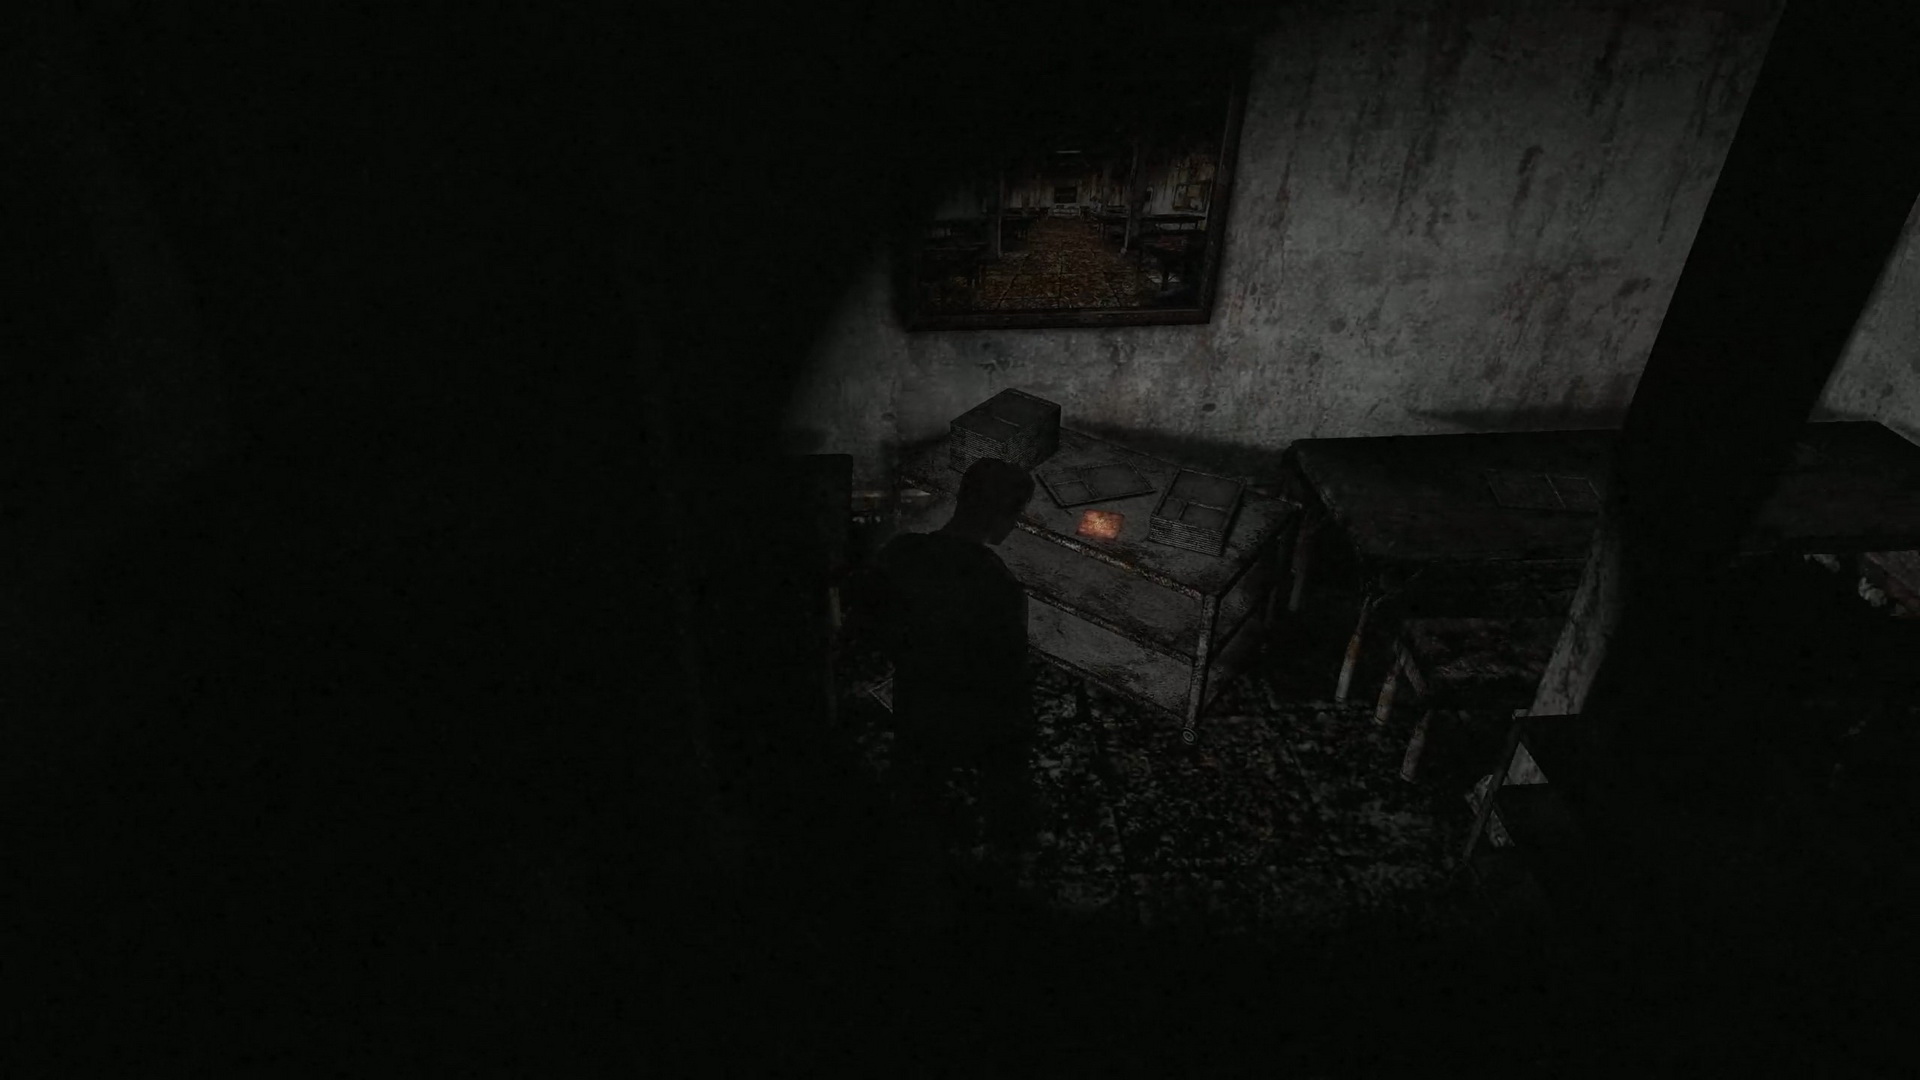
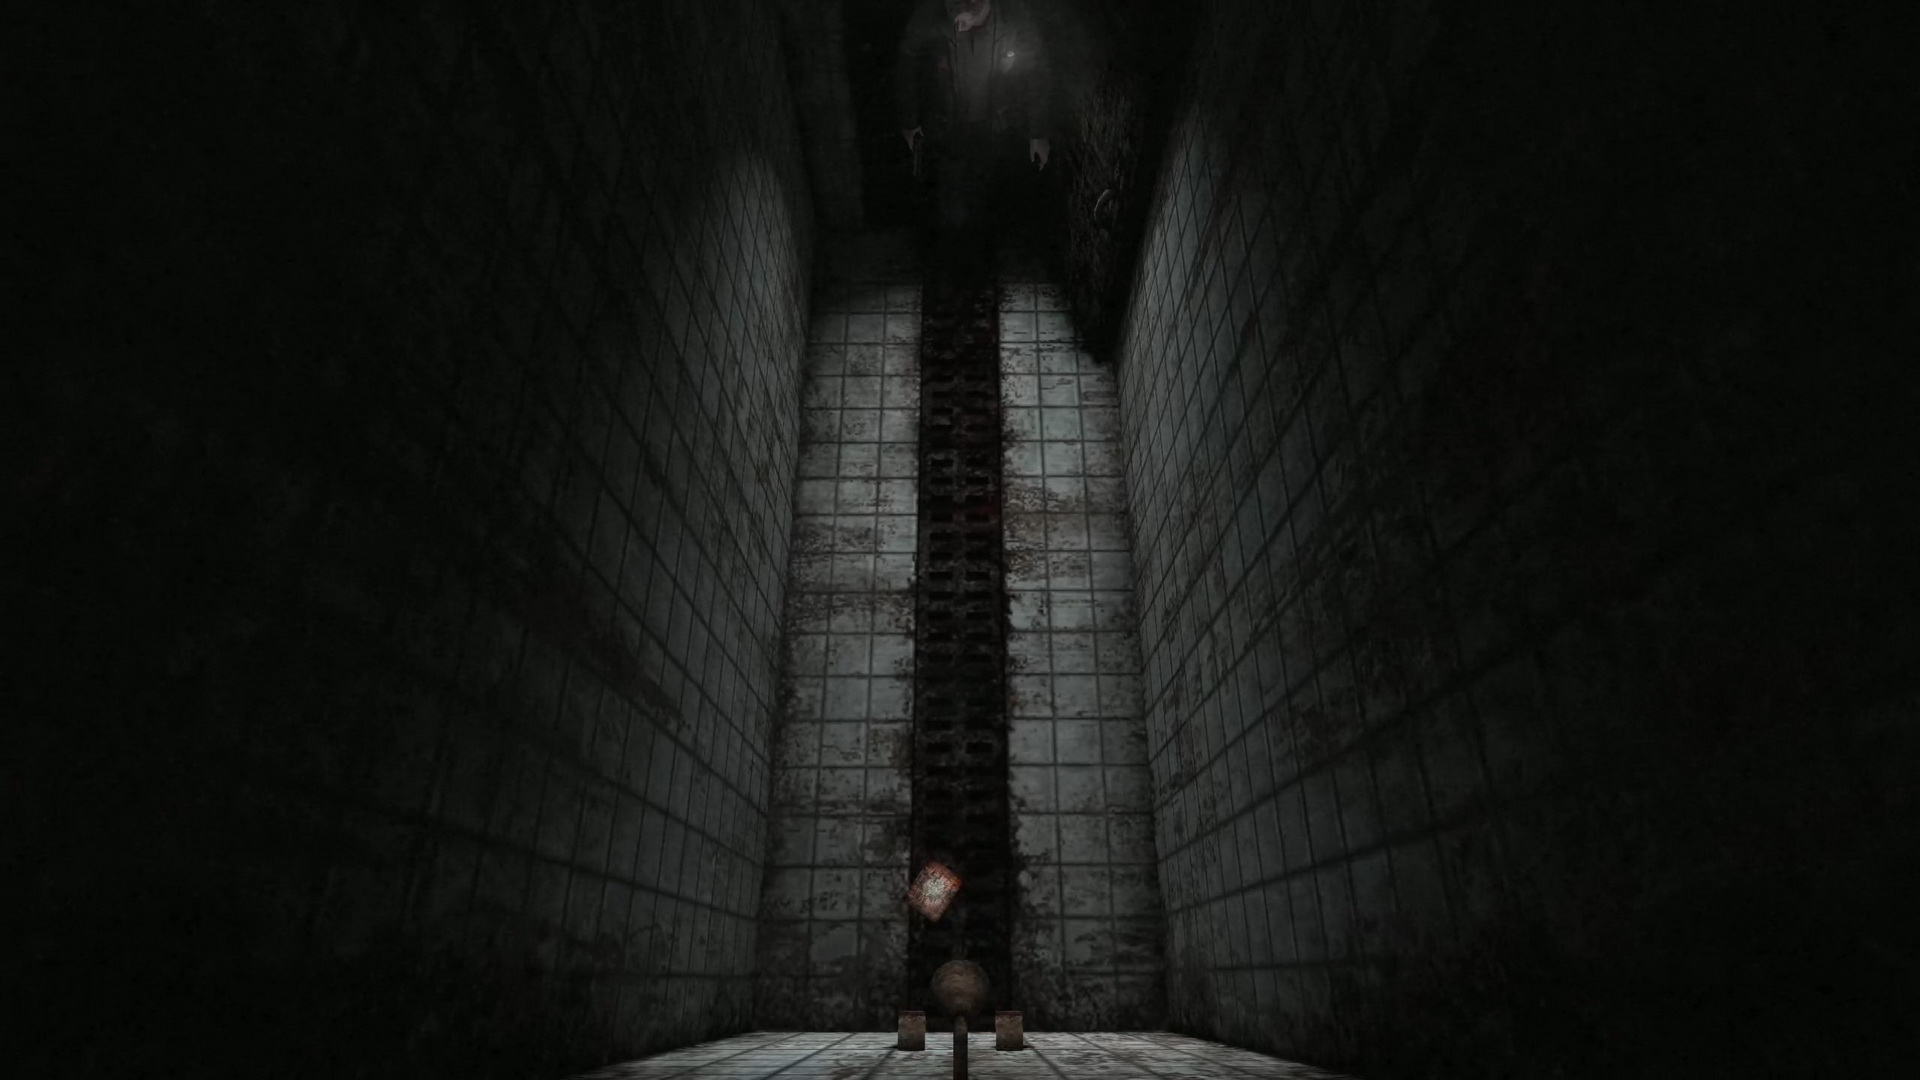
SH2 Reference: Original location of the tablet of "Gluttonous Pig".
 |
 |
 |
|
 |
|
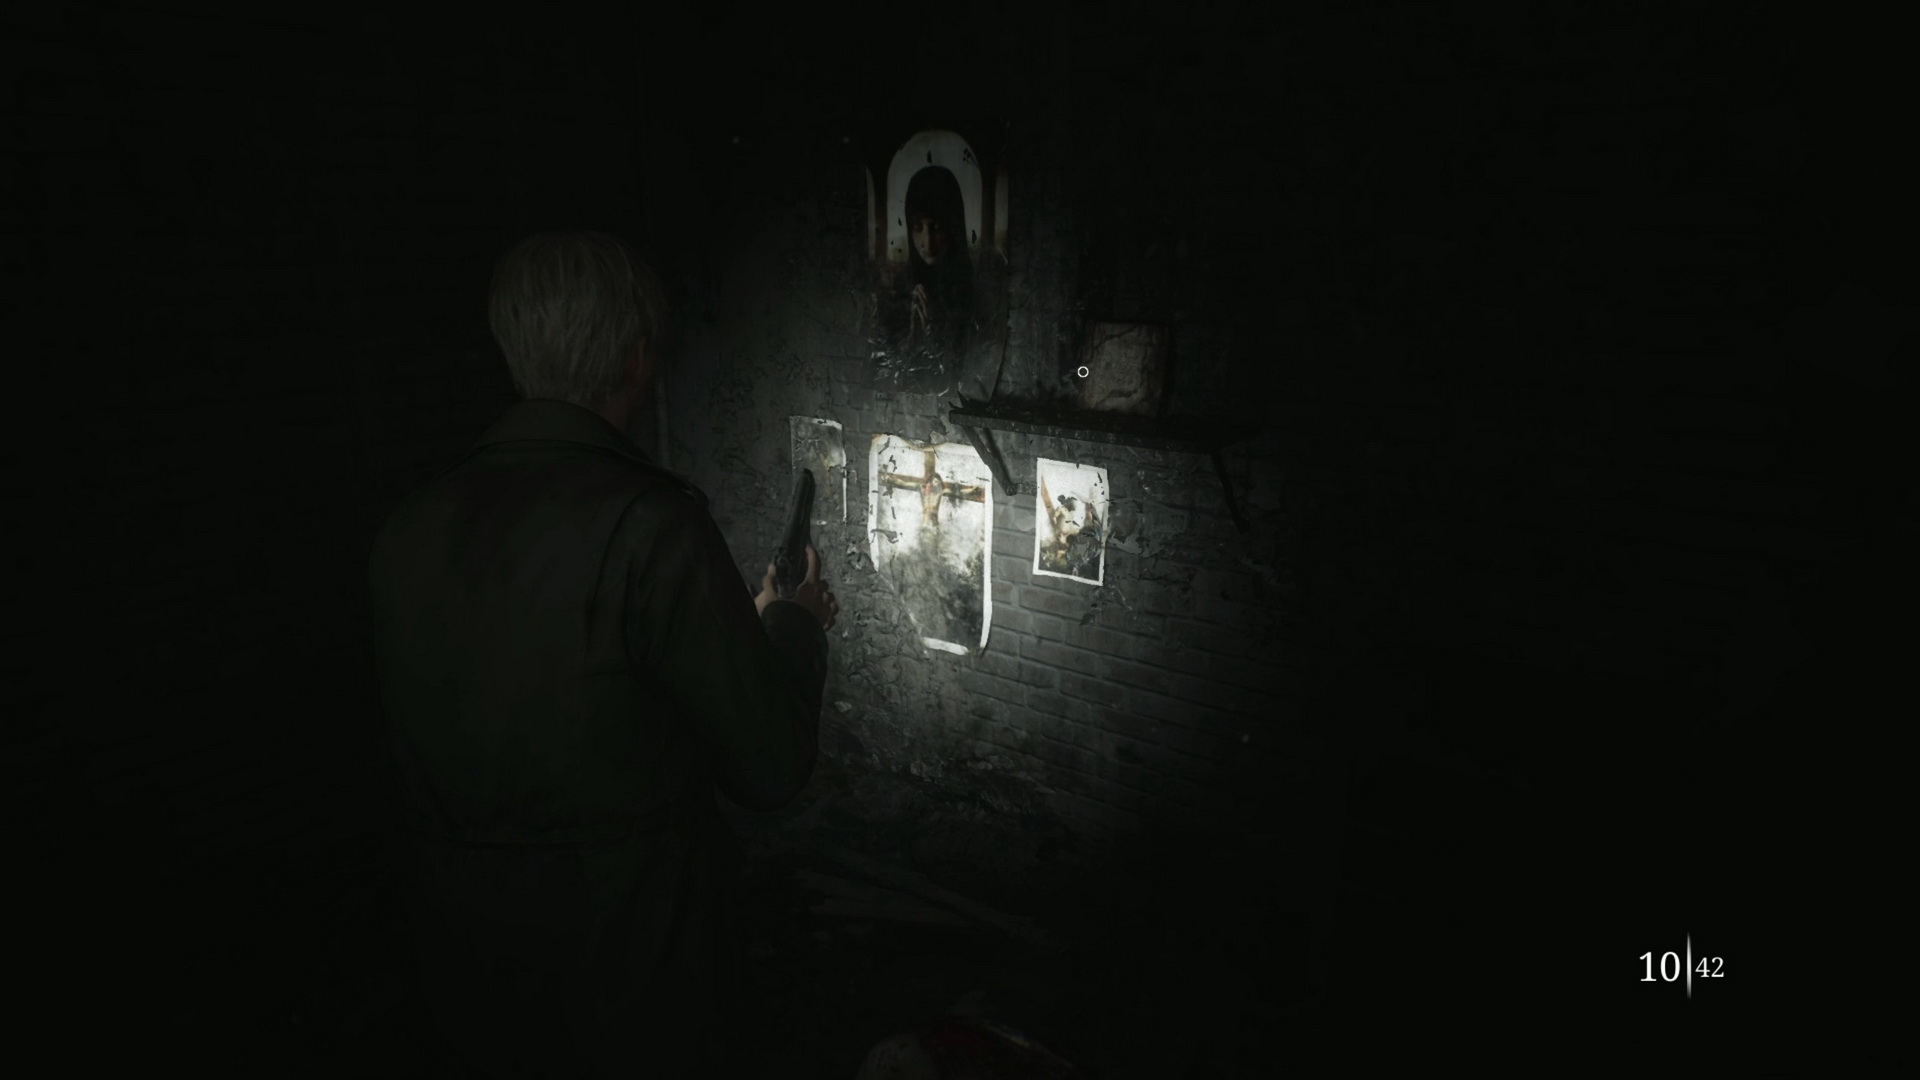
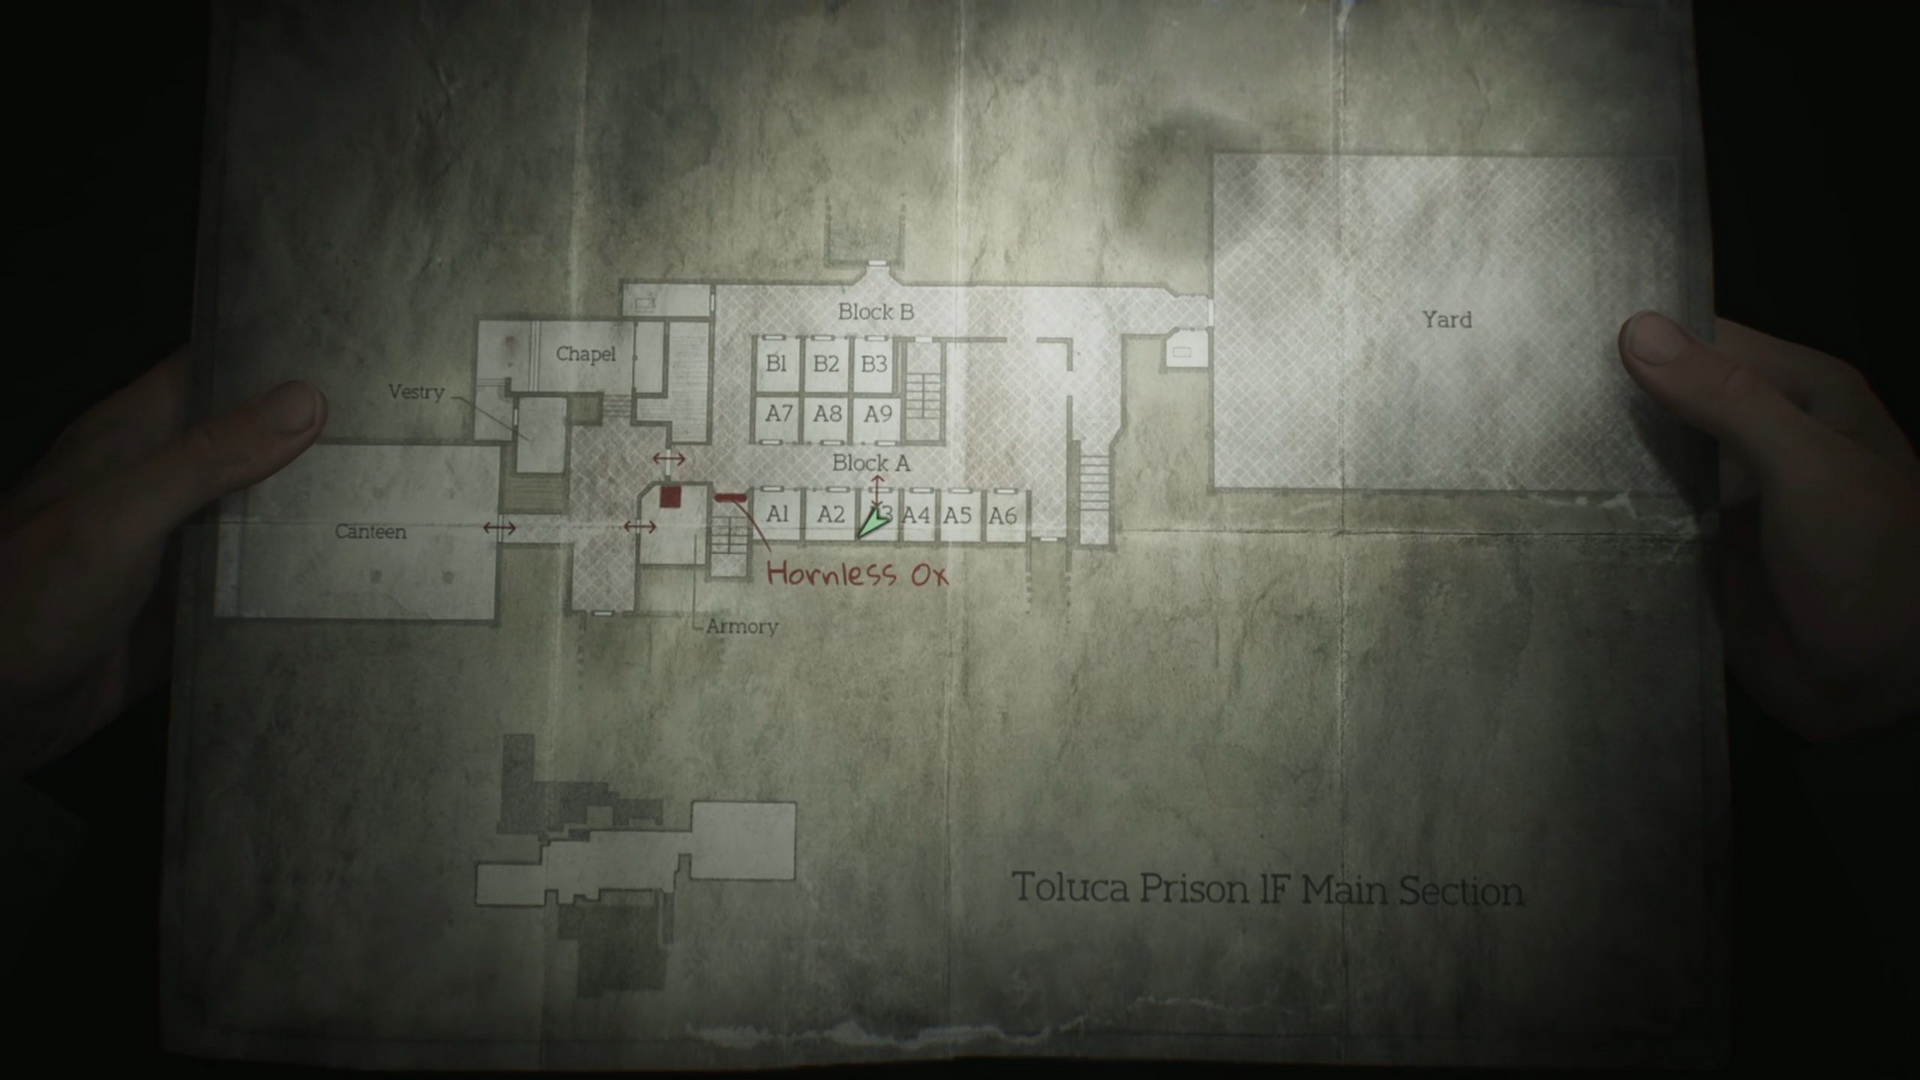
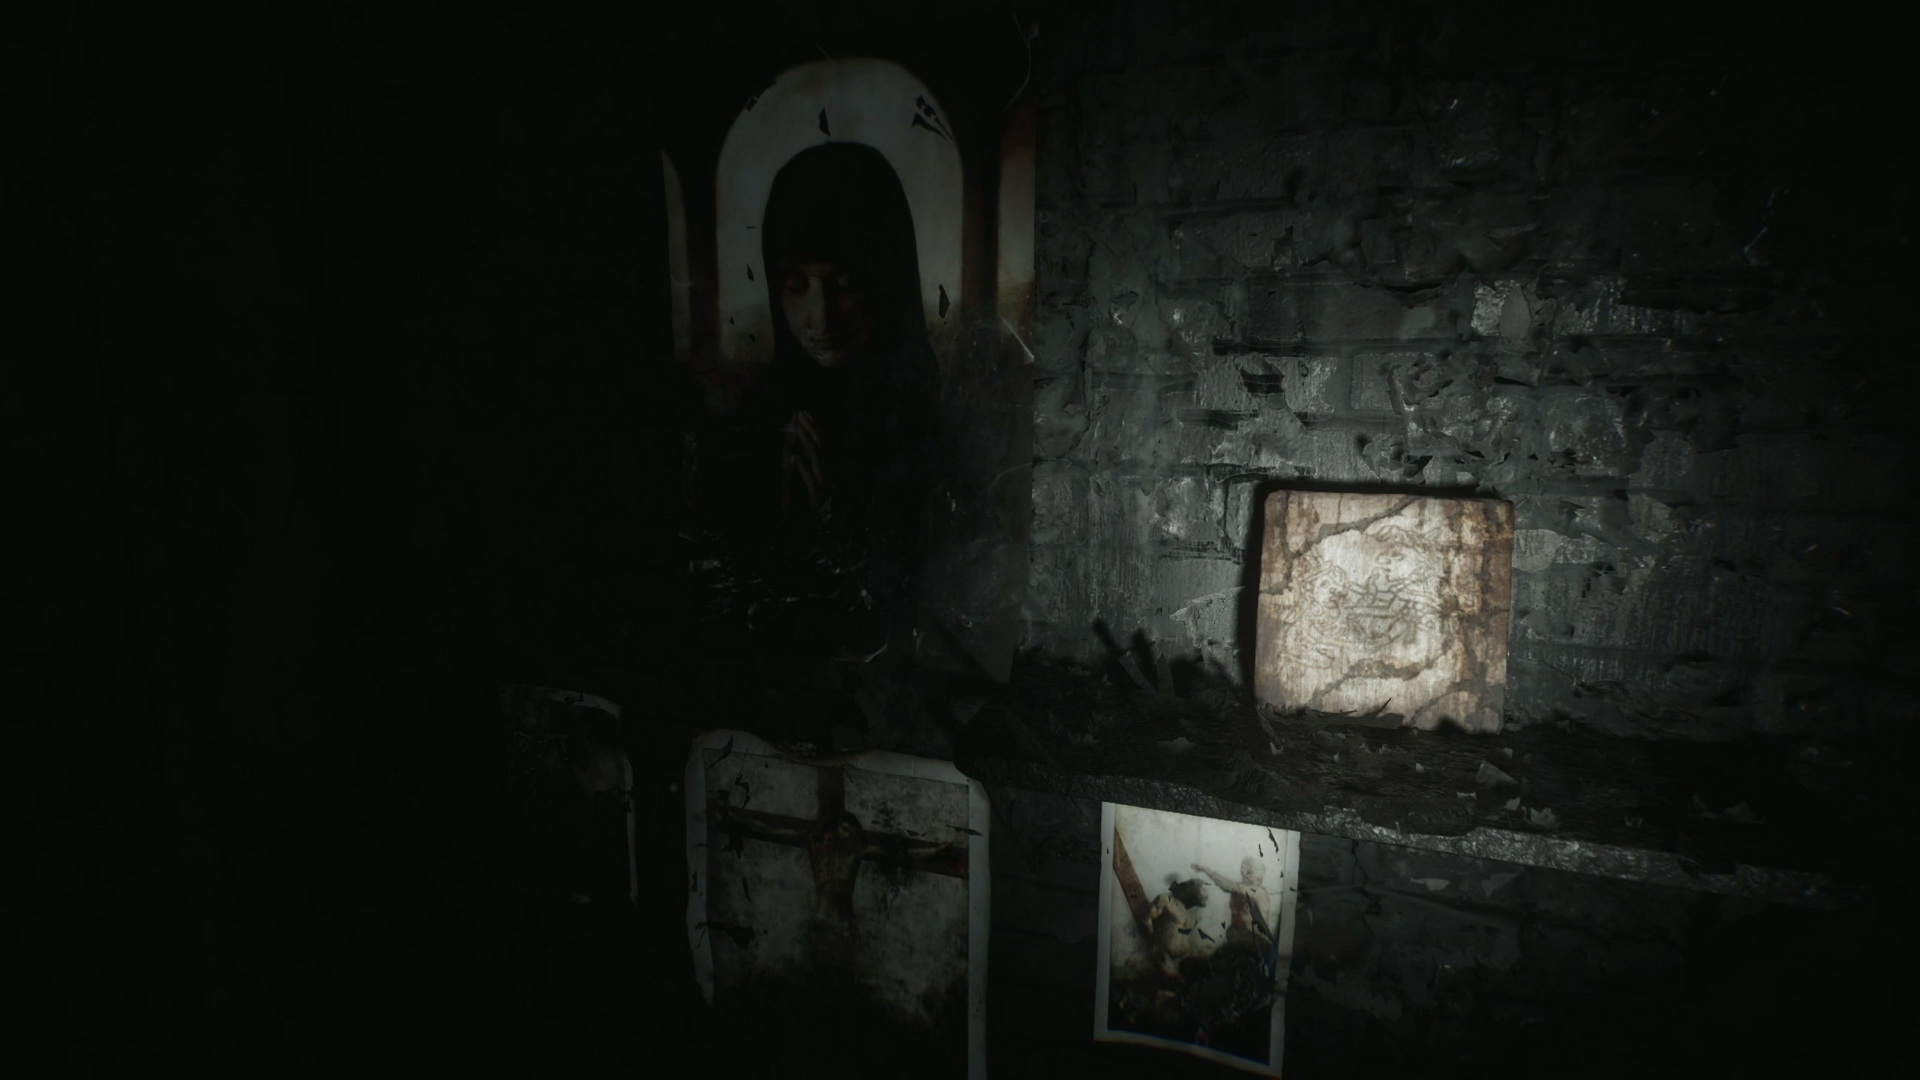
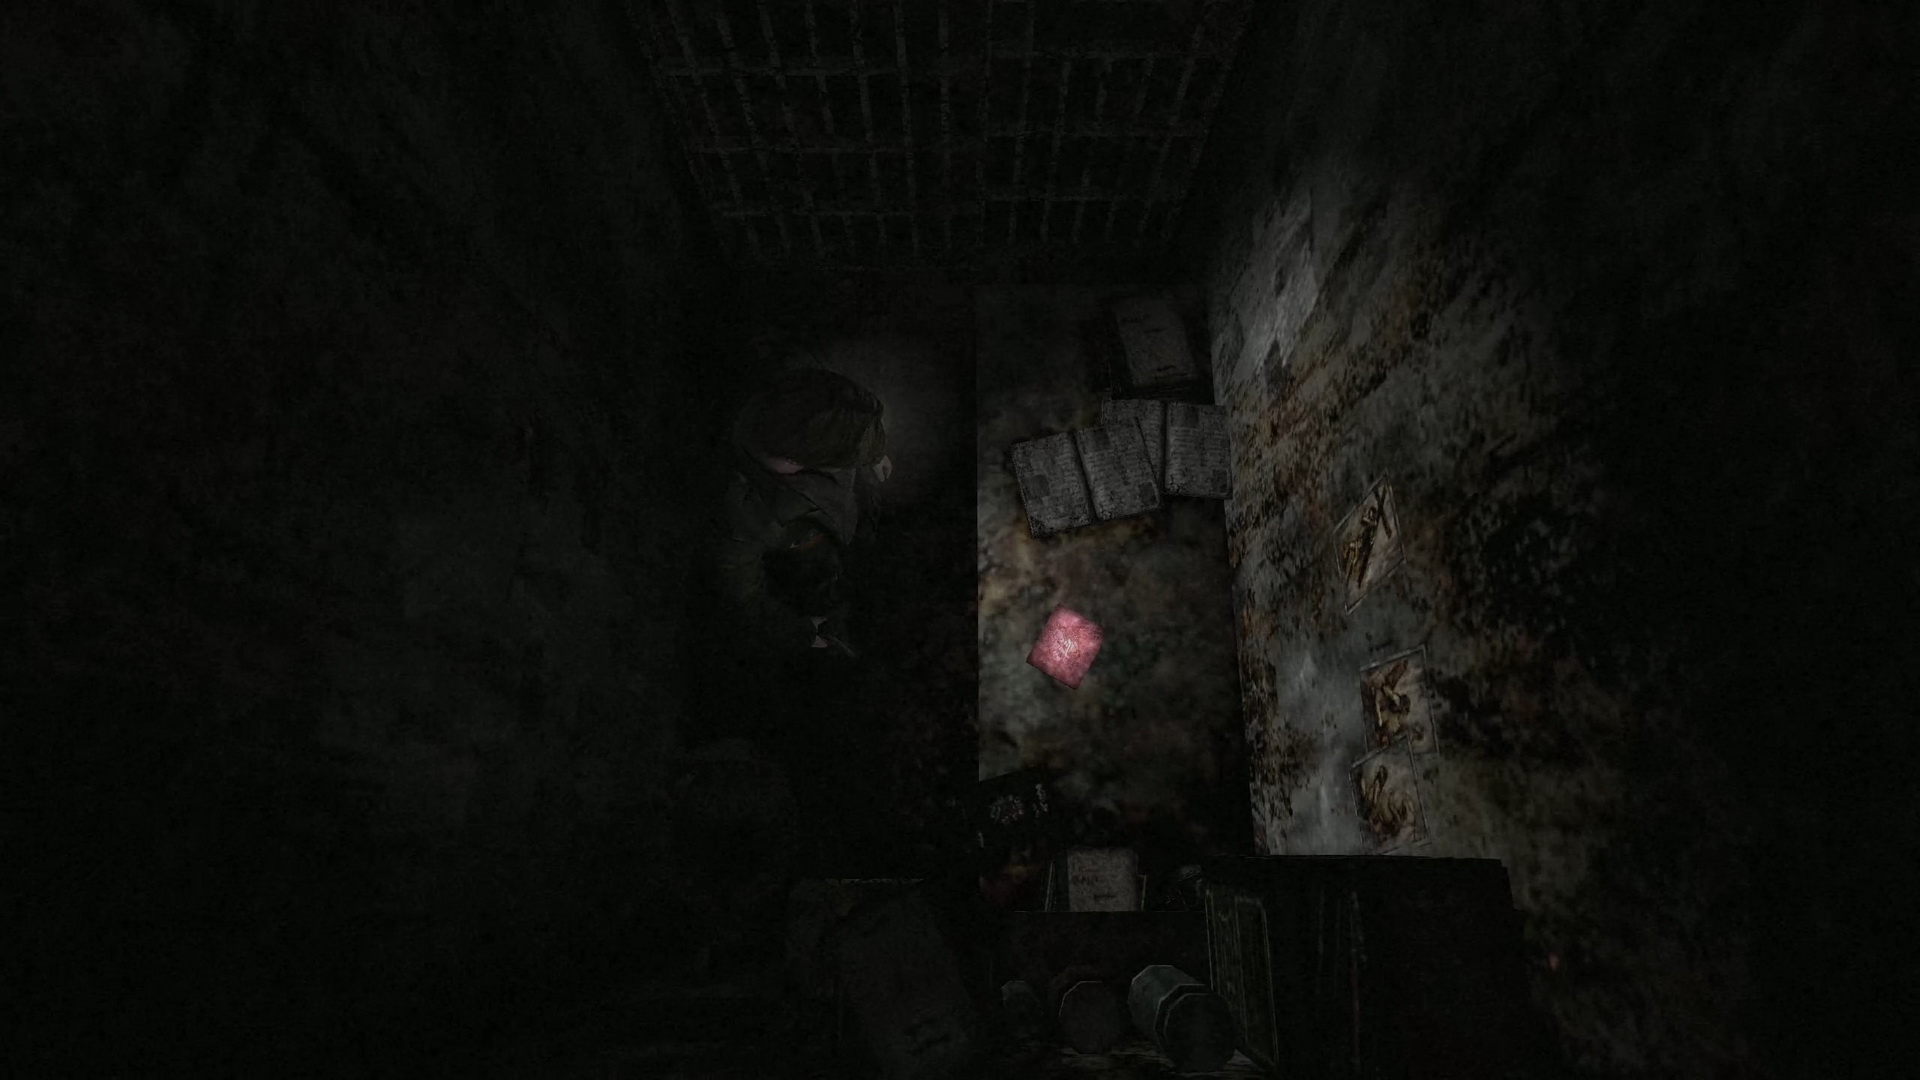
#19: Tablet in the Cell
Location: Inside Cell A3 of the Main Section, a shrine on the wall.
SH2 Reference: Original location of the tablet of "The Oppressor" in one of the prison cells.
 |
 |
 |
|
 |
|
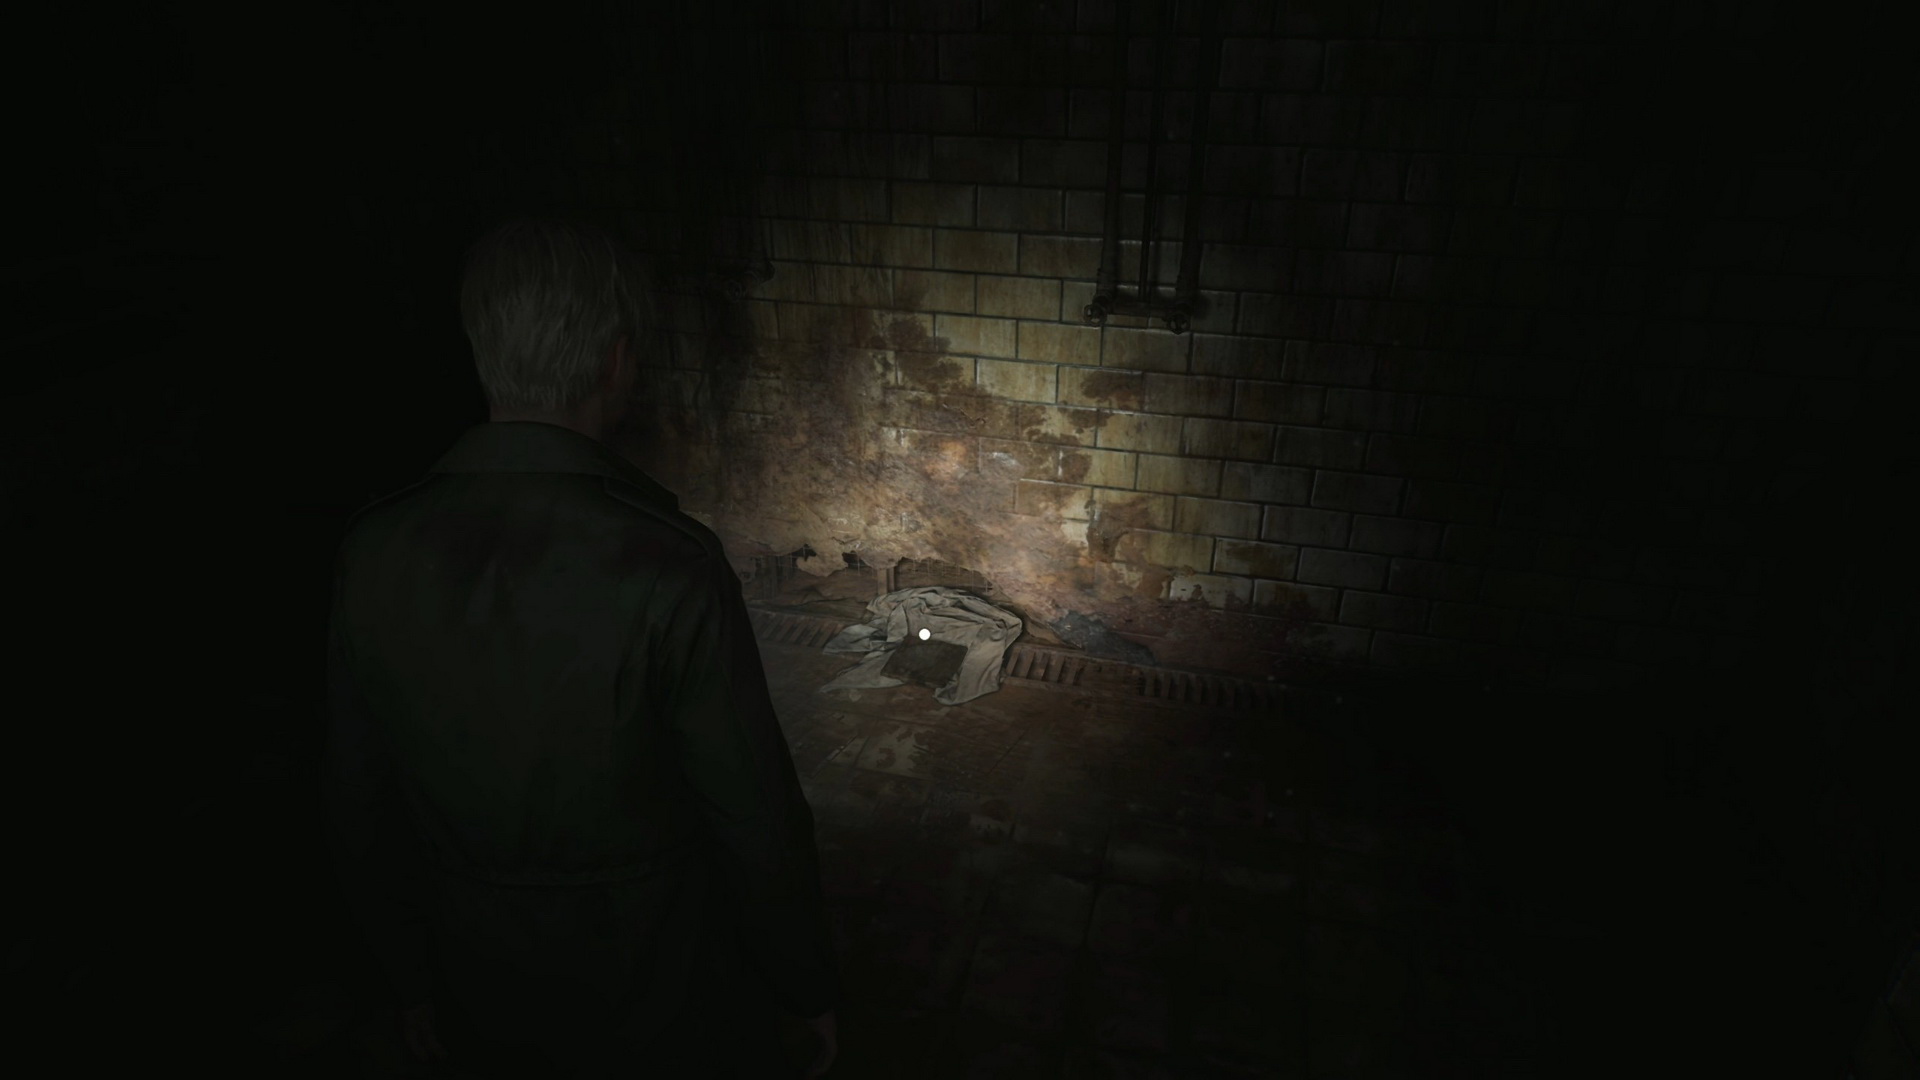
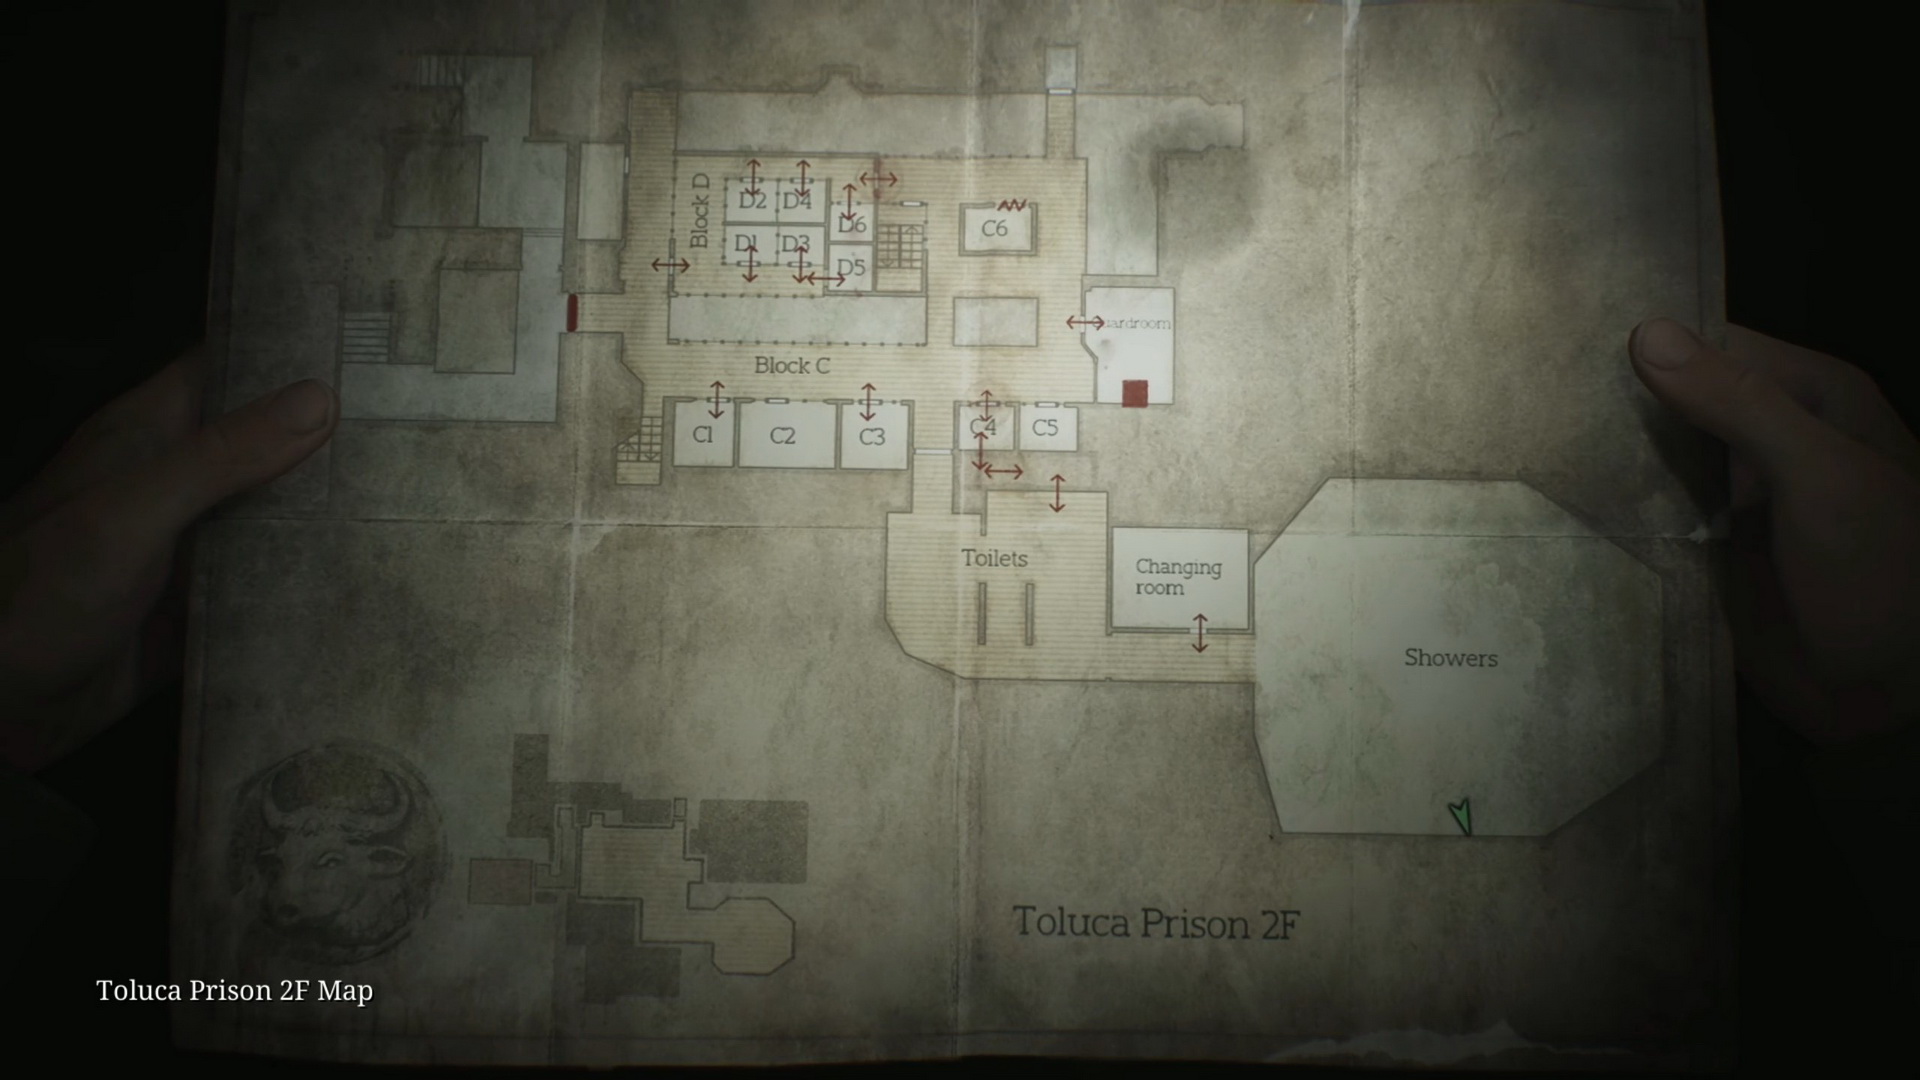
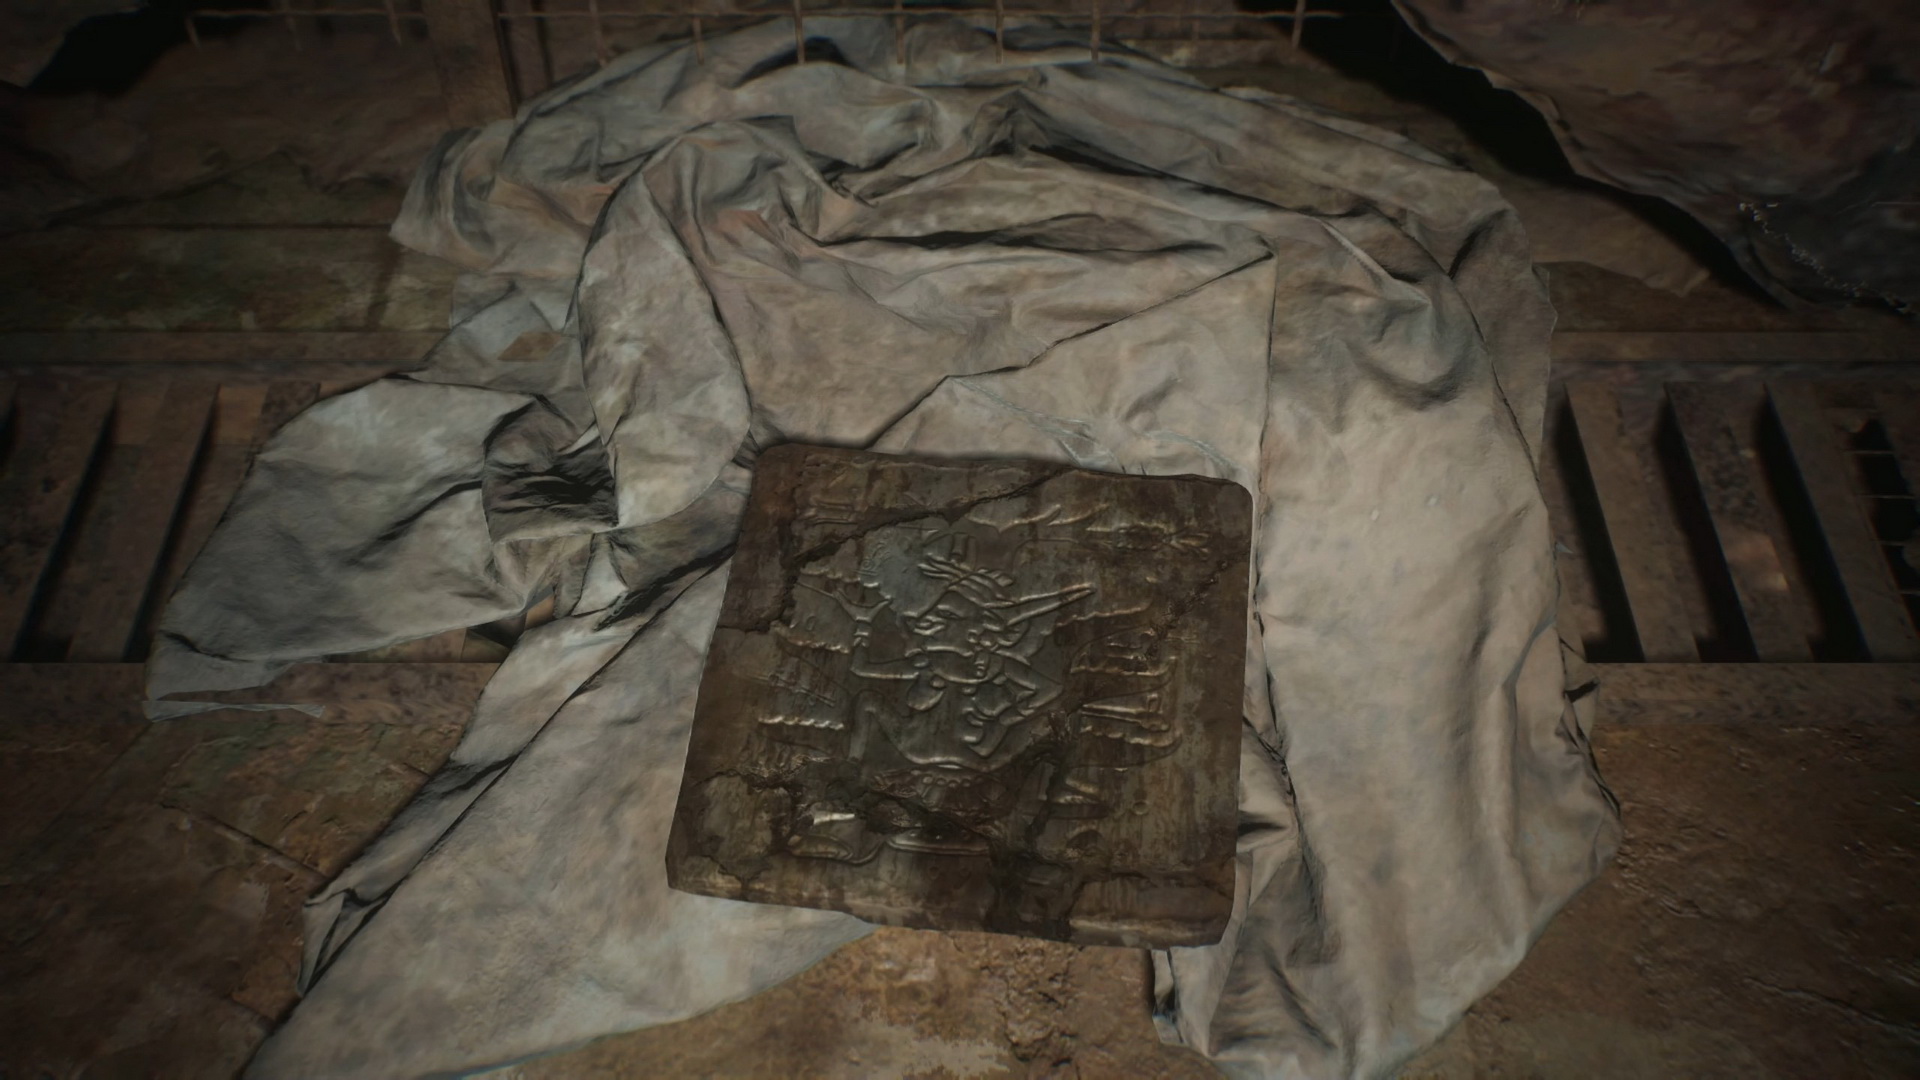
#20: Tablet in the Shower
Location: 2F Shower Area, a tablet on the cloth along the wall to the right.
SH2 Reference: Original location of the tablet of "The Seductress" in one of the prison shower.
 |
 |
 |
|
 |
|
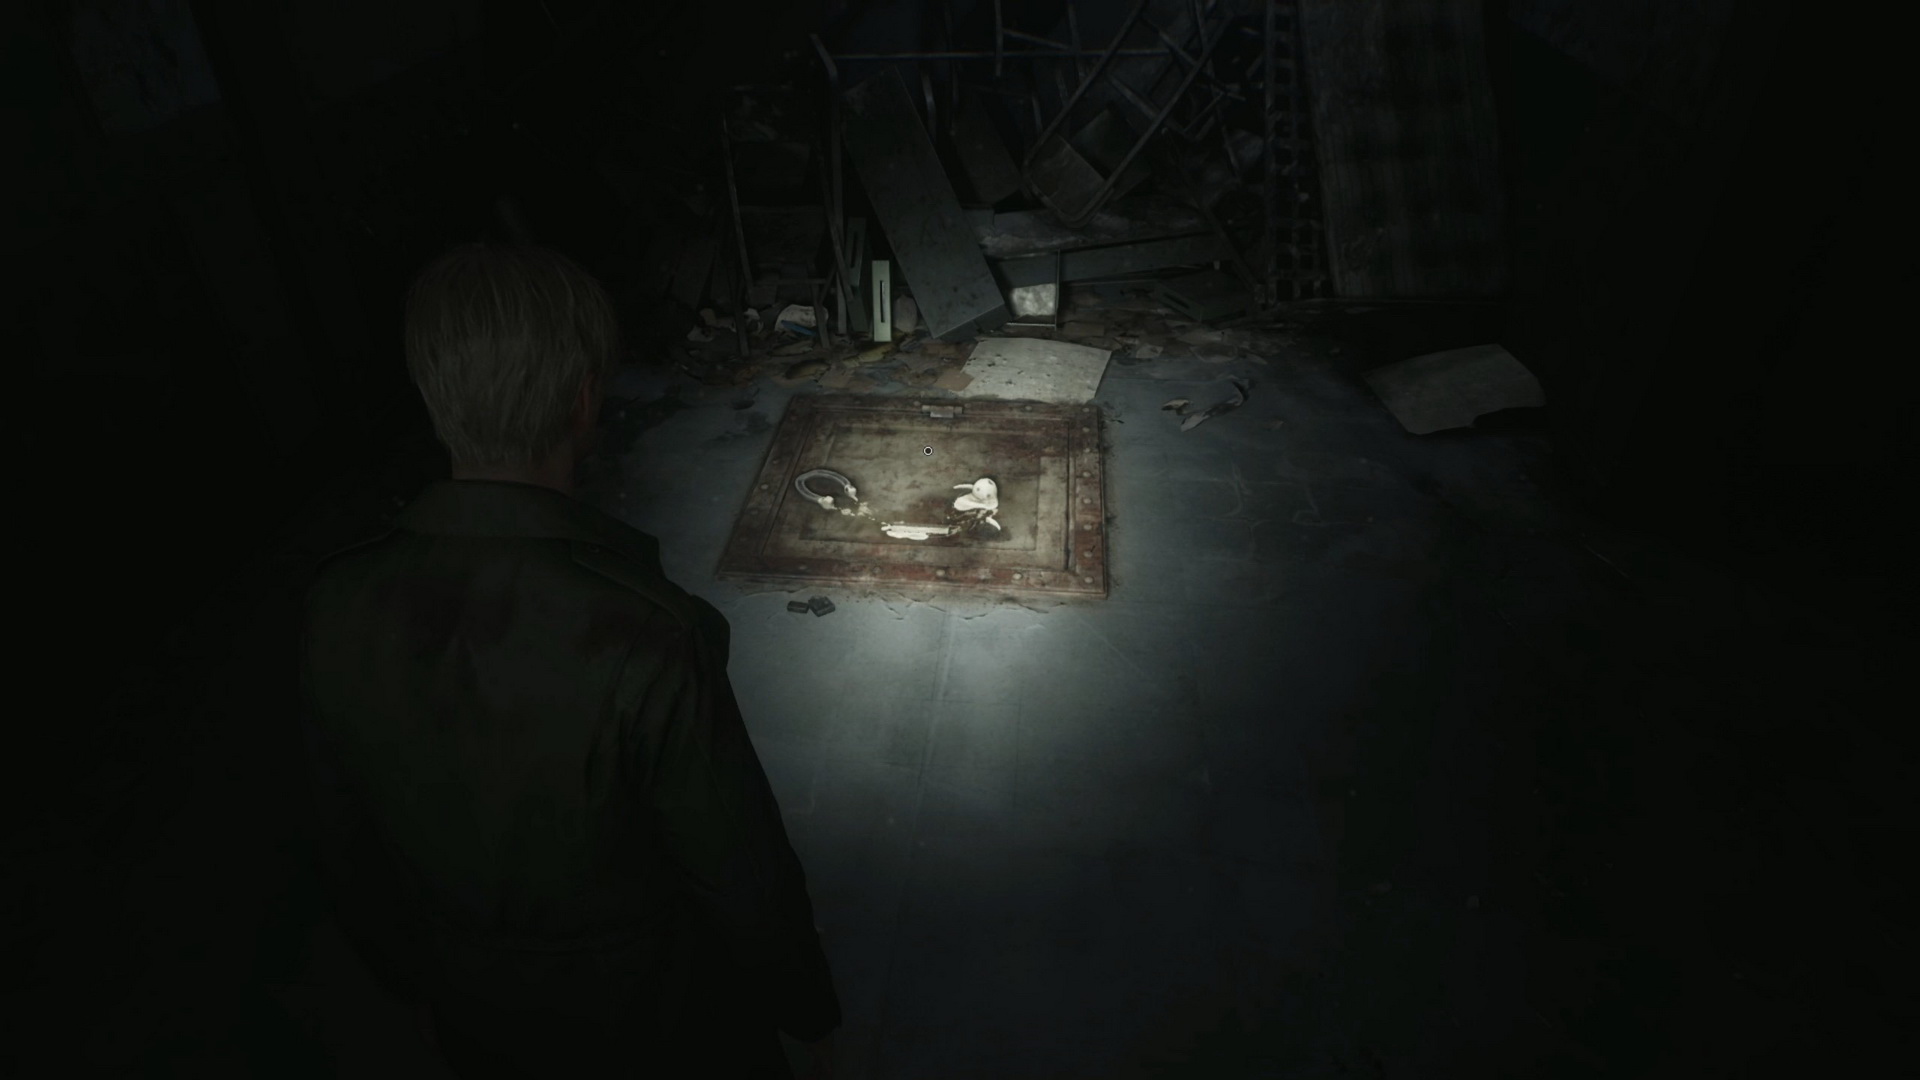
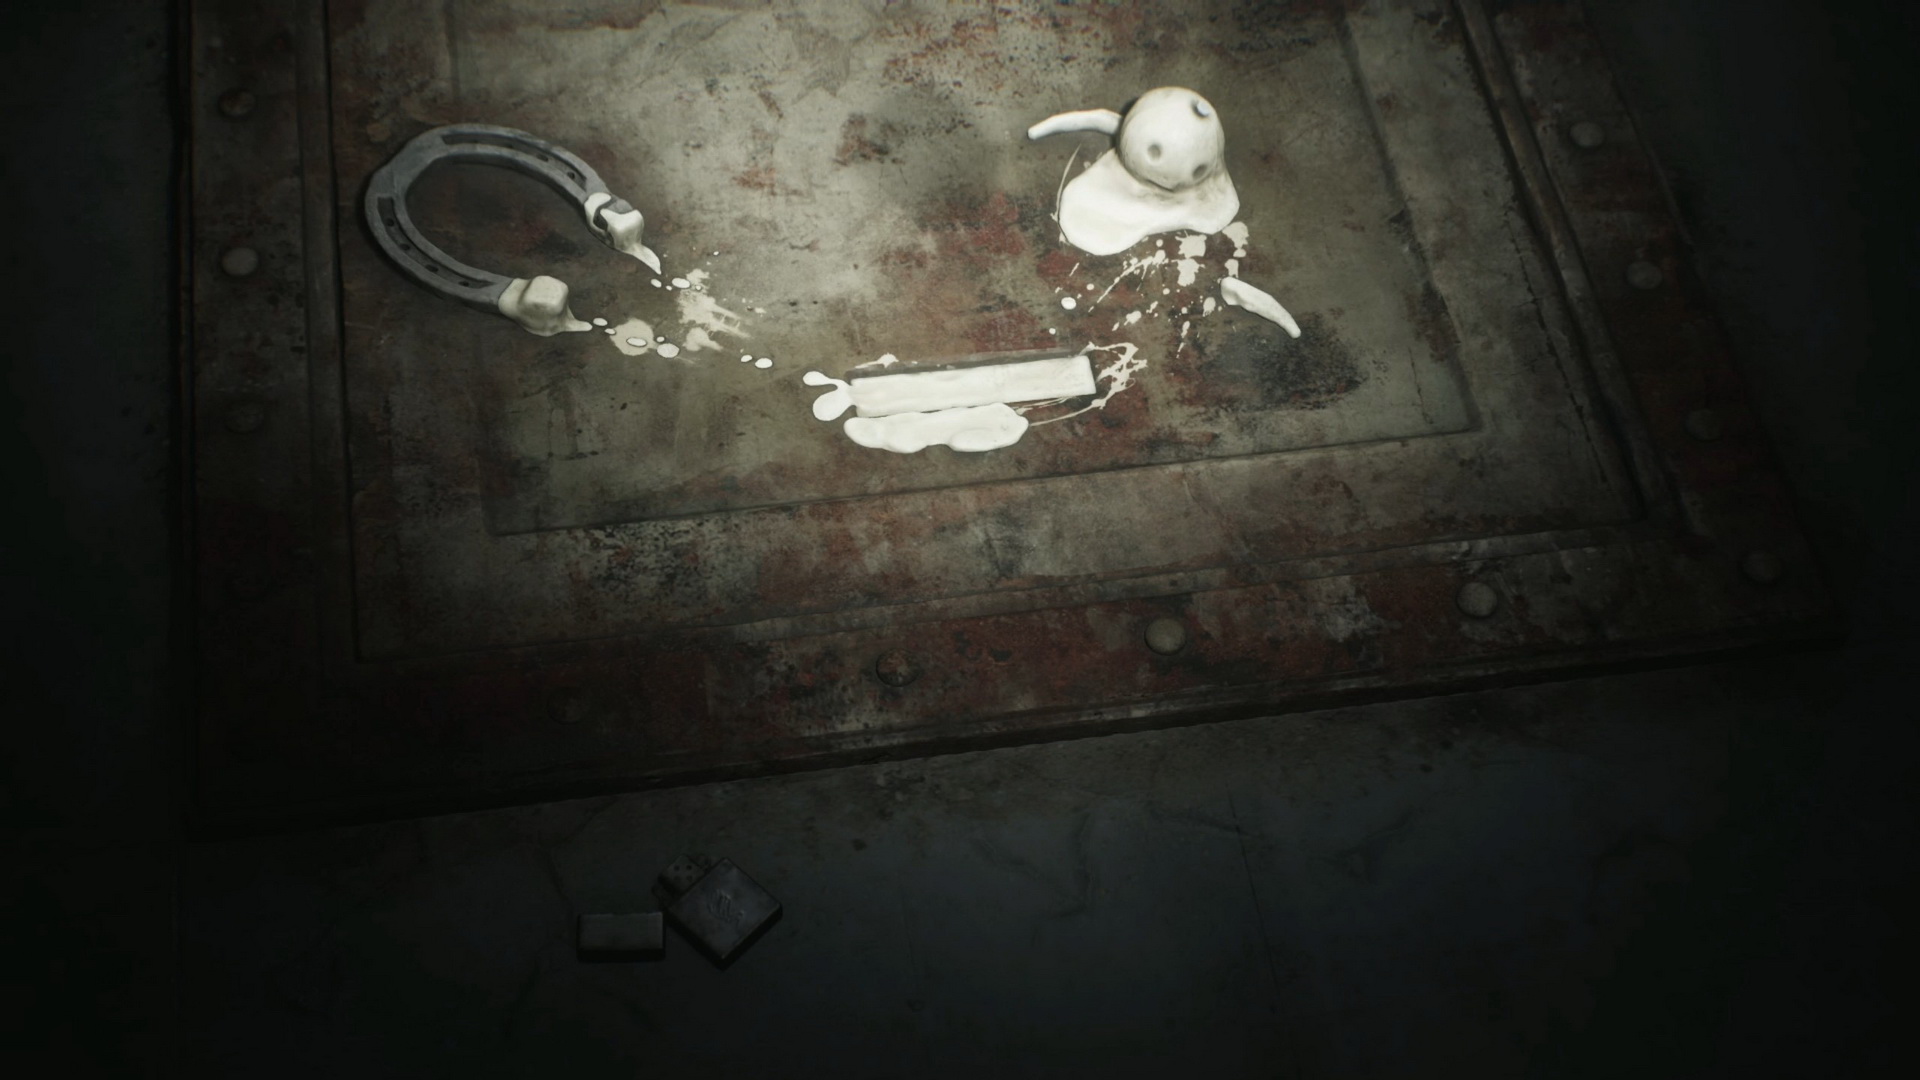
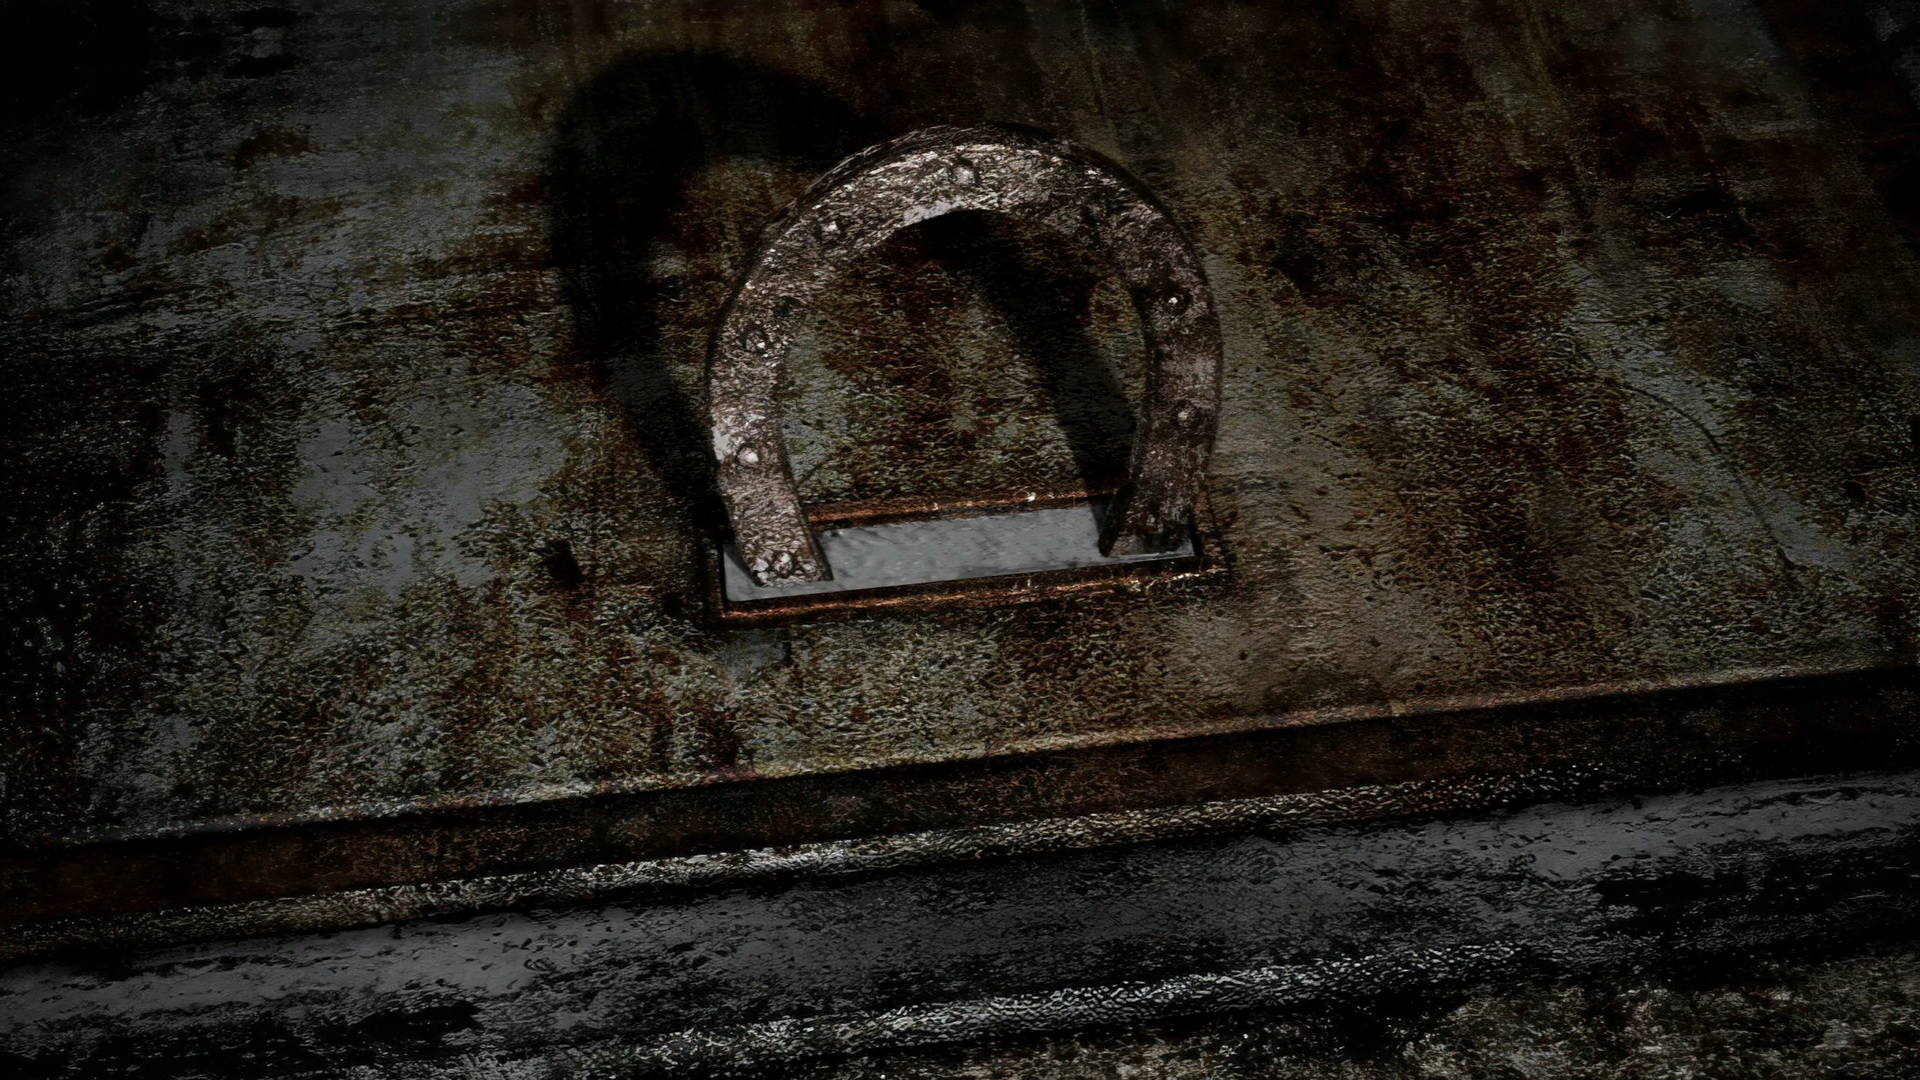
#21: Floor Hatch
Location: Administrative Section, a hatch door in the floor in the southwest corner next to the Break Room.
SH2 Reference: Prison basement hatch opened with the combination of a horseshoe and a wax doll.
 |
 |
 |
|
 |
|
Labyrinth
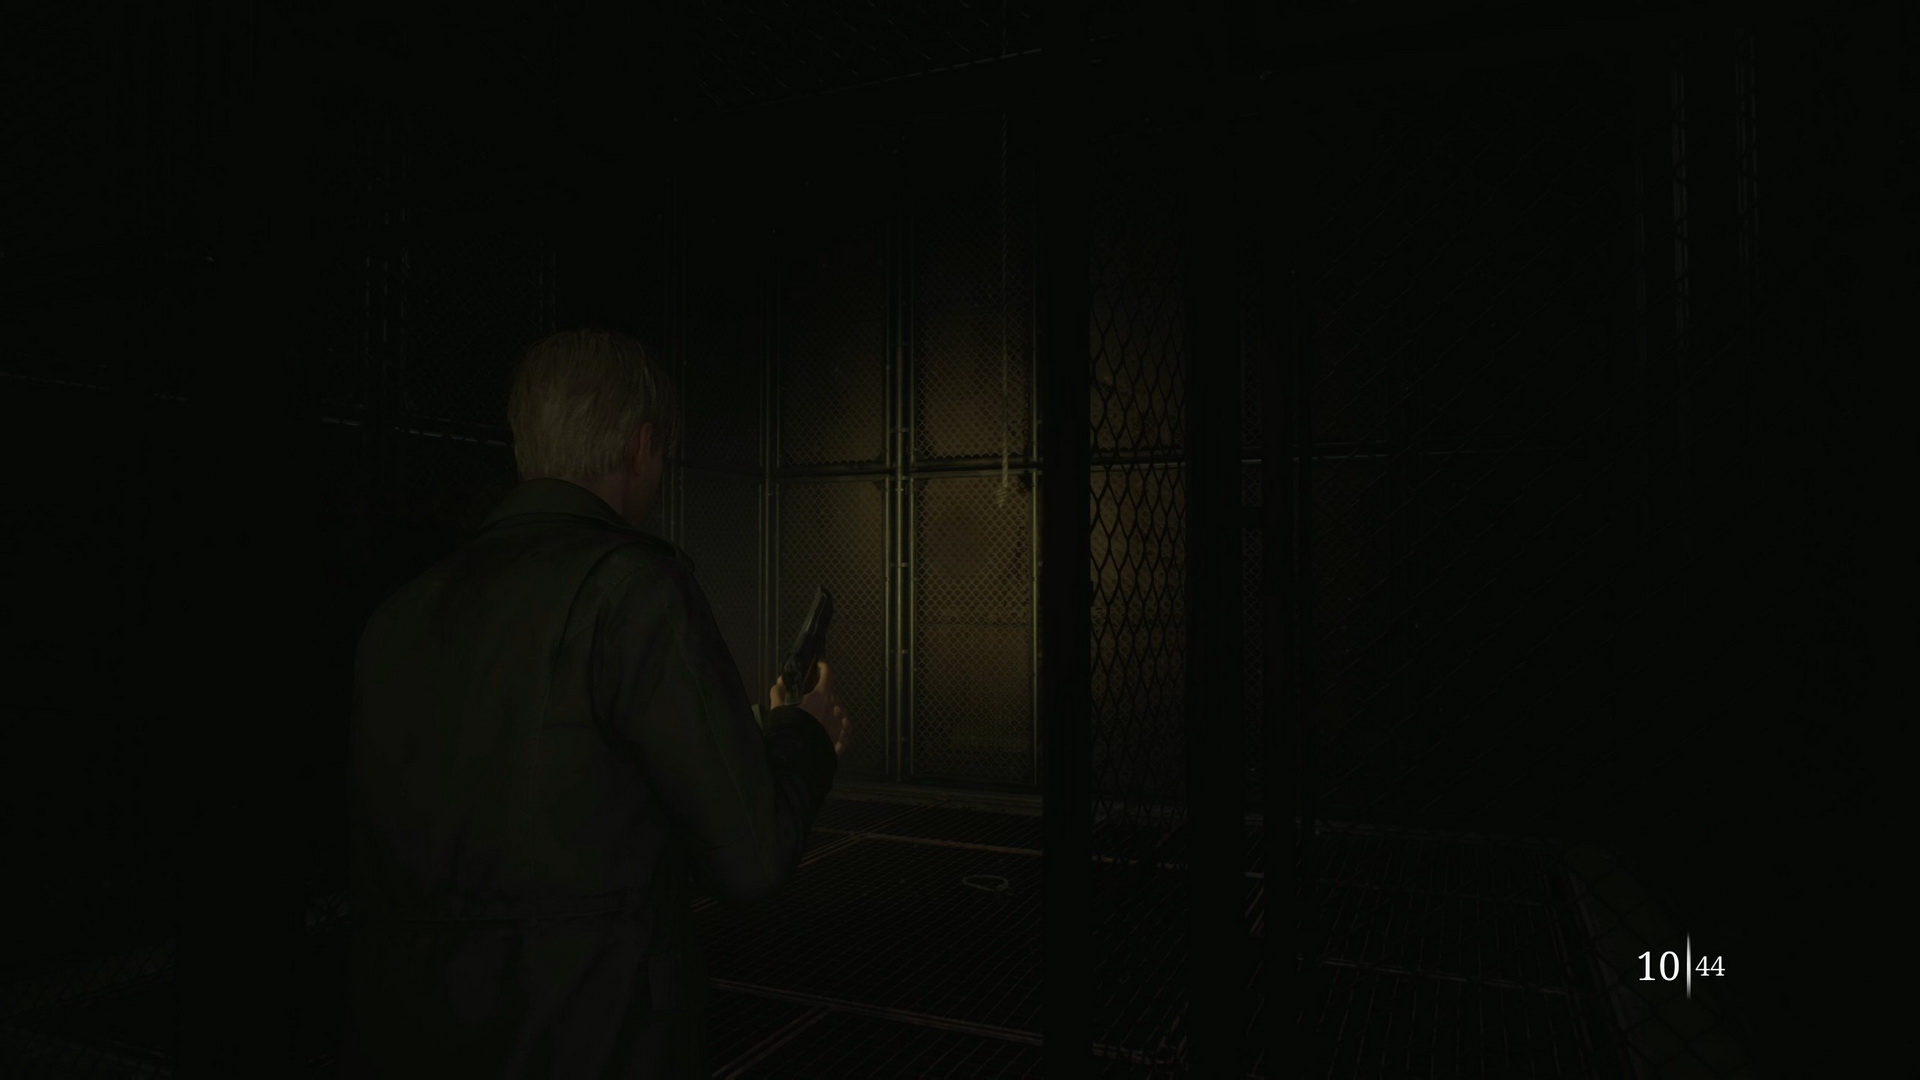
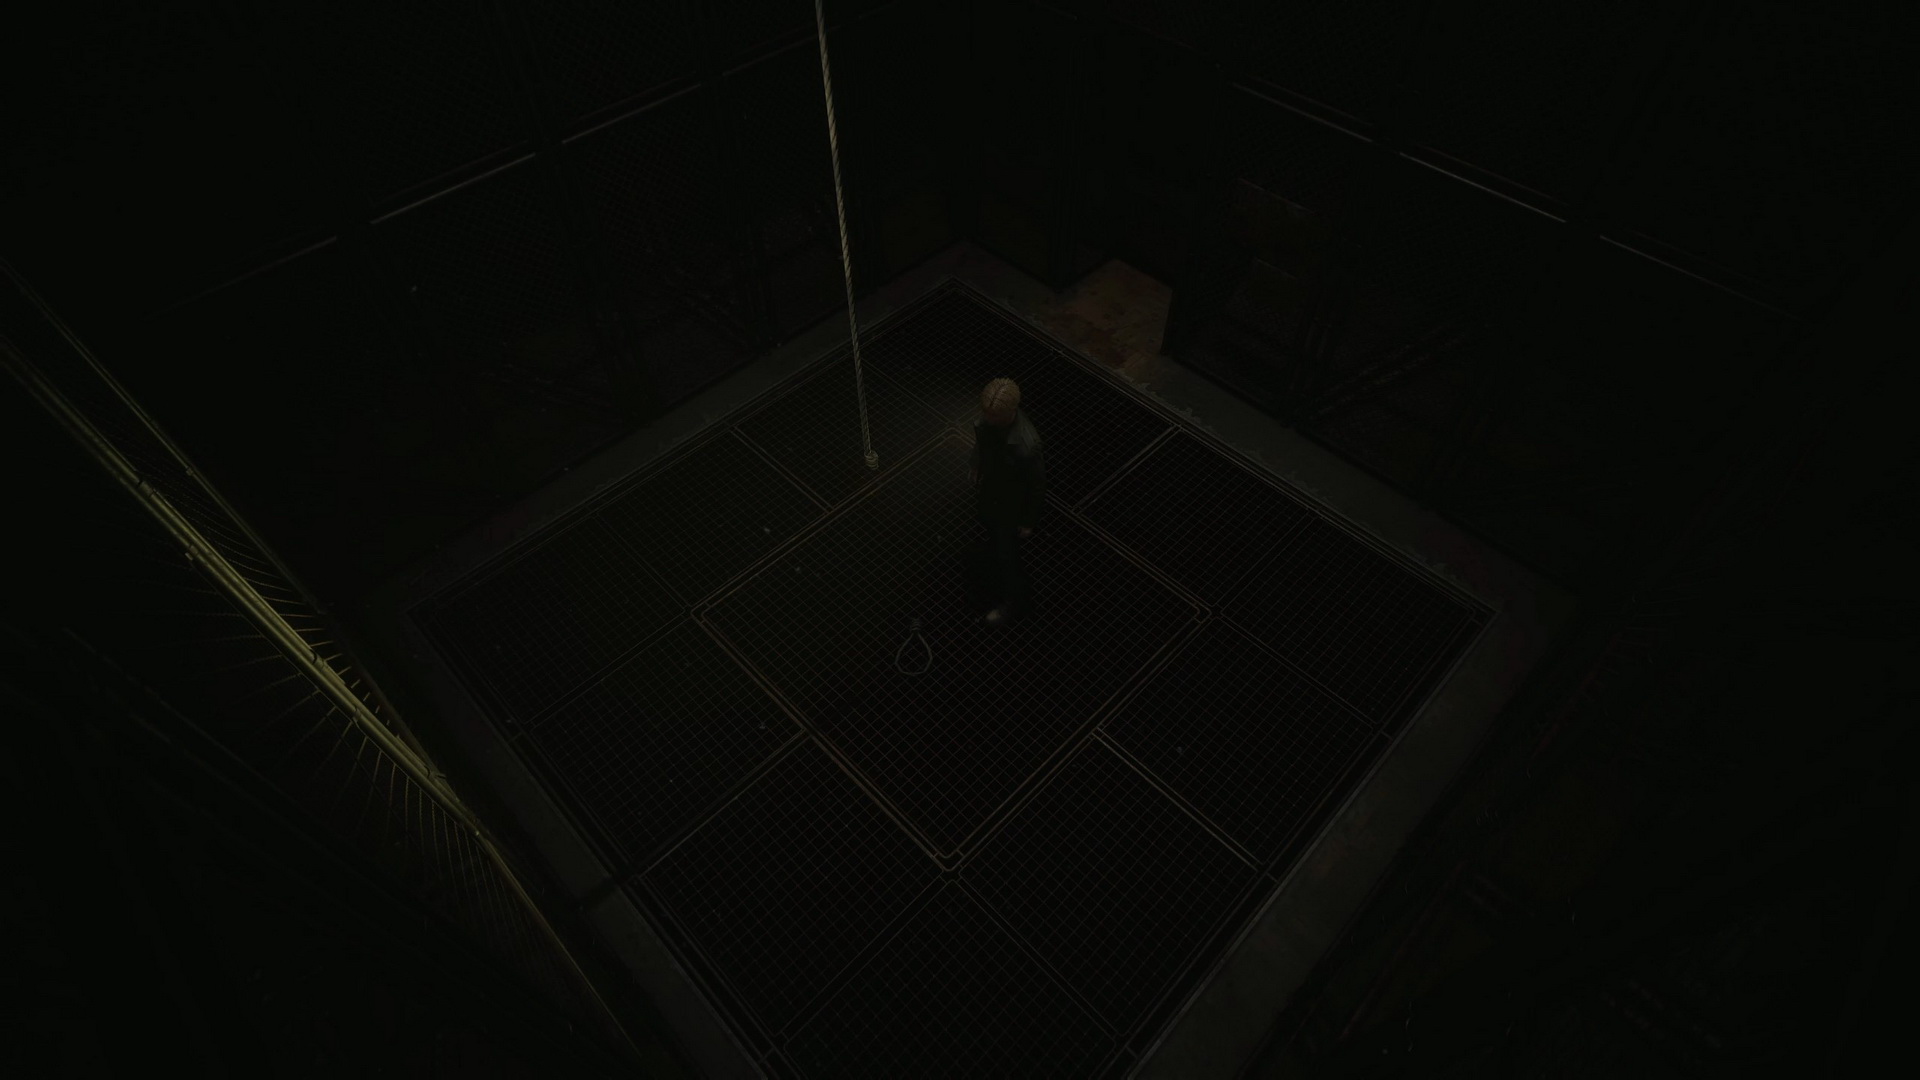
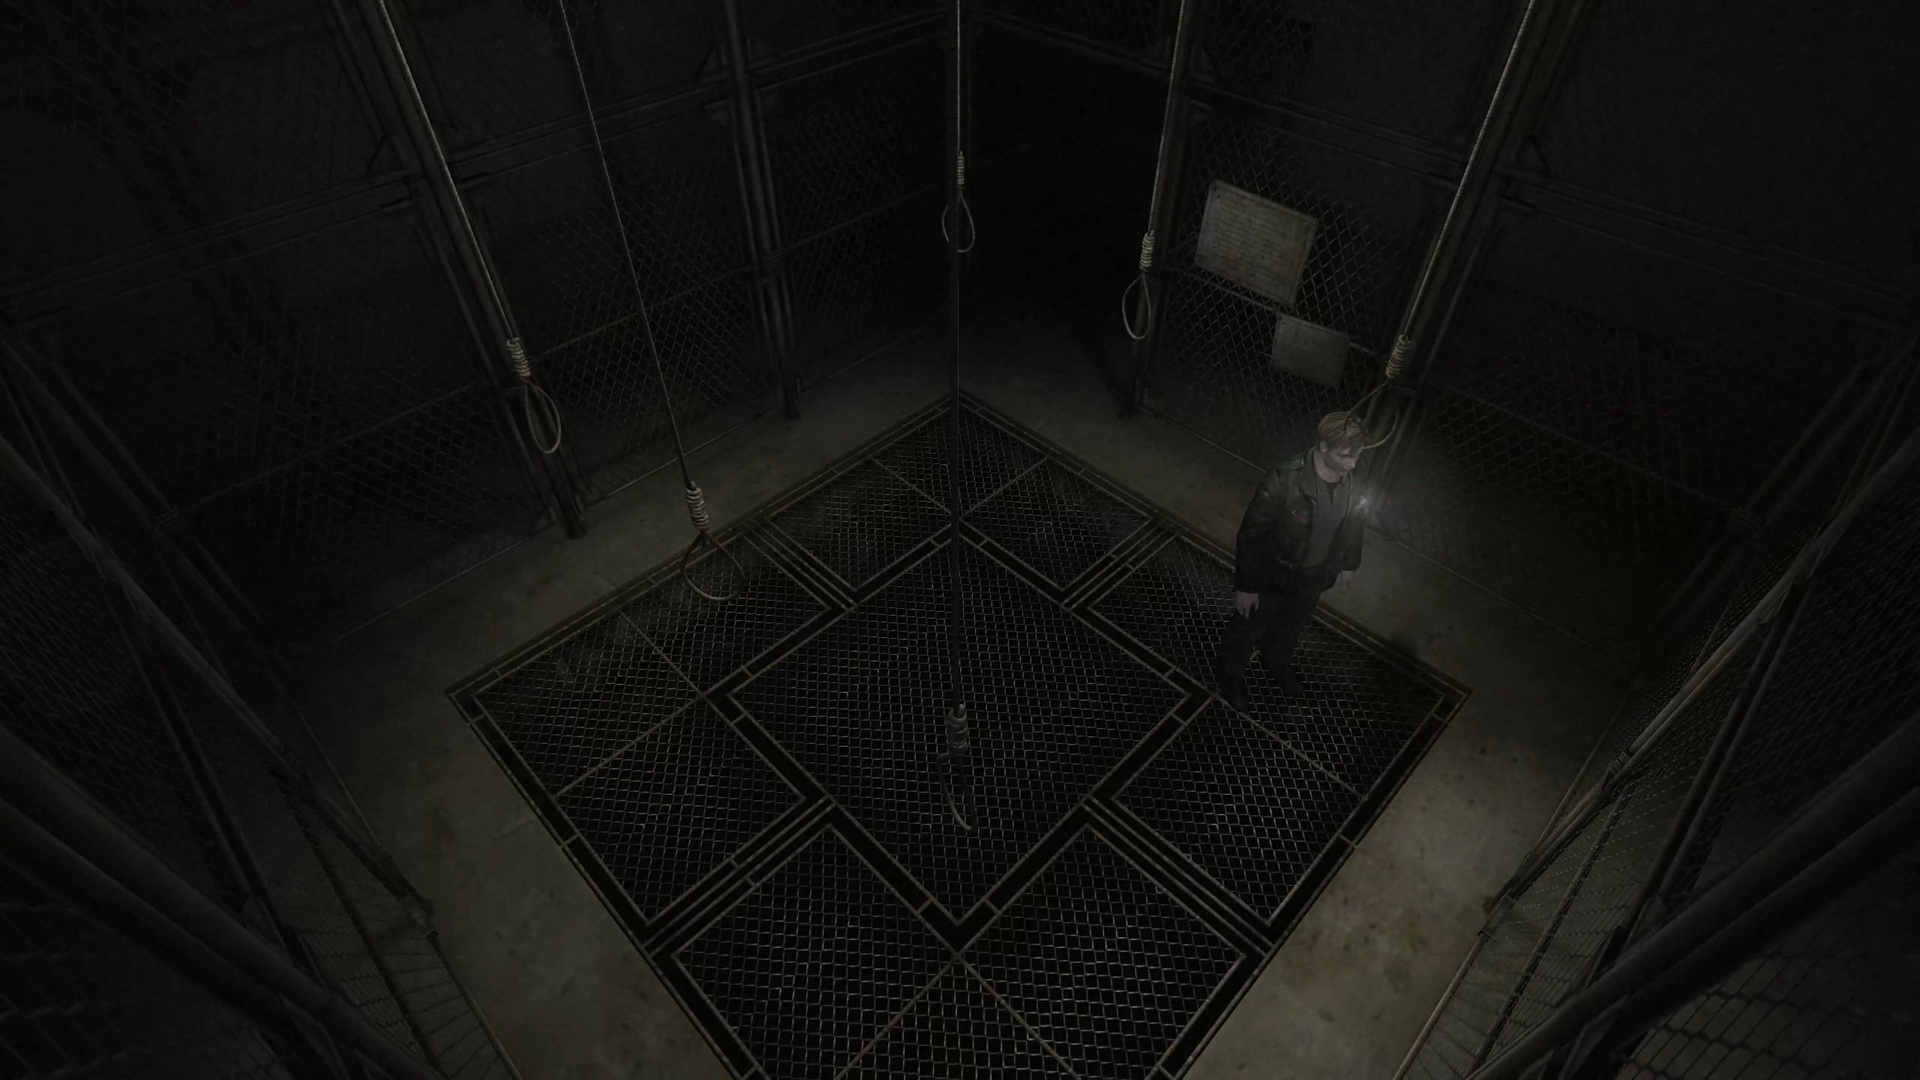
#22: Noose Room
Location: Rotten Area, a room with a fallen noose to the west of the suspended cage behind a breakable wall.
SH2 Reference: Original room for the hanging bodies puzzle (Free the innocent man) in the labyrinth.
 |
 |
 |
|
 |
|
Lakeview Hotel
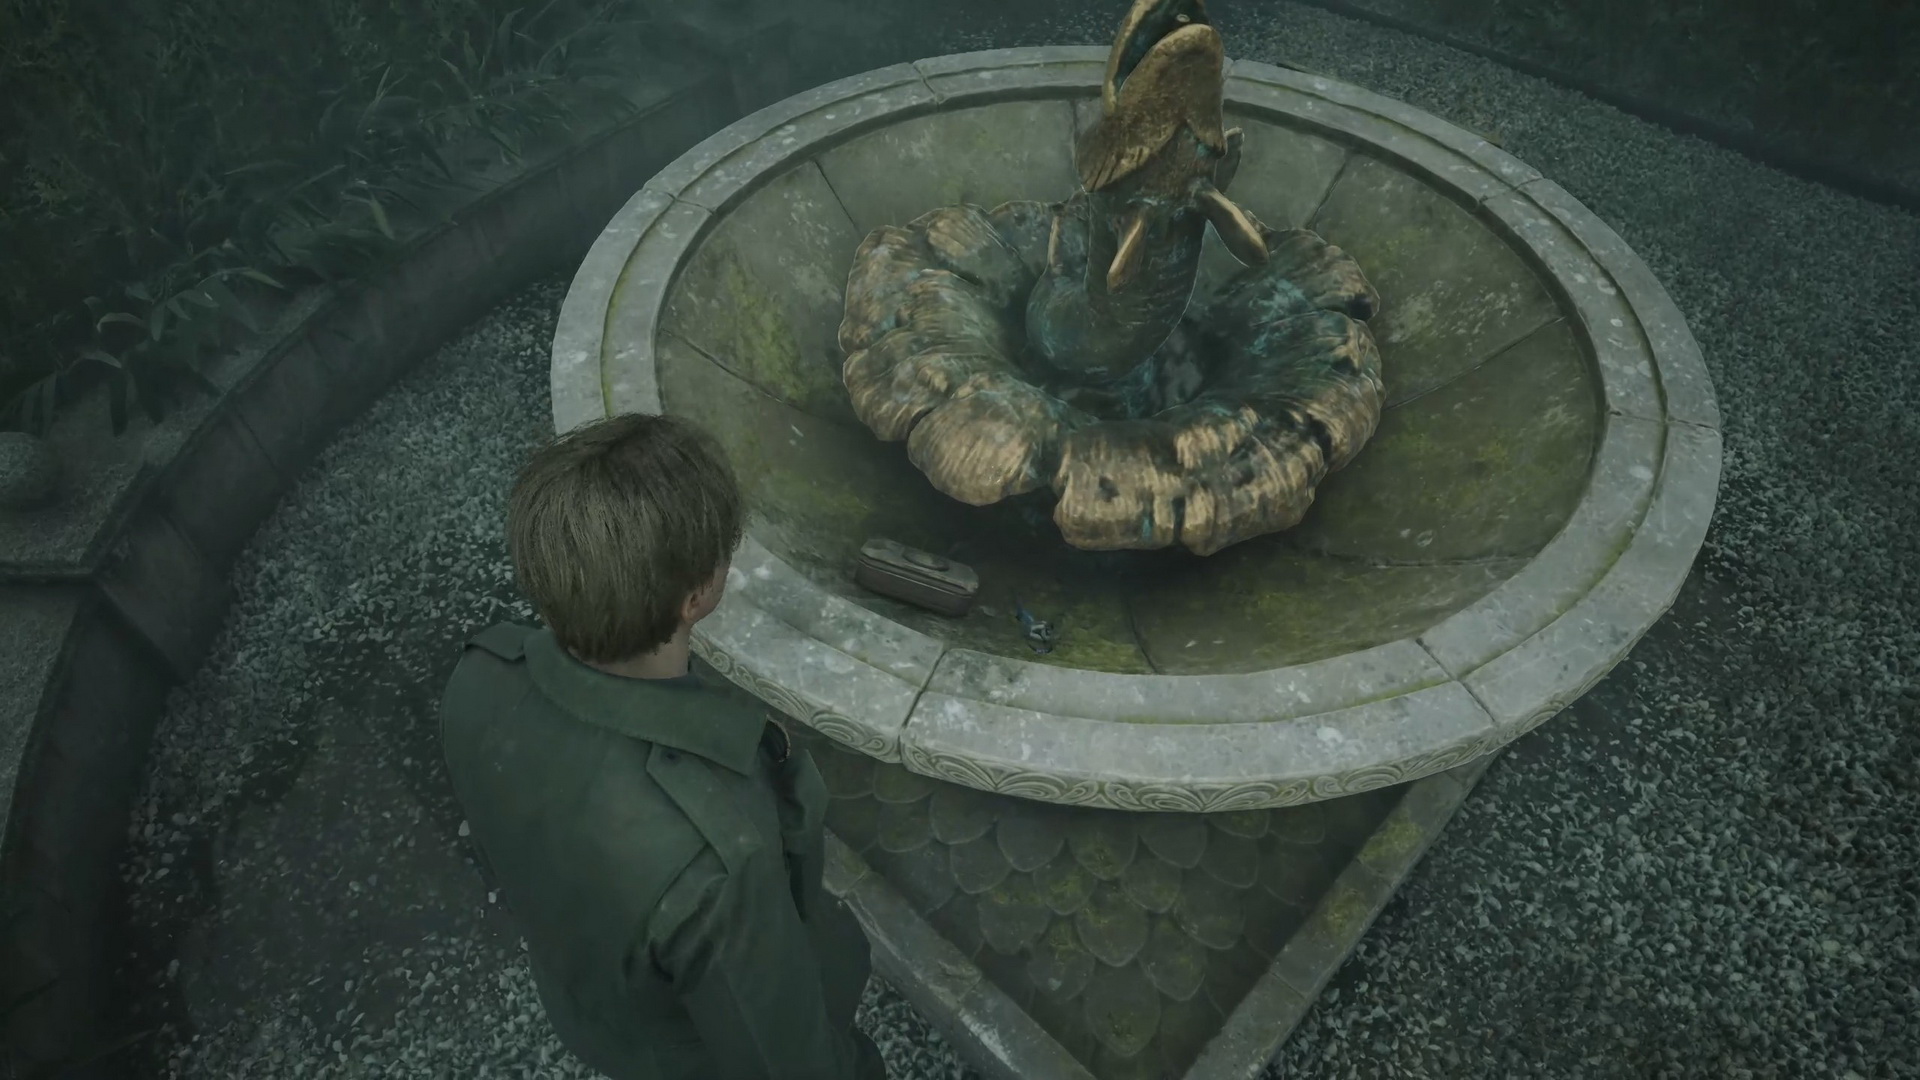
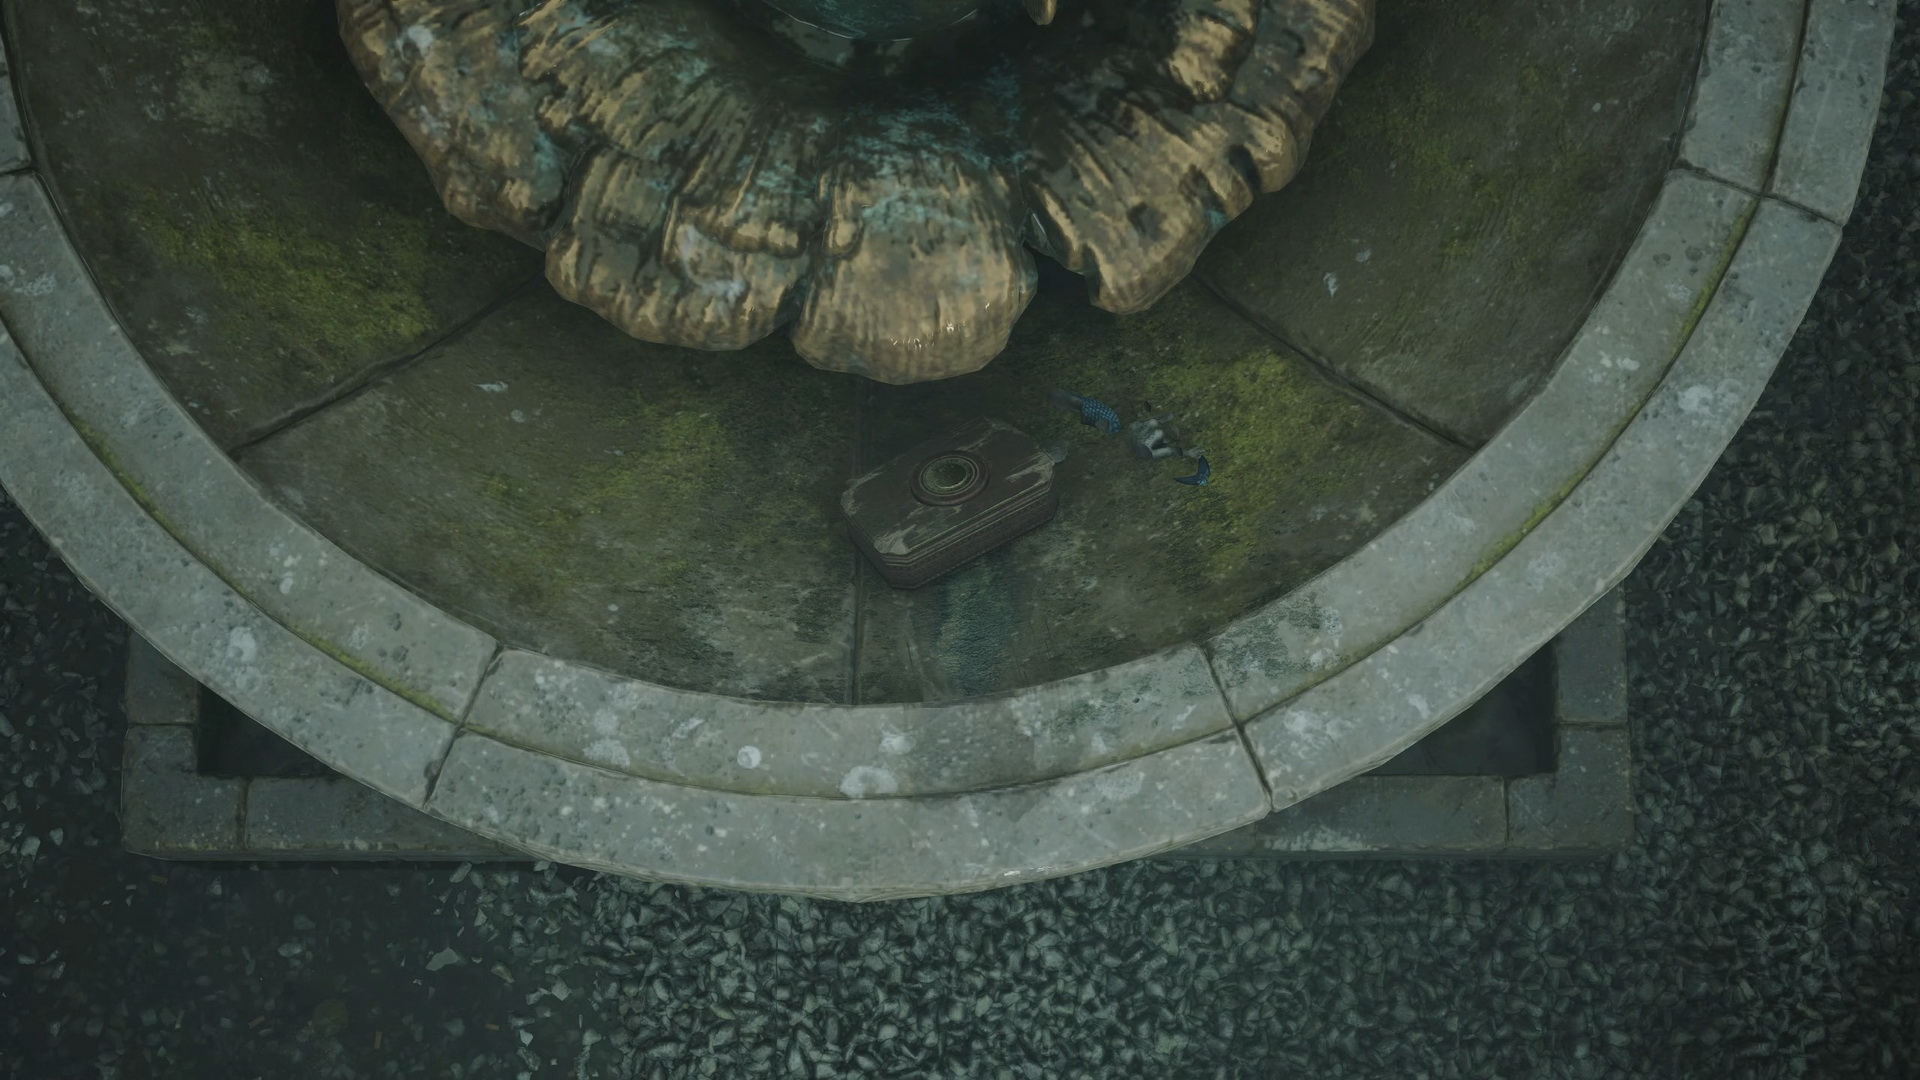
#23: Music Box in the Fountain
Location: Garden, a music box inside the basin of the east fountain.
SH2 Reference: Original location of the "Little Mermaid" music box at the same place.
 |
 |
 |
|
 |
|
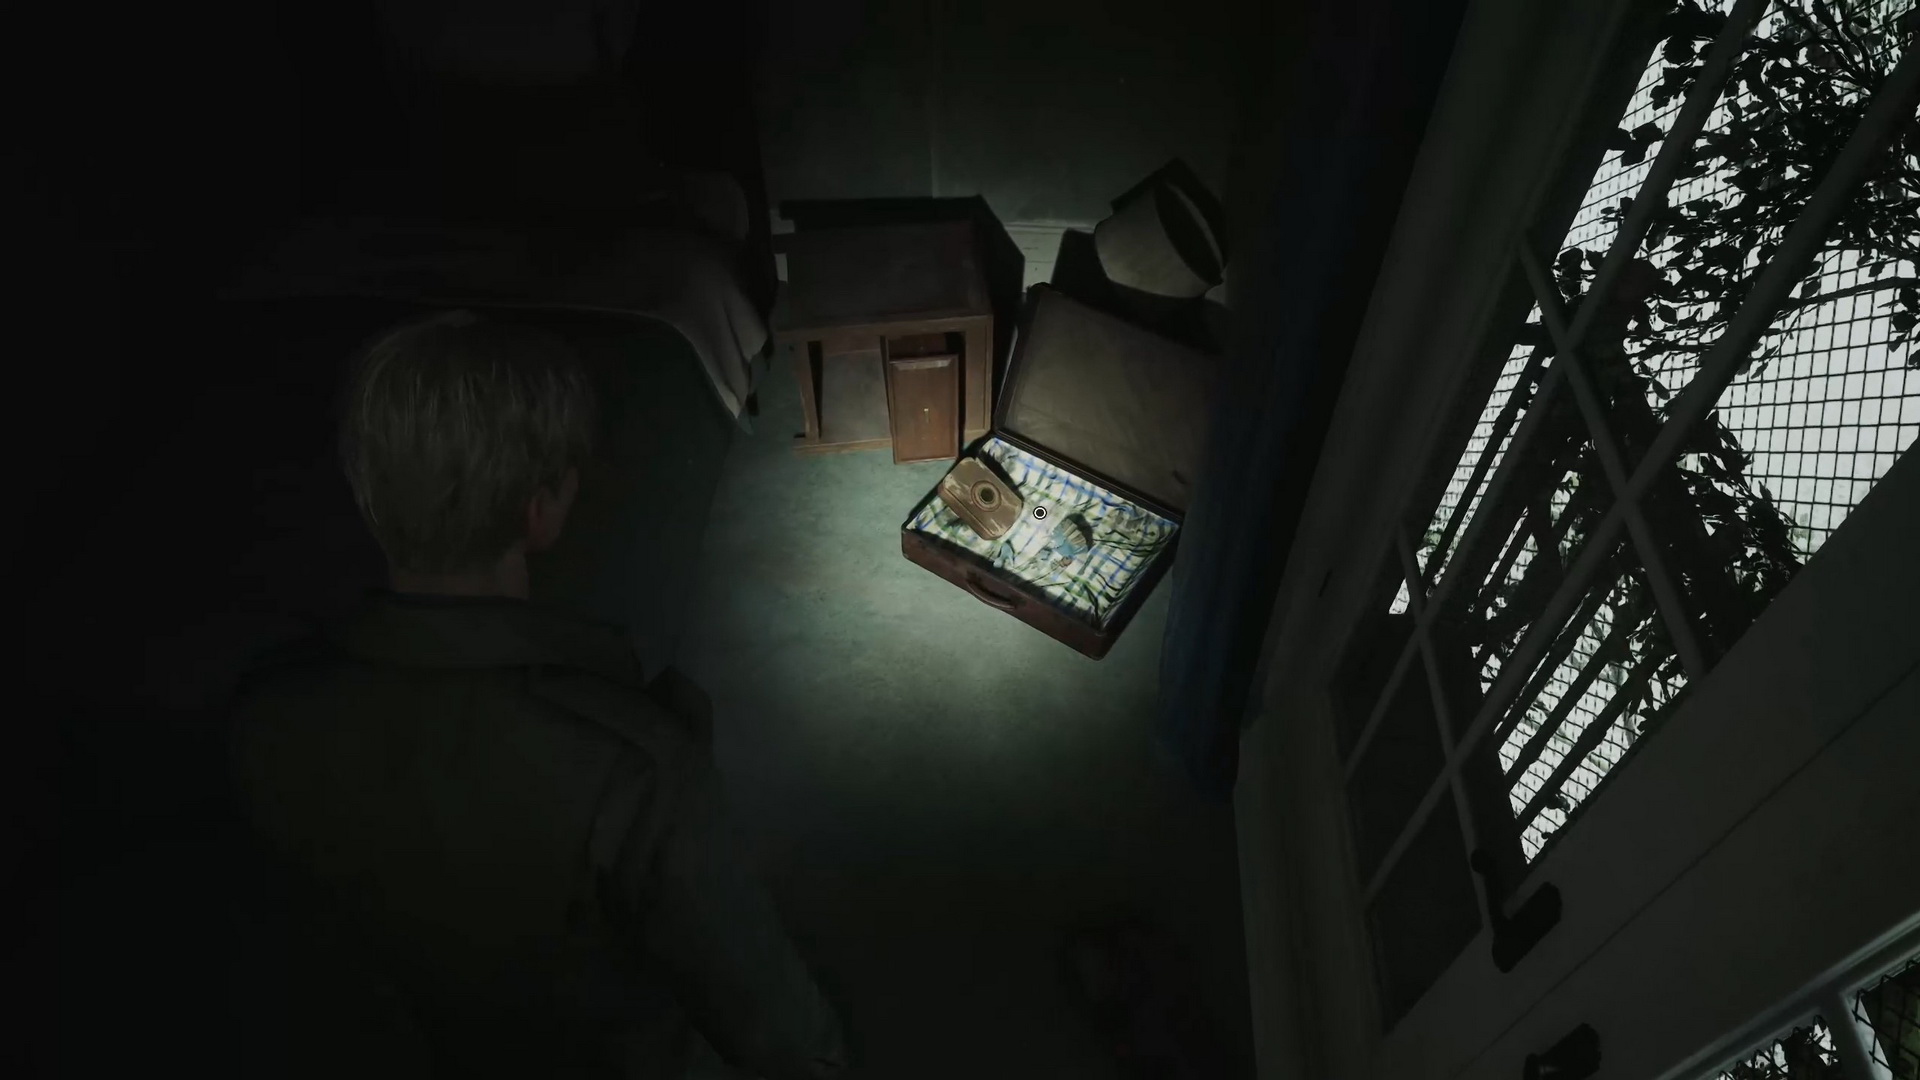
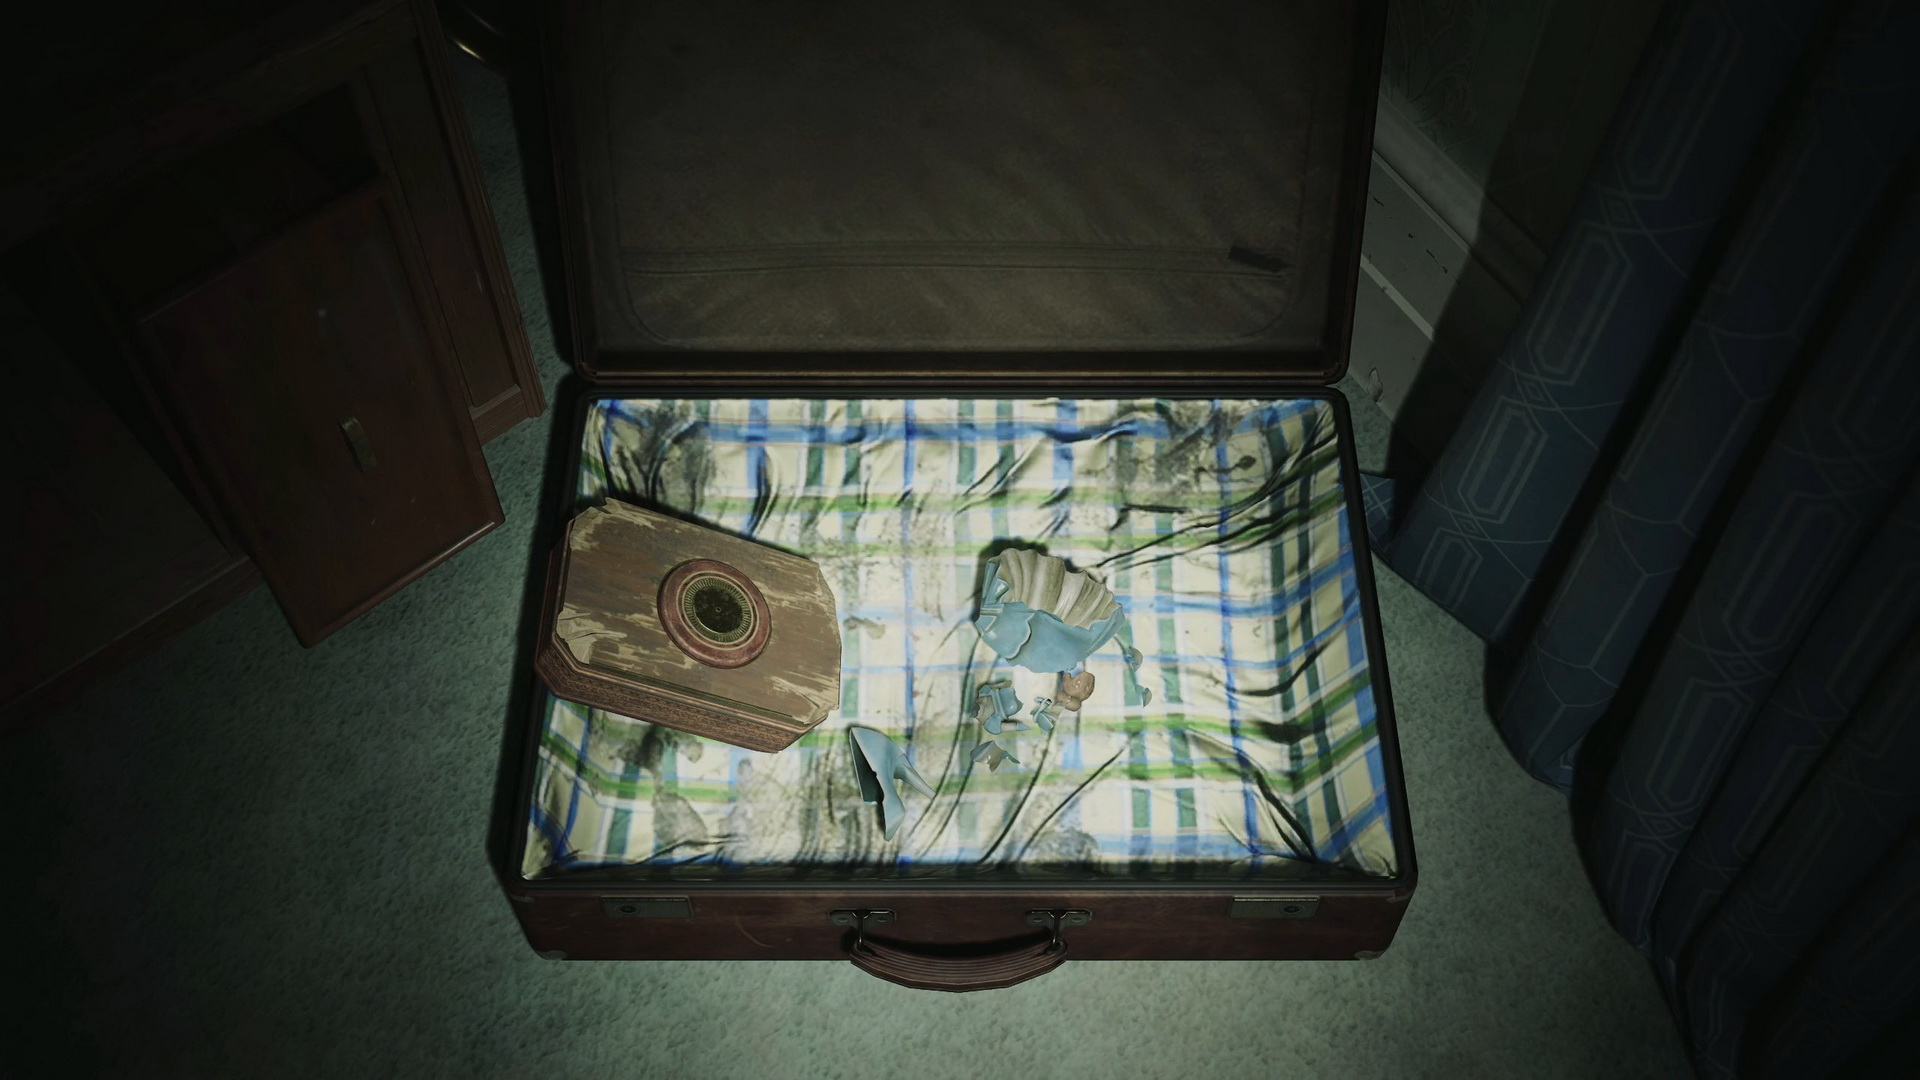
#24: Music Box in the Suitcase
Location: Room 212, a music box inside the open suitcase on the floor.
SH2 Reference: Original location of the "Cinderella" music box found after solving the locked suitcase puzzle.
 |
 |
 |
|
 |
|
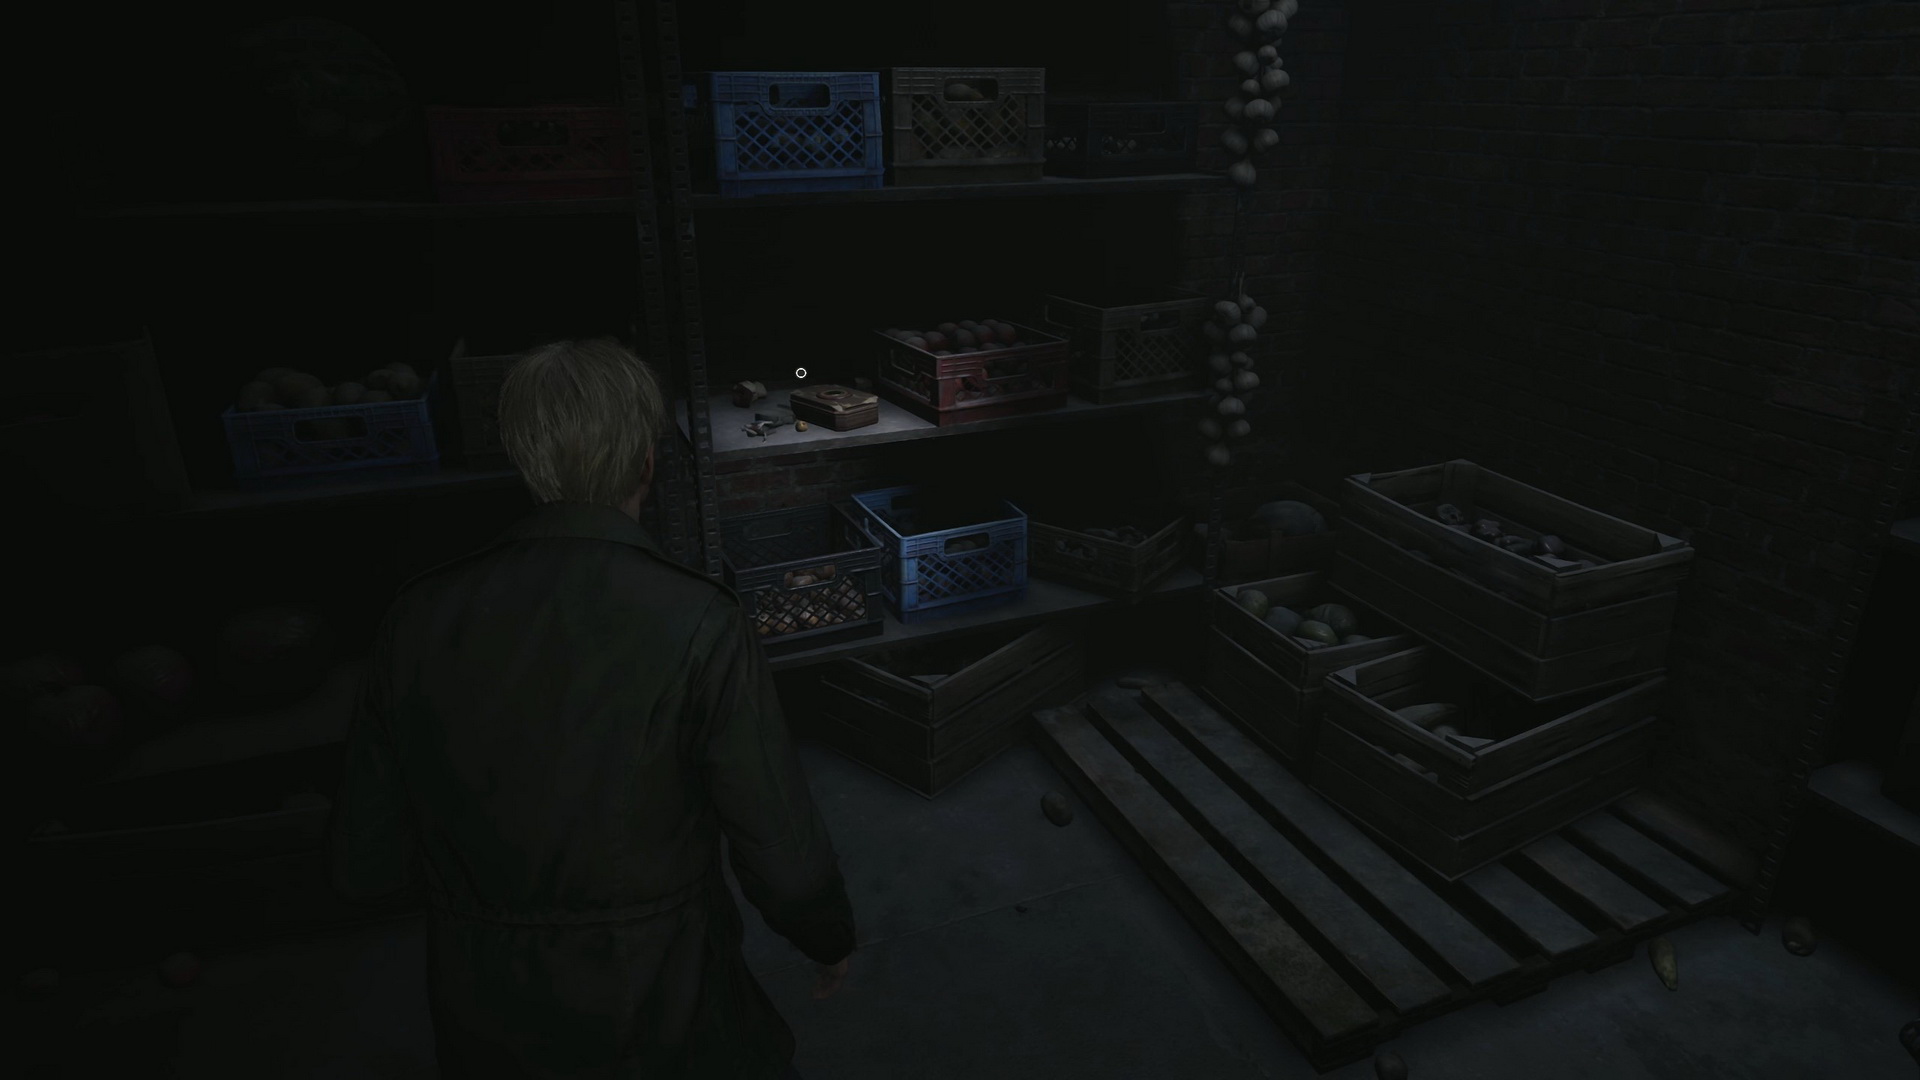
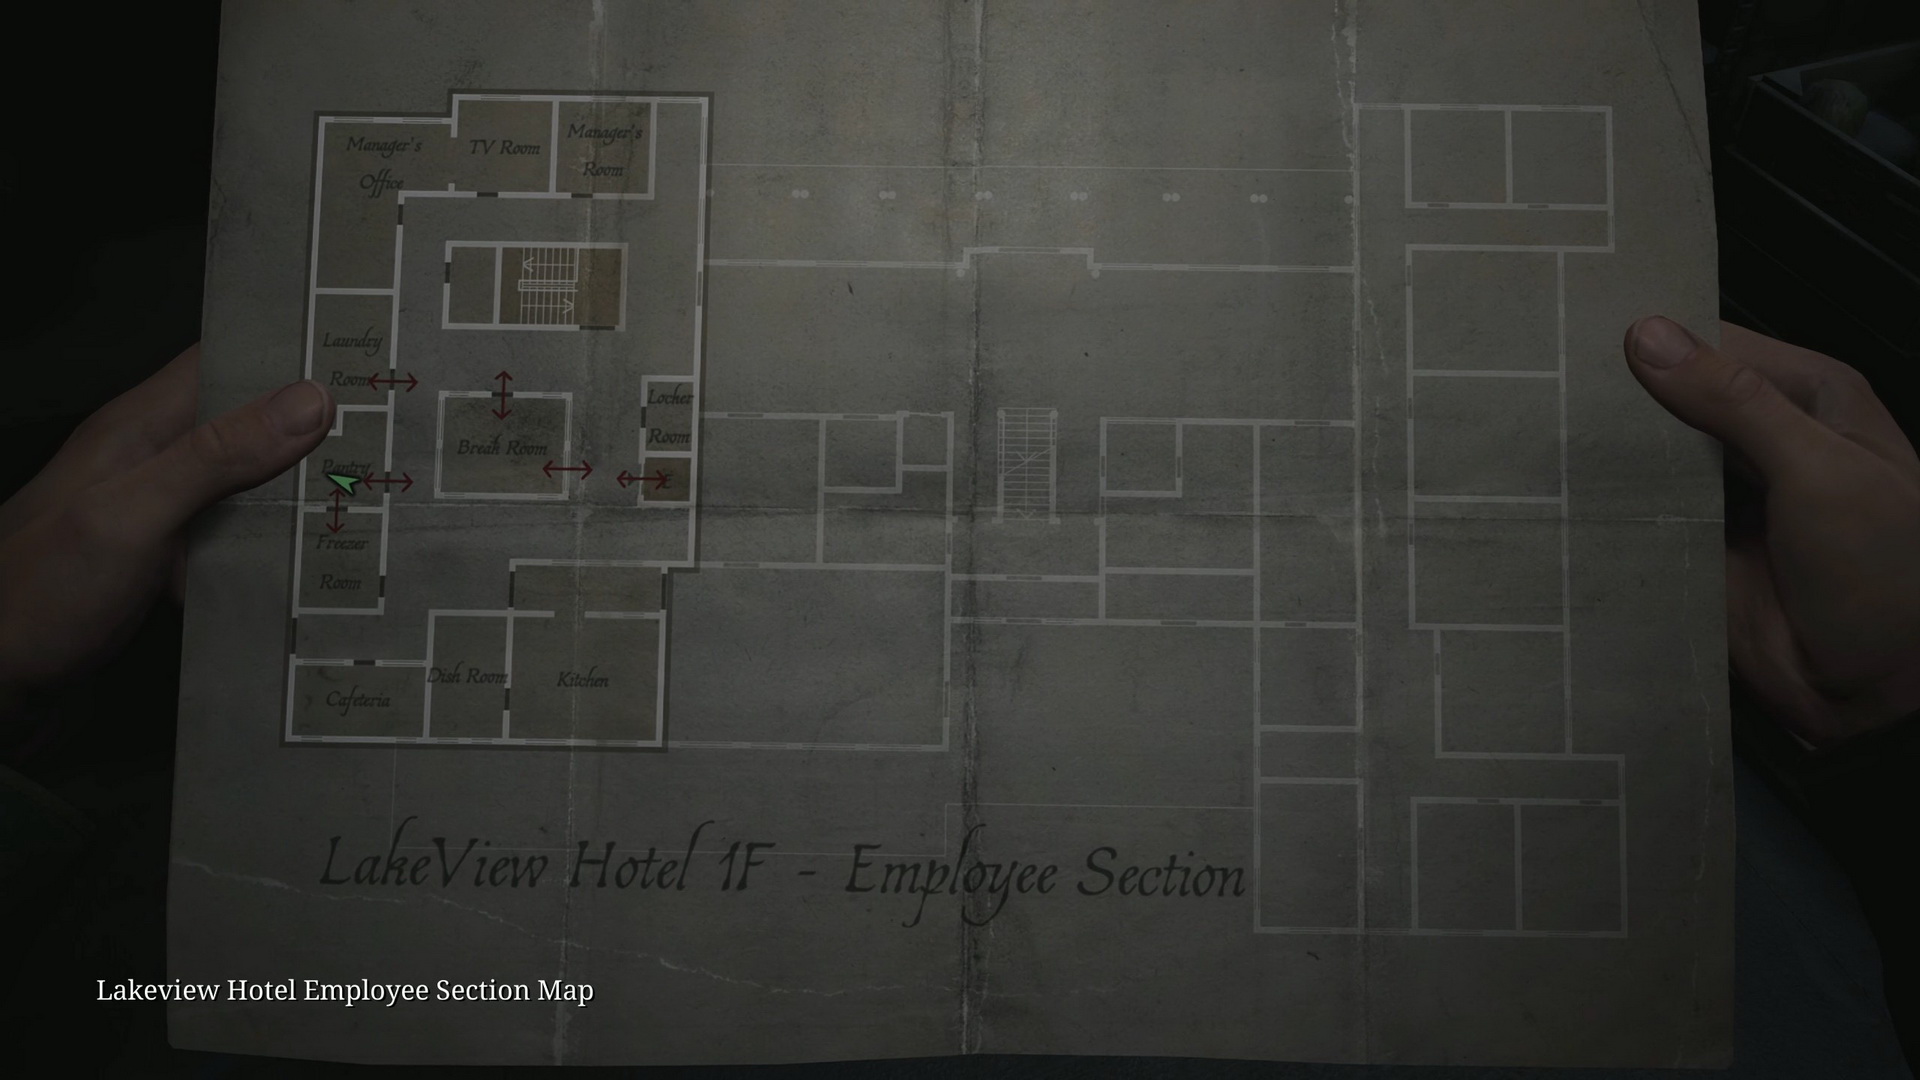
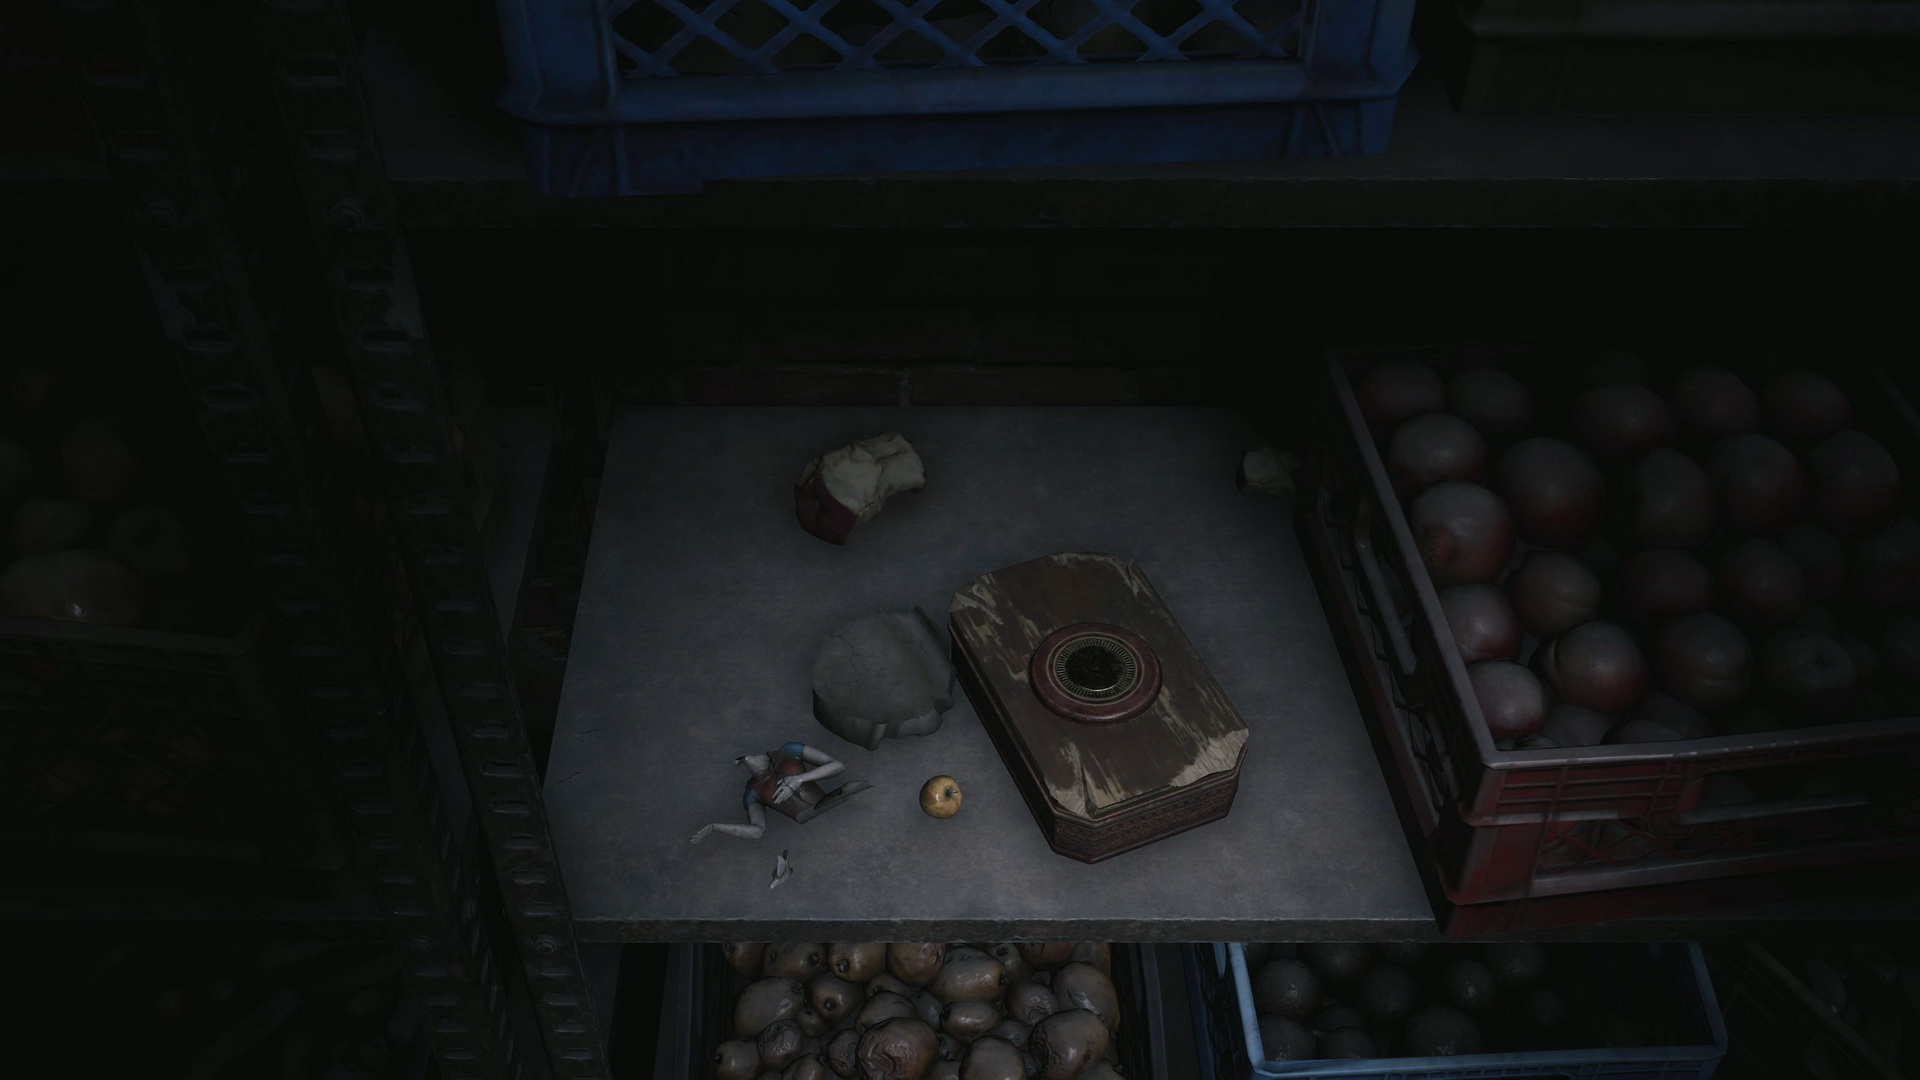
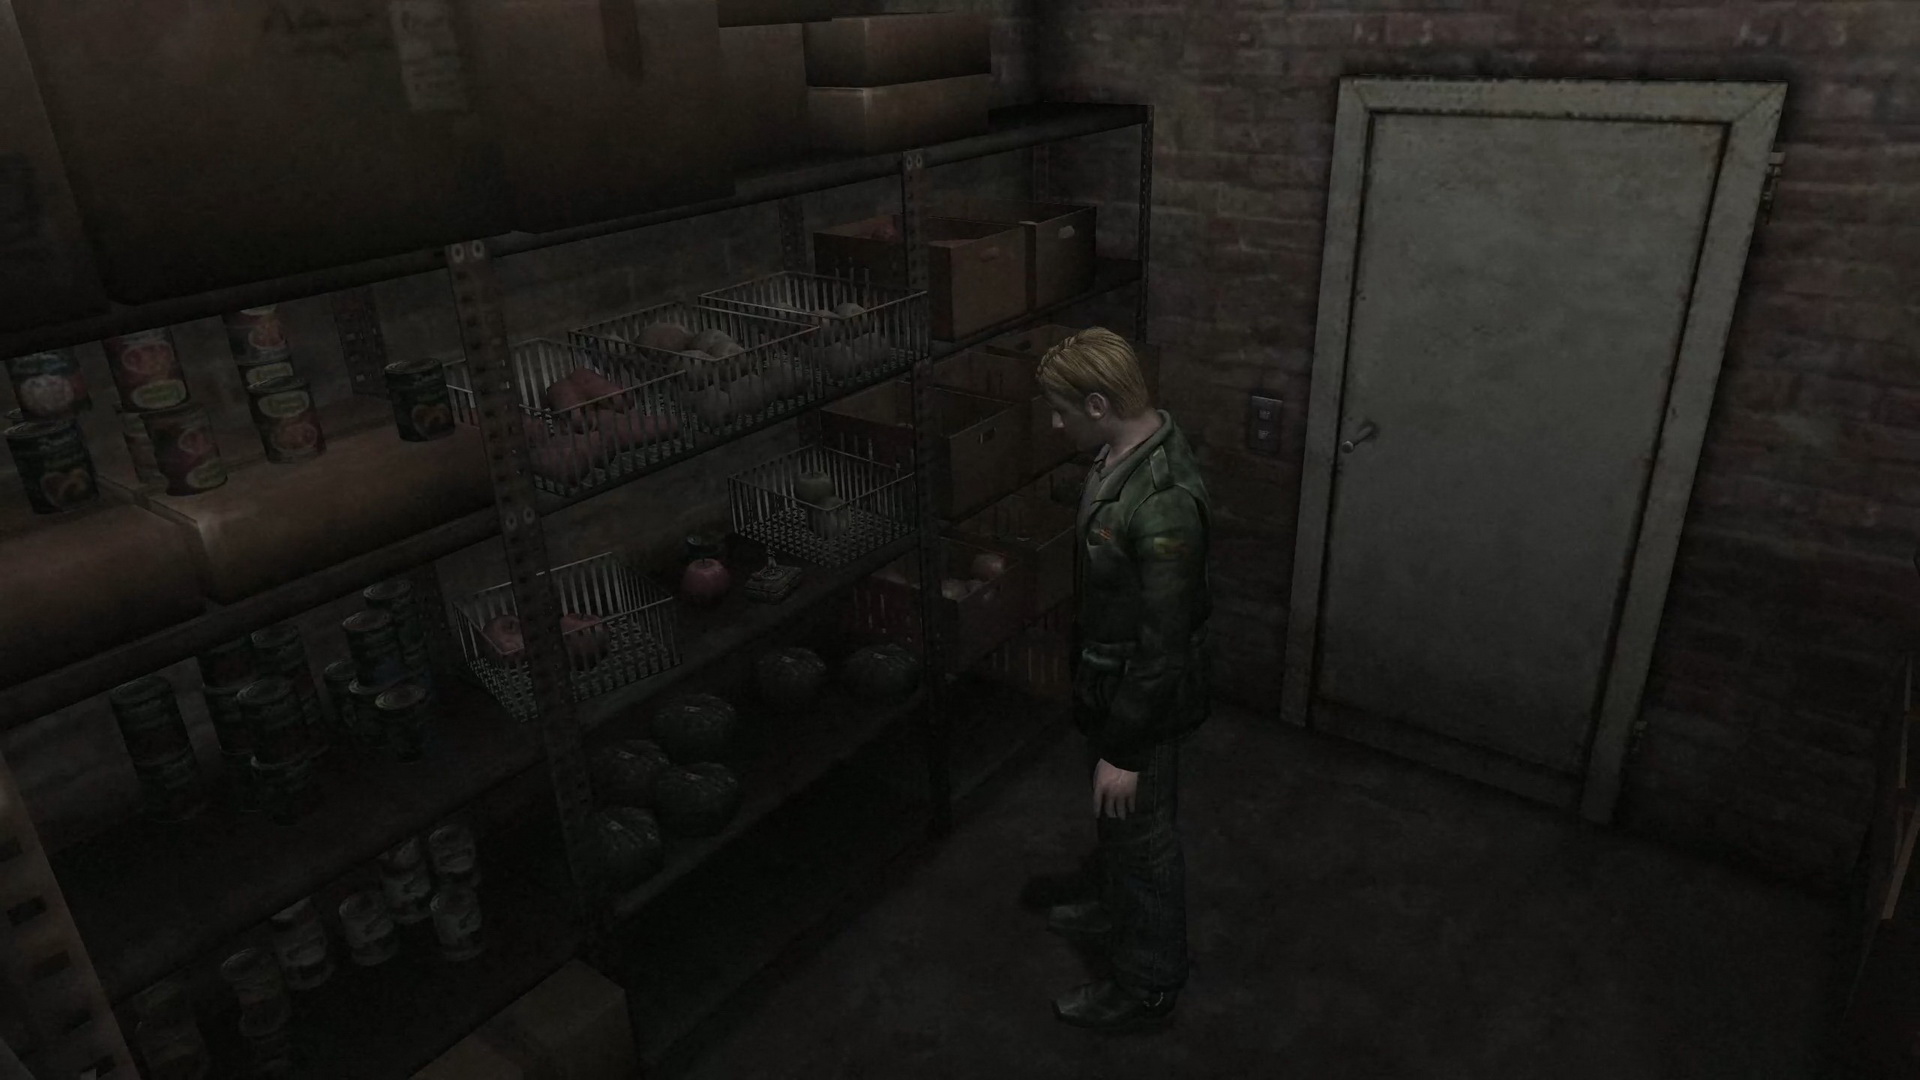
#25: Music Box in the Pantry
Location: Pantry 1F, a music box on the shelf.
SH2 Reference: Original location of the "Snow White" music box at the same place.
 |
 |
 |
|
 |
|
Ruined Hotel
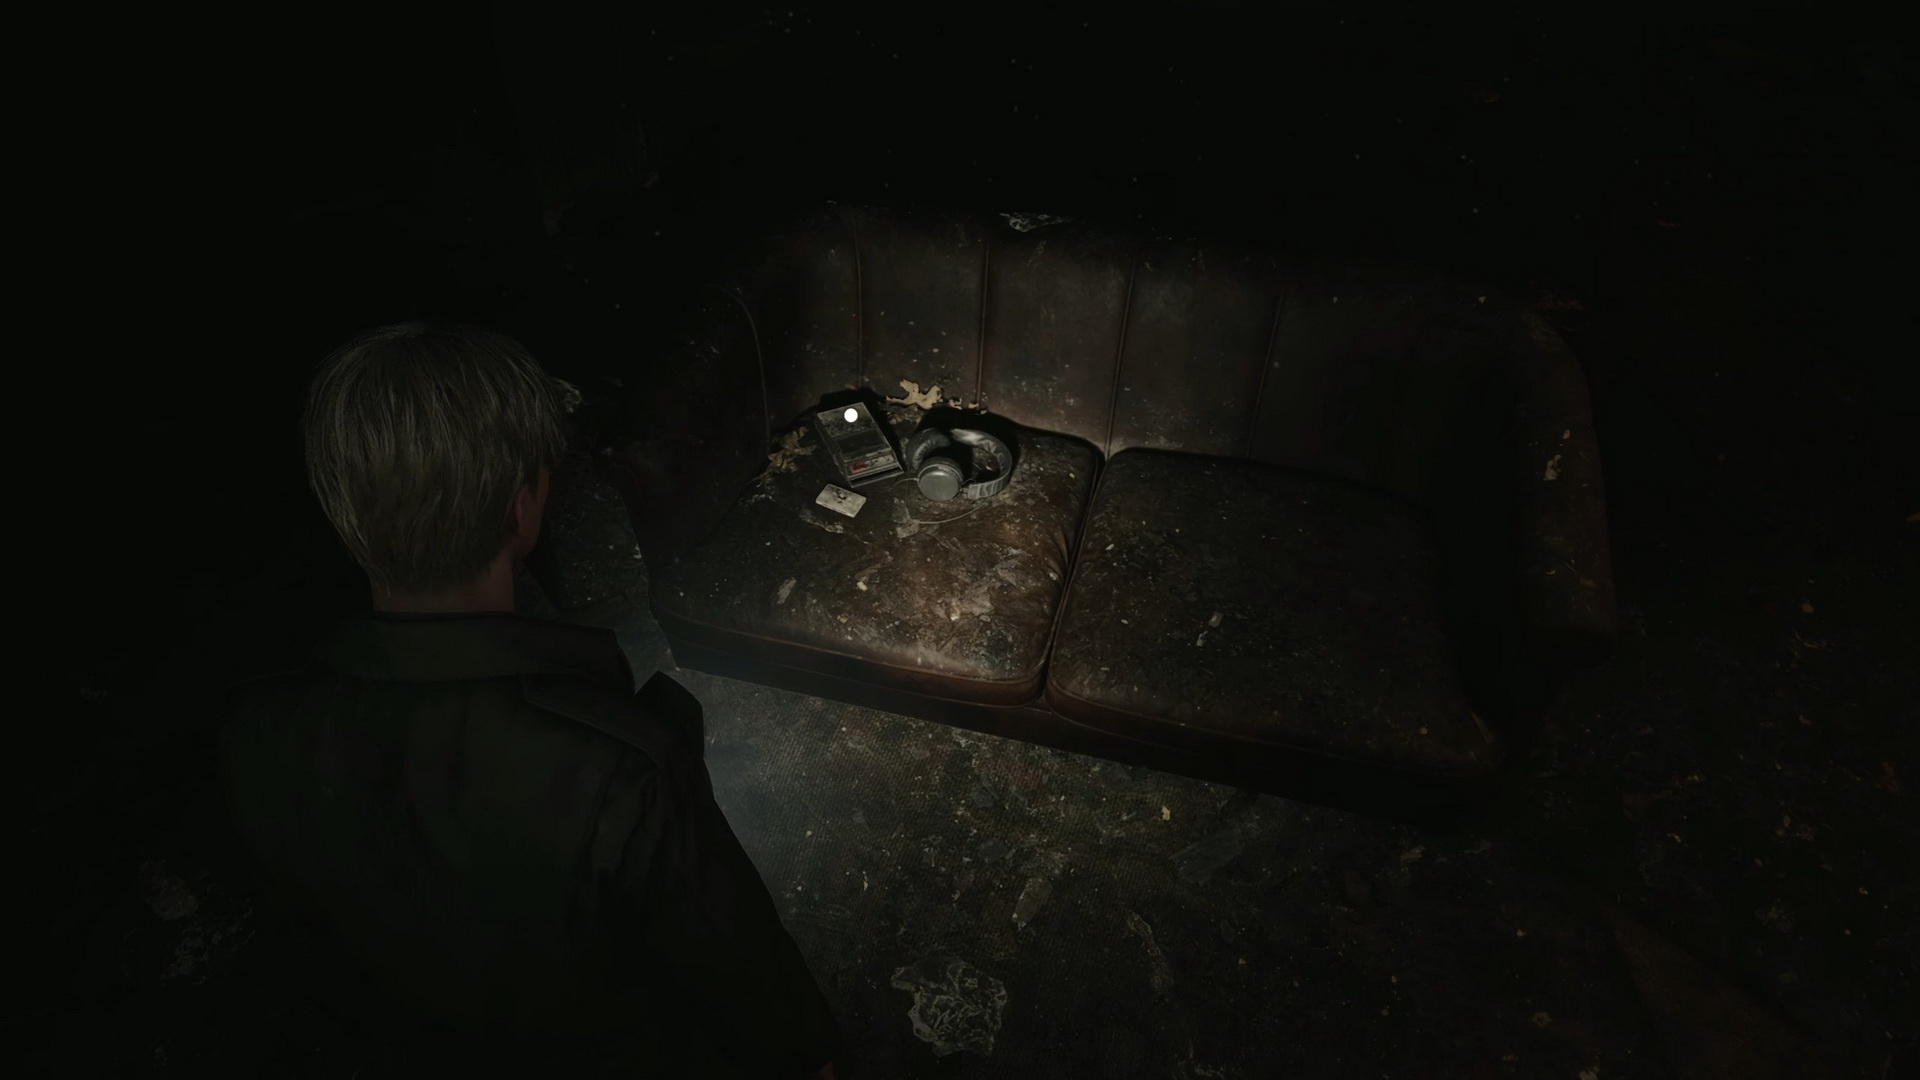
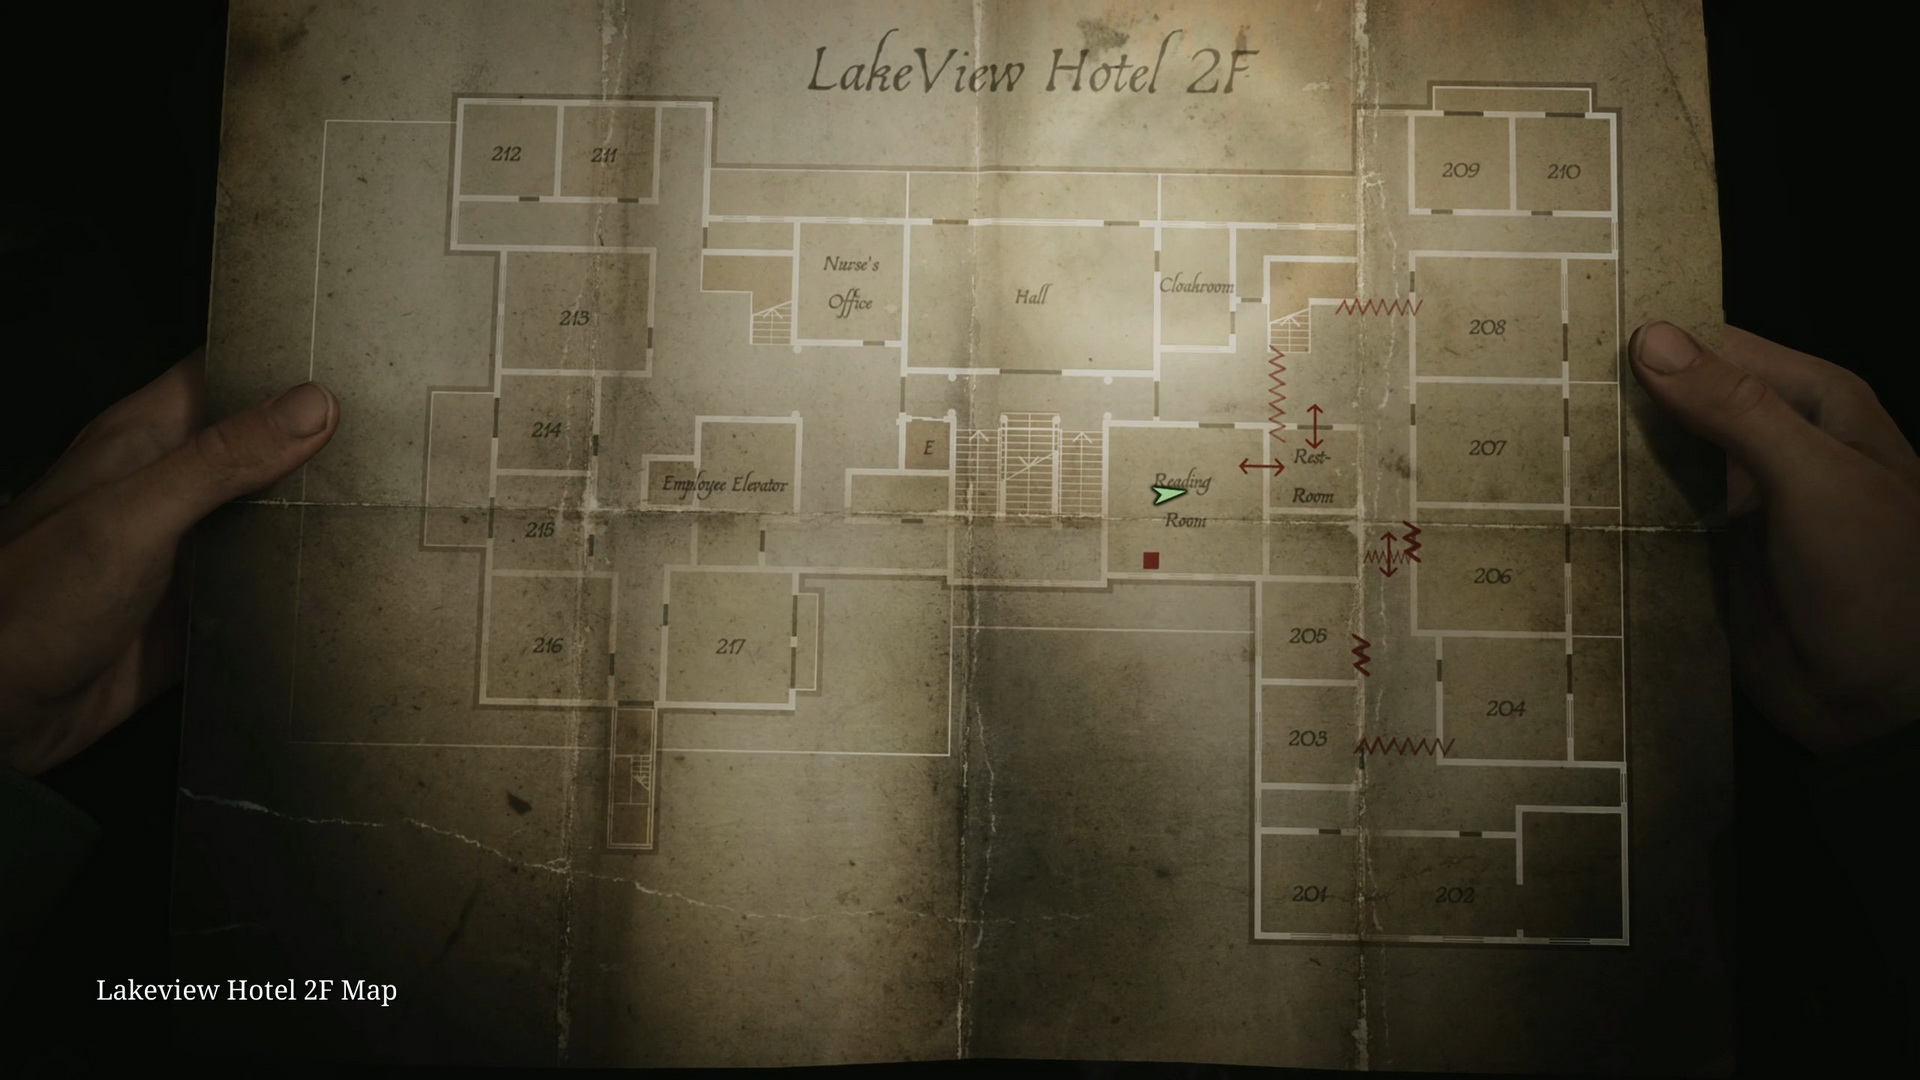
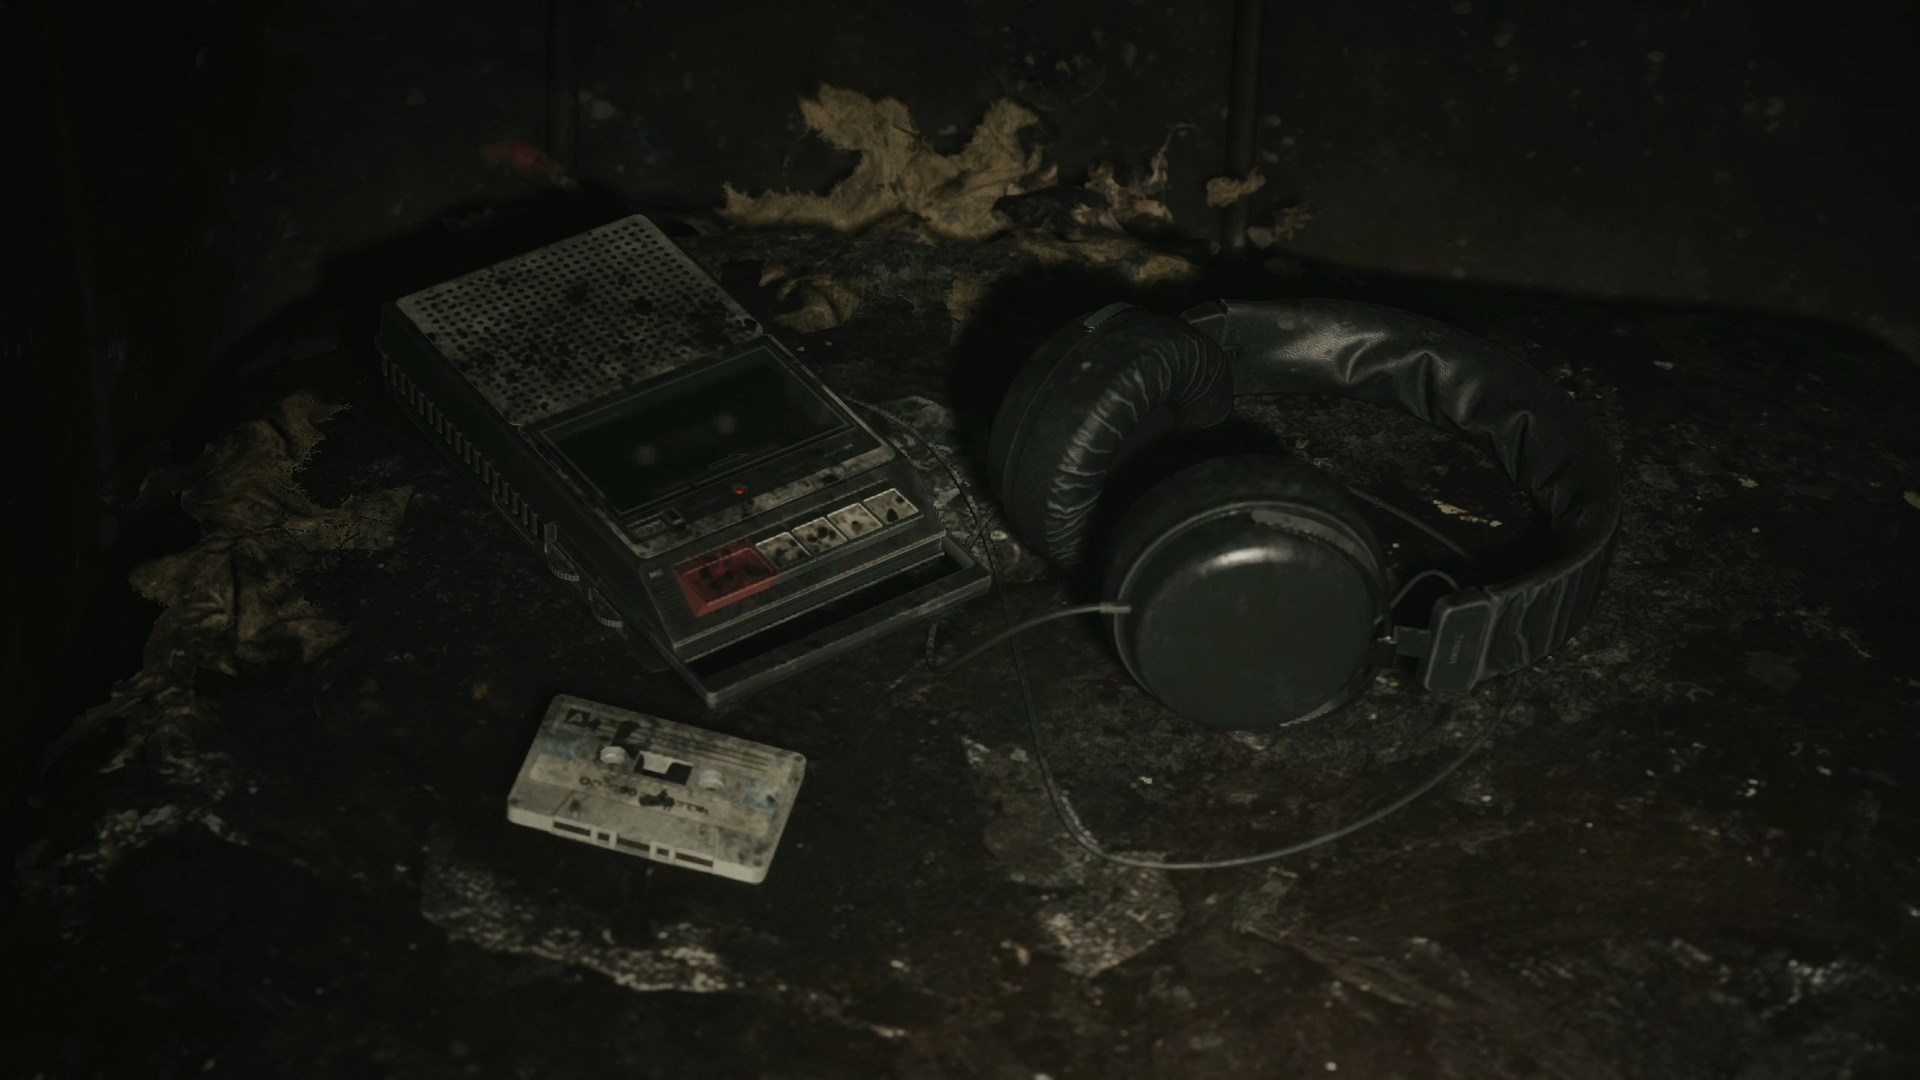
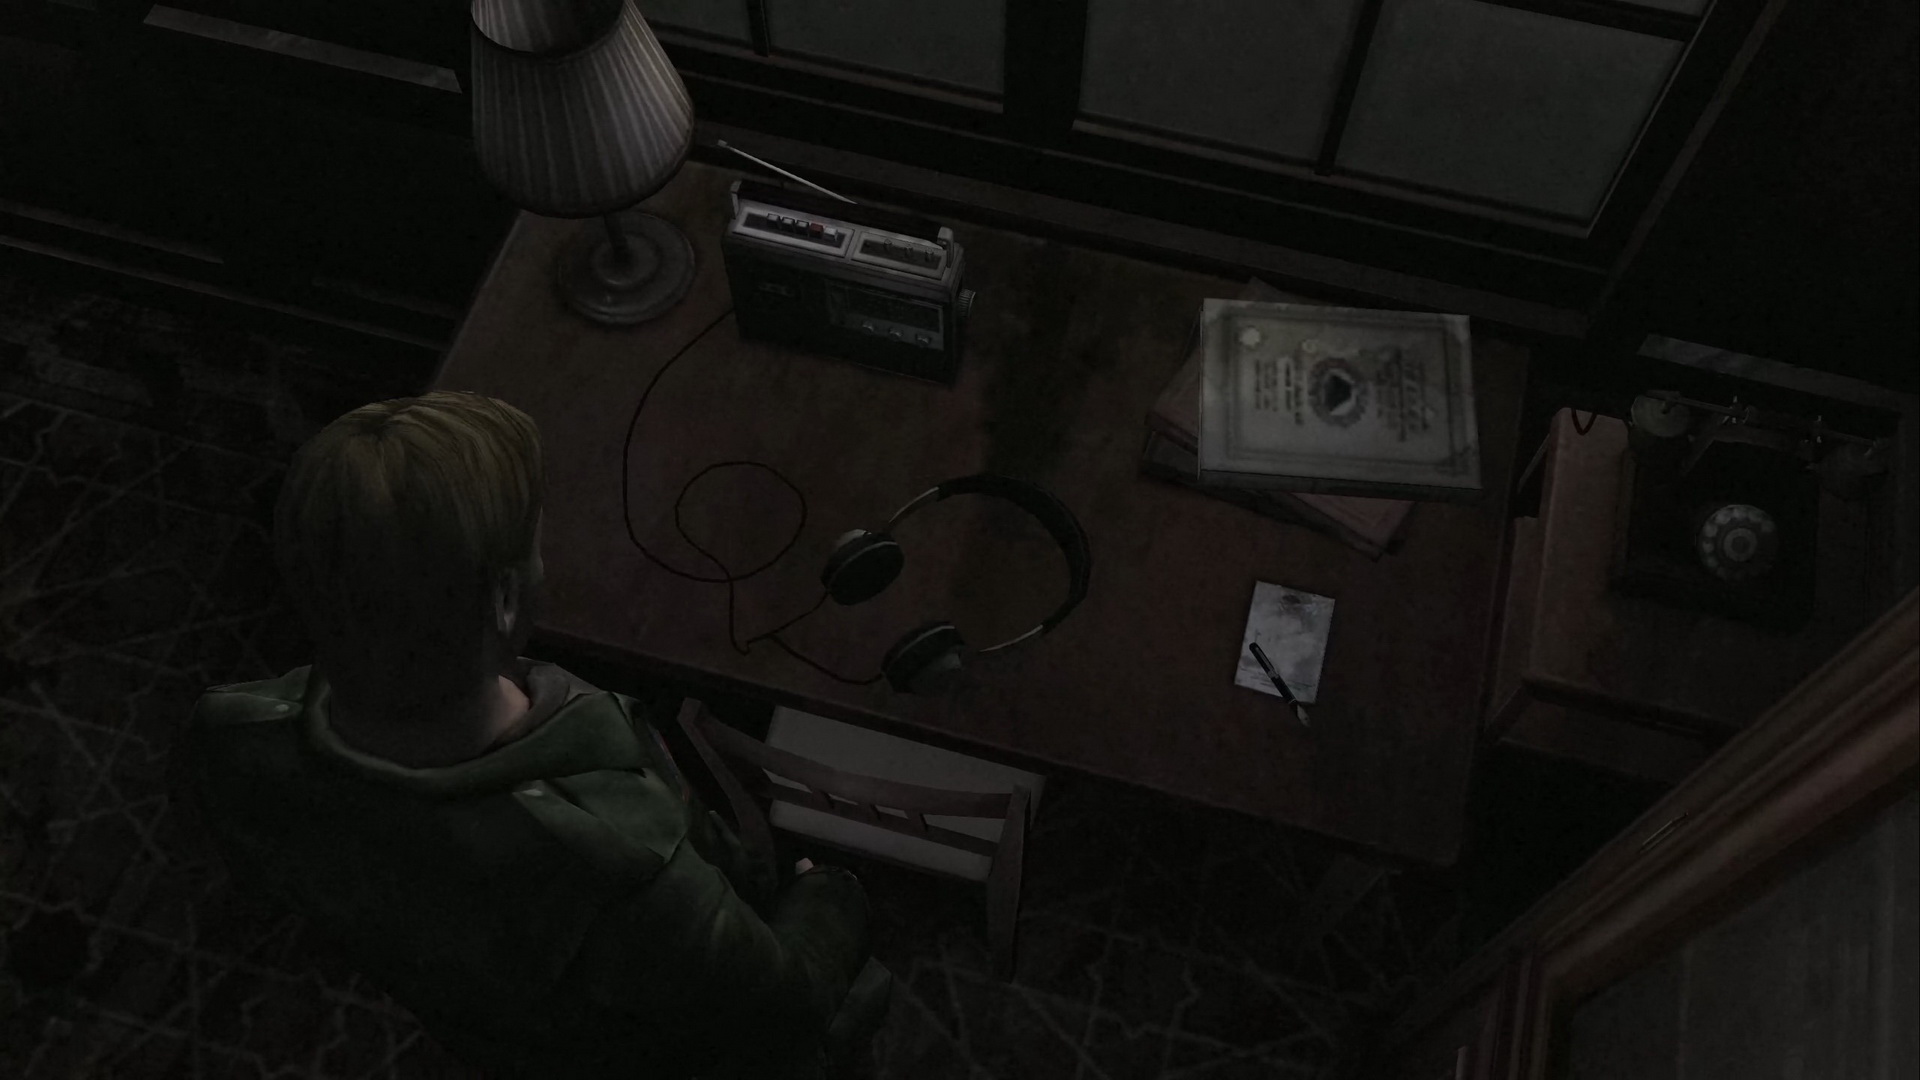
#26: Cassette Player with Headphones
Location: 2F Reading Room, a portable cassette player with headphones on the couch.
SH2 Reference: Flashback of the conversation between James and Mary's doctor in the same room.
 |
 |
 |
|
 |
|