Wood Side Apartments
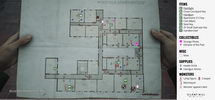
Welcome to the second chapter of the complete walkthrough guide for Silent Hill 2 Remake (2024) covering Wood Side Apartments. Use the key summary below for short, spoiler-free directions and the complete walkthrough section for in-depth guidelines with extra explanations. This walkthrough also includes complete maps with all items and monsters marked for easy reference.
Legend
1 Auto Parts key – key items
2 Radio – equipment
Health Drink – supplies
Map of Silent Hill – maps
Save Point – save points
Flower Shop Message – collectibles: memos, strange photos and glimpses of the past
NG+ – New Game+ items, memos and actions
Complete Maps |

|
Collectibles count:
- 3 memos
- 2 strange photos
- 1 glimpse of the past
Key Summary
First Floor
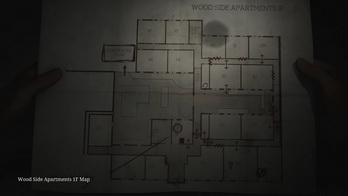
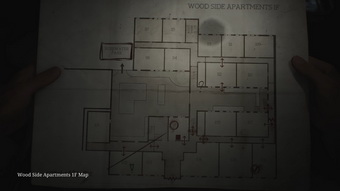
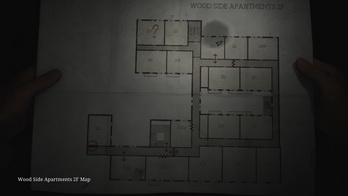
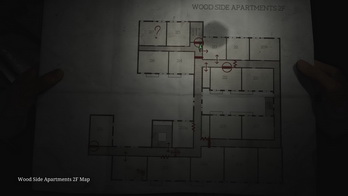
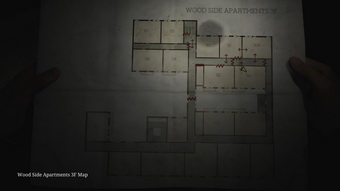
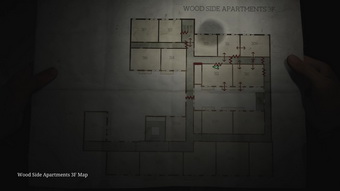
- Collect the Wood Side Apartments Maps from the wall at the reception in the main lobby.
- There's a Save Point behind the reception.
- Find a coin cabinet in the back office for the future puzzle location
- Memo #19: Administration Note. In the locker underneath the stairs.
Second Floor
- 13 Flashlight is found in Apartment 202 on the second floor. Grab this from the dress form.
- 14 Chute Courtyard Key is inside the drawer directly behind the dress form.
First Floor
- Go downstairs and use the new key to open the courtyard door to the right of the reception desk. Push the garbage container and use it to climb the window inside Apartment 112. Follow the hallway until you find a key behind the bars. Try getting the key, and it will trigger a cutscene.
- 15 2F Hallway Key. Get back to the reception and follow the now accessible hallway to get this key on the other side of the bars.
- 16 Golden Apple Handle. Inside Apartment 108, interact with the wardrobe handles and pick up the item that falls onto the ground.
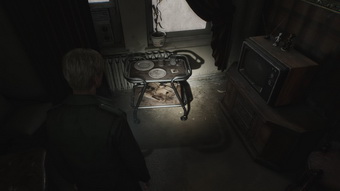
- Strange Photo #3: "Valentine’s Day". Apartment 102, on a dining trolley by the window.
Second Floor
- Go to the second floor and use the 2F Hallway Key to unlock the door here.
- Glimpse of the Past #6. Apartment 213, a wall in the bedroom.
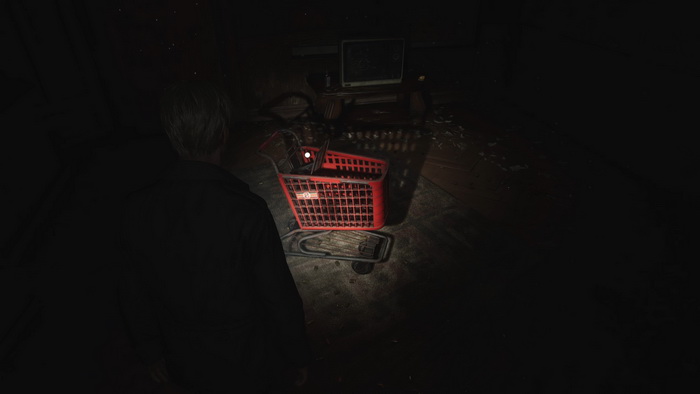
- 17 Handgun. Go through Apartment 213 and find a handgun inside the red shopping cart in Apartment 217.
- 18 Apartment 212 Key. After returning to Apartment 213, this key will now be on a stand next to the television with the dead body.
- Proceed through Apartment 212 and then into Apartment 210 via the balcony.
- Strange Photo #4: "Career’s humble beginnings". Apartment 210, on the last window sill in the living room.
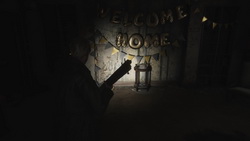
- Trophy/achievement: Let's NOT Party! Shoot all 11 baloons that make up the "WELCOME HOME" message inside Apartment 207.
- Enter Apartment 208, use the Golden Apple Handle on the wardrobe and push it to open the passage into Apartment 206.
- Use the following combination for the safe:
- Light: Right to 15, left to 11, right to 13
- Standard/Hard: Right to 13, left to 7, right to 11
- 19 Coin [Man] and 20 Steel Key are inside the safe.
- Leave the apartment using the key.
- 21 2F Small Staircase Key is on a chair in the middle of Apartment 205.
- Head back to Apartment 213, squeeze into the hallway and unlock the north staircase door using the key. There's a Save Point inside. Go to the third floor.
Third Floor
- Proceed through Apartments 311 and 309.
- Memo #20: Strange Note. Inside a desk drawer in a small room to the right of the Apartment 310 entrance.
- Get inside Apartment 310 and use the balcony to enter Apartment 312.
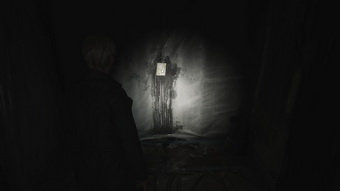
- Memo #21: Sinister Note. Apartment 312, on a wall.
- Crawl through the vent to access the laundry room.
- 22 Canned Juice is inside the laundry room on a table.
- Use the Canned Juice on the garbage chute to unblock it.
First Floor
- 23 Coin [Woman]. Get downstairs via the north staircase and re-enter the courtyard to find the coin on the ground.
- Go to Apartment 116. Check the bathroom for a cutscene and climb out the window to the pool area.
- 24 Coin [Snake] is inside the baby stroller inside the empty pool guarded by Lying Figures.
- After collecting the last coin, return to the reception desk's back room to solve the coin cabinet puzzle. Put the coins as follows for each stage (flip the coins as necessary):
- Light:
- Man - ◯ - Woman - ◯ - Flower
- Sword - ◯ - Woman - ◯ - Snake
- Snake - ◯ - Grave - ◯ - Man
- Standard:
- Man - ◯ - Woman - ◯ - Flower
- ◯ - Sword - ◯ - Woman - Flower
- ◯ - ◯ - Man - Grave - Snake
- Hard:
- Man - ◯ - ◯ - Grave - Snake
- Grave - Sword - Flower - ◯ - ◯
- ◯ - Man - Woman - ◯ - Snake
- Place any coin, Man, Woman, or Snake, into the top slot to finish the puzzle (affects the ending).
- Light:
- 25 Apartment 201 Key. Take the key after solving the puzzle.
Second Floor
- Enter Apartment 201 and interact with the handkerchief on a desk for a cutscene.
- 26 Handkerchief. Pick the item again after the cutscene is over.
- Go through the red door in the living room to get into the next building.
Complete Walkthrough
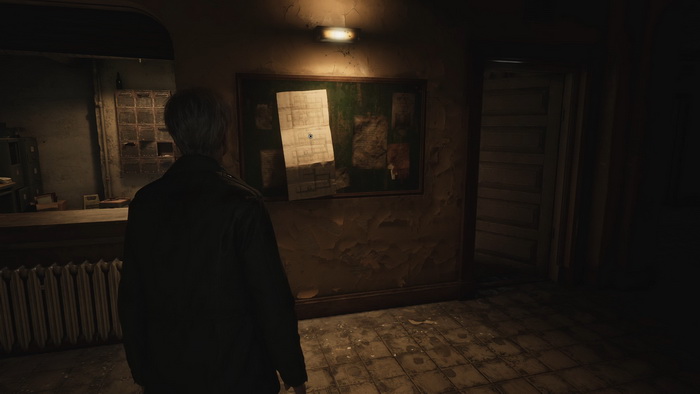
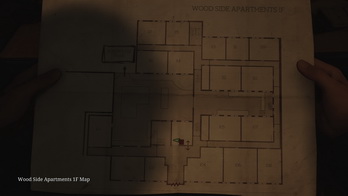
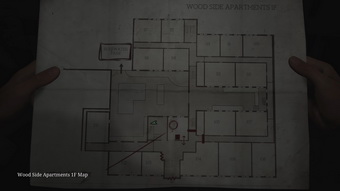
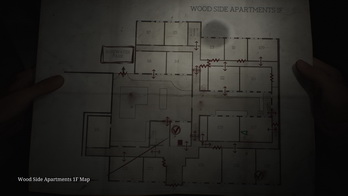
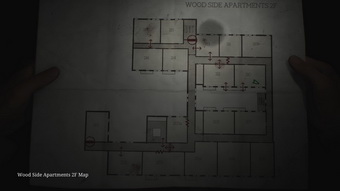
Once inside, collect the Wood Side Apartments Maps from the bulletin board in the main lobby.
Behind the reception desk, you will find a Save Point to save your progress. In New Game+, you will find a diary on the desk inside the room with a code hint for the "Stillness" ending.
 |
 |
In the back office, you can find Handgun Ammo inside the kitchenette's cabinet. Finally, in the room, you will find the coin cabinet under a white cover. Once you have gathered all the coins, you will have to come back here later to solve this puzzle.
Getting the Flashlight
Proceed to the staircase next to the reception. You will find Memo #19: Administration Note in the locker underneath the stairs.
 |
 |
Seems that it's worth checking Apartment 217. There's also a Health Drink under the stairs and more Handgun Ammo at the top stair landing. Go to the second floor.
Second Floor
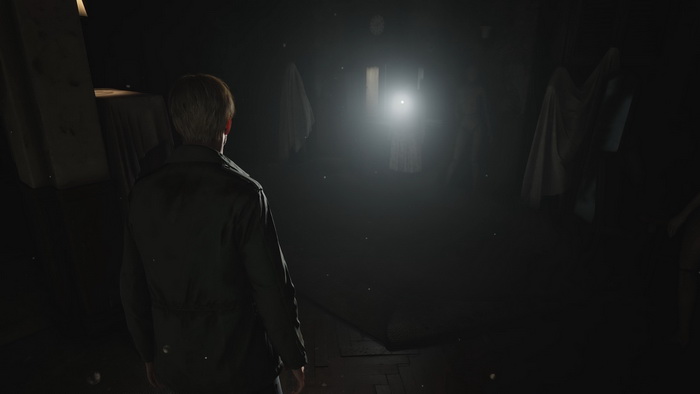
Proceed to the right and enter Apartment 202 with the open door and bright light inside. Inside, you will find a dress form dressed in a very familiar outfit and a flashlight. Take the 13 Flashlight and prepare for your first battle with a Mannequin that comes alive triggered by the light. After you are all done, take a 14 Chute Courtyard Key inside the drawer behind the dress form and a Health Drink in the kitchen's bottom cabinet. You can also examine the dress for additional comment. Exit back to the hallway.
Finding the 2F Hallway Key
The rest of the floor is behind the locked doors, so take the stairs back to the main lobby.
First Floor
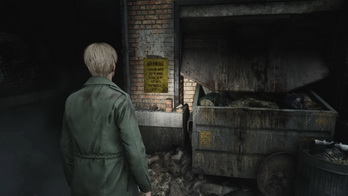
Go around the reception, pick up the Handgun Ammo from the bench in the utility room next to Apartment 105 and use the Chute Courtyard Key to enter the eastern courtyard. Find a note next to the garbage chute's discharge telling you it's out of order.
 |
 |
Push the garbage container to align with the open window and climb into Apartment 112.
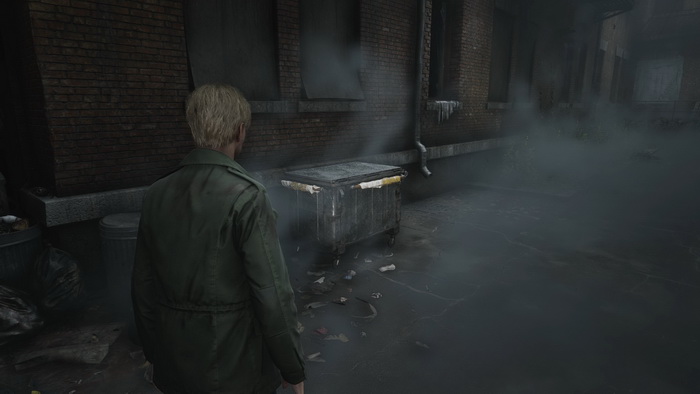
In the bedroom's dresser there's Handgun Ammo while on the table there's a newspaper article "Locaine Siblings Murder: Perpetrator Commits Suicide in Custody".
 |
 |
Exit the apartment. A lonely Creeper is in the hallway. In the nearby Apartment 109, you can find more Handgun Ammo on the wardrobe shelf, but beware of the Mannequin hiding in the living area. Continue down the hallway until you bump into metal bars. Attempt to reach for a key on the other side to start a cutscene in which a little girl prevents you from getting that key.
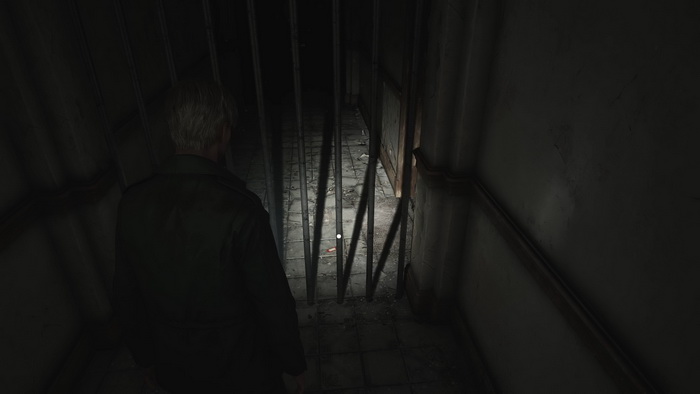
Exit to the courtyard through a nearby door and return to the main lobby. The door to the eastern hallway will now be open, so run all the way to the bars to find the 15 2F Hallway Key on the floor.
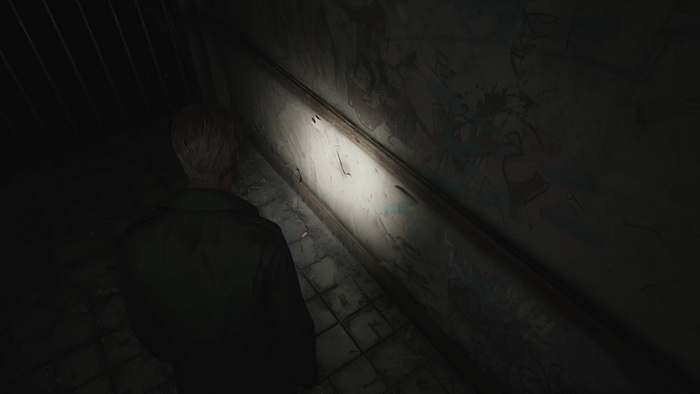
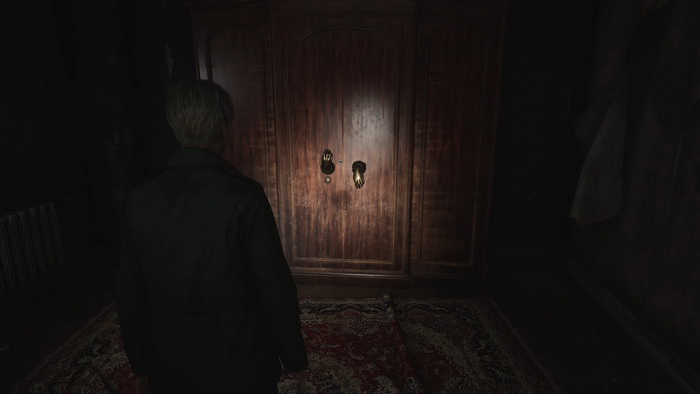
On your way back, enter Apartment 108 and approach a wardrobe with intricate handles to collect the 16 Golden Apple Handle after rotating the left handle downward.
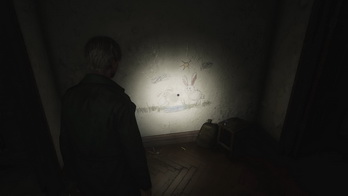
You can also inspect Apartment 107 to find the little girl's drawing on the wall and a Health Drink in the bedroom's dresser.
 |
 |
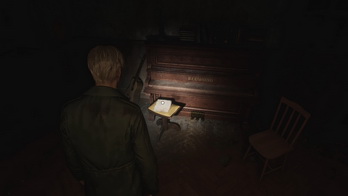
A music sheet is on a chair next to the piano.
 |
 |
In the hallway in front of Apartment 106 you will meet a single Lying Figure. Inside the apartment, Handgun Ammo is on the glass cabinet shelf, and a delivery note is on the kitchen counter along with a couple of Creepers roaming in the living area.
 |
 |
Proceed back to the main lobby. Here, you can enter the now accessible western portion of the building. There are no key items there, yet one collectible is guarded by two Lying Figures in the hallway. In Apartment 102, you will find Strange Photo #3: "Valentine’s Day" on a dining trolley by the window and a Health Drink in the first aid kit in the bedroom.
 |
 |
After you are done with this level, go to the second floor.
Finding the Handgun
Second Floor
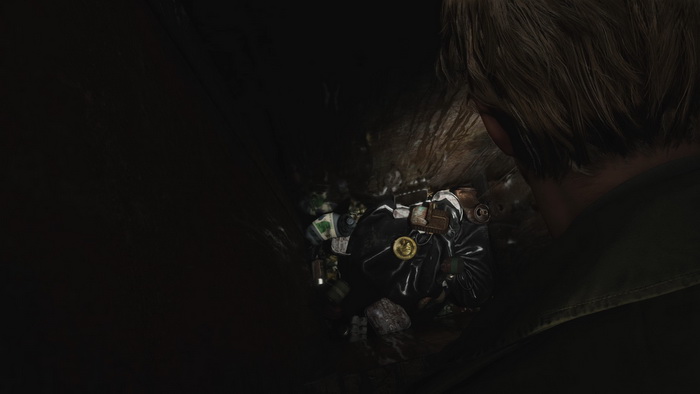
Use the 2F Hallway Key to unlock the door and access the rest of the floor. In the laundry room, you can inspect the garbage chute to find a shiny coin sitting on top of the garbage stuck inside.
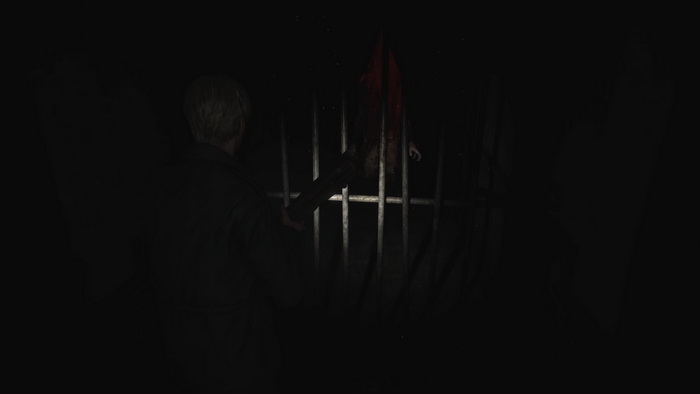
At the end of the hallway, a new creature stands looming in the dark behind the bars...
Enter Apartment 213. Inside the bedroom, inspect the wall for the Glimpse of the Past #6.
 |
 |
Squeeze into the next hallway through a hole in the wall. Next to the small staircase you will find a note about the third floor renovation works.
 |
 |
Head into Apartment 217 to find a 17 Handgun inside the red shopping cart. There's also Handgun Ammo next to the TV, one more pack in the closet and another in the kitchen drawer.
Accessing Apartment 212
Go back to the hallway, and you will be startled by a scream on your way back. Return to Apartment 213 to find a dead person sitting in front of the TV and the 18 Apartment 212 Key on a stand next to it.

Enter Apartment 212 using the key. Inside, you can find a Health Drink in the cabinet under the kitchen sink. Use the balcony to access Apartment 210, where you will be greeted by a Mannequin. In the open fridge, you'll find Handgun Ammo. On the last window sill in the living room, there's Strange Photo #4: "Career’s humble beginnings."
 |
 |
Exit into a hallway where you will meet two Lying Figures. You can step onto the fire escape stairs and use the lever to lower the stairs section and create a shortcut to the first floor. You can enter Apartment 207 for supplies and a trophy/achievement in the hallway. Beware of a Lying Figure and a Mannequin in the apartment, though. You can then collect Handgun Ammo on a shelf to the left of the balloons and in the kitchen drawer.
Trophy/Achievement: Let's NOT Party! |
Finding the First Coin
Next, enter Apartment 208. You can find more Handgun Ammo in the upper kitchen cabinet and a note on the table in the living area. Approach the wardrobe and use the Golden Apple Handle to open the doors.
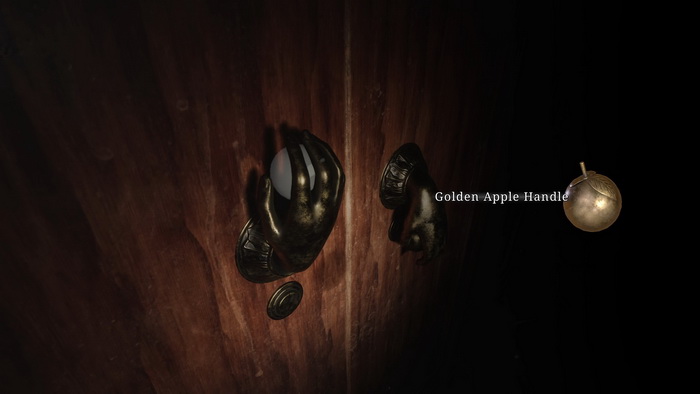
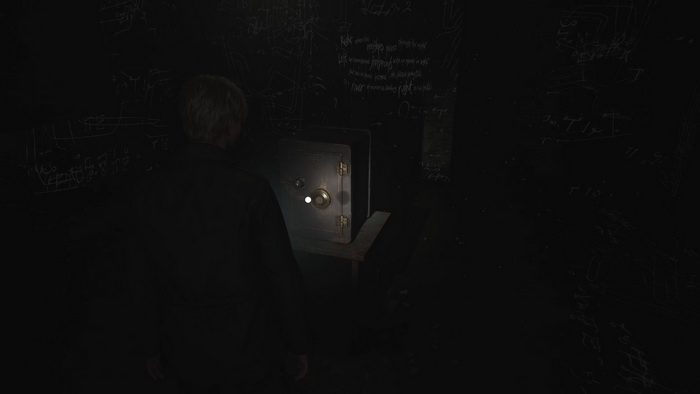
You can take a look through a peephole, then push the wardrobe to the side and squeeze through a wall gap into Apartment 206. You will be trapped in the room with a safe and will need to solve a puzzle to open the safe and get out.
Puzzle: Room 206 Safe Code
Look for a poem on the wall behind the safe to solve the puzzle.
Then find three drawings with numbers hidden around the room and match those against the poem lines to find the correct sequence for the safe. The poem and the drawings will be different depending on your difficulty level.
Light
On light riddle difficulty the poem reads:
The river flowed right, serene and so clean
The viper zigzagged left, so cruel and mean
And so right I went, my steps short and tense,
Into a darkness, so deep and so dense
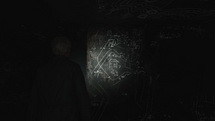
Find the drawings around the room using your flashlight:
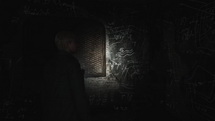
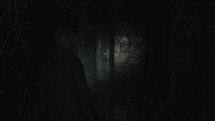
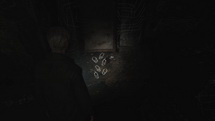
|
Putting the drawings in the correct order will give you the following combination for the safe: right to 15, left to 11, right to 13. Press the button to confirm.
Standard/Hard
On standard and hard riddle difficulty the poem reads:
Right where the rooftops pierce through the night
Left are homebound footprints with no owner in sight
But has he found home, oh please pray tell
Or a river of memories leading right to his hell
Find the drawings around the room using your flashlight:
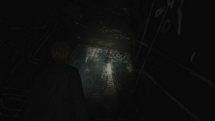
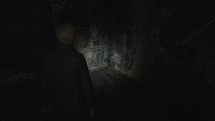
|
Putting the drawings in the correct order will give you the following combination for the safe: right to 13, left to 7, right to 11. Press the button to confirm.
You will find the 19 Coin [Man] and a 20 Steel Key inside the safe. Use the key to escape the apartment and step into Apartment 205 across the hallway. Inside, you will run into some Creepers crawling around. On the kitchen countertop, there's Handgun Ammo, and inside a first-aid kit on some boxes, there's a Health Drink. Finally, get the 21 2F Small Staircase Key on the chair in the middle of the living room.
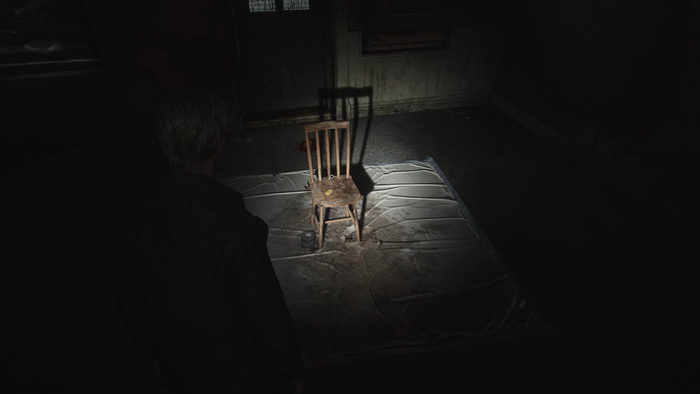
Return to the hallway and procced to the staircase in the northern part of the building. Fight a Lying Figure on your way there. Use the key to access the north staircase. There's a Save Point on the wall inside.
Finding the Second Coin
Use the stairs to go the third floor.
Third Floor
There's Handgun Ammo on the chair at the south end of the hallway. Squeeze through the wall gap into Apartment 311 where you will run into two hiding Mannequins. Find a Health Drink on the table in the living room. Proceed through the wall gap into Apartment 309 and take more Handgun Ammo from the kitchen drawer.
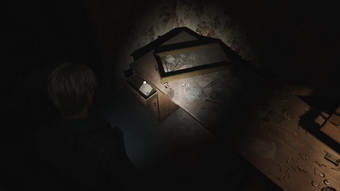
Exit to the hallway and beware of another Mannequin lurking here to the left. Before entering the next apartment, turn right and go to a small room to find Handgun Ammo in the first aid kit on the couch and Memo #20: Strange Note inside the left drawer of the desk.
 |
 |
Go back and squeeze into Apartment 310. Two more Mannequins are awaiting you here so be careful. Use the balcony to enter Apartment 312 next door with yet another Mannequin. When you are safe, you can find a Health Drink at the top of the wooden ladder in the northeastern corner of the apartment and Memo #21: Sinister Note on the wall.
 |
 |
There's a Syringe in the first aid kit on the west balcony. Use a ventilation opening to crawl into the laundry room. Inside, collect a 22 Canned Juice on the table and use it to unblock the garbage chute in the same room.
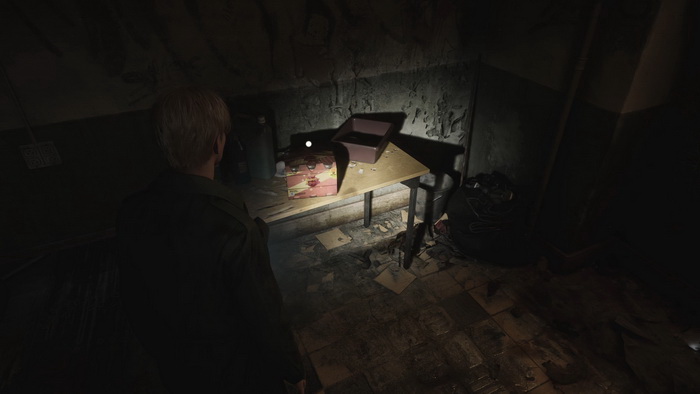
Collect Handgun Ammo on the laundry machine and use the small staircase to get to the first floor.
First Floor
Collect Handgun Ammo on the box under the stairs, then re-enter the courtyard to find the 23 Coin [Woman] on the ground.

Finding the Third Coin
Return to the building and head for Apartment 116 at the end of the north hallway. In the kitchen, you will find a dead body inside the open fridge and a Handgun Ammo in the kitchen drawer. Investigate the origin of the sound coming from the bathroom to meet Eddie.
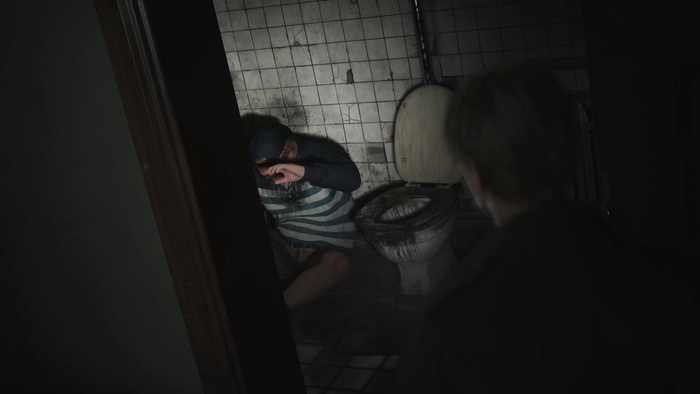
Leap through the broken window to find yourself in the pool courtyard. There are a total of five Lying Figures here with three of them inside the empty pool. Choose how to deal with them or evade and get to the baby stroller inside the pool to collect the 24 Coin [Snake] – use the stairs in the south to access the pool.
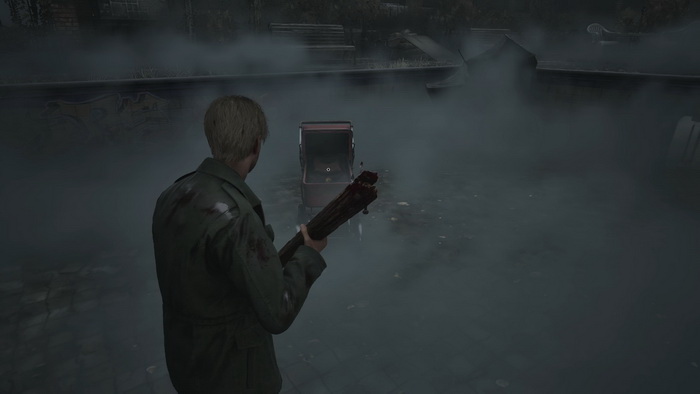
Also, in the northwestern corner of the yard, you can find the exit gate that would lead you to Rosewater Park if it weren't locked. No luck here.
 |
 |
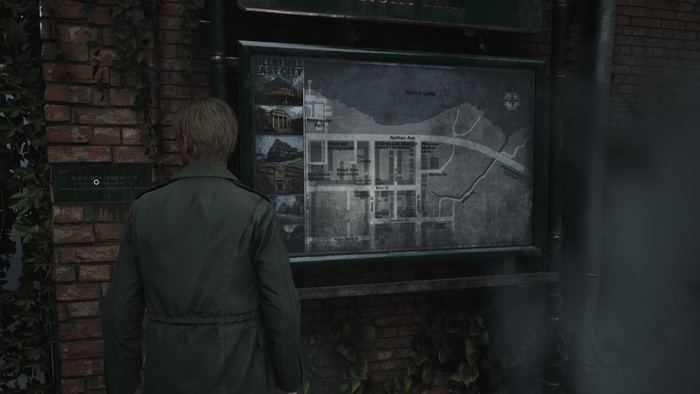
You can also find a stand with the town map from the original game. That's a nice reference.
Getting the Apartment 201 Key
After collecting the last coin, return to the reception desk's back room to solve the coin cabinet puzzle.
Puzzle: Coin Cabinet
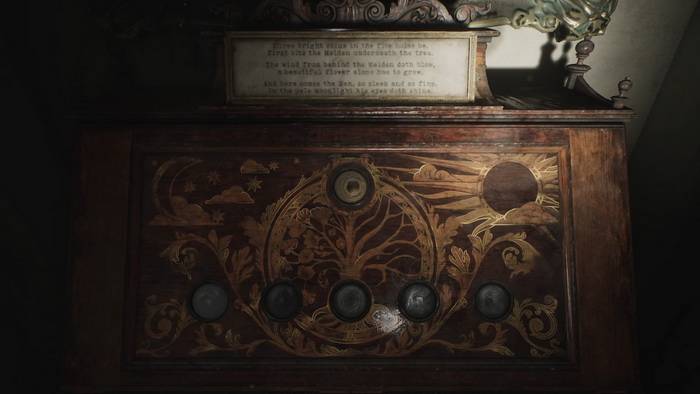
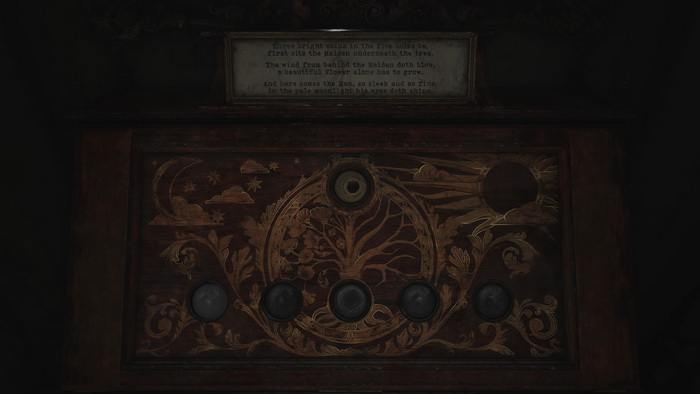
Now, before we jump to the solution, let's inspect both the cabinet and the coins. The moon is depicted in the top left corner of the cabinet. In the middle is the tree, and in the top right corner is the sun. That will be important for the solution.
The coins have two different imprints on their two sides. Inspecting the coins in the inventory reveals exactly which:
- Man – Sword
- Woman – Gravestone
- Snake – Flower
Remember that as you will need to flip the coins as needed.
Light
The cabinet's poem starts with:
Three bright coins in the five holes be,
first sits the Maiden underneath the tree.The wind from behind the Maiden doth blow,
a beautiful Flower alone has to grow.And here comes the Man so sleek and so fine,
in the pale moonlight his eyes doth shine.
The Woman is under the tree in the middle. There's a space between her and the Flower to the right as it is behind her. The Man stands beneath the moon.
There are only three usable slots on this difficulty level which makes it very simple. Place the coins as follows:
| Moon | Tree | Sun | ||
| Man | ◯ | Woman | ◯ | Flower |
The second excerpt reads:
The man draws his Blade, and she froze in fear,
for she did not know the Serpent drew near.
All coins stay in their places. The Man turns into the Sword, and the Flower turns into the Snake.
Place the coins as follows:
| Moon | Tree | Sun | ||
| Sword | ◯ | Woman | ◯ | Snake |
The third excerpt reads:
The venomous beast is now lost to the night,
the grand chevalier's grand despair in daylight,
and under the tree, where the maiden dared lay,
a memory now lies, confined to a Grave.
Swap the Snake and the Sword, and flip the Sword to the Man. Now the Snake is "lost in the night" and the Man is in the "daylight". Flip the Woman to the Gravestone which is still under the tree.
Place the coins as follows:
| Moon | Tree | Sun | ||
| Snake | ◯ | Grave | ◯ | Man |
The poem concludes:
Place any coin, Man, Woman, or Snake, into the top slot to finish the puzzle. Your choice will affect the ending of the game.The Beast who its teeth in her flesh doth bore,
He who has failed, She who is no more.Now you pass the judgment on figures of play,
which here is the sinner, which carries the blame?
Standard
The cabinet's poem starts with:
Three bright coins in the five holes be,
first sits the Maiden underneath the tree.The wind from behind the Maiden doth blow,
a beautiful Flower alone has to grow.And here comes the Man so sleek and so fine,
in the pale moonlight his eyes doth shine.
The Woman is under the tree in the middle. There's a space between her and the Flower to the right as it is behind her. The Man stands beneath the moon.
Place the coins as follows:
| Moon | Tree | Sun | ||
| Man | ◯ | Woman | ◯ | Flower |
The second excerpt reads:
The man doth approach, his Blade now revealed,
his face disappears behind shining steel.Away from the man doth the Maiden flee,
towards the Flower, away from the tree.
The Man moves to the right and takes out his Sword. The Woman also moves to the right closer to the Flower.
Place the coins as follows:
| Moon | Tree | Sun | ||
| ◯ | Sword | ◯ | Woman | Flower |
The third excerpt reads:
Where once grew a Flower, a venomous glee,
where once was a Maiden, but a stone doth be.And over her Grave the Man doth remain,
his blade never met the vile Serpent’s vein.
The Flower turns into the Snake, and the Woman turns into the Gravestone. The Man stands next to the woman's grave; his sword was actually destined for the snake.
Place the coins as follows:
| Moon | Tree | Sun | ||
| ◯ | ◯ | Man | Grave | Snake |
The poem concludes:
The Beast who its teeth in her flesh doth bore,
He who has failed, She who is no more.Now unto you falls a grievous chore,
who carries blame for what fate had in store?
Place any coin, Man, Woman, or Snake, into the top slot to finish the puzzle. Your choice will affect the ending of the game.
Hard
The cabinet's poem starts with:
Three bright coins, three actors in play,
yet within the shade, not one doth remain.The one once so gallant has fled from day's sheen,
as far as he could from the icon of sin.The one whom he swore to shield in her life,
now lays in a grave, away from his sight.
The Man (one once so gallant) is as far from the sun (day's sheen) and the Snake (icon of sin) as he can. The Gravestone is also far from him.
Place the coins as follows:
| Moon | Tree | Sun | ||
| Man | ◯ | ◯ | Grave | Snake |
The second excerpt reads:
His blade strikes that which from the roots doth rise,
followed by guilt and the mark of demise.The life he once had he has left behind,
where once there was love, now a stone resides.
The Flower rises from the tree's roots, and the man strikes it with the Sword beside it. In his place now is the stone Gravestone.
Place the coins as follows:
| Moon | Tree | Sun | ||
| Grave | Sword | Flower | ◯ | ◯ |
The third excerpt reads:
He kneels by the crown that casts a cruel shade
onto the visage of her who did fade.By them not a soul, not a sight, nor sound,
and yet, evil slithers upon radiant ground.
The Man is beside the Woman underneath the tree's crown. The Snake slithers under the sun.
Place the coins as follows:
| Moon | Tree | Sun | ||
| ◯ | Man | Woman | ◯ | Snake |
The poem concludes:
The Beast that from death and decay had spawned,
He who has failed, She who's now beyond.Now you pass the judgment on figures of play,
and choose where the burden of sin doth lay.
Place any coin, Man, Woman, or Snake, into the top slot to finish the puzzle. Your choice will affect the ending of the game.
After solving the puzzle, take the 25 Apartment 201 Key and go to the second floor.
Second Floor
Enter Apartment 201, grab a Health Drink from a shelf in the bathroom and interact with the handkerchief on a desk for a cutscene with Pyramid Head we encountered briefly earlier.
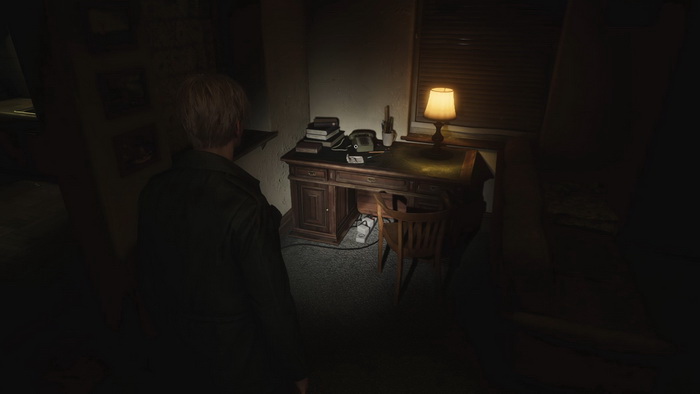
After the cutscene, you can pick up the 26 Handkerchief (not mandatory) and proceed through the red door in the living room to get into the next building.
| 01. Eastern South Vale | 03. Blue Creek Apartments |

